Never learned to sew growing up? This guide walks you through how to learn to sew as an adult, one practical step at a time.
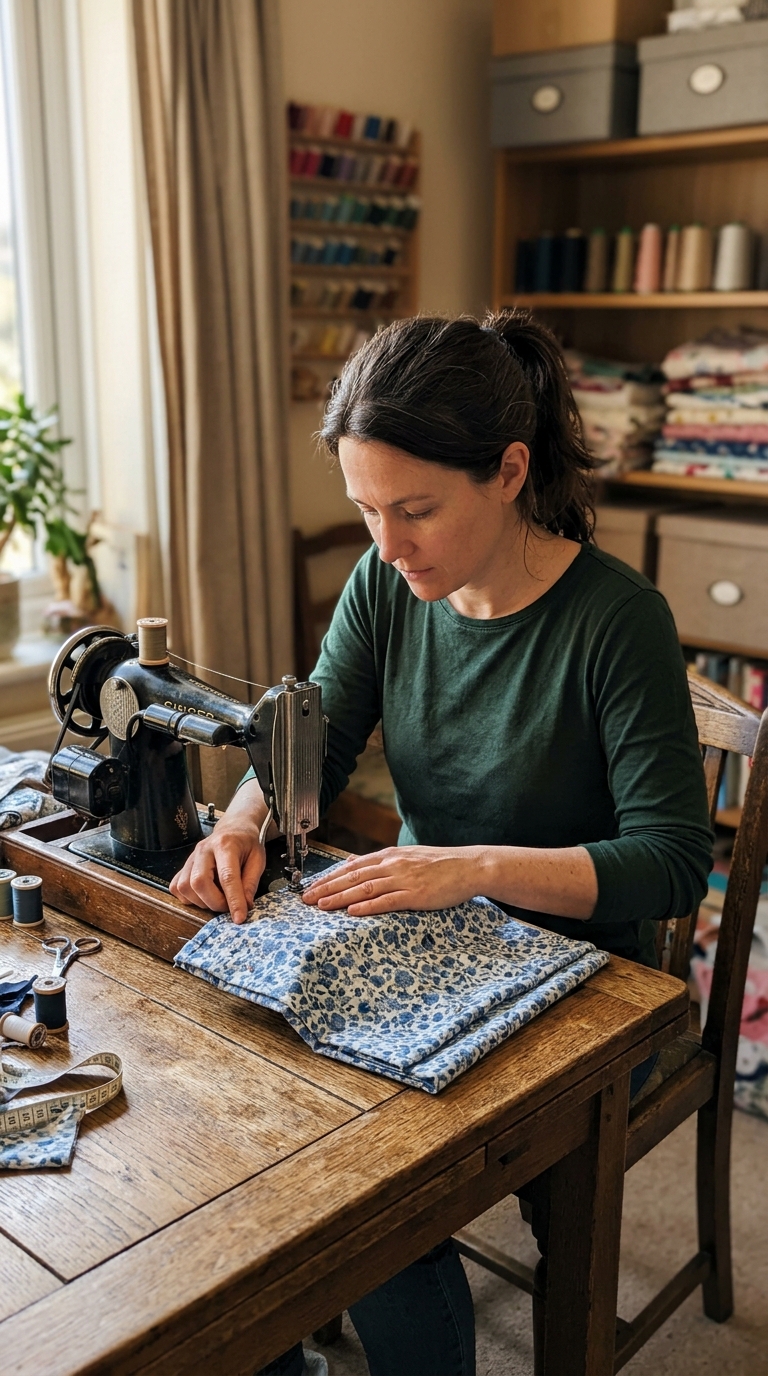
You are watching someone on YouTube sew a dress from scratch, cutting the fabric, feeding it through the machine, pressing the seams flat, and somewhere in the middle of it, a quiet thought surfaces. I should already know how to do this.
Not envy exactly. Something more uncomfortable than that. The feeling that everyone else received an instruction manual you somehow never got.
Here is what actually happened.
Research from the University of Missouri found a significant skills gap between baby boomers and millennials in basic clothing repair and sewing, not because one generation is more capable than the other, but because the opportunity to learn disappeared before millennials got there.
Home economics, where sewing was once a standard part of the school curriculum, was quietly removed from classrooms across the US and internationally as schools shifted budgets toward academic and college-preparatory subjects.
The women who might have taught it at home were increasingly in full-time work and no longer passing it down either. The skill simply stopped being transmitted.
You did not miss the window. The window was taken off the wall before you arrived.
This post is not here to tell you that you can do anything you put your mind to. It is a practical, structured guide for an adult starting from zero, what to learn, in what order, and what will actually trip you up before you get comfortable.
If you want to know exactly where to begin, this is where.
Why You Feel Too Late (And Why That Feeling Is Factually Wrong)
You are not behind — you are actually in the majority
- Adults aged 35–54 make up 36% of the sewing market. Adults 55 and above make up another 23%. Together, nearly 60% of all active sewists are adults who did not grow up sewing professionally or seriously.
- A British Heart Foundation survey of 2,000 adults found that six out of ten do not know how to sew confidently.
Most people learning to sew right now are not teenagers who grew up with a machine. They are adults, exactly where you are, starting later than they expected to.
The “too late” feeling is a comparison problem, not a real one
When you watch someone sew on YouTube, you are seeing the result of years of practice, not the learning years.
You are not seeing the bad seams, the projects that went in the bin, the months where nothing looked right. But you are comparing your beginning to someone else’s middle, and that comparison is not an accurate measurement of anything.
Adults actually have real advantages when learning to sew
- Clearer goals — you know what you want to make and why, which keeps you finishing projects instead of abandoning them
- Stronger focus — adult learners engage more deliberately with new information than children do
- Self-directed learning — you can choose your pace, your projects, and your resources without anyone else’s schedule
- Real motivation — you are not here because a teacher assigned it. That matters more than most people realise.
Ready To Read Patterns With Confidence? How to Read Sewing Patterns Without Feeling Lost.
What You Actually Need Before You Touch a Machine
The Minimum Tool List
- A sewing machine — mechanical, not computerised. More on this below
- Sharp fabric scissors — kept strictly for fabric only. Using them on paper dulls the blade fast and makes cutting fabric harder than it should be
- A seam ripper — you will use this constantly, especially at the start. That is not a sign of failure; it is a normal part of sewing at every skill level
- Pins or wonder clips — to hold fabric pieces together before and while you sew
- An iron and ironing board — pressing your seams as you sew is one of the most skipped beginner habits and one of the most important. It is what separates a result that looks polished from one that looks homemade in the wrong way
- A measuring tape — flexible, not a rigid ruler
- Thread in neutral colours to start, white, grey, black, and navy cover most beginner projects without overthinking it,
Planning To Upgrade Your Equipment? Industrial vs Domestic Sewing Machines: Which One Should You Buy as a Beginner?
How to Choose Your First Machine
Experts consistently recommend mechanical machines for beginners over computerised ones, fewer settings to confuse, easier to troubleshoot, and more durable at lower price points. Reliable beginner brands include Janome, Singer, Brother, and Bernette.
The Singer Heavy Duty 4423 comes up repeatedly as a top beginner recommendation, strong, affordable, consistent tension, with an automatic buttonhole feature and double spool pins built in.
Two rules on price:
- Do not buy the cheapest machine available. A machine that skips stitches, jams regularly, or has unreliable tension will make you think you are doing something wrong when the machine is the problem
- Do not buy the most expensive one either. A mid-range mechanical machine in the $200–$300 range is the right starting point
Before Your Next Project, Learn Fabric Basics: Understanding Fabrics for Sewing: Choosing the Right Material for Every Project.
What You Do Not Need Yet
- An overlocker or serger
- A rotary cutter and cutting mat
- Multiple presser feet
- Expensive fabric to practise on
Buy those things when you know you need them. Right now they are just noise.
New To Sewing? Start Here: Beginner’s Guide to Sewing Machine Basics You’ll Actually Use.
Learn the Machine Before You Learn to Sew
Before you cut a single piece of fabric or follow a single pattern instruction, spend time with your machine alone.
✅ Read the Manual — All of It
Every sewing machine has a specific threading sequence, bobbin system, and set of quirks that differ between models.
Reading the manual before your first project means that when something goes wrong mid-sew, and something will, you recognise the problem and know what to do instead of assuming everything is broken.
Skimming does not count here. Read it once, properly.
✅ Practise Threading Until It Becomes Automatic
Threading a machine incorrectly is one of the most common reasons stitches skip, thread breaks, or tension behaves unexpectedly.
Practise threading the top thread and loading the bobbin repeatedly, without looking at the instructions, until the sequence becomes automatic.
This one habit alone prevents a significant portion of early beginner frustration.
Set Yourself Up For Success: 11 Essential Sewing Tools for Sewists That Help Improve Accuracy and Are Budget-Friendly.
✅ Understand Thread Tension Before You Sew Anything Real
Thread tension is the setting that controls how tightly the top and bottom threads interlock inside your fabric. When it is off:
- Too tight — the seam bunches or puckers along the stitch line
- Too loose — you get what sewists call a bird’s nest underneath the fabric: a tangled loop of thread on the wrong side of the seam
Most beginners who encounter this assume their machine is broken. It almost never is. It is a tension setting, and it is adjustable.
Learning to recognise the difference between a tension problem and a mechanical problem is one of the most useful things you can do when you learn to sew as an adult, it keeps you troubleshooting rather than quitting.
✅ Sew Straight Lines on Scrap Fabric First
Before cutting into any project fabric, spend time sewing straight lines on old sheets, cheap cotton, or any fabric you do not care about.
Use the seam guide markings on your machine’s needle plate, not your eye, as your reference point.
Straight, consistent seams come from looking ahead on the fabric, not directly at the needle, in the same way you look down the road rather than at the bonnet when driving.
✅Always Test on a Scrap of the Same Fabric Before Starting
Different fabrics behave differently under the same machine settings. Before sewing your actual project, cut a small scrap of the same fabric and test your stitch length, tension, and needle on it first.
This takes two minutes and prevents the far more expensive problem of unpicking a seam from your real fabric because the settings were wrong from the start.
Avoid Common Sewing Problems: How to Choose the Right Sewing Needle for Every Fabric Type — Before You Blame Your Machine.
The Order in Which to Actually Learn
The projects you choose matter less than the order you learn in. Here is a structured path that builds real skill at each stage before moving to the next.
Stage 1: Straight Lines Only
Before any project, before any fabric you care about, practise sewing straight lines on scrap material.
Use the seam guide markings on your machine’s needle plate as your reference point, not the presser foot edge, not your eye.
The most common reason beginners sew crooked seams is focusing on the fabric right next to the needle.
Look further back on the fabric instead, the same way you look ahead of the car rather than at the bonnet when you drive. The line stays straighter when you guide from a distance.
Do this until straight lines feel boring. That is when you are ready for Stage 2.
Want Cleaner, More Professional Results? 15 Sewing Hacks for Beginners Who Want Neater, More Professional Results .
Stage 2: First Projects — No Garments Yet
Your first real projects should have straight seams and zero fitting requirements. Three good starting points:
- A pillowcase — teaches you straight seams, basic hemming, and the habit of pressing as you go
- A tote bag — introduces you to thicker fabric, reinforced stress points, and sewing straps
- Cloth napkins — pure straight lines, quick to finish, immediate confidence
Starting with accessories before garments means you are building real skill without the added complexity of making something fit a body. Both give you something functional at the end, which matters for motivation.
Stage 3: First Garment — Elastic Waist Only
When you are ready to learn to sew as an adult and make your first wearable piece, an elastic waist skirt or a loose-fitting top is the right entry point, no zippers, no buttons, no darts.
These styles are forgiving of minor imperfections in a way that fitted garments are not, and they teach you the skills that underpin all garment sewing:
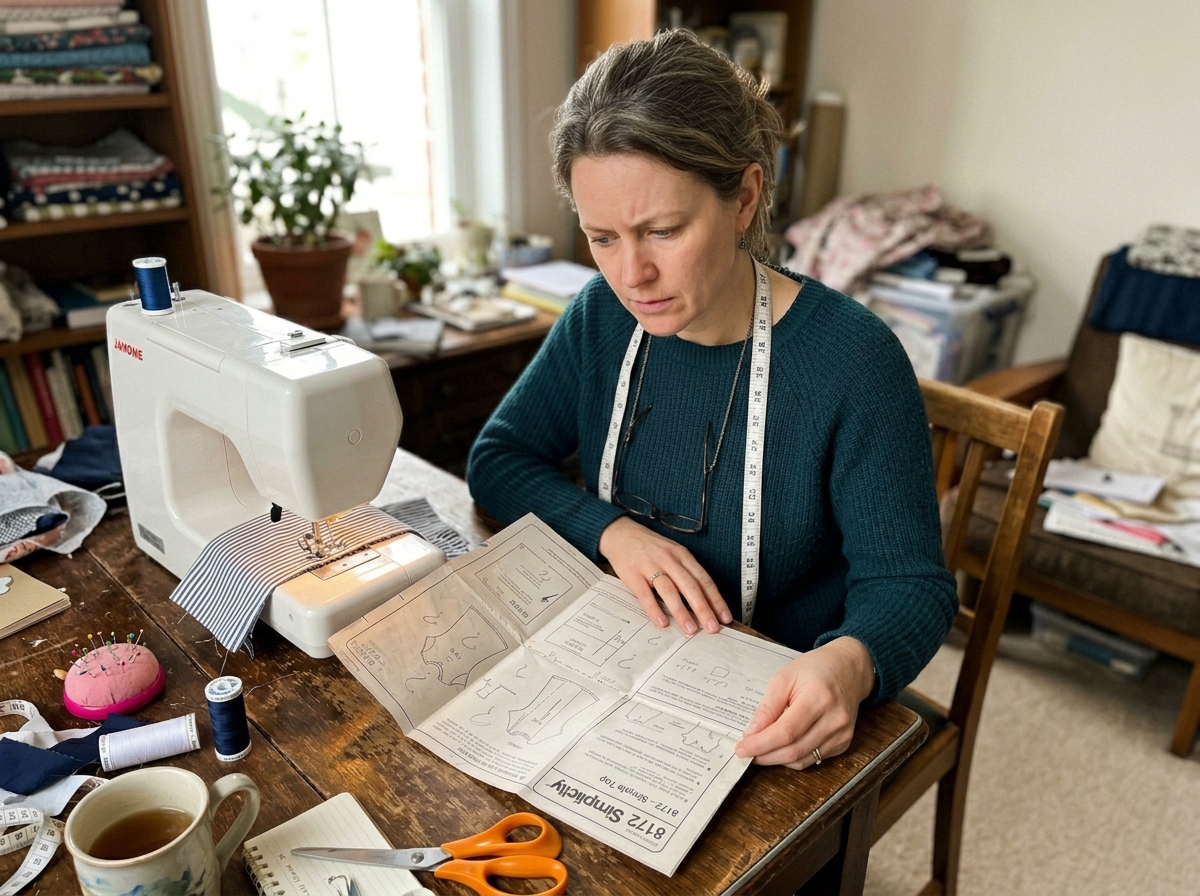
- Reading a pattern properly
- Taking and applying your own measurements
- Understanding how flat fabric pieces come together into something three-dimensional
One completed wearable garment changes how you see every other sewing project after it.
Stage 4: Zippers, Darts, and Fit (Week 8 Onwards)
Once you have made one wearable garment, you are no longer a beginner in any meaningful sense of the word.
Zippers, darts, and fit adjustments are intermediate skills, but they feel approachable at this point because the foundational muscle memory is already built.
You understand how your machine behaves, how fabric moves, and how seam allowance affects fit. Everything from here builds on that base rather than replacing it.
Need Beginner-Friendly Patterns? How to Find Sewing Patterns That Are Easy to Follow and Beginner-Friendly (Save Hours of Frustration).
What NOT to start with:
- Garments with fitted bodices
- Anything with a collar
- Stretch fabric (jersey, knit) — these require different techniques and needle types and will frustrate a beginner before they have basic control
- Anything you care about deeply, do not use your favourite fabric for your first project
What Can Actually Trips You Up as a Beginner (And What to Do About It)

1. Thread Tension Problems
Thread and tension issues affect 65% of new sewists. Before assuming something is wrong with your machine, check the fabric underneath your seam:
- Loops on the bottom — your upper tension is too loose. Increase it slightly
- Loops on the top — your upper tension is too tight. Decrease it slightly
Always test tension on a scrap of the same fabric before sewing the real project. Never adjust tension mid-seam, finish the seam, cut the thread, test on a scrap, then adjust.
2. Skipped Stitches
Almost always a needle issue. Three causes:
- The needle is dull
- The needle is the wrong size for the fabric
- The needle is not inserted correctly, it should click fully into place with the flat side facing the back
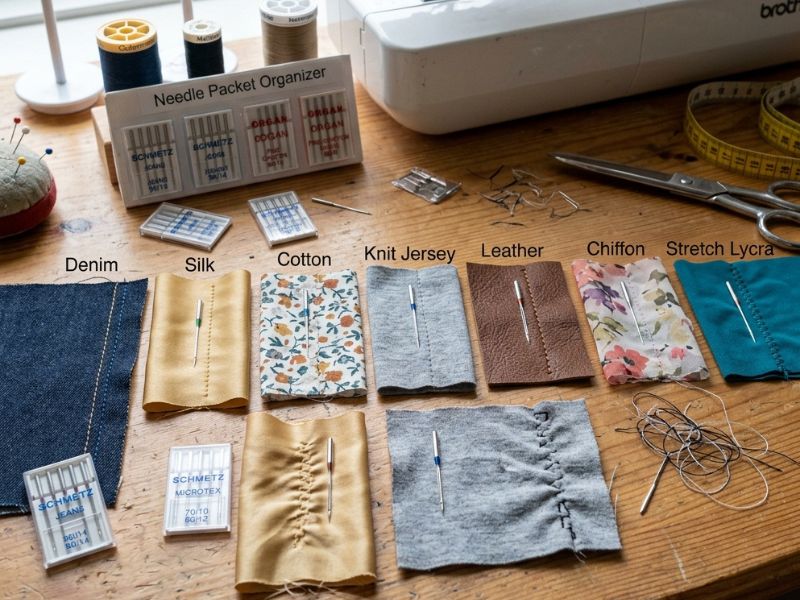
3. Needle guide for beginners:
- Cotton and light to medium woven fabric, universal needle, size 80/12
- Denim or heavier cotton — size 90/14
Change your needle after every major project. A needle is one of the cheapest parts of sewing and one of the most overlooked.
Thinking About Earning From Sewing? Sewing Skills That Actually Make You Money (Even If You’re Just Starting.
4. Fabric Not Feeding Evenly
Your machine moves fabric forward using feed dogs, the metal teeth sitting beneath the needle plate. If your fabric is feeding unevenly, you are most likely pushing or pulling it rather than letting the machine do the work.
Your hands should guide the fabric gently, not control it. The moment you pull, the seam distorts. Let the machine feed. Your job is to steer.
5. Seams That Pucker
Puckered seams are usually caused by one of three things:
- Thread tension that is too tight
- A dull needle
- Pulling the fabric while sewing
Press the seam with an iron immediately after stitching. A good press resolves minor puckering in most cases. If puckering continues after pressing, check your tension setting and replace your needle before sewing the next seam.
6. Perfectionism Quitting
This is the most common reason people stop. Research shows that expecting perfect results causes 95% of new sewists to quit within months.
Your first pillowcase will have a slightly wobbly seam. Your first tote bag will have an uneven handle. Neither of those things means you are bad at sewing. They mean you are three weeks in.
The standard to hold yourself to is not perfection on the first project. It is slightly better than the last one. That is the only metric that matters at this stage.
Looking For Family-Friendly Projects? 12 Easy Sewing Projects Adults and Kids Will Actually Complete Together.
The Advantage You Did Not Know You Had
-
You Will Learn Faster Than You Think
Children pick up motor skills naturally, but adults bring something children don’t, the ability to understand why something works, not just how to do it.
When you learn that fabric stretches on the bias because of the diagonal angle between the warp and weft threads, you can use that information to make better decisions about how you cut and handle fabric.
A child follows the instruction. You understand the reason behind it. That analytical ability is an advantage, not a disadvantage.
-
You Get to Choose What You Make
When sewing was taught in school, students made whatever was on the curriculum — aprons, pinafores, set projects on a fixed schedule. When you learn to sew as an adult, you decide what you make from the very beginning.
That matters more than it sounds. Motivation to finish a project is what creates the repetition that builds skill. Make things you actually want to make.
-
Your Standards Feel High Because You Have Good Taste
Most adult beginners feel discouraged when their finished work doesn’t match what they imagined. That gap is not a sign of low ability. It exists because your aesthetic judgment has been developing for decades, while your technical skill is three weeks old.
The gap is real. It also closes, with practice, not with talent.
Don’t Throw It Away Yet: 15 Smart and Easy Sewing Fixes for Clothes and Fabrics You Keep Throwing Away.
-
You Do Not Need Permission to Start Badly
A wobbly seam on your first pillowcase is not a warning sign. It is evidence that you are learning. The most useful thing you can do at the beginning is finish the imperfect project, look honestly at what went wrong, and start the next one.
That process, finish, assess, repeat, is how skill actually builds. There is no shortcut around it, and there is nothing wrong with being at the beginning of it.
Use Every Fabric Scrap Wisely: What to Do With Fabric Scraps: Sewing Hacks That Turn Leftovers Into Keep-Worthy Gifts.
How Long Does It Actually Take to Get Good at Sewing?
Learning the basics takes two to three weeks with guidance. Teaching yourself takes six to nine months before results feel consistently clean. Both are honest timelines.
Your first usable item can happen in as little as two to five hours of focused practice. It will not be your best work. It just needs to prove you can do it.
The longer timeline is not about difficulty. The first few months are mostly about getting comfortable with your machine and learning how different fabrics behave. That only comes from repetition, there is no shortcut.
One sewist documented her journey honestly: it took around 50 hours to produce her first well-fitting garment, preceded by 30 hours across pieces that did not fit at all. That is a real learning curve, not an exaggerated one.
Each project should confirm one skill before the next introduces something new, straight seams before curves, flat items before garments. Order matters more than speed.
Progress will not be linear. Some weeks everything clicks. Others, nothing will. That is the craft, not you.
With consistent practice, most beginners reach genuine proficiency between six and twelve months, meaning you can follow a pattern, adjust as you go, and finish something you are proud of.
Give yourself that time. You are not slow. You are learning.
Try Something Fun And Practical: Kitchen Sewing Projects That Save Money, Reduce Waste, and Make Great Gifts.
The Real Point of All of This
You are not too late. You are not missing a talent gene. You are missing practice, and practice is available to you starting today.
The generation that was supposed to teach you was not taught either.
The skill stopped being passed down, the classrooms stopped offering it, and an entire generation arrived at adulthood without it. That is not a personal failure. That chain ends wherever you decide it ends.
When you learn to sew as an adult, the path is the same for everyone regardless of when they start, sew a bad first thing, sew a slightly less bad second thing, and keep going from there.
Pick up the machine and start.
This guide talked on: how to learn to sew as an adult when you feel like you are already too late.