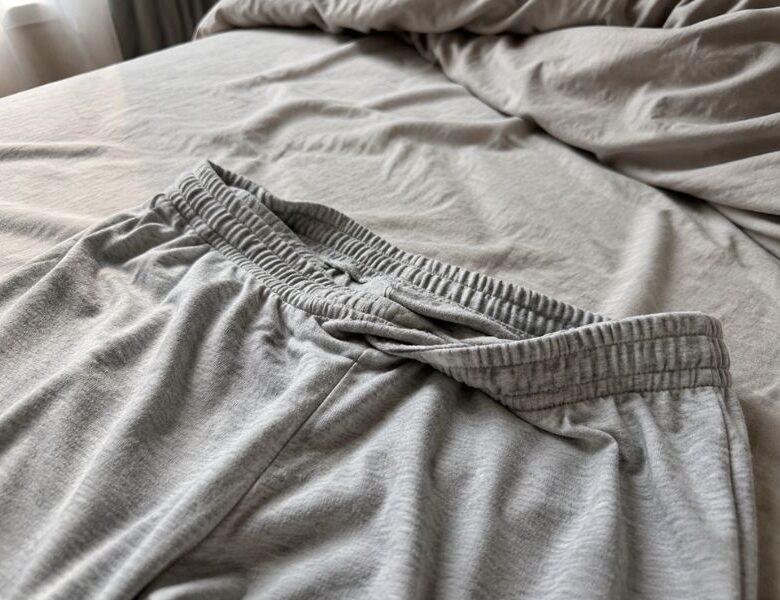
Struggling with a twisted waistband? Learn what causes elastic waistband twisting after washing and the easy fixes that stop it for good.
You followed the pattern exactly, measured the elastic against your own waist, fed it through the casing an inch at a time, checking with your fingers that it hadn’t rolled. Stitched it closed, tried it on, and it sat flat and even, the kind of finish that makes you feel like you actually know what you’re doing.
Then days later, it came out of the wash looking like it had been wrung out by hand, yunno twisted, lumpy, one side riding higher than the other.
Your first instinct is to blame yourself, maybe you fed it crooked,or probably, you rushed the last few inches. But the real cause has nothing to do with how carefully you sewed it.
The twist usually isn’t a sewing mistake at all, It’s happening after the garment is already finished and sitting in your closet, hidden inside a casing that was never actually built to keep the elastic still. Wash after wash, it moves a little more, until one day it’s spiraled.
Once you understand what’s actually shifting inside that waistband, it becomes easy to fix and it stops for good.
Here’s what’s really going on.
Avoid frustrating sewing mistakes with How to Choose the Right Sewing Needle for Every Fabric Type — Before You Blame Your Machine, a practical guide to matching needles with fabric for smoother, cleaner stitches.
The Casing Is Wider Than The Elastic
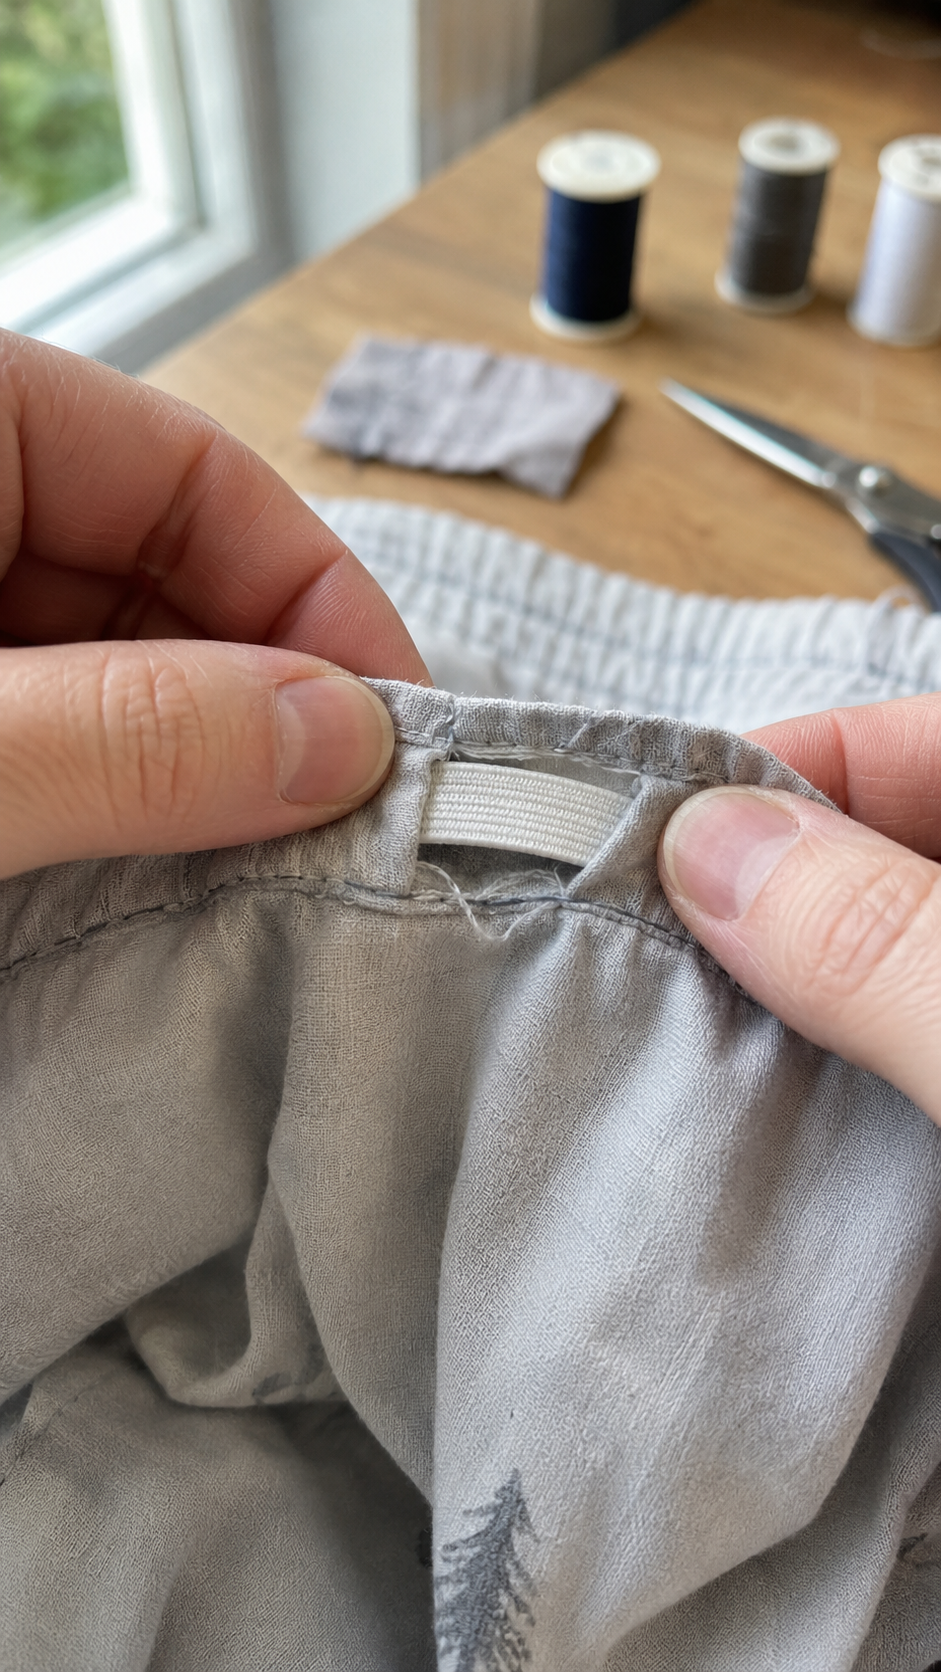
Picture the casing as a tunnel and the elastic as a strip running through it. If that tunnel has even a little extra room around the elastic, the elastic isn’t held flat, it can flip over on itself inside the fabric. Sewing doesn’t cause this.
It happens later, every time the garment moves: being worn, being folded into a laundry basket, and especially during the wash, where the machine’s agitation pushes the fabric around in every direction.
Each wash gives the elastic one more chance to roll a quarter-turn inside the tunnel, and over a few washes, those small rolls add up to a visible twist.
This is why the twist seems to appear “out of nowhere”, the sewing was fine, but the casing was never snug enough to keep the elastic from moving inside it.
How to check if this is your problem:
- Lay the garment flat and pinch the casing between two fingers, feeling for extra fabric beyond the width of the elastic itself.
- Push the elastic to one side inside the casing, if it can flip or fold over rather than staying flat, the casing is too loose.
- Compare the finished casing width to the elastic’s actual width, a casing more than about ¼ inch wider than the elastic gives it enough room to roll.
The fix:
- When sewing the casing, size the fold to the width of the elastic plus a small seam allowance for stitching room, not a generous “it’ll fit better” gap.
- If you’re using a wider elastic (1 inch or more), size the casing to match it exactly rather than using a one-size-fits-all fold width.
- For a garment that’s already sewn with a loose casing, don’t unpick everything, this pairs with the securing fix in Section 3, which stops the roll even in a slightly loose tunnel.
Give your favorite clothes a second chance with 15 Smart and Easy Sewing Fixes for Clothes and Fabrics You Keep Throwing Away, featuring simple repairs that save both money and garments.
The Wrong Type of Elastic is doing this to you
Not all elastic behaves the same way inside a casing, and this is one of the most overlooked reasons behind elastic waistband twisting after washing.
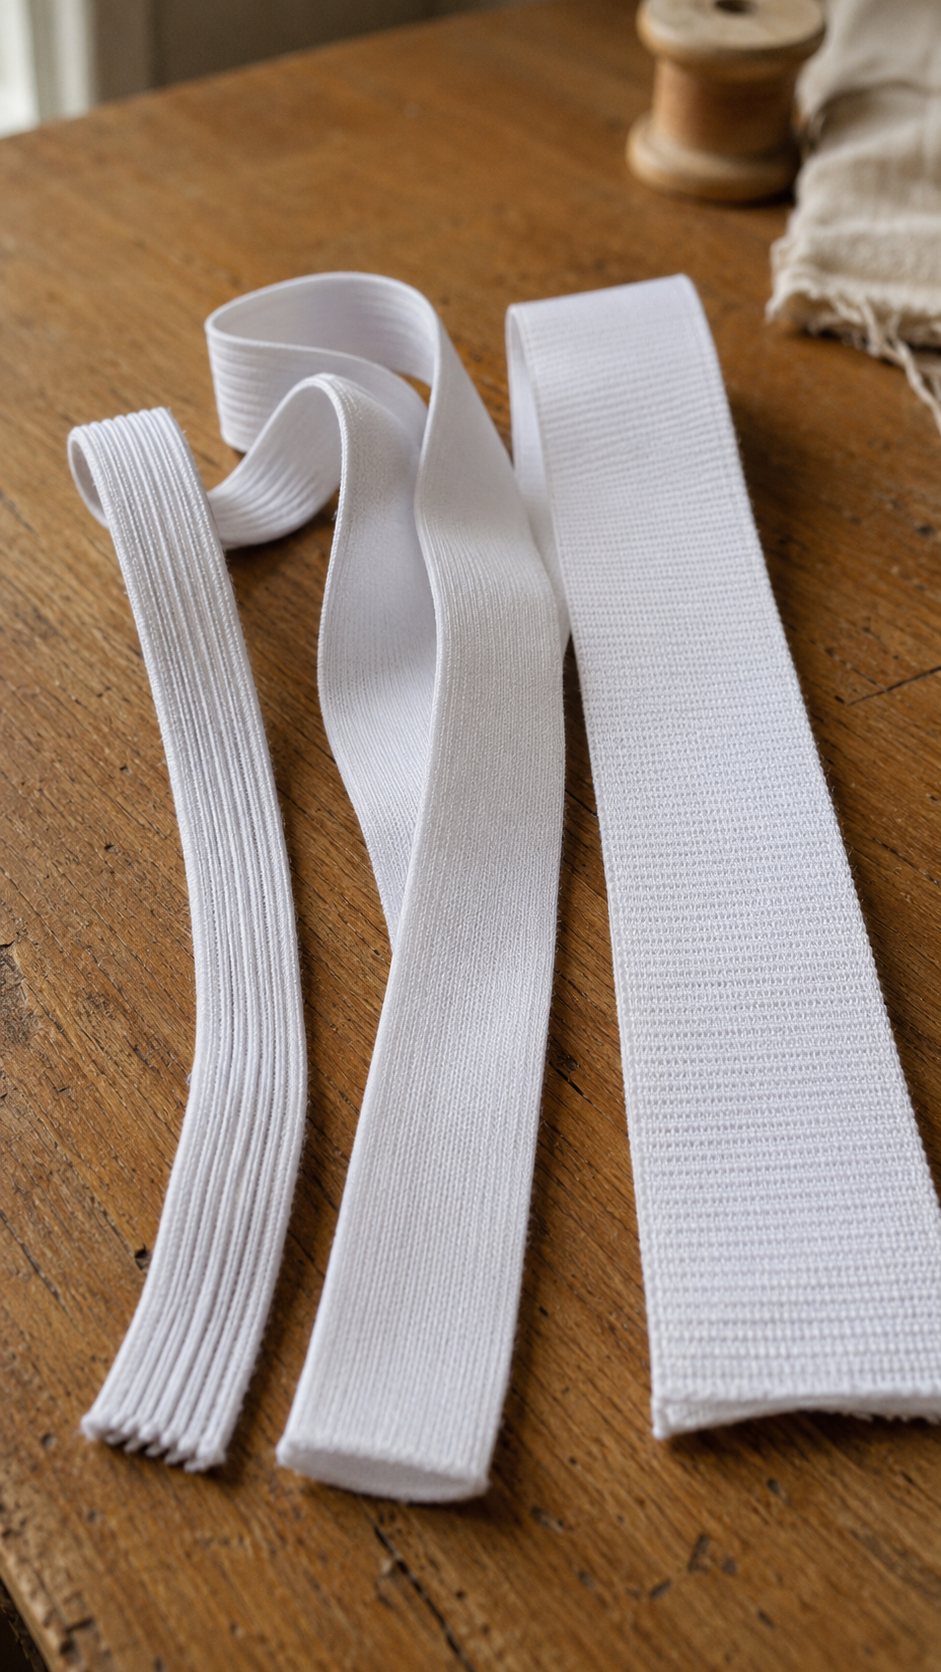
Braided elastic, the ridged, textured kind most fabric stores sell as an all-purpose option, narrows and curls in on itself the moment it’s stretched. That curling motion is exactly what makes it want to roll inside a casing, and washing just gives it the movement it needs to act on that tendency.
Knit elastic behaves differently. It stays flatter when stretched, which makes it far less likely to twist inside a casing.
Woven elastic, often labeled “non-roll,” is built specifically to resist this, it’s stiffer and holds its flat shape even under the stretching and pulling a waistband goes through in daily wear and in the wash.
How to tell which one you’re using:
- Stretch a short length between your fingers. If it curls or narrows noticeably, it’s braided.
- Look at the surface. Braided elastic has visible ridges running along its length. Knit and woven elastic tend to look flatter and more uniform.
- Check the packaging. Elastic sold specifically as “non-roll” or “woven” is telling you directly what it’s built to do.
The fix:
- For anything going inside a closed casing, pajama pants, skirts, kids’ clothing, choose knit or non-roll woven elastic over braided.
- Save braided elastic for projects where it’s stitched directly onto fabric rather than threaded through a tunnel, since it isn’t fighting against a casing there.
- If a garment is already twisting and you suspect this is the cause, the elastic itself may need to be swapped out rather than just resewn in place, no casing fix will fully solve it if the elastic type is the real issue.
Build a solid foundation with Beginner’s Guide to Sewing Machine Basics You’ll Actually Use, where you’ll learn the essential skills every new sewist needs before starting a project.
Nothing is holding the elastic in place inside the casing
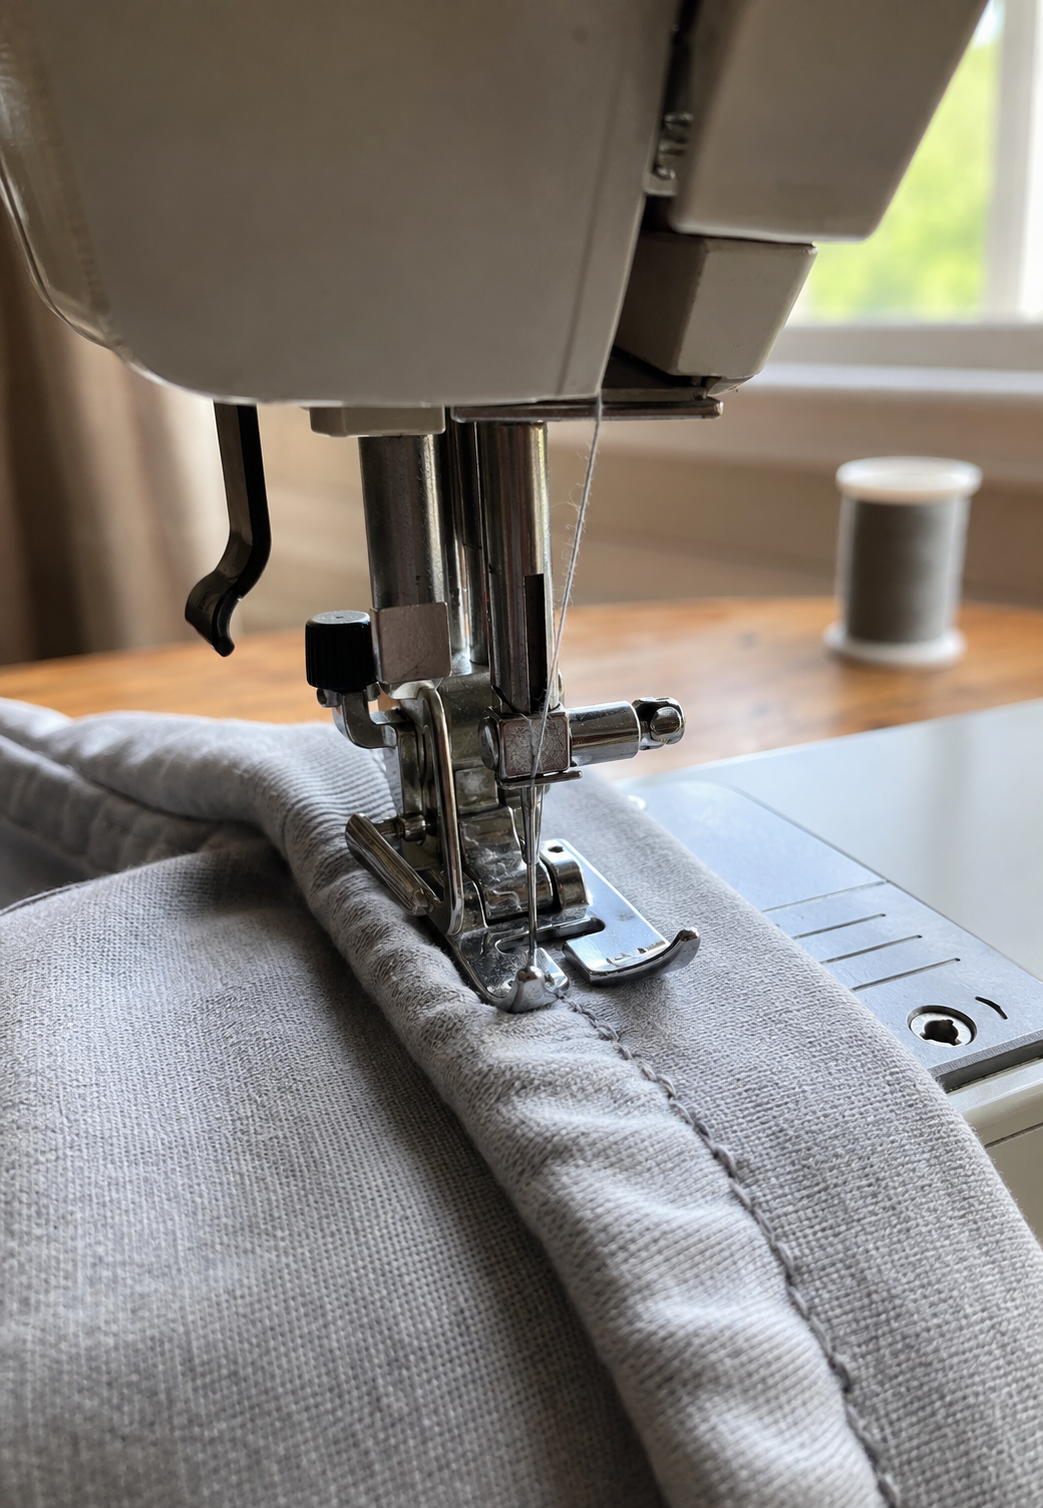
Even the right elastic, in a perfectly sized casing, can still twist if nothing is anchoring it to the fabric.
A casing on its own is just a tunnel, it holds the elastic in, but it doesn’t hold it still.
Without a few points of stitching connecting the elastic to the fabric, the whole band is free to rotate as one piece every time the garment moves, and this is one of the most common causes of elastic waistband twisting after washing that never gets caught until it’s already happened a few times.
Two techniques fix this, and they work best together rather than as either-or options.
Ditch-stitching means sewing through both the fabric and the elastic at the seam lines, usually the side seams, and sometimes the center front and back too. This tacks the elastic to the fabric at fixed points, so instead of the whole band rotating freely, it’s held in place at regular intervals around the waist.
Edge-stitching the casing means adding a row of stitching close to the folded edge of the casing, before the elastic is even threaded through. This narrows the tunnel just slightly and makes it much harder for the fabric to form the kind of loose pocket that lets elastic flip inside it.
How to check if this is your problem:
- Feel along the inside of the casing, if the elastic moves freely with no stitching crossing through it anywhere, it’s completely unanchored.
- Check the side seams specifically. If there’s no visible stitching running through the elastic at these points, it has nothing stopping it from rotating.
The fix:
- On future makes, ditch-stitch through the elastic at the side seams (and center front/back for wider waistbands) once the elastic is evenly distributed.
- Combine this with edge-stitching the casing for garments that get frequent washing, like kids’ clothes or activewear.
- On an already-finished garment, ditch-stitching can usually be added from the outside without unpicking the casing, turn the garment right-side out, find the seam line, and stitch through it where the elastic sits underneath.
Improve your sewing skills faster with 15 Sewing Hacks for Beginners Who Want Neater, More Professional Results, packed with practical tips that make every project look more polished.
A hidden twist got sewn in when the elastic ends were joined
Before elastic ever goes into a casing, both ends have to be joined into a loop.
If there’s a small twist in the elastic at the moment those ends get overlapped and stitched, that twist doesn’t go away, it gets locked into the loop permanently, sitting quietly until wear and washing give it room to show itself more and more.
This is easy to miss because a half-twist at the join can look completely flat once the elastic is threaded through the casing and the garment is finished.
It’s only after a few washes, when the fabric and elastic shift against each other, that the twist becomes visible from the outside.
How to check if this is your problem:
- Before joining the ends, run the elastic through your fingers along its full length, feeling for any place where it doesn’t lie flat.
- Lay the elastic flat on a table before overlapping the ends, if one end wants to flip relative to the other, there’s already a twist present.
The fix:
- Mark both ends of the elastic with a pin or a small dot before joining them, lining the marks up so you can see at a glance whether the elastic is flat or twisted.
- Lay the elastic flat and smooth it out fully before stitching the overlap, rather than joining the ends while the elastic is still bunched in your hand.
- Stitch the join with a box stitch or zigzag rather than a single straight line, since this holds the ends together more securely and resists shifting at the seam over time.
Stay ahead of the trends with 2026 Sewing Fashion Trends: Sew Classic Pieces with a Modern Update to Refresh Your Wardrobe, featuring timeless styles with a fresh, modern twist.
Heat from washing and drying is degrading the elastic itself
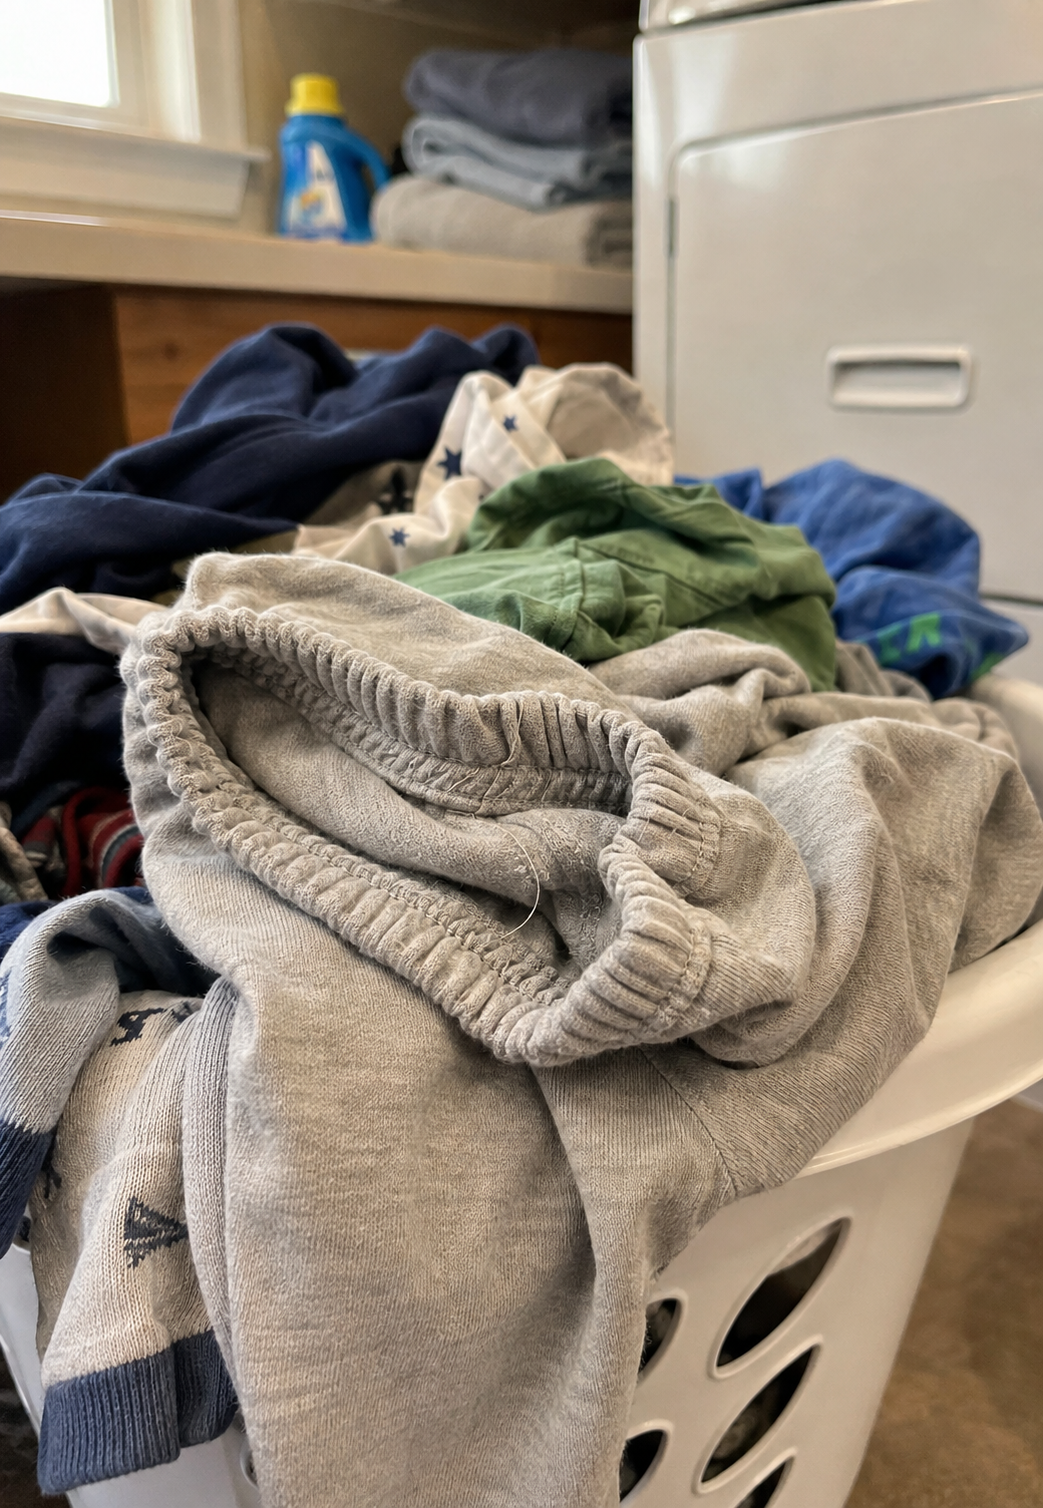
Elastic isn’t just fabric, it has a rubber or spandex core that gives it stretch and memory. That core is sensitive to heat, and repeated exposure to hot water washes, high-heat dryer cycles, or direct ironing breaks it down over time.
As the elastic weakens, it doesn’t always degrade evenly along its whole length, and that uneven weakening is a real contributor to elastic waistband twisting after washing that has nothing to do with how the garment was originally sewn.
When one section of the elastic loses its stretch faster than the rest, the band stops sitting evenly around the waist.
The stronger sections pull differently than the weakened ones, and that imbalance is what shows up as a twist, especially in garments that go through frequent hot washes, like activewear, underwear, or kids’ clothing worn daily.
How to check if this is your problem:
- Stretch the waistband gently by hand and feel along its length for spots that feel looser or less springy than the rest.
- Consider the garment’s wash history, if it’s been through many hot washes or regular dryer cycles, heat damage becomes more likely as an explanation, even if the sewing was done correctly.
The fix:
- Wash garments with elastic waistbands in cold water rather than hot whenever possible.
- Air dry instead of using high heat in the dryer, or use a low-heat setting if air drying isn’t practical.
- If ironing is necessary near the waistband, use a low heat setting and place a pressing cloth between the iron and the elastic to reduce direct heat exposure.
- For a garment where the elastic already feels uneven or worn out, replacing the elastic will solve the twisting more reliably than any casing or stitching fix, since the material itself is the problem at that point.
Create meaningful handmade presents with 11 Unique and Handmade Wedding Gift Sewing Projects That Will Impress Newlyweds, offering thoughtful ideas that couples will cherish.
The join itself is too weak or too narrow
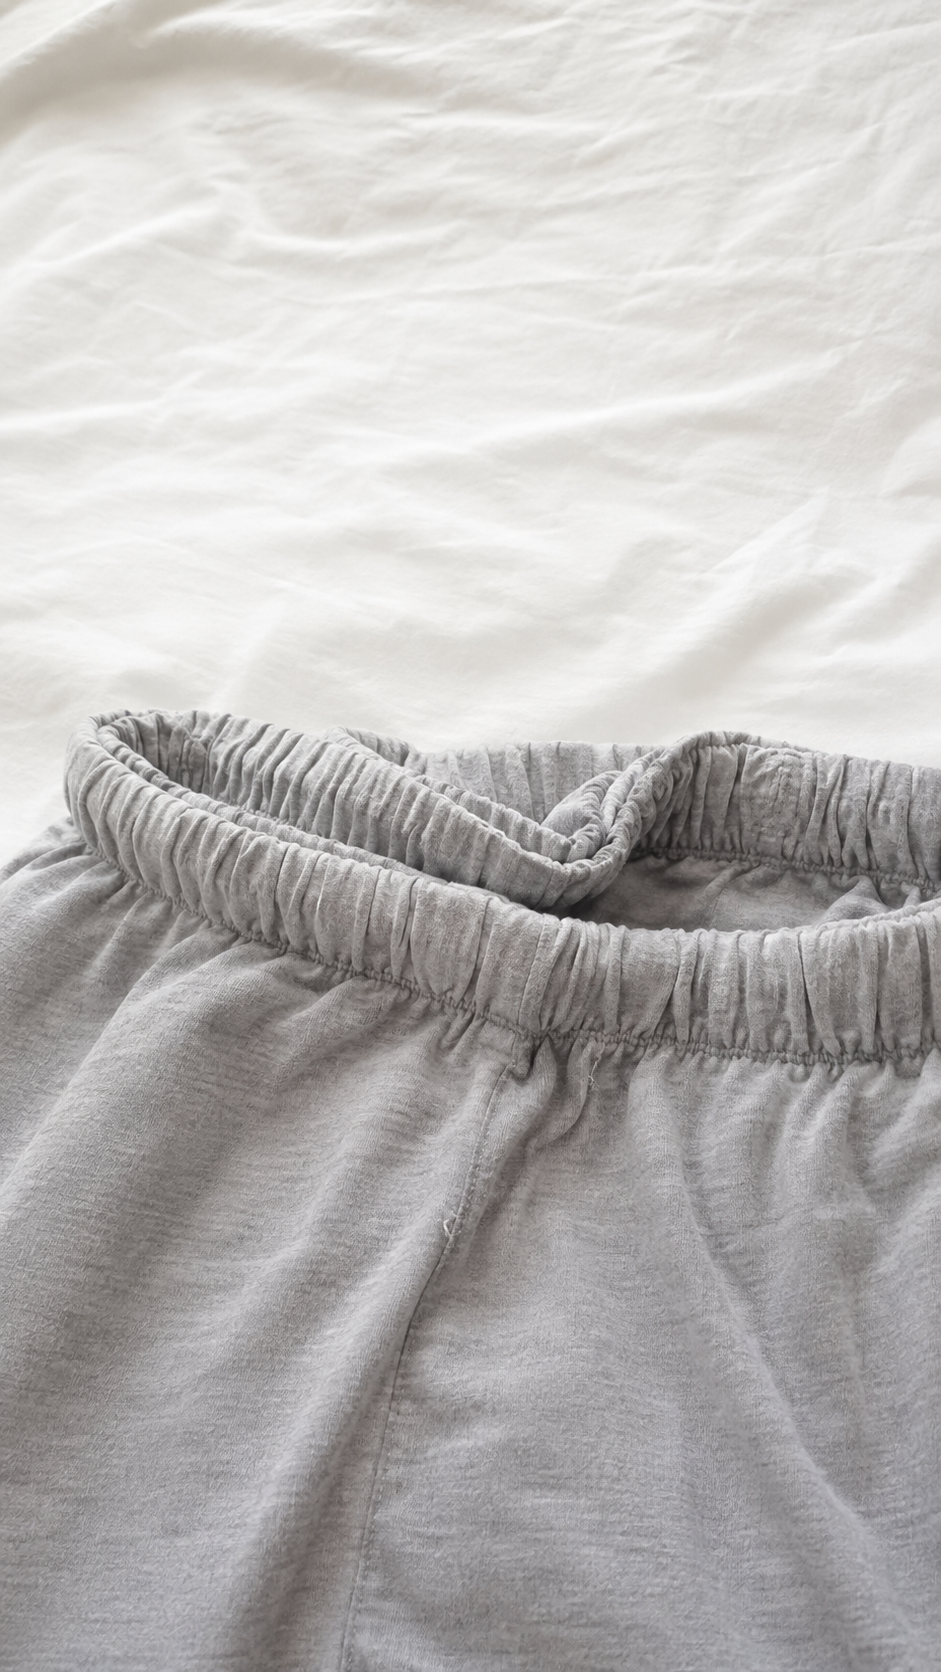
Every elastic loop has one seam where the two ends meet, and this join takes more strain than any other point on the waistband, it’s stretched every time the garment is put on, and it’s pulled in different directions during washing.
If that join is too narrow, or if the ends were simply butted together instead of overlapped, it has room to shift slightly every time it’s put under stress.
Over weeks and washes, that small shifting is enough to twist the whole loop, which makes a weak join one of the quieter causes of elastic waistband twisting after washing that’s easy to overlook once the casing itself seems fine.
An overlap join, where one end of the elastic sits on top of the other by about half an inch before being stitched, spreads the stress across a wider area and holds up far better than ends placed edge to edge.
A butt join can work for thicker elastics where overlapping would create too much bulk, but it’s inherently a weaker connection and more prone to shifting over time.
How to check if this is your problem:
- Look at where the elastic ends meet inside the casing, if they’re placed edge to edge rather than overlapping, that’s a butt join.
- Check the overlap width if there is one, anything less than about half an inch gives the stitching very little to hold onto.
- Feel for any looseness or give right at the join itself compared to the rest of the elastic loop.
The fix:
- Overlap the elastic ends by about ½ inch rather than butting them together, unless the elastic is thick enough that overlapping would create noticeable bulk.
- Stitch the join with a box stitch or zigzag pattern rather than a single straight seam, since this spreads the stress across more thread and resists shifting.
- On a garment that’s already twisting, reinforcing the existing join with an extra pass of stitching can sometimes solve the problem without fully replacing the elastic.
Solve one of the most common machine problems with Why Your Sewing Machine Keeps Skipping Stitches (And 7 Easy Fixes That Work Fast), a troubleshooting guide that helps you get back to sewing quickly.
Fixing an already-twisted waistband
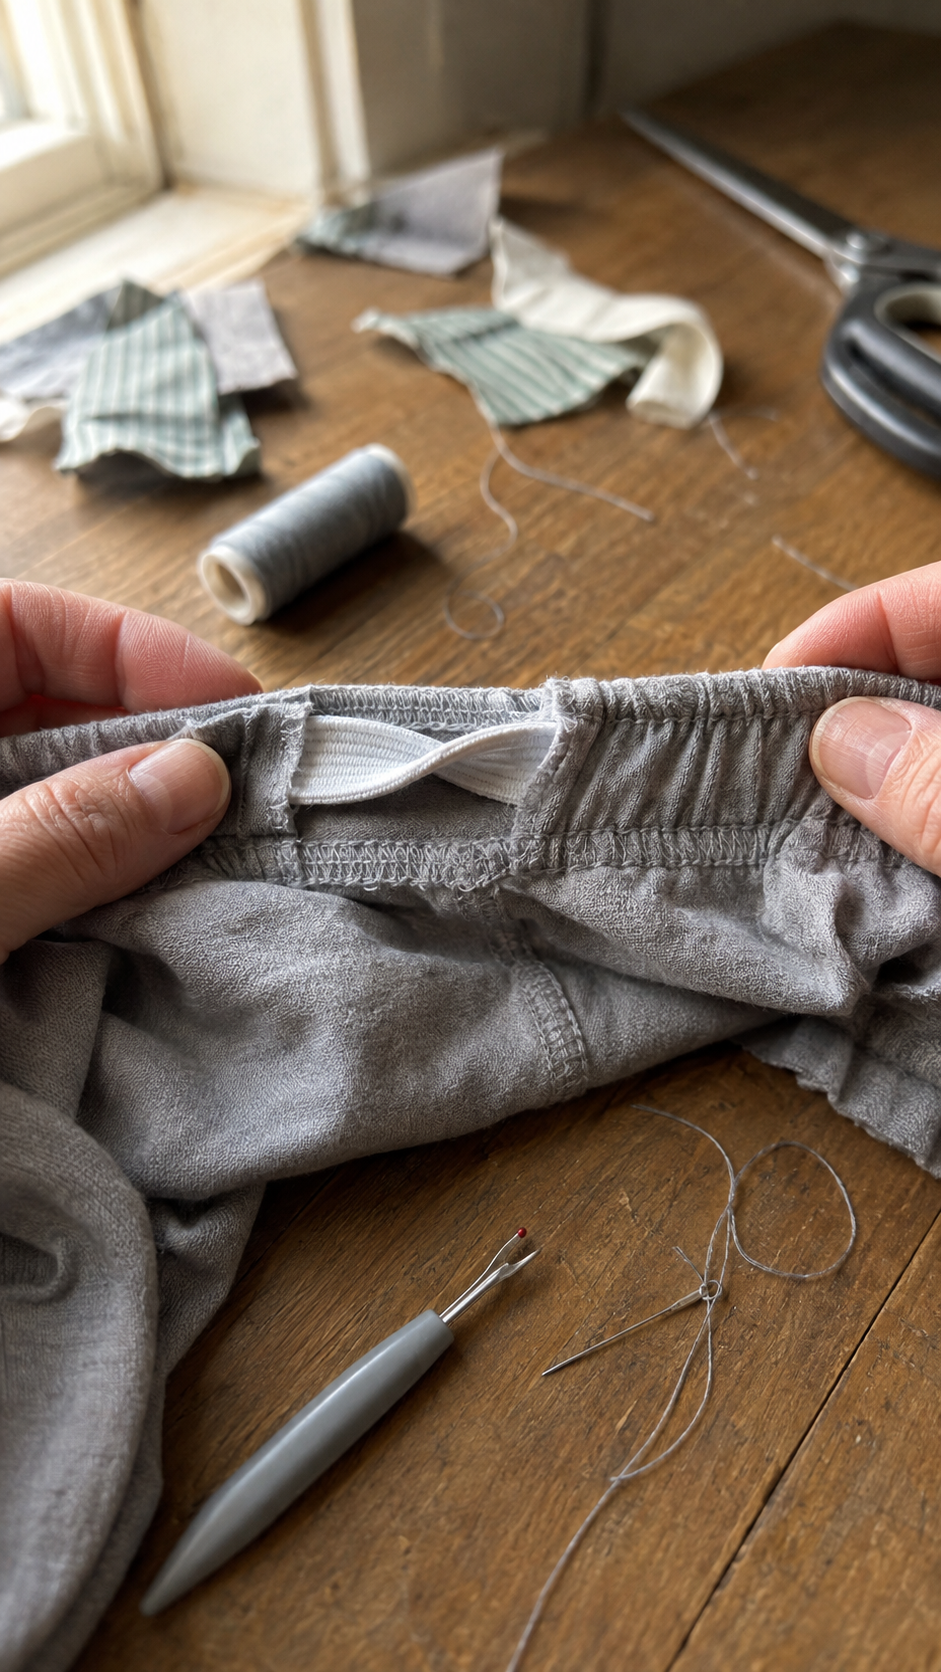
If the garment is already twisting, the good news is that elastic waistband twisting after washing usually doesn’t mean starting the whole waistband over. In most cases, the fix is a repair, not a rebuild.
Step 1: Untwist and redistribute
Lay the garment flat and stretch the waistband out fully by hand, then let it snap back. This alone often loosens a mild twist enough to reposition. Work the fabric around the elastic with your fingers until the gathers sit evenly across the front and back, and the side seams line up the way they did when the garment was new.
Step 2: Check the join
Feel around the inside of the casing for the spot where the elastic ends meet. If this join feels loose, weak, or narrow, this is often the root cause rather than just the visible symptom, reinforcing it now will stop the twist from coming straight back.
Step 3: Ditch-stitch to lock it in place
Once the elastic is sitting flat and evenly distributed, turn the garment right-side out and stitch through the seam line at each side seam, sewing through both the fabric and the elastic underneath. This anchors the elastic at fixed points so it can’t rotate as a whole loop again, and it can usually be done without unpicking the casing at all.
Step 4: Decide if the elastic itself needs replacing
If the elastic feels weak, uneven, or has lost its stretch in places, no amount of re-stitching will hold it flat for long, the material itself is the problem. In this case, unpick a small section of the casing, remove the old elastic, and thread through a fresh length using a safety pin or bodkin, checking for twists before joining the ends and closing the casing back up.
When to stop and just replace the elastic instead of repairing:
- The elastic feels noticeably weaker in one section than another
- It’s been through the wash on hot cycles for months or years
- The waistband no longer springs back after being stretched
Recreate your favorite garments with How to Copy a Pattern From Clothes You Already Own (Without Taking Them Apart), an easy method for making custom patterns without damaging the original clothing.
Prevention checklist for future makes
- Size the casing to match the width of your elastic, not a generous one-size-fits-all fold, extra room is what gives elastic space to roll.
- Choose knit or woven non-roll elastic for anything going inside a closed casing; save braided elastic for projects where it’s stitched directly to fabric instead.
- Ditch-stitch through the elastic at the side seams once it’s evenly distributed, and edge-stitch the casing for garments that will be washed often.
- Mark both ends of the elastic before joining them, and lay it flat to check for twists before stitching the overlap closed.
- Wash on cold and air dry when possible, heat breaks down the elastic’s core over time and weakens it unevenly.
- Overlap the elastic ends by about ½ inch and stitch with a box stitch or zigzag rather than butting the ends together with a single straight seam.
Master the basics with How to Cut Fabric Without Wasting It: A Beginner’s Guide to Cutting Confidently the First Time, where you’ll learn simple techniques for making accurate cuts, reducing fabric waste, and setting every sewing project up for success.
FAQ
-
Does this happen to store-bought clothes too, or only handmade ones?
Yes, the same causes apply to manufactured clothing. Factory-made garments can still use braided elastic, loose casings, or weak joins, so a twisted waistband on a store-bought item isn’t necessarily a sign of poor quality, just the same mechanical issue.
-
Does washing a garment inside out help prevent twisting?
It can help a little by reducing how much the outer fabric rubs and shifts during the wash cycle, but it won’t fix the underlying cause. If the casing is loose or the elastic is unsecured, washing inside out only slows the twisting down rather than stopping it.
-
Should elastic be sewn in tighter to stop it from twisting?
Not necessarily. A tighter elastic can actually make twisting worse if the casing itself still has extra room, since a snugger elastic under more tension has more force pushing it to roll when it does move. Fixing the casing fit and securing the elastic matters more than tightening the elastic alone.
-
Is a twisted waistband a sign the garment is defective and should be returned?
Not always. It’s a common construction issue rather than a safety or quality defect in most cases, though a waistband that twists severely right out of the packaging, before any washing, may point to a more serious construction problem worth flagging with the retailer.
-
Would using a drawstring instead of elastic avoid this problem completely?
Yes, a drawstring waistband sidesteps the twisting issue entirely, since there’s no elastic loop that can roll or shift inside the casing. The trade-off is comfort and convenience — drawstrings require adjusting and tying, which elastic waistbands are specifically designed to avoid.