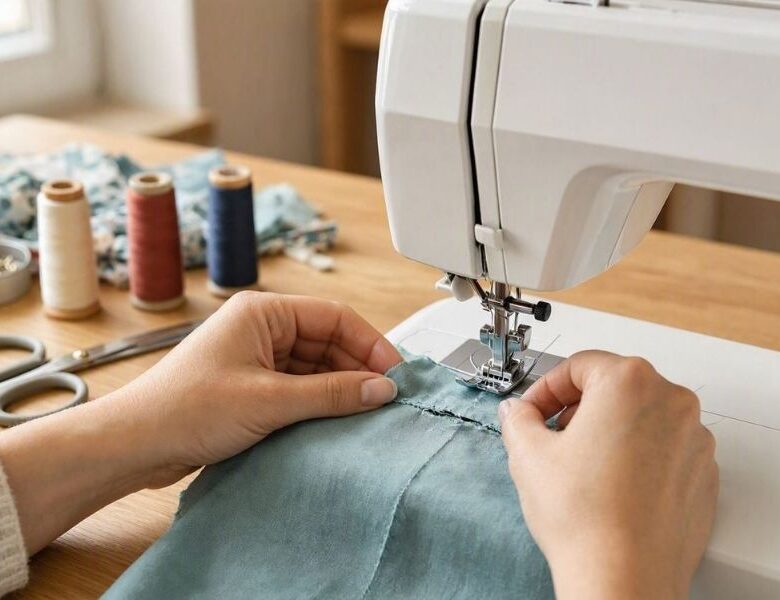
Those random gaps in your seam may not mean a broken machine. See what causes sewing machine skipping stitches and when it really needs repair.
A skipped stitch can make a simple sewing problem feel much harder to diagnose than it should be. The machine is running, the needle is moving, and most of the seam may look perfectly fine, so why are a few stitches missing?
The answer is not always a damaged machine, and changing the tension or replacing random parts can make troubleshooting more confusing.
The better place to start is with the pattern of the skipped stitches.
Where they appear, what fabric you are sewing, which needle is fitted, and what happens when you change one thing at a time can all help narrow down the cause.
Before booking a repair, these nine checks will help you work through the problem in a sensible order and recognise when the machine may actually need professional attention.
Before blaming your machine for poor results, check whether you’re using the right foot with Sewing Machine Presser Feet: How to Choose the Right One for Your Project.
Nine Checks That Can Help You Trace the Problem
1. Look at the Skipped Stitches Before Changing Anything
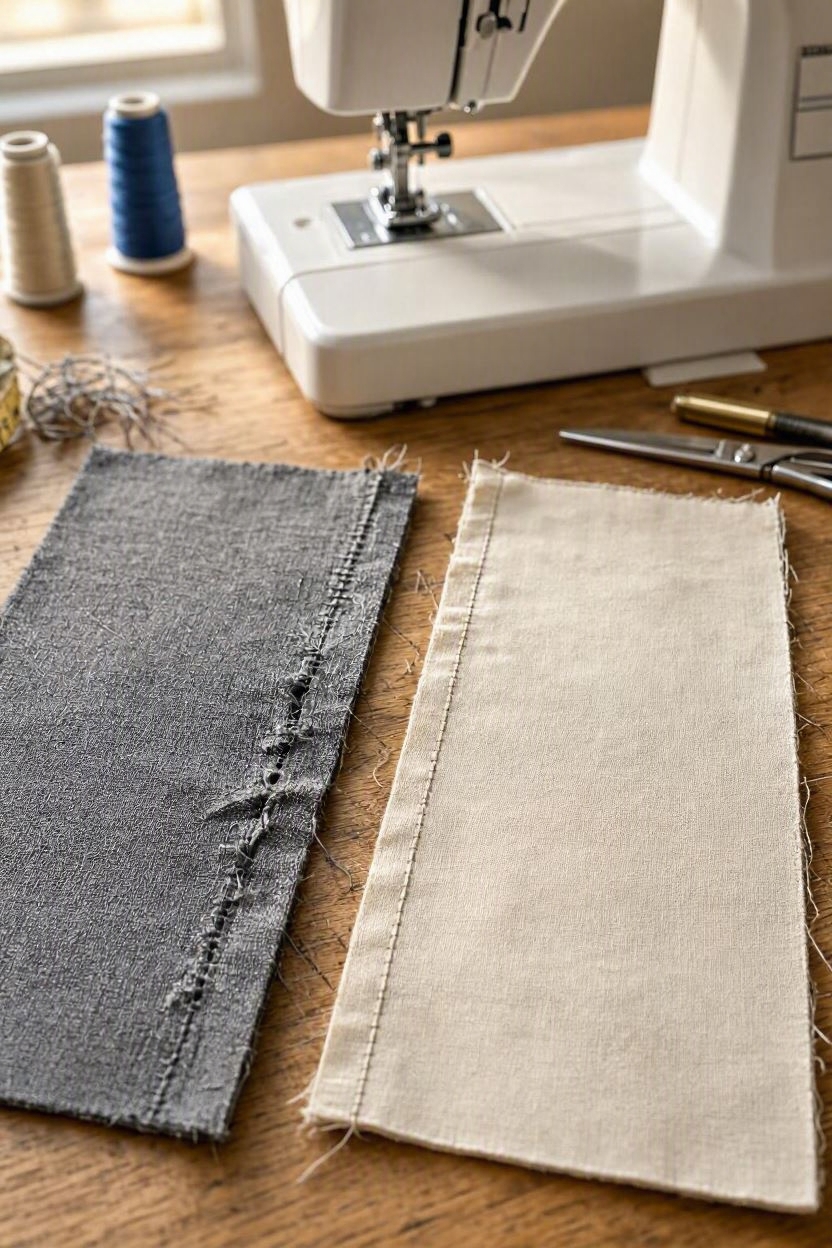
Don’t start turning dials or replacing parts yet. First, reproduce the problem on a small piece of the same fabric.
Sew a few inches using the same needle, thread and stitch that produced the skipped stitches.
Then make a second test on a stable woven fabric such as medium-weight cotton, keeping the needle, thread and stitch the same.
Now compare the two samples.
If the machine stitches correctly on the woven fabric but skips on the original fabric, the problem may be related to the needle and fabric combination or to how that particular fabric is being controlled during sewing.
This is especially worth investigating when the original fabric is stretchy, very lightweight or being sewn through several layers.
It skips on both fabrics, the fabric itself becomes a less likely explanation, so move on to the needle, threading and machine checks rather than trying to solve the problem by changing fabric.
Also note where the skip occurs. A skip that appears only when crossing a bulky seam is different from one that occurs on a flat, ordinary section of fabric.
This small comparison is worth doing before changing anything because it gives you something concrete to work from.
You are not trying to diagnose the entire machine yet; you are finding out whether the problem follows the fabric or follows the machine.
Uneven fabric handling can also cause trouble, so How to Cut Fabric Without Wasting It: A Beginner’s Guide to Cutting Confidently the First Time is worth reviewing.
2. Put in a Completely New Needle and Make the Replacement Specific
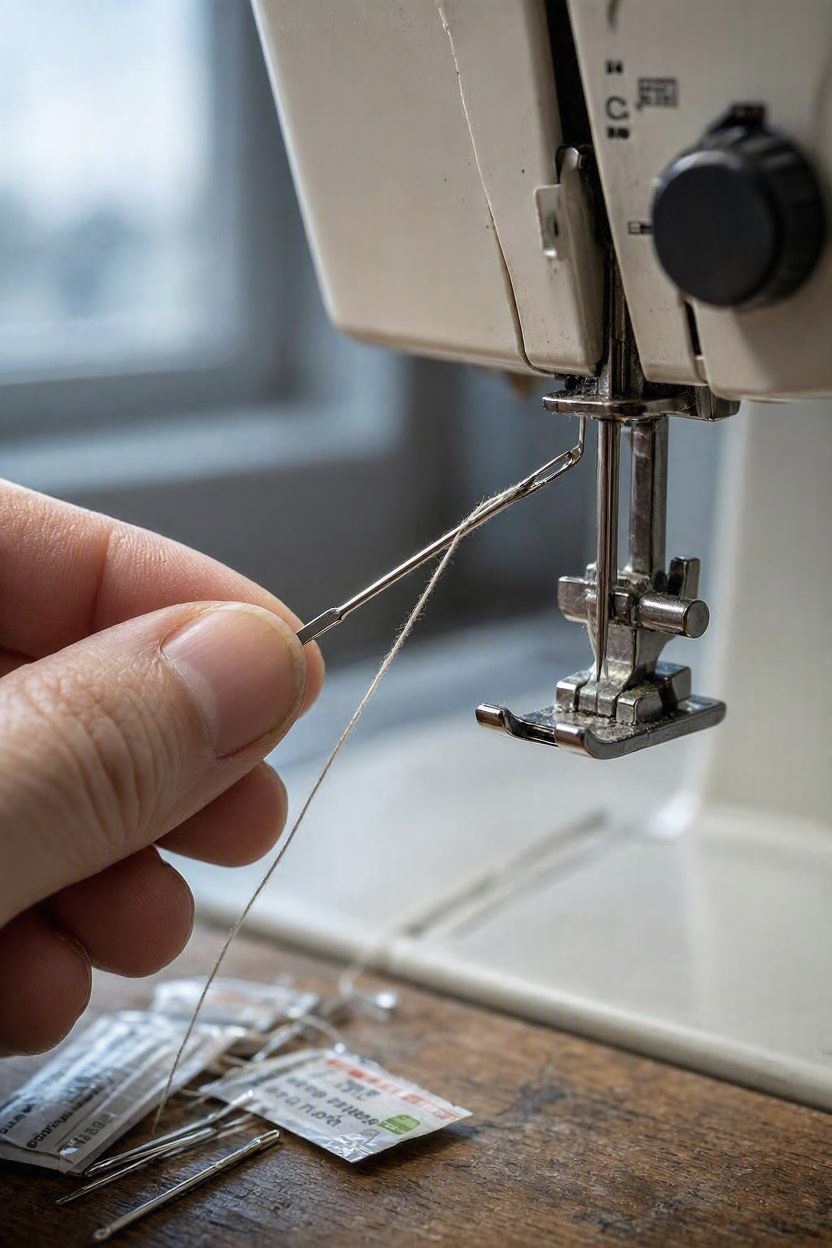
When a sewing machine is skipping stitches, don’t just swap the old needle for another needle from the same packet. Check four things: condition, type, size and installation.
Start with the condition. A needle does not have to look dramatically bent to cause trouble. Repeated sewing can dull or damage it, and a needle that has been deflected by thick fabric or struck something can affect how the stitch is formed.
If the needle has been used for some time, fitting a completely new one is a better test than trying to judge the old one by eye.
Then check the type. A universal needle is not the right choice for every fabric. Knit fabrics, for example, may require a ballpoint or stretch needle, while heavier or specialised materials may call for a needle designed for that particular application.
The point and construction of the needle affect how it enters the material and interacts with the thread.
Check the size as well. Needle size needs to suit the fabric and thread combination. Avoid rules such as “thick fabric always needs the biggest needle.”
The appropriate size depends on the material, thread and machine, so the needle manufacturer’s or sewing-machine manufacturer’s guidance is the safer reference.
Finally, make sure the new needle is installed correctly. Push it fully into the needle bar and orient it exactly as your machine’s manual specifies.
The needle’s position is important because it has to meet the hook at the correct point in the stitch cycle. An incorrectly installed needle can therefore contribute to skipped stitches.
Now sew the same test sample again. If the skipped stitches disappear, the original needle, or its suitability for that particular sewing job, was a strong suspect.
If the machine continues to skip, don’t keep changing needles without a reason. Move on to the next check.
One important point: don’t treat “new needle” as the solution by itself.
The useful test is new + correct type + appropriate size + correctly installed. Otherwise, you haven’t really ruled the needle out.
If you’re working from an existing garment, How to Copy a Pattern From Clothes You Already Own (Without Taking Them Apart) can help you get a more accurate starting point.
3. Rethread the Machine With the Presser Foot Up

If the new needle has not stopped the sewing machine skipping stitches, check the upper thread path before changing the tension.
Remove the upper thread completely and rethread the machine from the beginning, following the threading path in the manual. Keep the presser foot raised while threading.
On machines with tension discs, raising the presser foot releases the tension mechanism so the thread can seat properly between the discs.
If the thread misses part of the intended path, the machine may not control the upper thread as it should.
Pay particular attention to the take-up lever and thread guides. It is possible to have the thread apparently in place while it has missed one of these points.
Also check that the spool is feeding freely rather than catching intermittently.
Once rethreaded, lower the presser foot, hold the thread tails as recommended by your machine’s instructions, and sew the same test fabric and stitch you used earlier.
If the skipped stitches disappear, you have a strong indication that the upper-thread setup was contributing to the problem. If they remain, leave the tension setting alone for now and move to the next check rather than adjusting several things at once.
The important part is not simply “rethread the machine.” It is making sure the thread is actually travelling through the path the machine was designed to use.
The needle is another easy thing to overlook. How to Choose the Right Sewing Needle for Every Fabric Type — Before You Blame Your Machine explains how to match your needle to the fabric.
4. Check Whether the Problem Follows the Fabric

A sewing machine skipping stitches on one fabric but sewing normally on another is an important clue. Don’t treat the two situations as the same problem.
Go back to the fabric that produced the skipped stitches and sew a short test. Then, without changing the needle, thread or stitch, try a stable woven fabric of similar weight.
If the machine stitches cleanly on the woven fabric but skips on the original material, look closely at what makes that fabric different.
Stretch fabrics can move or deflect around the needle as it rises, which is one reason an appropriate ballpoint or stretch needle may be recommended for knits. Lightweight or unstable fabrics can also behave differently under the presser foot.
The same test is useful with several layers. If the machine sews one layer correctly but begins skipping when you cross a bulky seam or add layers, watch the needle as it enters that thicker section.
A needle can be deflected by the material rather than travelling through it in its normal path.
Don’t solve this by simply changing to the largest needle you have or pulling the fabric through more firmly.
The fabric should be allowed to feed naturally, and the needle should be chosen for the material and thread according to the machine and needle manufacturer’s guidance.
The useful question here is simple: does the skipped stitch follow the fabric, or does it follow the machine?
If the machine works properly on a suitable test fabric, concentrate on the needle/fabric combination and how that material is being handled.
If it skips on both, the fabric is less likely to be the main cause and the next checks should move back toward the machine itself.
For common sewing problems that don’t require throwing a garment away, see 15 Smart and Easy Sewing Fixes for Clothes and Fabrics You Keep Throwing Away.
5. Watch How the Fabric Moves Under the Presser Foot

When a sewing machine is skipping stitches, watch the fabric as closely as you watch the needle.
The fabric needs to stay under reasonable control while the needle enters and rises; if it is being stretched, lifted or pulled during stitching, the needle can be deflected and stitch formation can be affected.
This is especially worth checking with knits, lightweight fabrics and seams where several layers meet.
Sew a short test without pulling or pushing the fabric. Let the machine’s feed system move it, and watch whether the material stays reasonably flat against the needle plate.
If the skipped stitches appear when the fabric is being stretched or when the needle crosses a thicker section, that is useful information. The problem may be related to fabric control rather than a fault inside the machine.
Some machines also have adjustable presser-foot pressure, but do not change that setting simply because the machine is skipping.
Not every machine provides the same adjustment, and the correct setting depends on the machine and sewing situation. Brother, for example, includes insufficient presser-foot pressure among possible causes of skipped stitches on applicable models.
Try the same test again with the fabric allowed to feed naturally. If the stitches improve, you have found a condition worth correcting.
If the machine continues to skip even when the fabric is stable and feeding normally, move on rather than forcing the fabric through the problem.
The useful question here is: does the machine skip when the fabric moves in a particular way, or does it skip even when the fabric is behaving normally?
If you’re still getting familiar with your machine, Beginner’s Guide to Sewing Machine Basics You’ll Actually Use covers the essentials that can prevent avoidable mistakes.
6. Check the Bobbin Without Immediately Blaming It
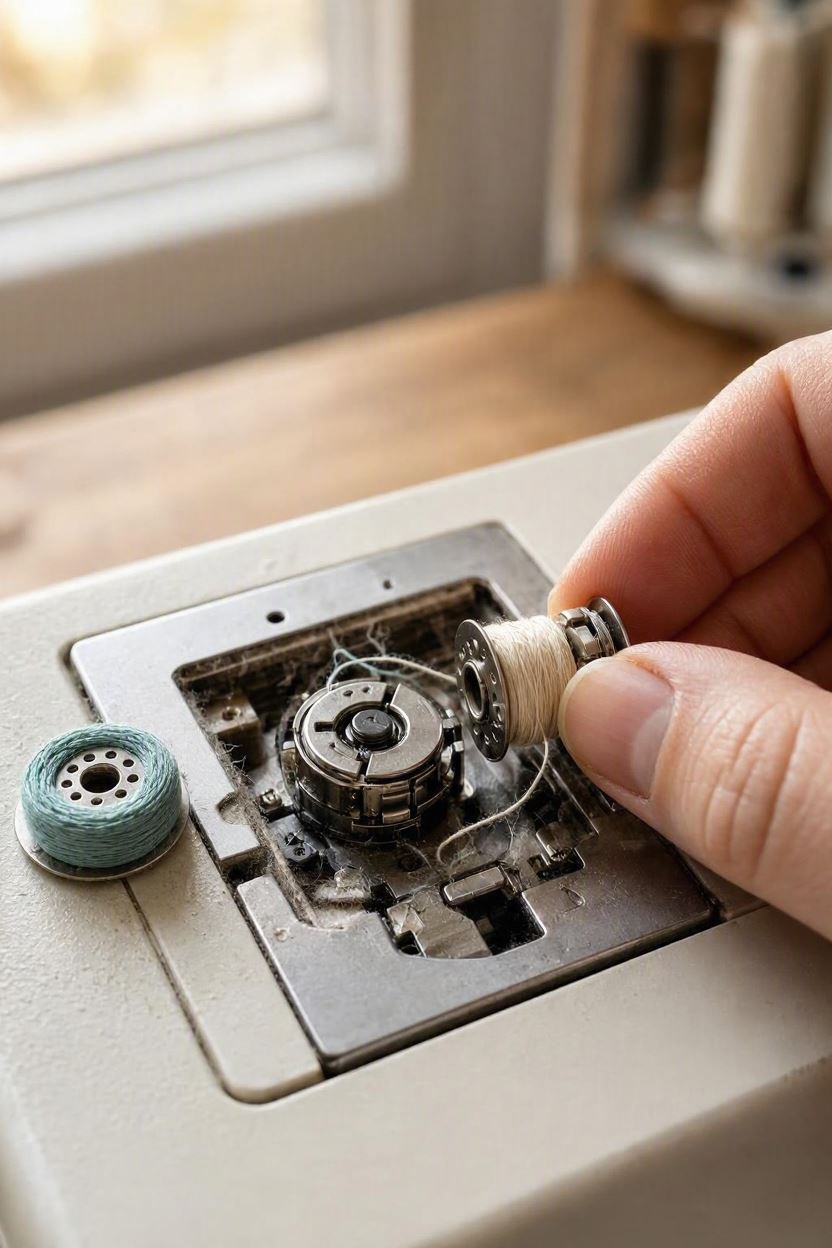
The bobbin is worth checking, but don’t assume it is the cause simply because the skipped stitches appear on the underside of the seam.
A stitch is formed by the upper thread and bobbin thread working together, so problems in the bobbin area can affect the result, but many skipped-stitch problems begin elsewhere.
Remove the bobbin and check that it is the correct bobbin for your machine, wound evenly and inserted in the orientation shown in the manual.
An incorrectly sized or incorrectly installed bobbin can prevent the thread from feeding as intended. Brother specifically recommends checking bobbin installation when troubleshooting skipped stitches.
While the bobbin is out, look around the bobbin case and hook area for lint, loose thread or small pieces of broken thread.
These can interfere with smooth thread movement, particularly when the machine has been used heavily or has not been cleaned recently.
Clean the area according to the machine manufacturer’s instructions rather than applying oil or removing parts that the manual does not tell you to remove.
Then reinstall the bobbin and sew the same test sample you have been using.
If the problem changes after correcting the bobbin installation or clearing the area, that gives you a useful lead. If nothing changes, resist the temptation to start adjusting the bobbin tension screw.
On many domestic machines, that is not the first adjustment you should make, and changing it without knowing the machine’s specifications can create a second problem while you are trying to solve the first.
The aim of this check is not to prove that the bobbin is guilty. It is to rule out an incorrectly installed bobbin or a problem in the bobbin area before moving on to more complicated possibilities.
You can also improve your results with 15 Sewing Hacks for Beginners Who Want Neater, More Professional Results.
7. Test the Stitch Itself Before Blaming the Machine
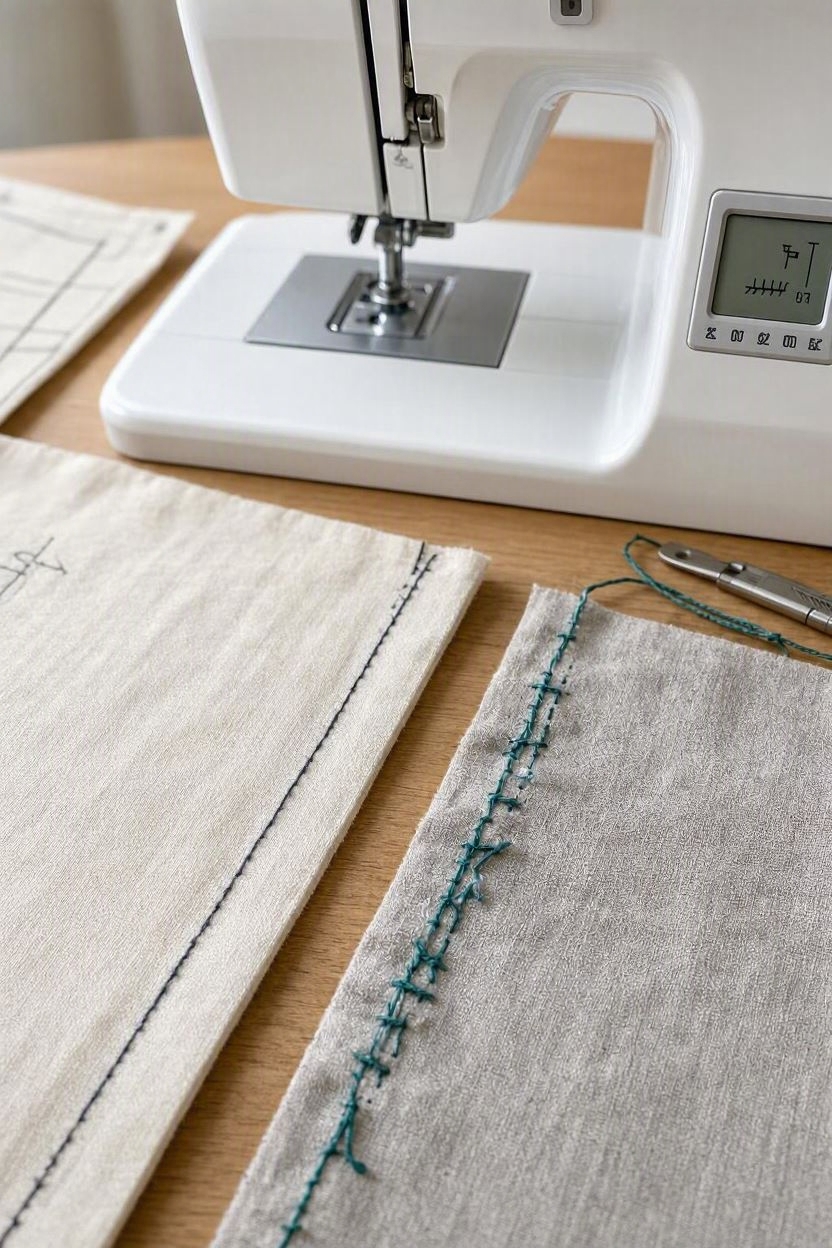
Not every skipped stitch points to a problem with the machine’s basic operation. A useful next test is to switch to a simple straight stitch and see whether the problem changes.
Keep the same needle, thread and fabric, then sew a short sample using the straight stitch.
If the straight stitch sews normally but the machine skips stitches on a particular zigzag, stretch or decorative stitch, check the machine’s instructions for that stitch before assuming the timing has gone wrong.
Some stitches need specific settings, presser feet or needle arrangements, and the fabric can also affect the result.
That makes a comparison with a basic straight stitch more useful than repeatedly sewing the same pattern and hoping the problem disappears.
There is another useful clue. If the machine skips stitches on the straight stitch as well as several other stitches, the problem probably does not come from one particular stitch setting.
At that point, return to the earlier checks, especially the needle, threading, fabric and bobbin. If the skipping continues, the machine may need mechanical adjustment.
Make the comparison on the same piece of fabric and change only the stitch selection. That gives you a much clearer idea of what actually affects the stitching.
The question to answer: does the problem occur across the machine, or only when it forms a particular stitch?
If you’re considering replacing your machine rather than repairing it, compare your options in Industrial vs Domestic Sewing Machines: Which One Should You Buy as a Beginner.
8. Check the Needle Plate, Presser Foot and Hook Area for Damage
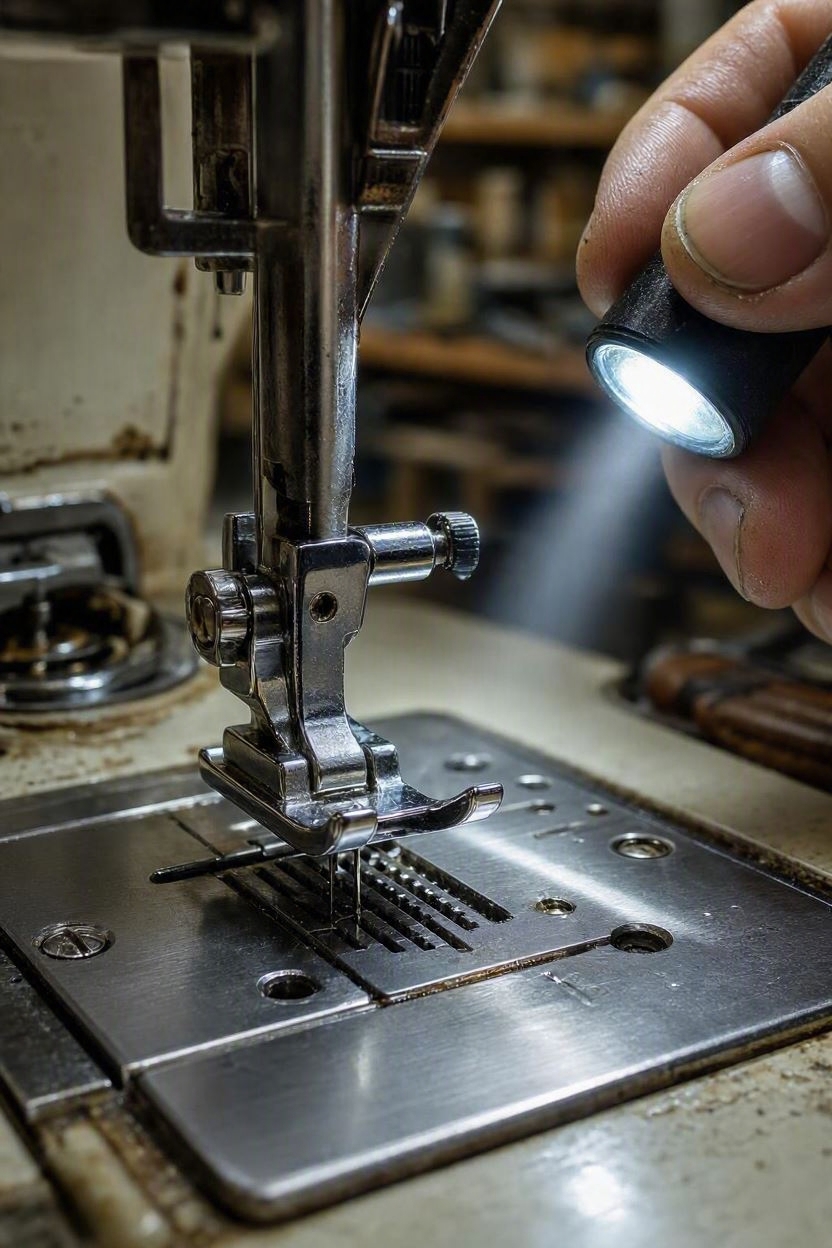
When a sewing machine is skipping stitches, it is worth looking beyond the thread and needle to the places they physically pass through.
Turn the machine off and remove the needle. Check the needle plate and presser foot for obvious burrs, dents or damage, particularly if the machine has recently broken a needle or the needle has struck the plate.
Run a fingertip lightly over accessible edges only if the machine is safely switched off; a damaged surface can catch or disturb the thread and fabric.
Then inspect the accessible hook and bobbin area for lint, loose thread or anything that looks out of place.
Do not dismantle the hook assembly unless your machine’s manual specifically instructs you to do so.
This check becomes particularly important when the machine has previously hit the needle plate, presser foot or another hard part.
A needle strike can bend or damage the needle, but it can also leave damage behind that continues to affect sewing after the needle has been replaced.
Now fit a new, correctly installed needle and sew the same test sample again. If the machine still skips and you can see evidence of needle strikes, unusual clearance or damage around the needle’s path, stop troubleshooting by trial and error.
The relationship between the needle, needle plate and hook is precise, and a technician may need to inspect it.
Do not file down a burr, bend a component back into position or attempt to realign the hook simply because the damage looks minor.
A small adjustment in the wrong place can change the machine’s stitch-forming relationship and create a larger problem.
The useful question here is: is there visible damage or interference around the needle’s working area that could explain what you are seeing?
If everything looks normal, clean and undamaged, move to the final check: determining whether the remaining evidence points to a machine adjustment rather than something you can reasonably correct at home.
Once your sewing is working properly, getting clients becomes the next challenge. Why You’re Probably Not Getting Clients for Your Sewing Business — Even Though You’re Skilled looks at what may be holding your business back.
9. Know When the Problem Has Moved Beyond a Simple Fix
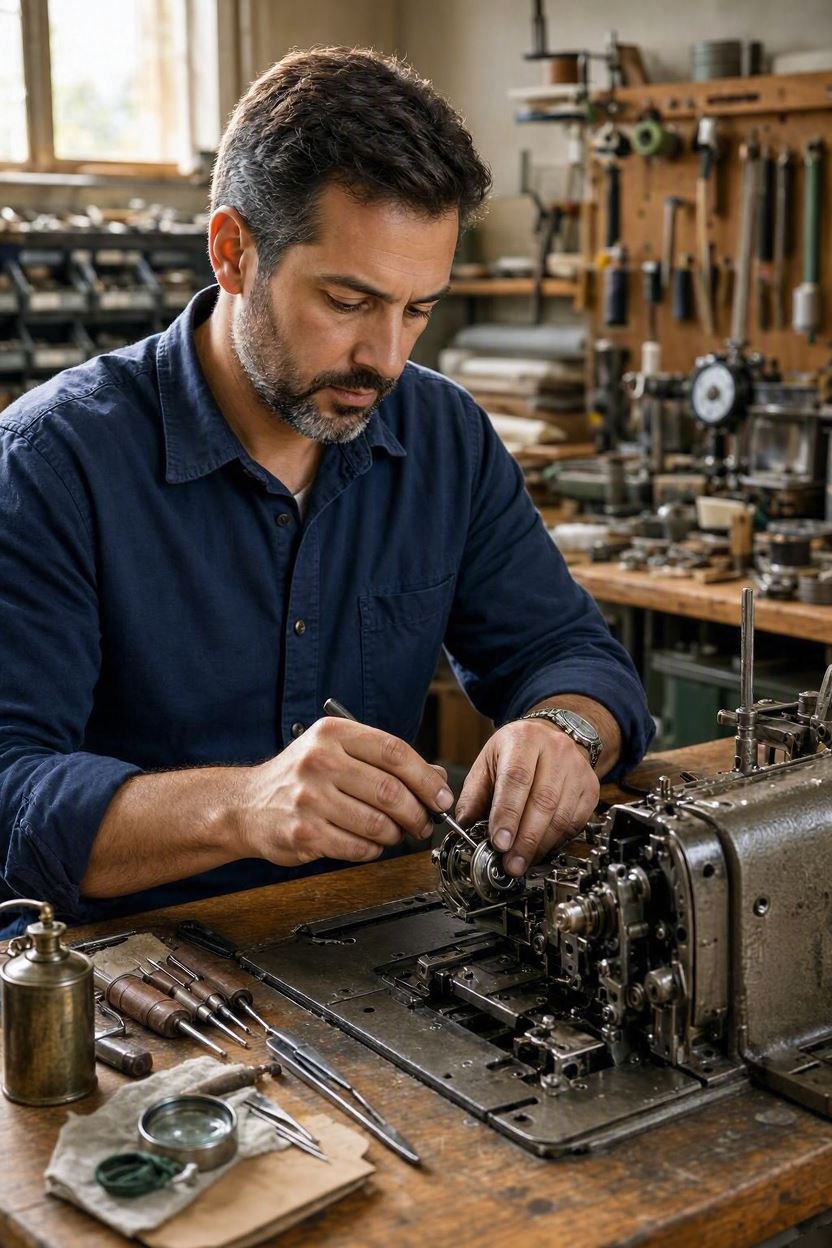
By this point, you have checked the useful basics: replaced and correctly installed the needle, rethreaded the upper thread, compared the fabric and stitch settings, checked the bobbin area, and inspected the machine for obvious damage.
If the machine still skips stitches, especially across different fabrics and stitch settings, consider a mechanical problem instead of changing things at random.
Timing is one possibility. The needle and hook must meet at a very specific point in the stitch cycle. When that relationship shifts, the hook may fail to catch the thread loop consistently.
SCHMETZ identifies machine adjustments, including timing, hook-to-needle clearance and needle-bar height, as possible causes of skipped stitches.
Persistent skipping also deserves more attention when you notice needle strikes, unusual noise, damaged needles, inconsistent stitch formation or visible changes in the needle’s position.
At this stage, stop experimenting.
Timing and related adjustments differ from turning a tension dial; they involve the mechanical relationship between machine parts. Follow the manufacturer’s service guidance or have a qualified technician check the machine.
Before booking a repair, make a note of what you have already tested and what happened.
Tell the technician whether the machine skips on all fabrics or only certain ones, whether a new needle made any difference, and whether the problem started after a needle strike or another incident.
That information can help the technician investigate the fault more efficiently.
The goal of troubleshooting isn’t to fix every skipped stitch at home. It is to recognise when you have reasonably ruled out the simple causes and the machine itself needs attention.
If you’re hoping to earn from your sewing skills at home, Struggling to Make Money From Home Sewing? Launch a Profitable Sewing Side Hustle offers another direction to explore.
What the Results Point To

Once you’ve worked through the checks, look at what actually changed:
- A new, correctly chosen needle fixes it: the original needle was likely worn, damaged or unsuitable for the job.
- It skips only on one fabric: investigate the needle/fabric combination and how that fabric is being controlled.
- Rethreading fixes it: the upper thread was likely not following or seating correctly in its intended path.
- Correcting the bobbin setup fixes it: the bobbin installation or surrounding area was affecting thread movement.
- It skips mainly at thick seams: check how the needle and fabric behave as the machine crosses the extra layers.
- It keeps skipping after all of these checks: a machine adjustment, including the needle-and-hook relationship, becomes more worth investigating.
The point is not to identify a fault with certainty from one test. It is to narrow the possibilities instead of changing several things at once.
By the end, you should have a much clearer idea of whether the problem follows the sewing conditions, or follows the machine itself.
Avoid making machine problems worse by starting with patterns you can actually follow. How to Find Sewing Patterns That Are Easy to Follow and Beginner-Friendly (Save Hours of Frustration) can help.
When Skipped Stitches Are Actually a Warning Sign
One skipped stitch does not necessarily mean something serious is happening. The needle may simply have reached the end of its useful life, or the needle and fabric may not match well.
Repeated skipped stitches are different. When the same problem continues after you address the obvious causes, take the machine seriously rather than sewing through the problem and hoping it disappears.
Pay particular attention when the machine keeps skipping with a new, correctly installed needle, skips across different fabrics, or continues after you check the upper thread and bobbin and clean the machine according to its instructions.
At that point, the problem may have less to do with your sewing setup and more to do with the machine itself.
A damaged or incorrectly installed needle also needs attention. Don’t keep sewing with a needle that is bent, deflected or striking the needle plate or another machine component.
Besides producing poor stitches, needle contact can damage the needle, plate or other parts of the machine. SCHMETZ also identifies damaged needles and incorrect needle position as potential causes of skipped stitches.
This does not mean one imperfect stitch requires a repair technician. It means persistent skipped stitches are a signal to stop guessing.
Find the cause before you continue sewing. If the basic checks don’t solve the problem, consider professional servicing as the next sensible step.
Fabric choice can affect how your machine behaves, so Understanding Fabrics for Sewing: Choosing the Right Material for Every Project is another useful guide.
Conclusion
A sewing machine skipping stitches is not always a sign that the machine needs to go to the repair shop.
Sometimes the answer is sitting in something as ordinary as the needle, thread path, fabric or bobbin setup.
What matters is resisting the urge to change several things at once. A little methodical troubleshooting can tell you whether the problem follows a particular sewing condition or continues no matter what you change.
And if the basic checks make no difference, that is useful information too. It means you can stop guessing and have the machine checked with a clearer idea of what has already been ruled out.
A skipped stitch is a clue. Take the clue seriously, find the pattern, and let the evidence, not guesswork, decide what happens next.
If fit problems are making you frustrated with your finished clothes, DIY Clothes That Never Fit? My Brother Ruined His Clothes—Until He Tried These 7 Tailoring Hacks offers practical tailoring fixes.
Frequently Asked Questions
✅ Can thread cause skipped stitches?
Yes. Incorrectly threaded, damaged, unsuitable or poorly feeding thread can interfere with stitch formation. Check the thread against your machine, needle and fabric recommendations.
✅ Why does my sewing machine skip stitches when sewing slowly?
Slow sewing itself is not usually the cause. Watch whether you are pulling the fabric, especially around curves, corners or difficult sections.
✅ Can the wrong presser foot cause skipped stitches?
It can, particularly when a stitch requires a specific presser foot or clearance. Check your machine’s manual before using a different foot with a decorative or specialised stitch.
✅ Why does my sewing machine skip stitches on curves?
Turning the fabric can change how it sits under the presser foot and may cause it to shift or stretch. If skipping happens mainly on curves, pay attention to fabric control and needle choice.
✅ Can skipped stitches damage a sewing machine?
The skipped stitch itself does not necessarily indicate damage. However, continuing to sew with a bent needle or repeated needle strikes can cause further problems.
✅ Why is my sewing machine skipping stitches after changing the needle?
The replacement may be the wrong type or size, or it may not be installed correctly. A new needle only helps when it is appropriate for the fabric, thread and machine.
✅ Can oiling fix skipped stitches?
Not necessarily. Lubrication requirements vary by machine, so follow the manufacturer’s maintenance instructions rather than oiling the machine as a general fix.
✅ Is it normal for a sewing machine to skip one stitch?
An occasional missed stitch does not necessarily mean the machine has a fault. Repeated or predictable skipping is worth investigating.