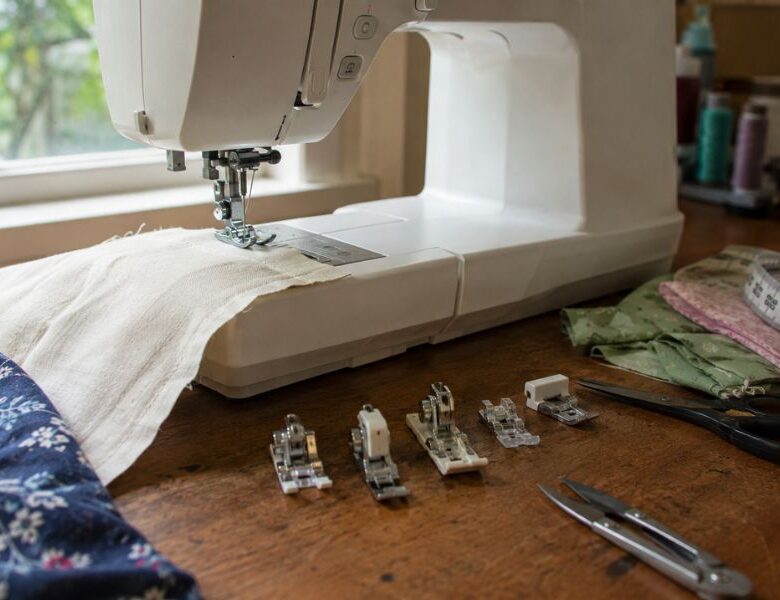
Confused by sewing machine presser feet? Learn how to choose the right one for your project and stop guessing which foot will give you better results.
That little box of presser feet that came with your sewing machine can be surprisingly confusing.
Some look almost identical, while others have strange shapes that make you wonder what they are even supposed to do.
And when a sewing project starts going wrong, it is easy to keep changing your thread, needle, or machine settings without considering the foot underneath the needle.
But a presser foot is more than a piece that holds your fabric down. Its shape can help you sew close to a zipper, keep layers moving more evenly, guide a narrow hem, form a buttonhole, or maintain a consistent seam allowance.
The right foot can make a particular sewing technique easier and more controlled; the wrong one can make the job unnecessarily frustrating.
The tricky part is knowing which foot actually solves the problem in front of you.
You do not need every presser foot available, and you certainly do not need to memorize a long list of names.
What matters is understanding what each foot is designed to do, when it is useful, and whether it is compatible with your sewing machine.
This guide will help you choose sewing machine presser feet based on the project and technique you are working on, so you can stop guessing and start using the feet you already have with more confidence.
Start by choosing a pattern you can actually follow with How to Find Sewing Patterns That Are Easy to Follow and Beginner-Friendly (Save Hours of Frustration).
Three Things to Consider Before Choosing a Presser Foot
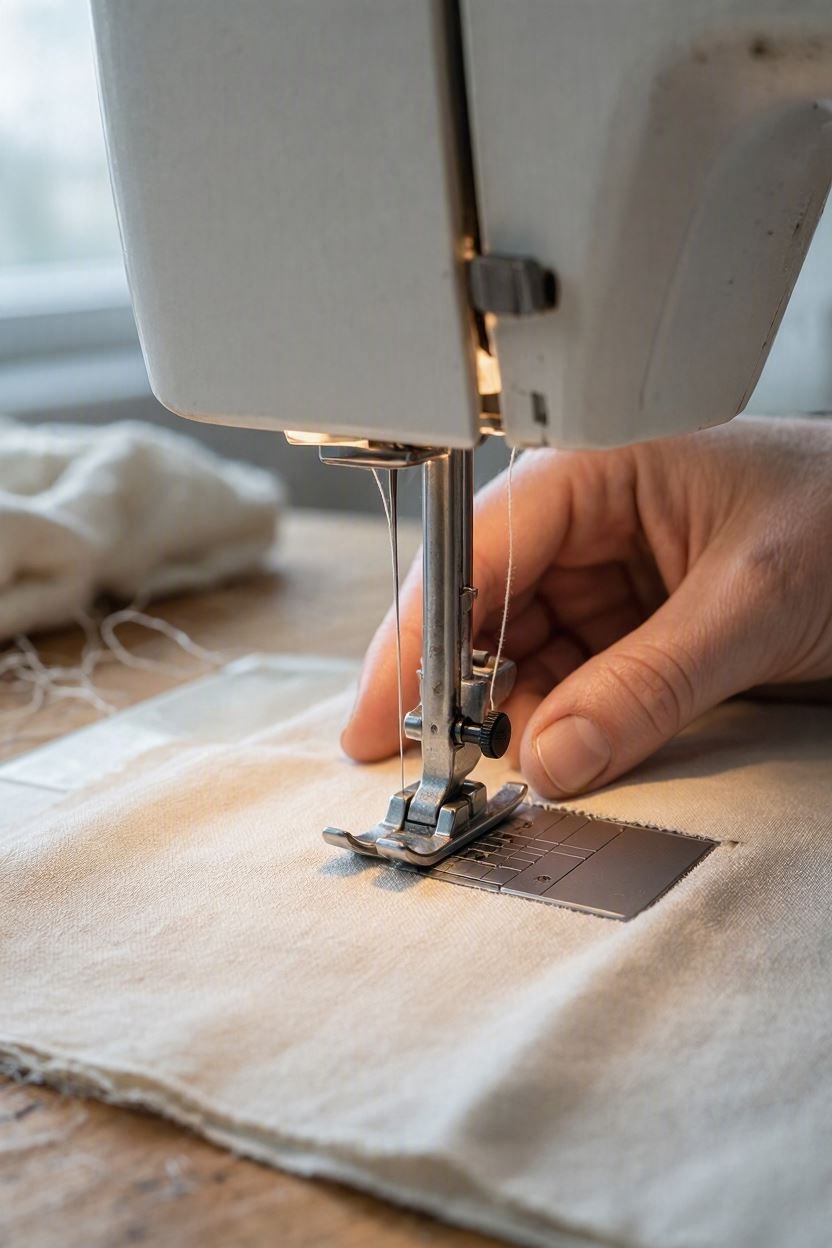
Choosing a presser foot becomes much easier when you first identify what your project actually requires. Before attaching one, consider these three things:
1. What sewing technique are you doing?
Start with the task, not the foot. Installing a zipper, making a buttonhole, creating a blind hem, finishing an edge, or quilting may each call for a different foot because the foot is designed to support that particular operation.
2. What is the fabric doing?
Pay attention to how the fabric behaves while you sew. Are layers shifting? Is the fabric stretching, slipping, or struggling to move smoothly? A specialty foot may help with a specific feeding or control problem, but it is not automatically the solution to every difficult fabric.
3. What does your sewing machine allow?
A foot that works on one machine may not be compatible with another. Attachment systems, foot styles, stitch width, and needle-position requirements can vary by machine. Before buying or attaching a specialty foot, check your machine’s manual or the manufacturer’s compatibility information.
The goal is not to collect every presser foot available. It is to choose the one whose design matches the technique, fabric, and machine you are actually using.
If your machine starts acting up while sewing, Why Your Sewing Machine Keeps Skipping Stitches (And 7 Easy Fixes That Work Fast) covers common causes and fixes.
Sewing Machine Presser Feet: What Each Foot Is Designed to Do
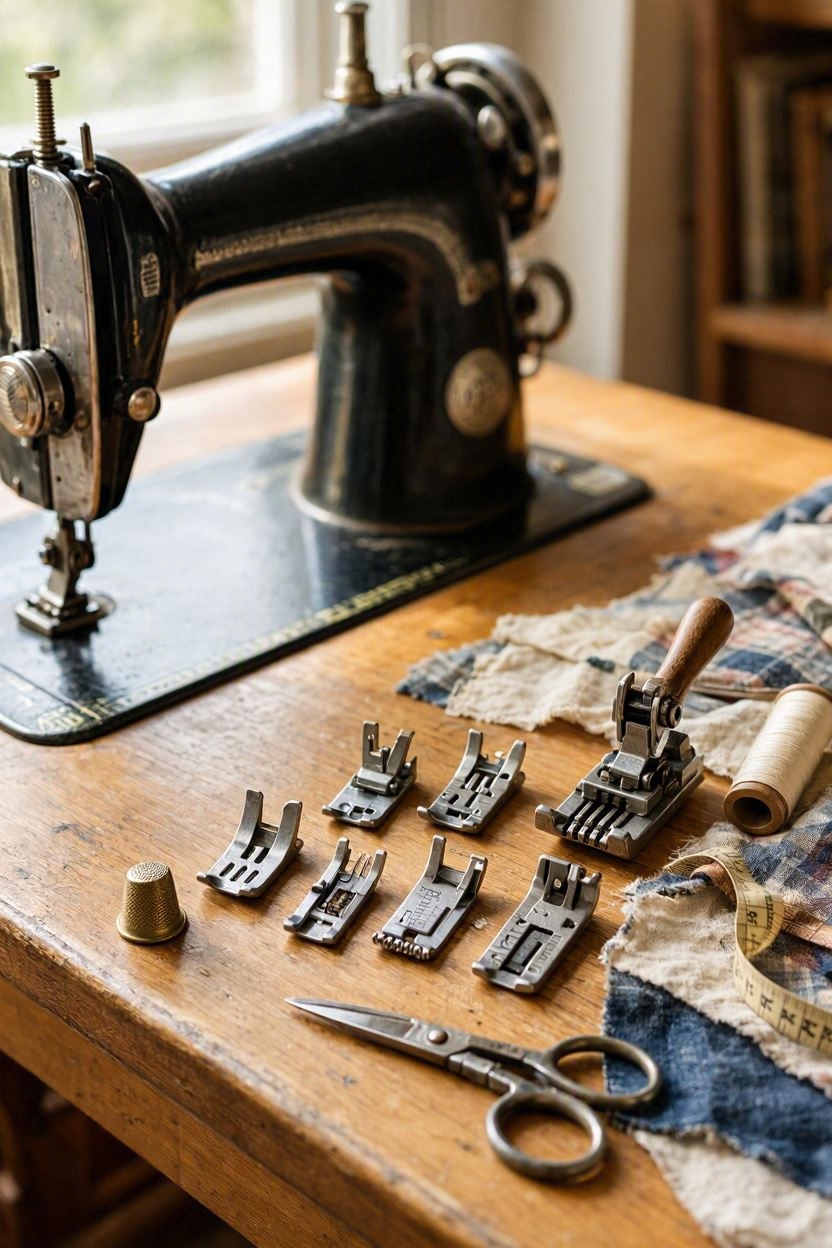
The difference between presser feet becomes easier to understand when you look at the problem each one is built to solve.
A specialty foot does not necessarily change what the sewing machine can stitch; it often changes how easily you can position, guide, feed, or control the fabric while that stitch is being formed.
A. Zigzag or General-Purpose Foot: The Starting Point for Everyday Sewing
The general-purpose foot is the foot you will use for many ordinary sewing operations. Its wider needle opening gives the needle room to move for stitches such as straight stitch and zigzag, within the limits specified by your machine.
That makes it useful for routine seams, basic construction, topstitching, and many utility stitches.
But “general-purpose” does not mean “best for everything.” A standard foot may make a particular job harder when you need to sew extremely close to an edge, control several layers, create a narrow rolled hem, or perform a specialized technique. That is where the shape of another foot can give you better control.
Choose it when: your project involves ordinary construction and your machine’s selected stitch is compatible with the foot.
Watch for: the needle must always have sufficient clearance inside the foot’s opening. A wider stitch is not automatically safe just because the machine allows you to select it.
B. Zipper Foot: When the Standard Foot Cannot Get Close Enough
One of the main difficulties when installing a zipper is getting the stitching close enough to the zipper teeth without the presser foot running into them.
A zipper foot solves this through its offset design. Instead of having the needle centered in a broad foot, the sewing area is positioned to one side, allowing you to place the foot beside the zipper teeth and stitch close to them.
Many zipper feet can be moved from one side of the needle to the other, depending on the construction of the foot and machine.
Choose it when: you need to sew close to zipper teeth, piping, or another raised edge that would interfere with a standard foot.
Important distinction: a conventional zipper foot and an invisible-zipper foot are not necessarily the same tool. An invisible-zipper foot has grooves designed to guide the zipper coils as they are stitched.
Watch for: the exact attachment and adjustment system varies between machines, so use the foot intended for your machine rather than assuming that every zipper foot is interchangeable.
Build a practical sewing setup with 11 Essential Sewing Tools for Sewists That Help Improve Accuracy and Are Budget-Friendly.
C. Buttonhole Foot: Designed for Repeatable Buttonholes
A buttonhole is one of those sewing jobs where consistency matters. The two sides need to be balanced, the ends need to be formed correctly, and the opening needs to accommodate the button.
A buttonhole foot works with the machine’s buttonhole system to help control this process. On machines with automatic or sensor-controlled buttonholes, the machine may determine the buttonhole length from the foot or the settings. Other machines use a more manual process in which the sewer controls the stages of the buttonhole.
The important point is that the foot and the machine’s buttonhole function work as a system.
Choose it when: you are making machine-sewn buttonholes and want repeatable sizing and formation.
Why test first: the same buttonhole setting can behave differently on different fabrics, particularly when the fabric is thick, loosely woven, stretchy, or stabilized differently. Make a test buttonhole on a scrap using the same fabric and interfacing before sewing the garment.
Once you have a pattern, How to Read Sewing Patterns Without Feeling Lost can help you understand the markings, measurements, and instructions.
D. Blind Hem Foot: For Positioning a Nearly Hidden Hem Stitch
A blind hem is not simply a matter of selecting a blind-hem stitch. The folded fabric has to be positioned so that the machine catches only a small amount of the garment on the outside.
The blind hem foot has a guide that helps keep the folded edge in a controlled position while you sew. This makes it easier to maintain the relationship between the fold and the needle as the fabric moves.
Choose it when: you are making a machine-sewn blind hem and want a guide to help maintain consistent fabric positioning.
What it does not do: the foot cannot compensate for an incorrectly folded hem or unsuitable stitch settings. The fold, stitch width, needle position, and fabric all affect how visible the finished stitches will be.
E. Overcasting or Overedge Foot: Finishing the Raw Edge on a Regular Sewing Machine
A raw woven-fabric edge can fray as the garment is handled and washed. An overcasting or overedge foot is designed to work with an appropriate edge-finishing stitch so the stitching can form around the fabric edge.
The foot helps support and position the edge while the machine creates the stitch. Depending on the machine, this may be a zigzag or another overedge-style stitch.
Choose it when: you want to finish a raw seam allowance with an ordinary sewing machine rather than leaving the edge unfinished.
The important limitation: an overcasting foot is not a substitute for a serger in every respect.
A serger uses multiple threads and specialized loopers and knives to trim and encase the edge in one operation. A regular sewing machine with an overcasting foot is performing a different type of edge finish.
That distinction matters if you are deciding whether you need a specialty foot or a separate serger.
New to using a sewing machine? Beginner’s Guide to Sewing Machine Basics You’ll Actually Use covers the controls and settings you need most.
F. Walking or Even-Feed Foot: When the Layers Do Not Want to Move Together
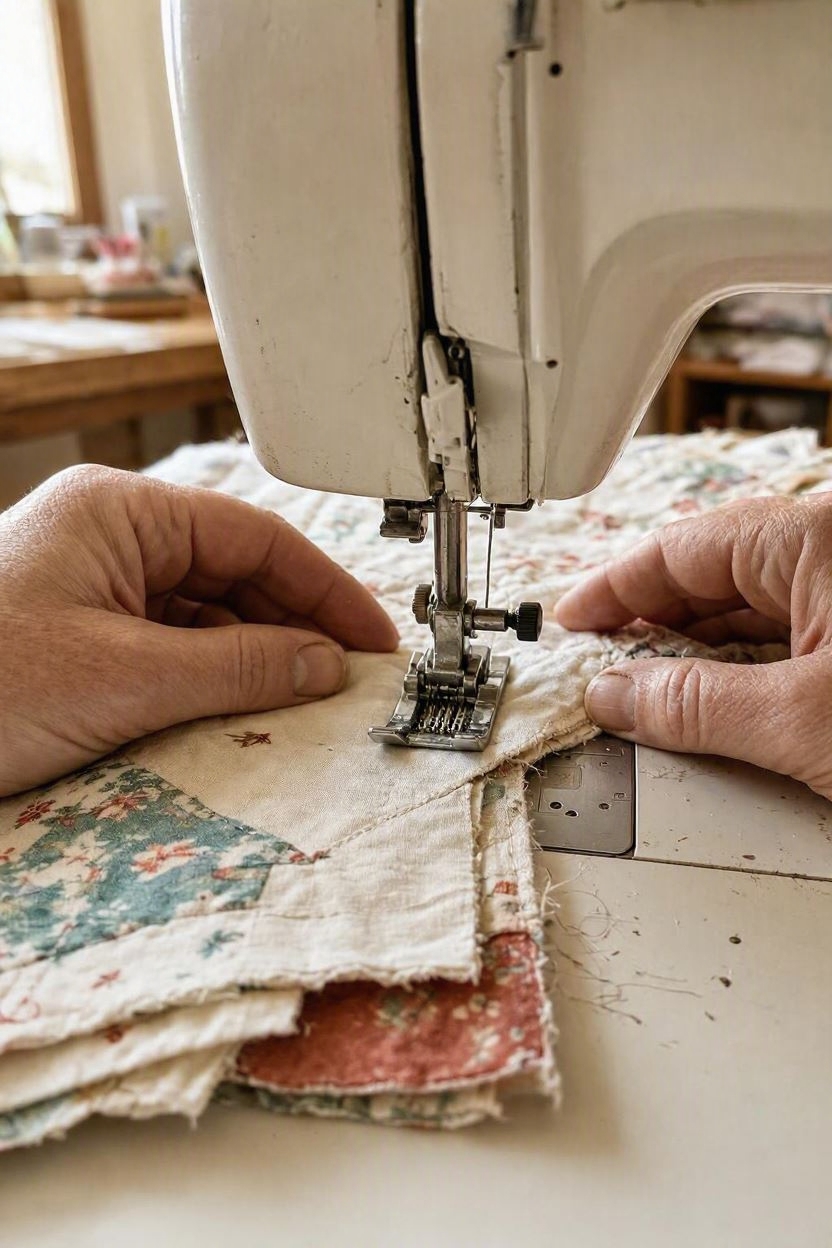
This is one of the most useful feet to understand because it is often described too simply as a foot for “thick fabric.”
Its real purpose is feeding control.
Your sewing machine normally moves fabric using feed dogs beneath the fabric while the presser foot holds the layers against them.
When a project contains several layers, or when the surfaces of the layers behave differently, the upper layer can shift relative to the layers underneath.
A walking or even-feed foot adds a feeding mechanism above the fabric. It works in coordination with the machine’s lower feed system to help move the upper layers more evenly.
Choose it when: you are quilting, sewing several layers, matching plaids or stripes, or working with fabrics that tend to shift or feed unevenly.
It can be particularly useful when you notice that the layers that looked perfectly aligned at the beginning of the seam no longer match by the time you reach the end.
What it does not mean: a walking foot is not automatically required whenever fabric is thick. Thickness is only one possible reason for using it. The more important question is whether the layers need help feeding together consistently.
G. ¼-Inch Piecing Foot: When Small Seam Differences Add Up
For patchwork and quilting, a seam that is only slightly wider or narrower than intended can affect how several pieces fit together. After many seams, those small differences can become noticeable.
A ¼-inch piecing foot provides a physical reference for maintaining a consistent seam allowance, making it easier to repeat the same measurement across multiple pieces.
Choose it when: your quilting pattern calls for consistent ¼-inch seam allowances.
Watch for: not every ¼-inch foot produces exactly the same result on every machine. Needle position, foot design, and the machine’s construction can affect the actual seam allowance, so test your seam against a ruler before piecing an entire project.
For simple ways to get cleaner results, see 15 Sewing Hacks for Beginners Who Want Neater, More Professional Results.
H. Rolled Hem Foot: When You Want the Foot to Form the Fold for You
A narrow rolled hem can be difficult to fold evenly by hand while simultaneously keeping the edge under the needle. A rolled hem foot has a shaped channel that curls the fabric edge as you sew, allowing the machine to form and stitch the narrow fold.
Choose it when: you want a narrow rolled edge on a fabric that can pass smoothly through the foot’s curl.
It is particularly useful for suitable lightweight fabrics. It is not a good assumption that a rolled hem foot will handle thick or bulky fabric simply because the foot is designed to make hems.
I. Satin-Stitch or Appliqué Foot: When Dense Stitching Needs More Room
Dense zigzag-based stitches can behave differently from ordinary straight stitching because more thread and needle movement are concentrated in a smaller area.
A satin-stitch or appliqué foot generally provides more clearance underneath the foot, while a clear version can improve visibility of the area being stitched.
Choose it when: you are sewing satin stitches, appliqué, or other dense decorative stitching where visibility and clearance are useful.
The foot supports the technique; it does not determine the stitch itself. Your machine’s stitch settings still need to be appropriate for the fabric and the design.
If you’re still deciding which machine suits your needs, compare your options with Industrial vs Domestic Sewing Machines: Which One Should You Buy as a Beginner.
J. Free-Motion or Darning Foot: When You, Not the Feed Dogs, Control the Path
Ordinary machine sewing relies heavily on the feed dogs to move the fabric in a controlled direction. Free-motion sewing is different: you move the fabric yourself to create the stitching path.
A free-motion or darning foot provides clearance that allows the fabric to move more freely beneath the needle while you guide it.
Choose it when: you are doing free-motion quilting, darning, or certain forms of freehand machine embroidery.
The exact setup varies by machine. Some machines require the feed dogs to be lowered or covered, while others use a different configuration, so follow the instructions for your particular model.
K. Gathering Foot: When You Want to Build Gathers While Sewing
A gathering foot is designed to help draw fabric into gathers as you sew. This can save time when a project requires a gathered section, but it does not guarantee a particular amount of fullness.
The result can change with fabric weight, stitch length, thread tension, and the specific foot and machine combination.
Choose it when: you want to create gathers as part of the sewing process rather than gathering the fabric separately first.
For clothing, test the foot on scrap fabric before committing to the garment because you need to know how much fabric it will gather under your chosen settings.
The Better Way to Think About Presser Feet
You do not need to remember every presser-foot name. Instead, look at the sewing problem in front of you.
If you cannot get close enough to a zipper, think zipper foot. If several layers are shifting, think walking foot. If you need repeatable ¼-inch seams, think ¼-inch piecing foot. If you need a narrow folded edge, think rolled hem foot.
That way, you are not collecting presser feet simply because they exist. You are choosing a tool because its physical design gives you better control over a specific sewing task.
The right needle matters more than many beginners realize, so check How to Choose the Right Sewing Needle for Every Fabric Type — Before You Blame Your Machine.
Specialty Sewing Machine Presser Feet for More Specific Sewing Techniques
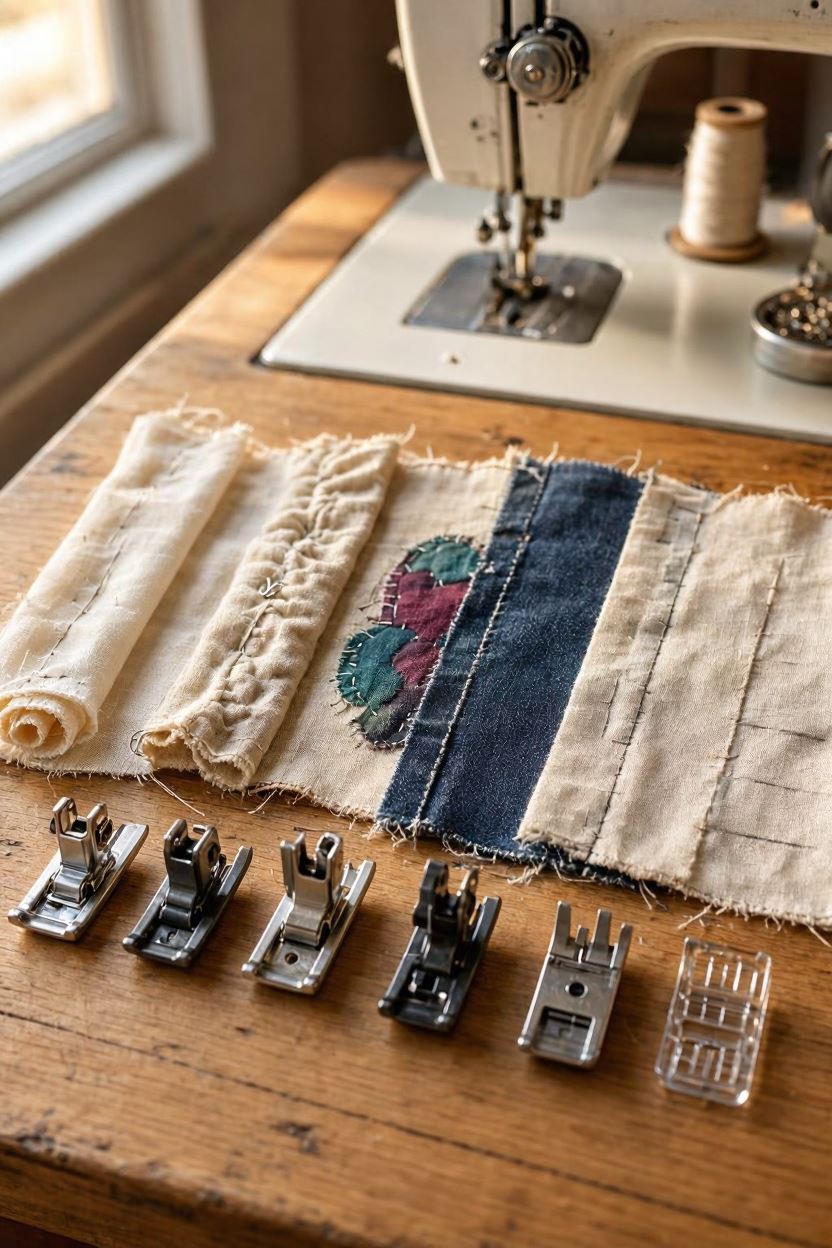
Once you move beyond everyday garment construction, certain sewing machine presser feet can make specific techniques easier to control.
These are not feet every sewer needs, so the best approach is to choose them according to the techniques you actually use.
1. Rolled Hem Foot
A rolled hem foot is designed to turn a narrow fabric edge as you sew, helping create a neat rolled finish without pressing the fold first. It is particularly useful with suitable lightweight fabrics where a narrow hem is part of the design.
Useful when: you want a narrow finished edge on garments, linens, or other lightweight projects.
Keep in mind: the fabric needs to feed smoothly through the foot’s curled guide; bulky fabric may not suit this type of foot.
2. Gathering Foot
A gathering foot helps create fullness in fabric as you sew, making it useful when a project calls for gathered sections.
The amount of gathering is not fixed, though; fabric weight, stitch length, tension, and the particular foot can all affect the result.
Useful when: you want to create gathers while sewing rather than gathering the fabric separately first.
Test it on scrap fabric before using it on a garment, especially when the amount of fullness needs to be controlled.
Want to turn your sewing skills into income? Sewing Skills That Actually Make You Money (Even If You’re Just Starting) covers practical skills worth developing.
3. Satin-Stitch or Appliqué Foot
This foot provides additional clearance beneath the foot for dense decorative stitches, while clear versions can make the stitching area easier to see. That makes it particularly useful for appliqué and satin-stitch work.
Useful when: the project involves dense decorative stitching where visibility and clearance matter.
The foot supports the technique; it does not replace choosing an appropriate stitch width, length, and fabric stabilisation.
4. Straight-Stitch Foot
A straight-stitch foot has a smaller needle opening than a general-purpose foot. That design can provide useful support around the needle when sewing a straight stitch, but it also leaves much less room for needle movement.
Useful when: you are doing precise straight stitching and your machine recommends this type of foot.
Important: the needle must be positioned correctly over the opening. Do not select a zigzag or wide stitch with a straight-stitch foot unless your machine specifically allows it. An incorrect needle position can cause the needle to strike the foot.
¼-Inch Piecing Foot
A ¼-inch piecing foot is especially useful in quilting, where repeated seam allowances need to remain consistent so fabric pieces fit together accurately.
Useful when: your quilt pattern calls for ¼-inch seams and you want a physical guide to help maintain that measurement.
Because foot designs differ, check the resulting seam against a ruler before beginning a large piecing project.
Before throwing out damaged clothing or fabric, try the repairs in 15 Smart and Easy Sewing Fixes for Clothes and Fabrics You Keep Throwing Away.
4. Free-Motion or Darning Foot
Free-motion sewing changes the normal relationship between the fabric and the machine. Instead of relying entirely on the feed dogs to move the fabric, you guide the fabric yourself to create the stitching path.
A free-motion or darning foot provides the clearance needed for this movement.
Useful when: free-motion quilting, darning, or certain machine-embroidery techniques require you to control the fabric manually.
The setup varies between machines. Some require the feed dogs to be lowered or covered, so follow the instructions for your specific model rather than assuming the same setup applies to every machine.
5. Non-Stick or Teflon-Style Foot
A non-stick foot has a smoother underside designed to help the foot move over materials that may drag against a conventional metal foot.
Useful when: a particular material is not feeding smoothly because of friction between its surface and the underside of the foot.
However, this is not a universal solution for every difficult fabric.
The appropriate foot depends on the material, its surface, and the machine manufacturer’s recommendations. Test the combination on scrap before sewing the actual project.
A Specialty Foot Is Only Useful When Its Design Solves Your Problem
These feet can be helpful, but owning more of them does not automatically make sewing easier.
A good rule is to buy or use a specialty sewing machine presser foot when you can identify the specific task it will make easier, more controlled, or more consistent.
Before attaching one, check two things: the foot is compatible with your machine, and the stitch and needle position are appropriate for that foot.
If you’re learning later in life and wondering where to begin, How to Learn to Sew as an Adult When You Feel Like You Are Already Too Late offers a practical starting point.
Presser Foot Compatibility: Understanding Shanks, Attachments, and Machine Types
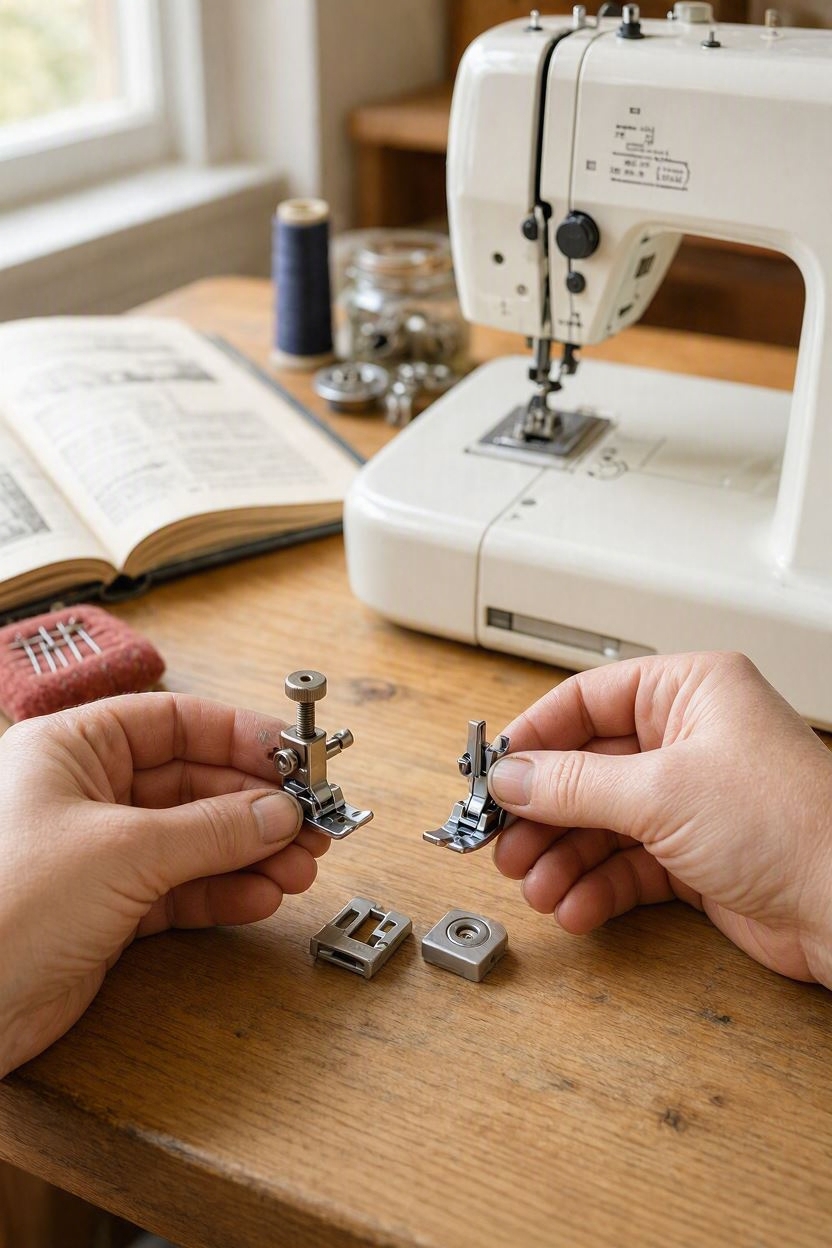
You can find the right presser foot for your sewing project and still end up with the wrong one for your machine.
That happens because presser feet do not all attach to sewing machines in the same way. Before buying one, you need to check how your machine accepts presser feet, not just what the foot is called.
Start With How Your Foot Attaches
Look at the foot currently on your machine. Does it snap onto a separate holder, or is it attached with a screw?
Many machines use snap-on feet, which makes changing compatible feet quick. Other machines use screw-on arrangements or different shank systems.
You do not need to memorize all these systems. What matters is knowing which system your particular machine uses.
What Are Low-Shank and High-Shank Feet?
These terms describe the way the presser-foot attachment sits on the machine.
You may see a listing that says “low-shank presser foot” or “high-shank presser foot.” That information helps narrow down which machines the foot is designed for.
But don’t stop there.
A foot being labeled “low-shank” does not automatically mean it will fit every low-shank machine. The attachment style and the machine’s design can still differ.
Why “Universal” Does Not Mean Every Machine
This is where online shopping can become confusing.
A seller may call a presser foot universal, but that normally means it is designed to fit a particular group of machines or a particular attachment system. It does not mean you can put it on any sewing machine.
This matters even more with specialty feet. A simple zipper foot may only need to attach securely and provide the correct needle clearance.
A walking foot, for example, has a moving mechanism that must work correctly with the machine.
Your Machine Model Is the Safest Guide
Instead of asking:
“Will this foot fit a sewing machine?”
Ask:
“Will this foot fit my exact sewing-machine model?”
That is the information you want before buying.
Check your machine’s manual or the manufacturer’s accessory information for the recommended presser feet. If you are buying online, compare the product’s compatibility list with your exact model number.
Also check whether you need an adapter or separate foot holder. Some feet are sold as the foot only, while others require an attachment that your machine may or may not already have.
One More Check Before You Sew
Even when a foot fits your machine, make sure it is suitable for the stitch you plan to use.
A straight-stitch foot, for example, has a narrow needle opening. If you select a wide zigzag stitch while using that foot, the needle can hit the foot.
So compatibility has two parts:
Will it fit my machine?
Can I safely use it with the stitch and technique I have selected?
That is why the safest rule is simple:
Choose your sewing machine presser foot by the project, then confirm that the specific foot is compatible with your exact machine and the stitch you intend to use.
This approach saves you from buying a foot that looks right in the listing but does not actually work with your machine.
Get more confident with your fabric preparation using How to Cut Fabric Without Wasting It: A Beginner’s Guide to Cutting Confidently the First Time.
When the Sewing Machine Presser Foot Is Not the Problem
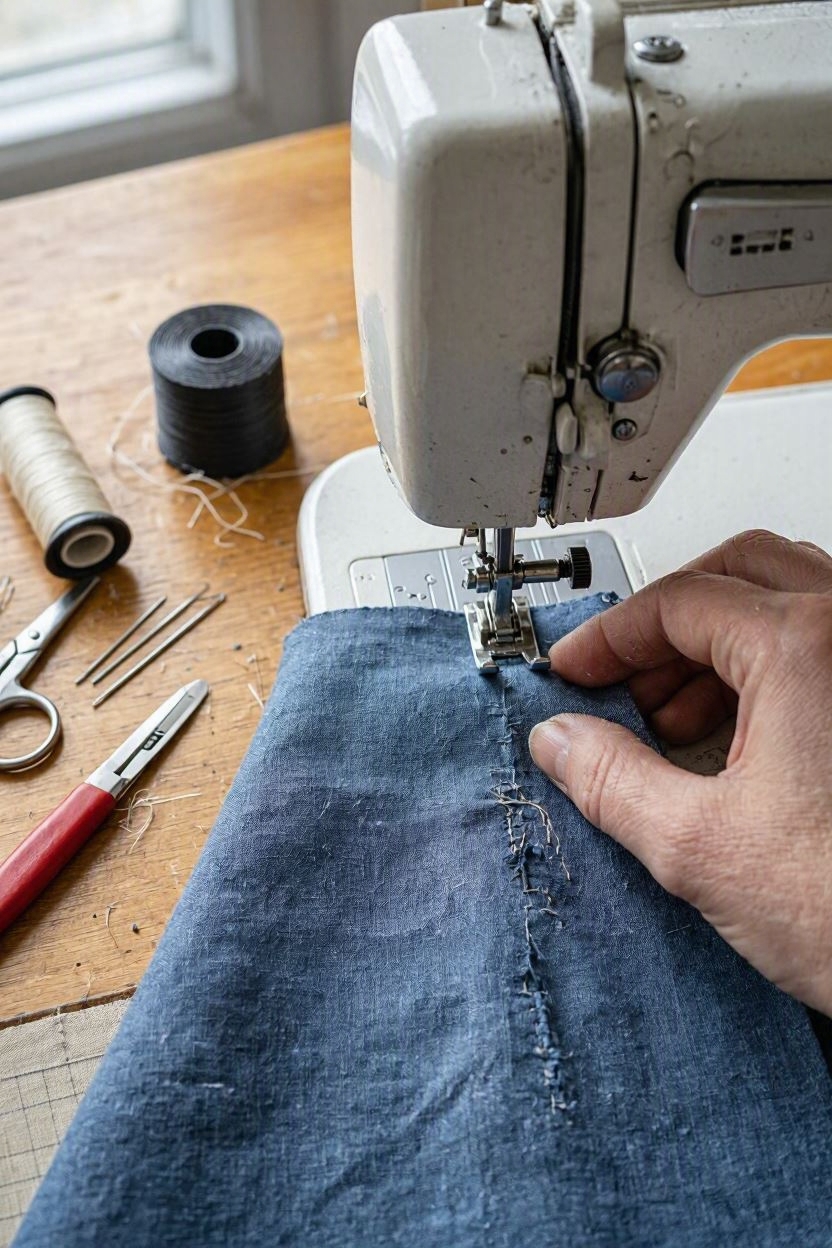
Changing the sewing machine presser foot can improve fabric control, but it cannot correct every sewing problem. Sometimes the real cause is the needle, thread, machine settings, fabric preparation, or even the machine’s timing.
Before buying another foot, check these possibilities.
-
The Needle May Be Wrong
A blunt, bent, damaged, or unsuitable needle can cause skipped stitches, fabric damage, thread breaks, or poor stitch formation.
The needle should suit both the fabric and thread you are using. For example, a stretch or ballpoint needle is designed differently from a universal needle, while heavier woven fabrics may require a stronger needle.
If stitches suddenly become poor, changing the presser foot should not be your first assumption.
-
The Stitch Settings May Need Attention
Stitch length, width, tension, and needle position can all affect the result.
A blind-hem foot, for example, cannot make the hem look right if the wrong blind-hem stitch or unsuitable settings are selected.
Likewise, a straight-stitch foot cannot safely be used with a stitch that requires the needle to move outside its narrow opening.
The foot supports the setting; it does not replace it.
-
The Fabric May Need Different Handling
Fabric behaviour can create problems that have little to do with the presser foot.
Stretch fabrics may need appropriate stabilisation or handling. Slippery materials may require careful pinning, basting, or a suitable foot. Multiple layers may need a walking foot, but sometimes the issue is simply that the layers were not secured properly before sewing.
Look at what the fabric is actually doing rather than automatically changing the foot.
- Thread and Needle Compatibility Matter Too
Thread that is too heavy, too fine, poorly matched to the fabric, or unsuitable for the chosen needle can contribute to skipped stitches, breakage, or uneven stitching.
If changing the foot makes no difference, check the needle-thread-fabric combination before assuming you need another specialty foot.
The Machine Itself May Need Attention
If the machine continues to produce problems after you have checked the needle, thread, settings, threading, and fabric, the problem may be mechanical.
Incorrect threading, lint buildup, poor tension adjustment, a damaged needle plate, or a machine that needs servicing can all create sewing problems that no presser foot can solve.
A Simple Troubleshooting Rule
Before replacing your sewing machine presser foot, ask:
Is the problem actually related to fabric control or positioning?
If yes, a different foot may help.
If the problem is skipped stitches, thread breaking, poor tension, needle damage, or an inconsistent stitch, investigate the needle, thread, threading, settings, fabric, and machine condition first.
That small distinction can save you money, and stop you from collecting presser feet in the hope that one of them will magically fix a problem it was never designed to solve.
You can also create your own pattern from a favorite garment with How to Copy a Pattern From Clothes You Already Own (Without Taking Them Apart).
How to Test a New Presser Foot Without Ruining Your Project
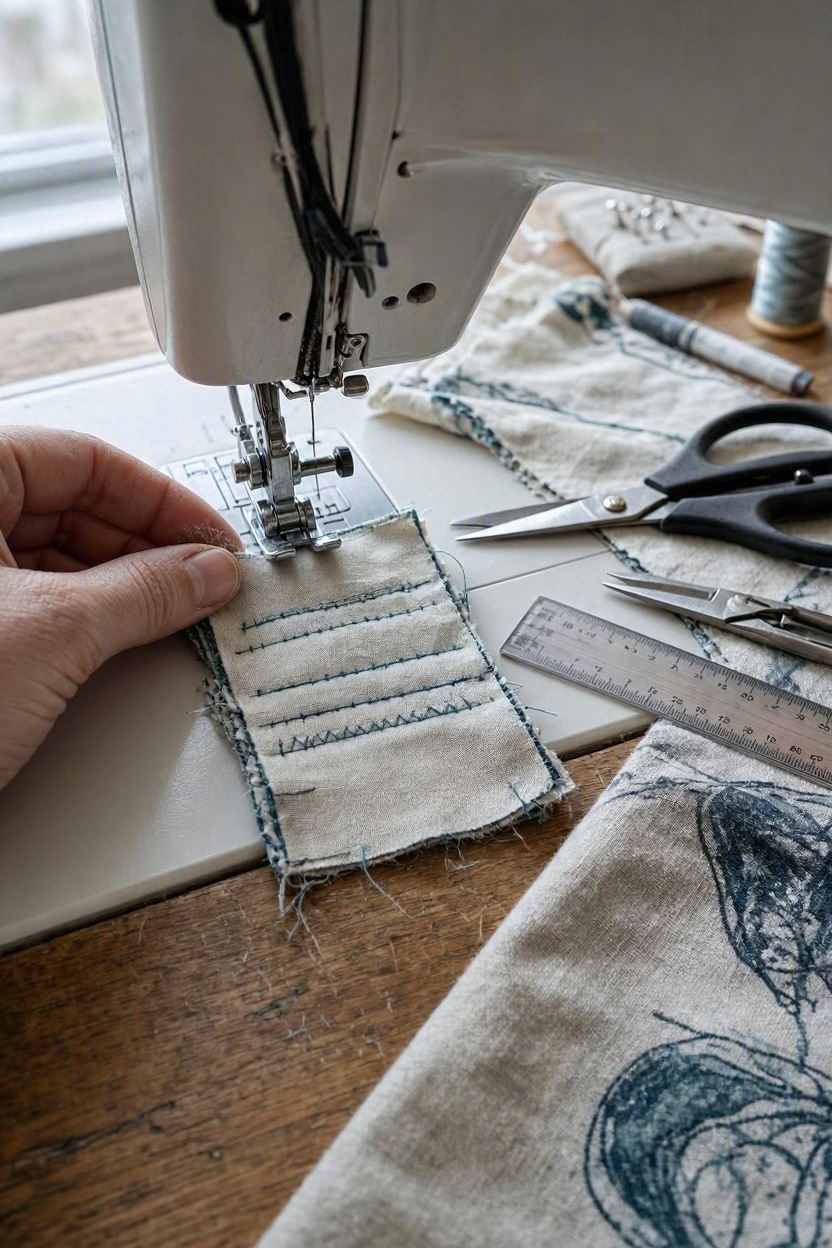
A new sewing machine presser foot should not go straight onto an important garment or finished project. A short test can reveal problems with compatibility, needle clearance, fabric feeding, or stitch settings before they become expensive mistakes.
1. Test on the Same Fabric
Use a scrap of the same fabric you will sew in the project. If your project contains several layers, reproduce those layers in the test.
Testing on cotton and then using the foot on slippery satin, stretch fabric, or several quilt layers will not tell you how the foot will actually behave on your project.
2. Check the Needle Clearance
Before sewing, turn the handwheel slowly and watch the needle move.
Make sure the needle passes cleanly through the foot’s opening without touching the foot.
This is particularly important with straight-stitch and specialty feet that have smaller or restricted openings.
3. Start With a Safe Stitch Setting
Begin with the stitch recommended for that foot and use a conservative setting. Do not immediately experiment with the widest zigzag or an unusual needle position.
If the foot has specific stitch or needle-position restrictions, follow the machine or foot manufacturer’s instructions.
4. Sew Slowly and Watch the Fabric
Make a short test seam rather than immediately sewing a full length.
Look at how the fabric feeds. Is it moving smoothly? Are the layers shifting? Is the foot catching the fabric? Is the stitching forming correctly?
For a specialty foot, you are testing whether the foot actually solves the problem it was designed to solve.
5. Check the Finished Stitch
Do not judge the test only from the top.
Look at both sides of the fabric and check for skipped stitches, loose or uneven stitches, puckering, unwanted fabric movement, or thread problems.
If something looks wrong, stop and adjust the needle, thread, stitch settings, fabric preparation, or foot before continuing.
6. Only Then Move to the Actual Project
Once the foot works properly on your test piece, move to the project.
For techniques such as buttonholes, quilting, appliqué, or decorative stitching, keep the test sample. It can serve as a reference for the settings that worked.
A five-minute test is much cheaper than discovering halfway through a project that your new presser foot, stitch setting, or fabric combination does not behave as expected.
Choosing the right material becomes much easier with Understanding Fabrics for Sewing: Choosing the Right Material for Every Project.
Presser-Foot Mistakes That Can Cause More Problems Than They Solve
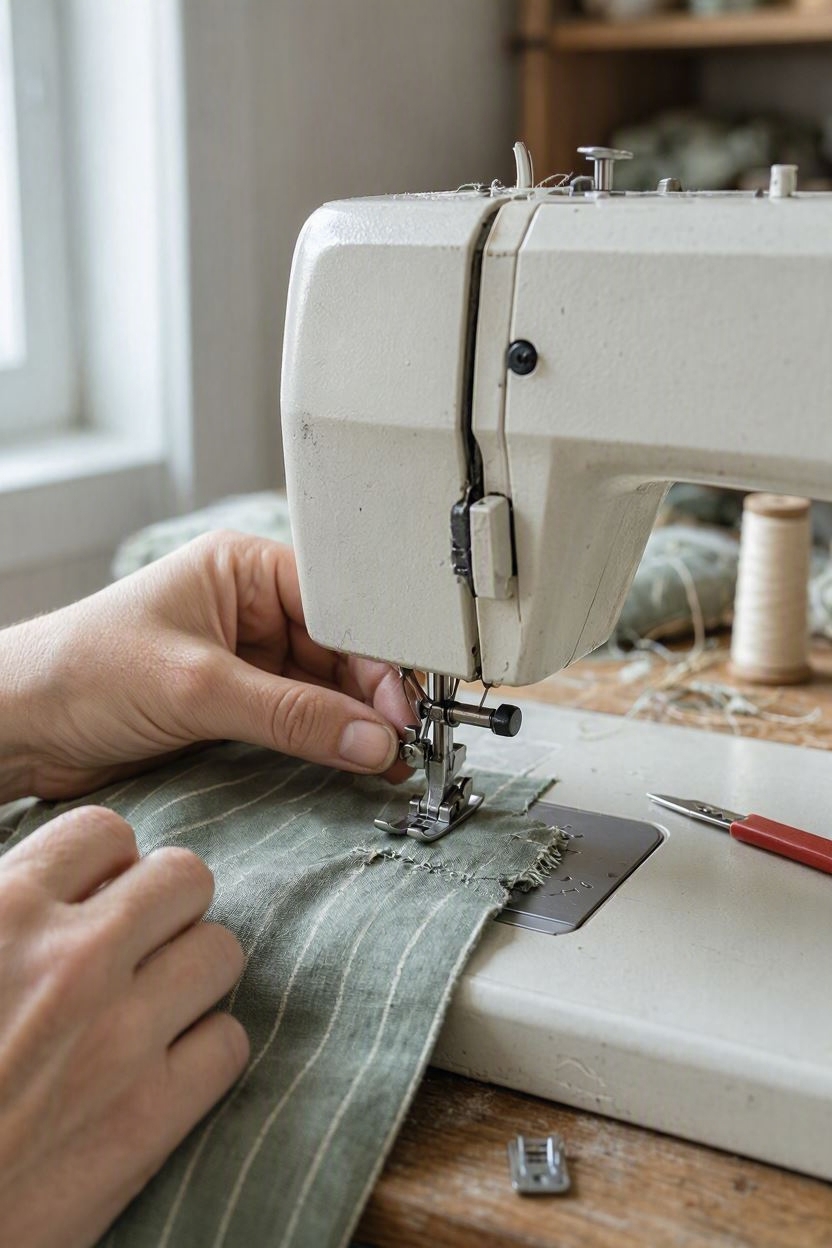
A specialty sewing machine presser foot can make a technique easier, but only when it is the right foot for the machine, stitch, and task. Some mistakes can create new problems instead of fixing the original one.
Choosing a Foot by Appearance
Two presser feet can look almost identical while being designed for different machines or techniques. Choosing one because it “looks like” the foot in a tutorial can lead to poor attachment, incorrect positioning, or unsafe needle clearance.
Better approach: match the foot to your exact machine model and the technique you are sewing.
Assuming “Universal” Means Universal
A foot labelled universal is not automatically compatible with every sewing machine. Attachment systems and machine designs vary.
Better approach: check the manufacturer’s compatibility information before buying.
Using the Wrong Stitch With the Foot
This is one of the more serious mistakes. Some feet have restricted needle openings. Selecting a stitch that moves the needle beyond that opening can cause the needle to strike the foot.
Better approach: check which stitches and needle positions the foot permits before sewing.
Using a Specialty Foot When the Basic Foot Would Do
Not every sewing problem requires a specialty foot. Changing feet unnecessarily can make a straightforward task more complicated.
For ordinary seams, the general-purpose foot may already be the appropriate choice.
Better approach: ask what specific problem the specialty foot is solving before attaching it.
Assuming the Foot Will Fix a Different Problem
A walking foot can help with uneven feeding, but it will not fix an unsuitable needle. A zipper foot can help you sew close to zipper teeth, but it will not correct incorrect thread tension.
Better approach: identify the actual cause of the sewing problem first.
Skipping the Test Piece
Putting an unfamiliar foot straight onto an important garment is an avoidable risk. The combination of foot, fabric, thread, needle, and stitch settings can behave differently from what you expect.
Better approach: test on a scrap made from the same fabric and layers before starting the real project.
Forcing a Foot That Does Not Fit
A presser foot should attach correctly. If it does not sit properly, requires unusual force, or interferes with the needle, do not try to make it work.
Better approach: stop and verify the attachment system, holder, adapter, and machine compatibility.
The safest habit is simple: choose the presser foot for the sewing task, confirm that it is compatible with your machine, check its stitch limitations, and test it before committing to the project.
Give old clothing a second life with 15 Genius Ways to Upcycle Old Clothes Into Trendy New Outfits.
Building Your Sewing Machine Presser Foot Collection Around How You Actually Sew
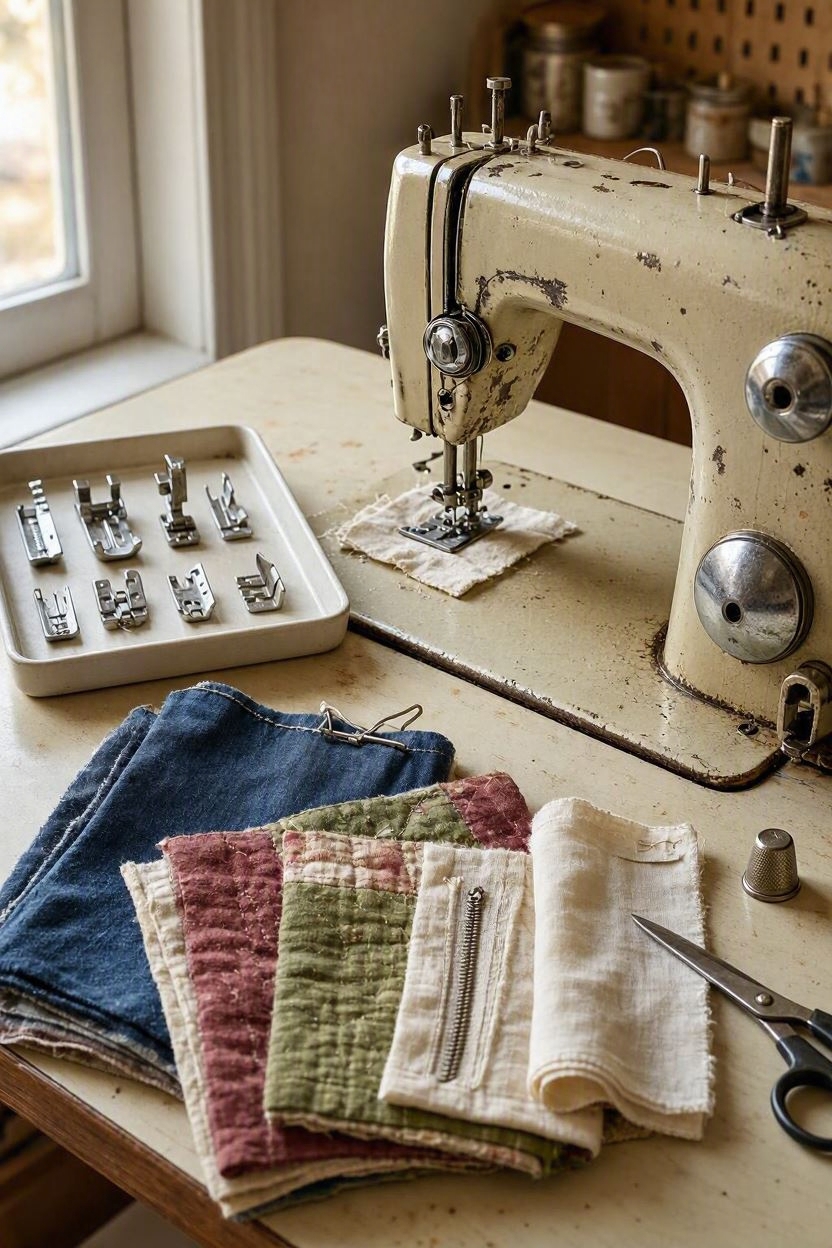
You do not need a box full of presser feet to become a better sewer.
A useful sewing machine presser foot collection should grow from the techniques you actually use, not from the number of feet included in a large accessory kit.
Start with the foot that came with your machine and add specialty feet when you repeatedly encounter a task that would be easier with a different design.
✅ Start With the Feet That Support Your Regular Projects
If you mostly sew garments, your needs will be different from someone who mainly quilts or makes home décor.
A garment sewer may get more use from a zipper foot, buttonhole foot, blind-hem foot, and overcasting foot. Someone who quilts may find a walking foot and ¼-inch piecing foot more valuable.
The point is not to build the same collection as another sewer. It is to build one around the work you actually do.
✅ Buy a Specialty Foot When You Have a Repeated Problem
A good reason to buy a new foot is not simply, “This looks useful.”
Instead, ask:
Is there a sewing task I do regularly that would become more accurate, controlled, or easier with this foot?
If you rarely install zippers, for example, a zipper foot may not need to be an immediate purchase. If you regularly quilt several layers, a walking foot may become one of the most useful additions you own.
This approach also prevents you from spending money on feet that sit unused.
✅ Prioritize the Feet That Solve Your Biggest Frustrations
Think about what repeatedly slows you down.
- Zippers are difficult to sew close to? Consider a zipper foot.
- Quilt layers shift? A walking foot may help.
- ¼-inch seams are inconsistent? A suitable piecing foot may provide a useful guide.
- Raw edges need finishing? An overcasting foot may be worthwhile.
- You make narrow hems regularly? A rolled-hem foot could earn its place.
This is a more useful way to choose sewing machine presser feet than buying a large set and trying to find a purpose for every piece.
✅ Check Compatibility Before Buying the Next Foot
Once you know which foot would genuinely help, check that it is designed for your exact sewing-machine model or attachment system.
A foot that works perfectly on someone else’s machine may not be suitable for yours. This is particularly important with specialty feet that have moving parts or specific needle-position requirements.
Your Collection Should Change With Your Sewing
There is no ideal number of presser feet.
Your collection might start with only the general-purpose foot and gradually grow as you take on zippers, quilting, decorative stitching, rolled hems, or other techniques.
The best presser-foot collection is not the biggest one. It is the one in which most of the feet have a clear job to do.
And if you’re ready to make sewing more than a hobby, Struggling to Make Money From Home Sewing? Launch a Profitable Sewing Side Hustle can help you think about turning your skills into a business.
Conclusion
Choosing the right sewing machine presser foot becomes much easier when you stop thinking about how many feet you own and start thinking about what you need the machine to do.
A general-purpose foot will handle many everyday tasks, while specialty feet can make specific techniques easier to control, from inserting zippers to managing multiple layers or creating precise hems. The key is matching the foot to the technique, fabric, stitch, and your particular machine.
You also do not need to buy an entire set at once. Start with the projects you actually sew and add a foot when it solves a problem you encounter repeatedly.
Have a presser foot that has always confused you? Tell me which one it is in the comments, and let’s figure out what it is designed to do.
FAQs About Sewing Machine Presser Feet
1. How often should you replace a presser foot?
Replace a presser foot when it is damaged, cracked, bent, or no longer holds fabric correctly. A good foot can last for years with proper care.
2. Can you use a sewing machine without a presser foot?
No. The presser foot helps hold the fabric against the feed dogs as the machine stitches, so sewing normally requires the appropriate foot to be lowered into position.
3. Why does my presser foot keep coming loose?
The foot may not be attached correctly, or the foot holder may need checking. Stop sewing and make sure the attachment is properly secured before continuing.
4. Are metal or plastic presser feet better?
Neither is automatically better. The best choice depends on the foot’s design, the sewing technique, and the material being sewn.
5. How long do sewing machine presser feet last?
There is no fixed lifespan. A presser foot can last for many years if it remains undamaged, attaches securely, and continues to guide the fabric properly.