This guide is written to show: How to choose the right sewing needle for every fabric type.
Skipped stitches. Broken thread. Puckered seams. Fabric snagging mid-project. Sound familiar?
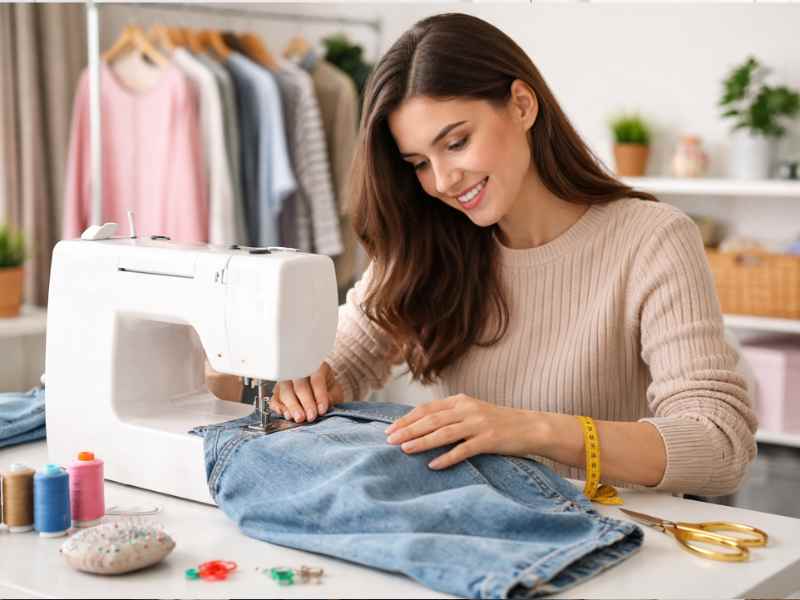
If you have ever sat at your sewing machine convinced something is seriously wrong, adjusting the tension, rethreading three times, rewinding the bobbin, maybe even Googling “why is my sewing machine ruining my fabric, this post is for you.
Before you call the repair shop or question your skills, check the one thing sitting right in the needle clamp. The needle.
Choosing the right sewing needle for your fabric type is the single most overlooked skill in sewing, and it is costing you time, good fabric, and frustration you do not need. The culprit behind your sewing problems is probably not your technique, not your thread, and not your machine. It can be the tiny piece of metal you have likely never thought twice about.
If you were told or probably forgot when you start sewing, there is no one-size-fits-all needle. The needle you use on denim will damage your silk. The needle that works beautifully on jersey knit will pucker your cotton.
And even the right needle, used past its time, will ruin your work without a single warning, because a sewing needle is not meant to last forever.
So before you touch another tension dial, read this first.
By the end of this guide you will know exactly which sewing needle to reach for with every fabric type, what size to use, and when to change it, before your machine ever gets the blame again.
If your stitches keep breaking or skipping, this guide on Why Your Sewing Machine Keeps Skipping Stitches (And 7 Easy Fixes That Work Fast) helps you quickly identify common causes and fix them without stress.
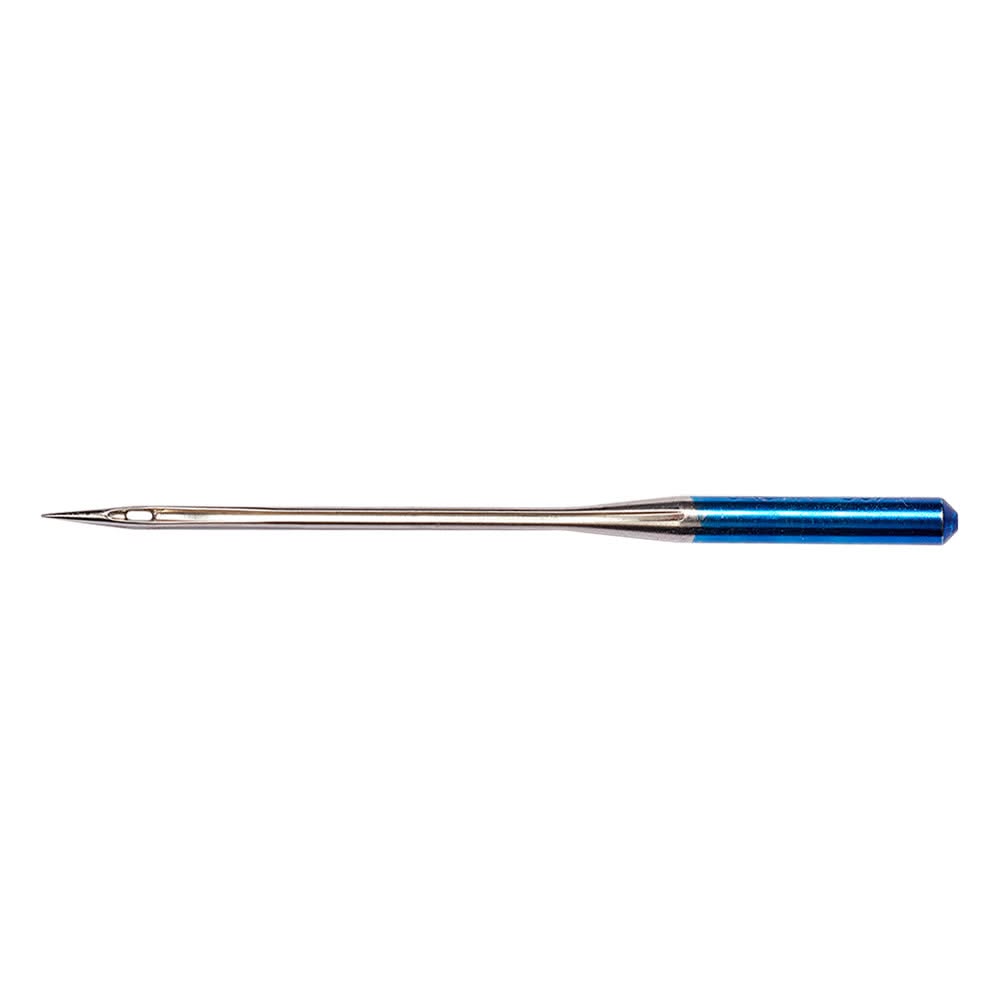
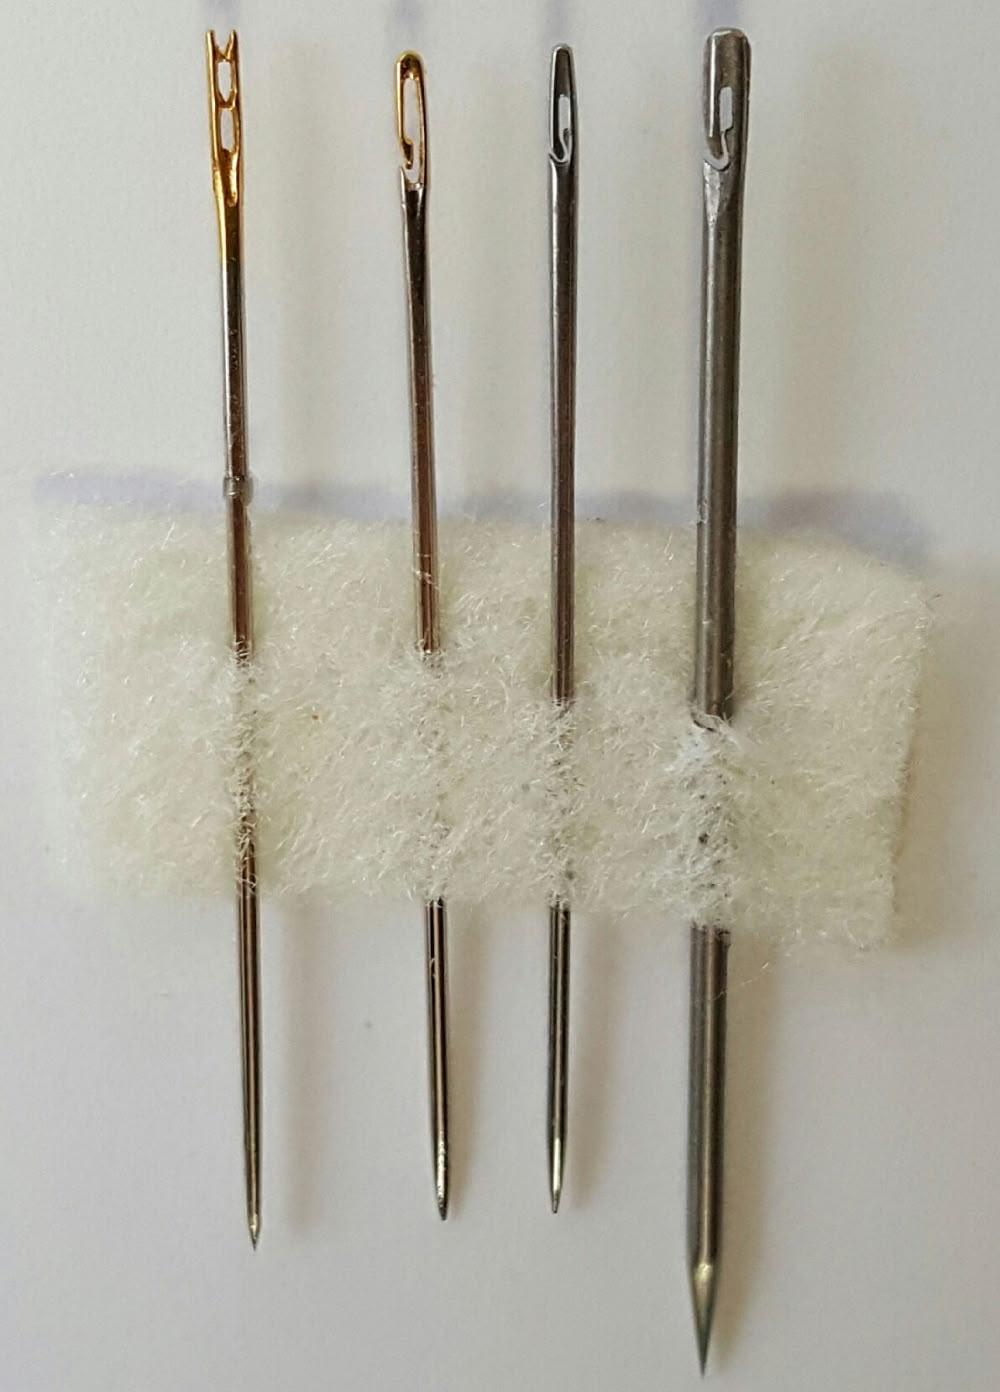
The Anatomy of a Sewing Needle
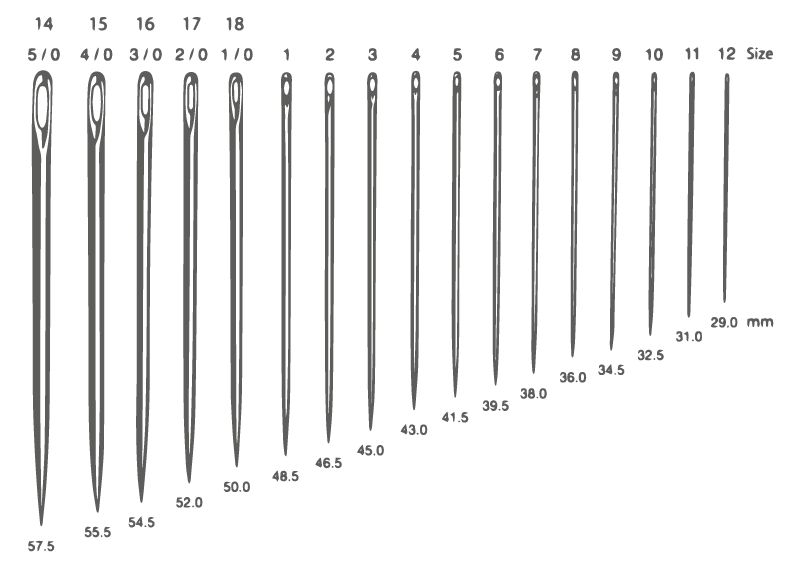
Photo credit: @ Ale A
You have probably never looked closely at a sewing needle and thought about what each part actually does. It looks simple, a thin piece of metal with a point at one end and a hole for thread.
But every single part of that needle affects how your stitch forms, how your fabric behaves, and whether your machine runs smoothly or fights you the entire way.
Before you can choose the right sewing needle for your fabric type, you need to understand what you are actually choosing between.
-
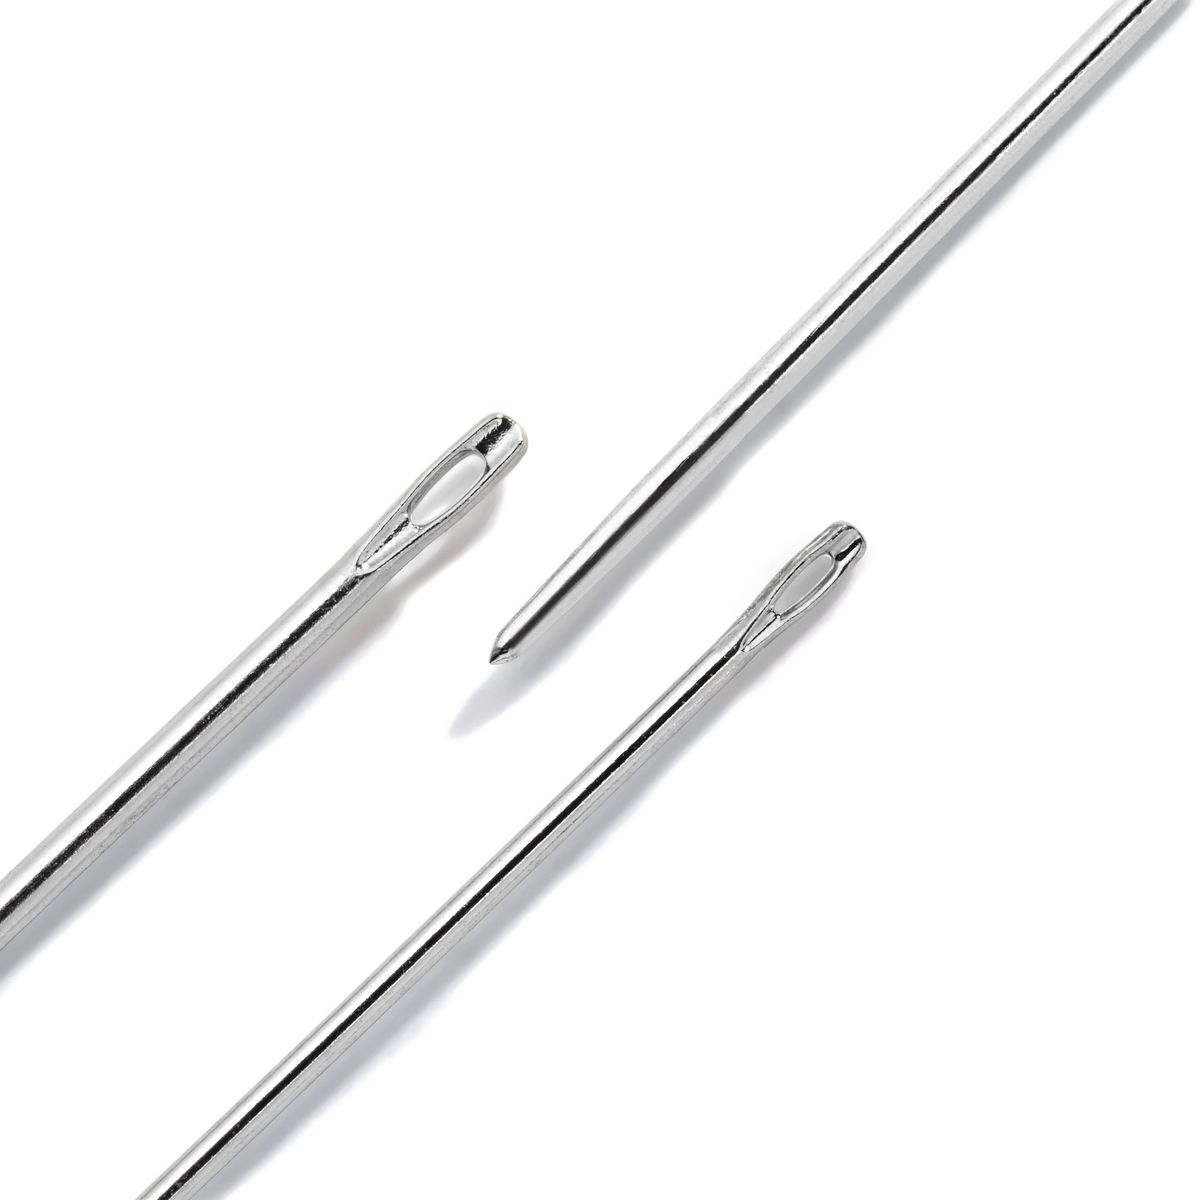
The Point
This is where everything starts. The point is the very tip of the needle, and the shape of that tip changes everything. A sharp point pierces the fabric threads directly. A rounded ballpoint tip slides between the fabric fibres without breaking them.
A cutting tip slices through material like leather or vinyl. Same needle, different point — completely different result on your fabric. Using the wrong point on the wrong fabric is one of the fastest ways to snag, pucker, or permanently damage a project.
-
The Eye
The eye is the hole your thread passes through, and its size matters more than you think. A too-small eye shreds your thread. A too-large eye causes it to loop unevenly.
Embroidery needles have a larger eye specifically designed to let thicker decorative thread pass through smoothly without fraying or breaking mid-stitch. If your thread keeps shredding for no obvious reason, the eye of your needle is the first place to look.
-
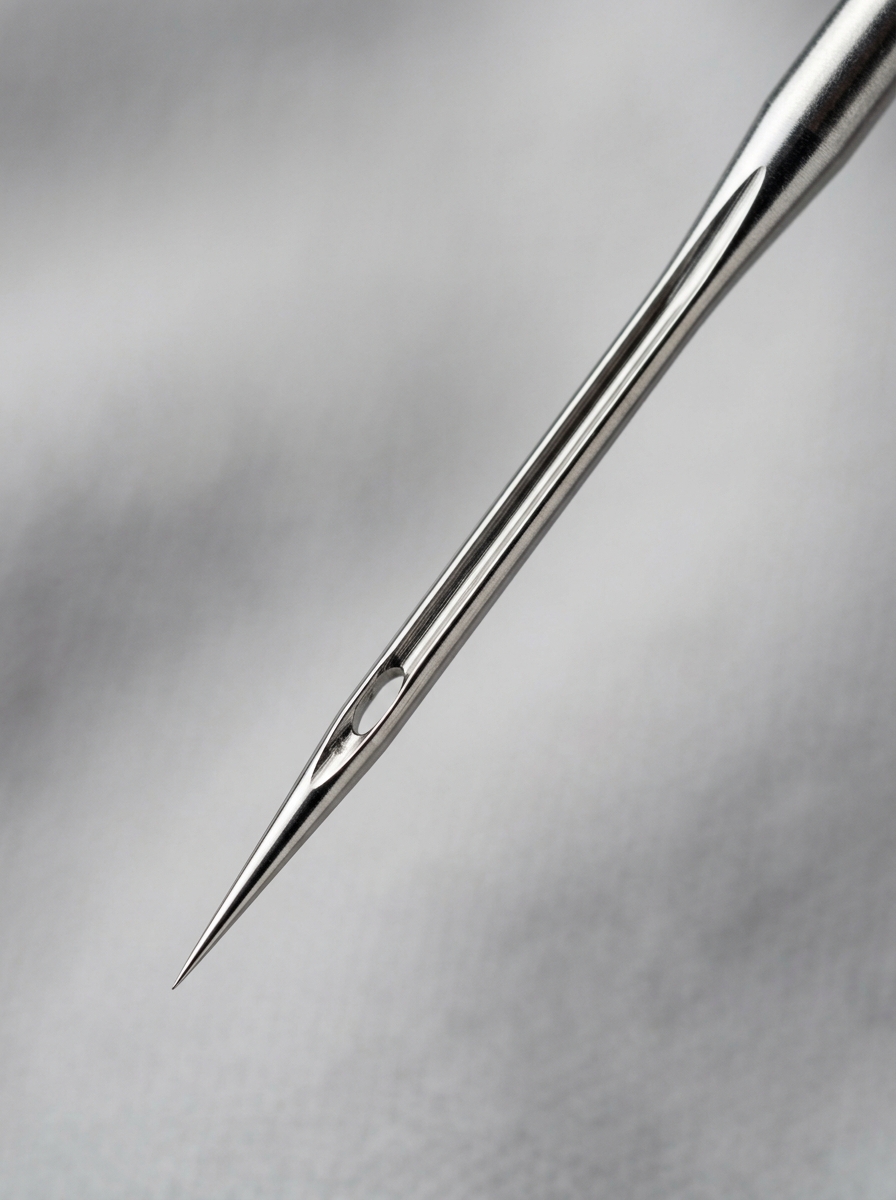
The Scarf
This is the small groove cut into the back of the needle just above the eye. It is the part most sewists never hear about, and the part responsible for one of the most frustrating sewing problems. The scarf is what allows the bobbin hook to swoop in and catch the thread at precisely the right moment to form a stitch.
When the scarf is too shallow, or when you are using the wrong needle for your machine, that hook misses. That missed catch is what causes a skipped stitch, not your tension, not your bobbin, not your thread. The scarf.
-
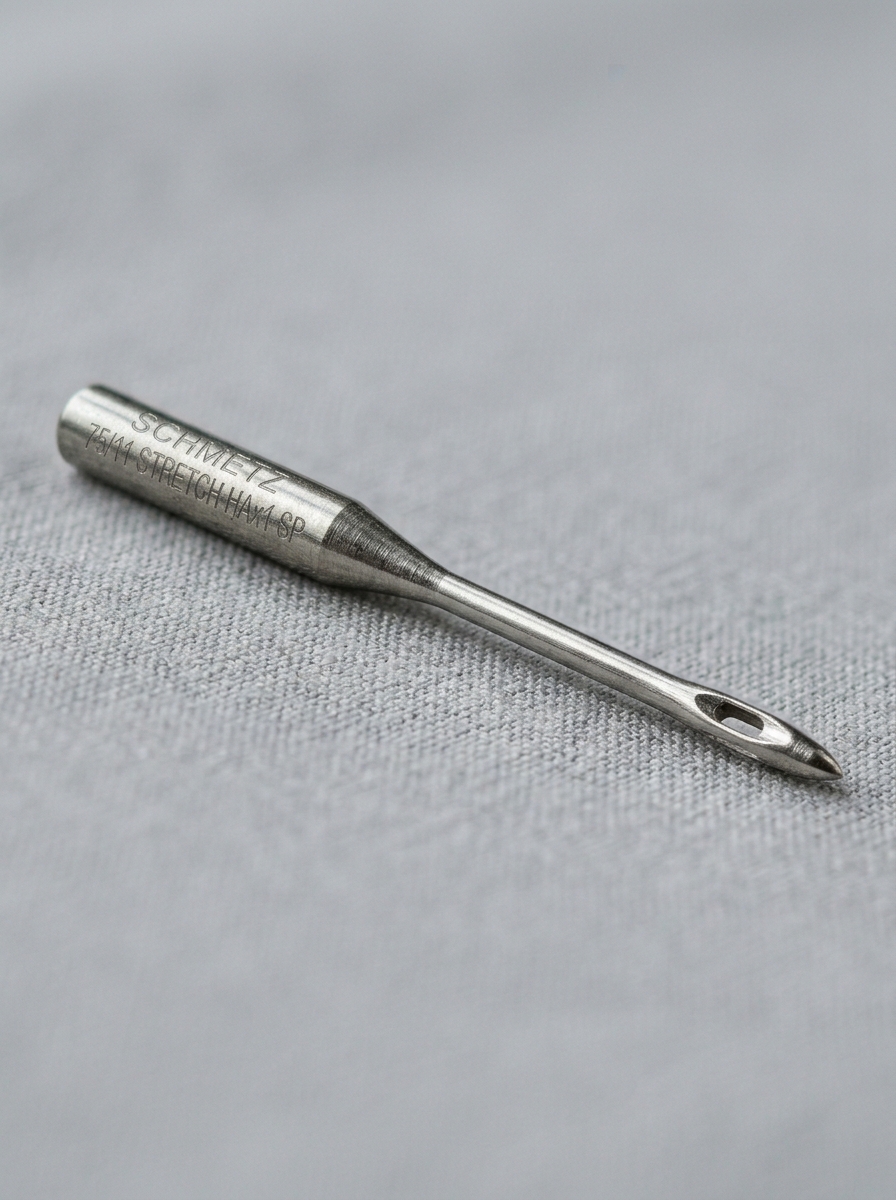
The Shaft and Size Numbers
The shaft is the body of the needle and its thickness determines what size you are working with. Every needle package shows two numbers, for example 90/14.
The first number is the European metric size, the second is the American size. They mean the same thing, just measured differently. The bigger the number, the thicker the needle, and the heavier the fabric it is built to handle.
A 60/8 is whisper-thin for delicate silk. A 110/18 is built to push through thick upholstery canvas.
Picking the wrong size is like trying to thread a rope through a pinhole , or poking unnecessary holes through fabric that needed something far finer.
Once your machine is working properly, you can start exploring Sewing Skills That Actually Make You Money (Even If You’re Just Starting) to turn basic stitching into real income opportunities.
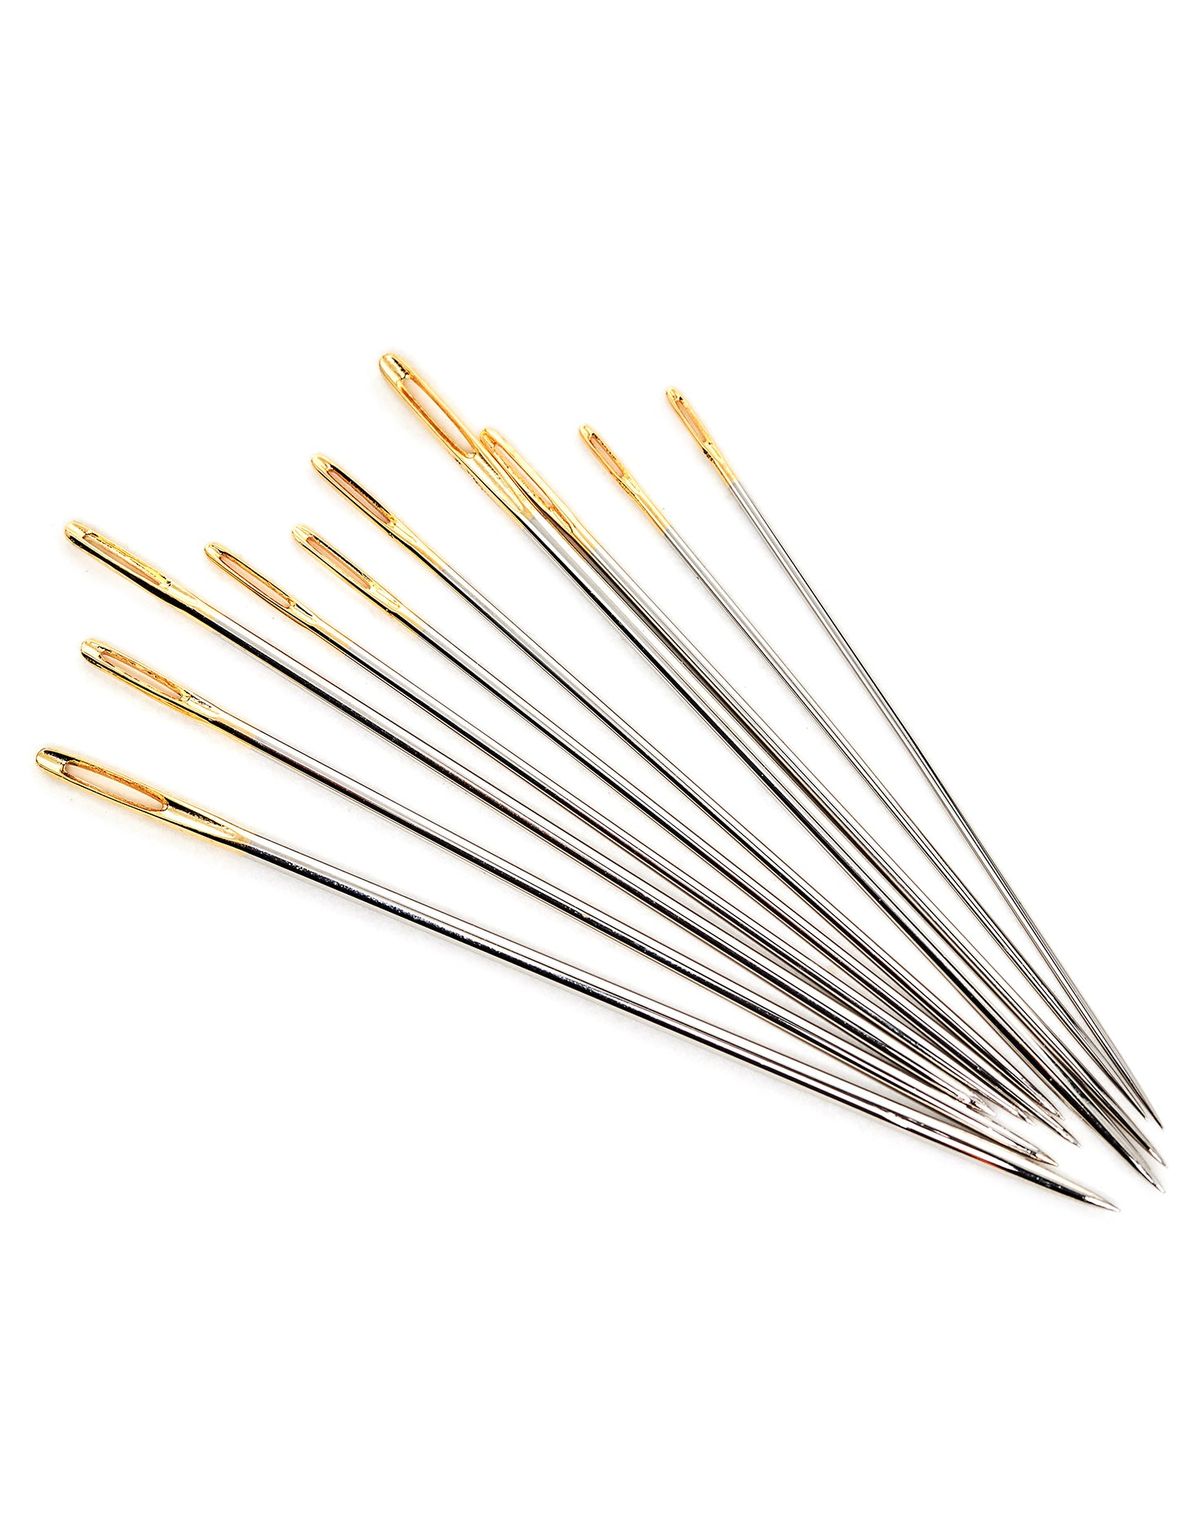
Understanding Needle Sizes — The Number System

When you pick up a packet of sewing needles and see numbers like 80/12 or 100/16 printed on the label, it is easy to ignore them and grab whatever is closest.
But those two numbers are telling you something important, and once you understand what they mean, you will never buy the wrong needle size again.
Instead of throwing away damaged clothes, try these 15 Smart and Easy Sewing Fixes for Clothes and Fabrics You Keep Throwing Away to repair and reuse everyday items.
What the Numbers Actually Mean
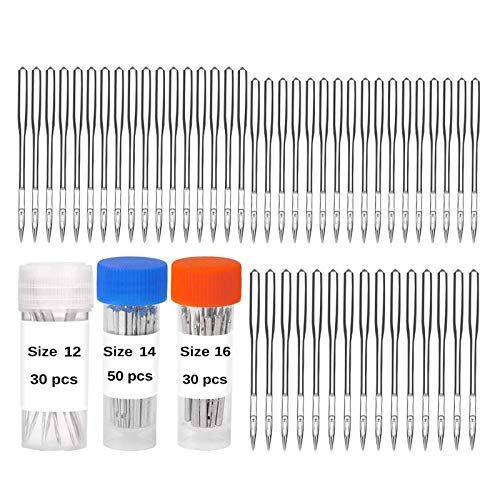
Photo credit: @ Amazon
Every sewing needle shows two numbers separated by a slash. The first number is the European metric size. The second is the American size.
They are not two different measurements, they are two different ways of saying the same thing. So 80/12 and 90/14 are simply the metric and imperial sizes printed side by side for sewists worldwide.
The sizing logic is straightforward. The lighter and more delicate your fabric, the smaller the number you need. The heavier and denser your fabric, the larger the number. A bigger number means a thicker needle shaft built to push through more resistance without bending or breaking.
The European metric system runs from 60 at the finest end to 110 at the heaviest. The American system runs from 8 to 18.
Both systems appear on most needle packages, so wherever you are shopping, whether in the UK, US, Australia, Nigeria, India, or anywhere else, you will see both numbers and know exactly what you are looking at.
The Simple Rule to Remember
Lightweight fabric — small number.
Heavy fabric — large number.
That is it. Everything else is just knowing which fabrics fall into which category, and the reference below gives you exactly that.
Needle Size Reference — Save This
| Needle Size | Best For |
|---|---|
| 60/8 – 70/10 | Chiffon, silk, organza, fine lace |
| 75/11 – 80/12 | Cotton, linen, light knits, quilting fabric |
| 90/14 | Medium denim, canvas, heavier cotton |
| 100/16 – 110/18 | Heavy denim, upholstery, thick canvas, multiple heavy layers |
Having the right setup matters, which is why these 11 Essential Sewing Tools for Sewists That Help Improve Accuracy and Are Budget-Friendly can instantly improve your sewing results.
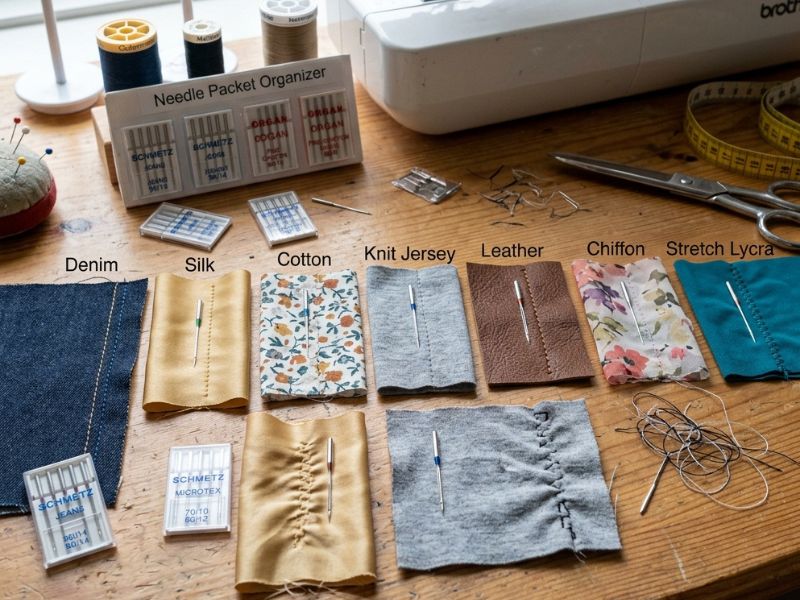
Right Sewing Needle for Every Fabric Type — What It Does and When to Use It
This is the section that will change how you sew. Once you know what each needle type actually does, you will never reach into your needle pack and guess again. Let’s go through every needle type you need to know, what it is built for, how it works, and exactly when to use it.
1. The Universal Needle — Your Everyday Starting Point
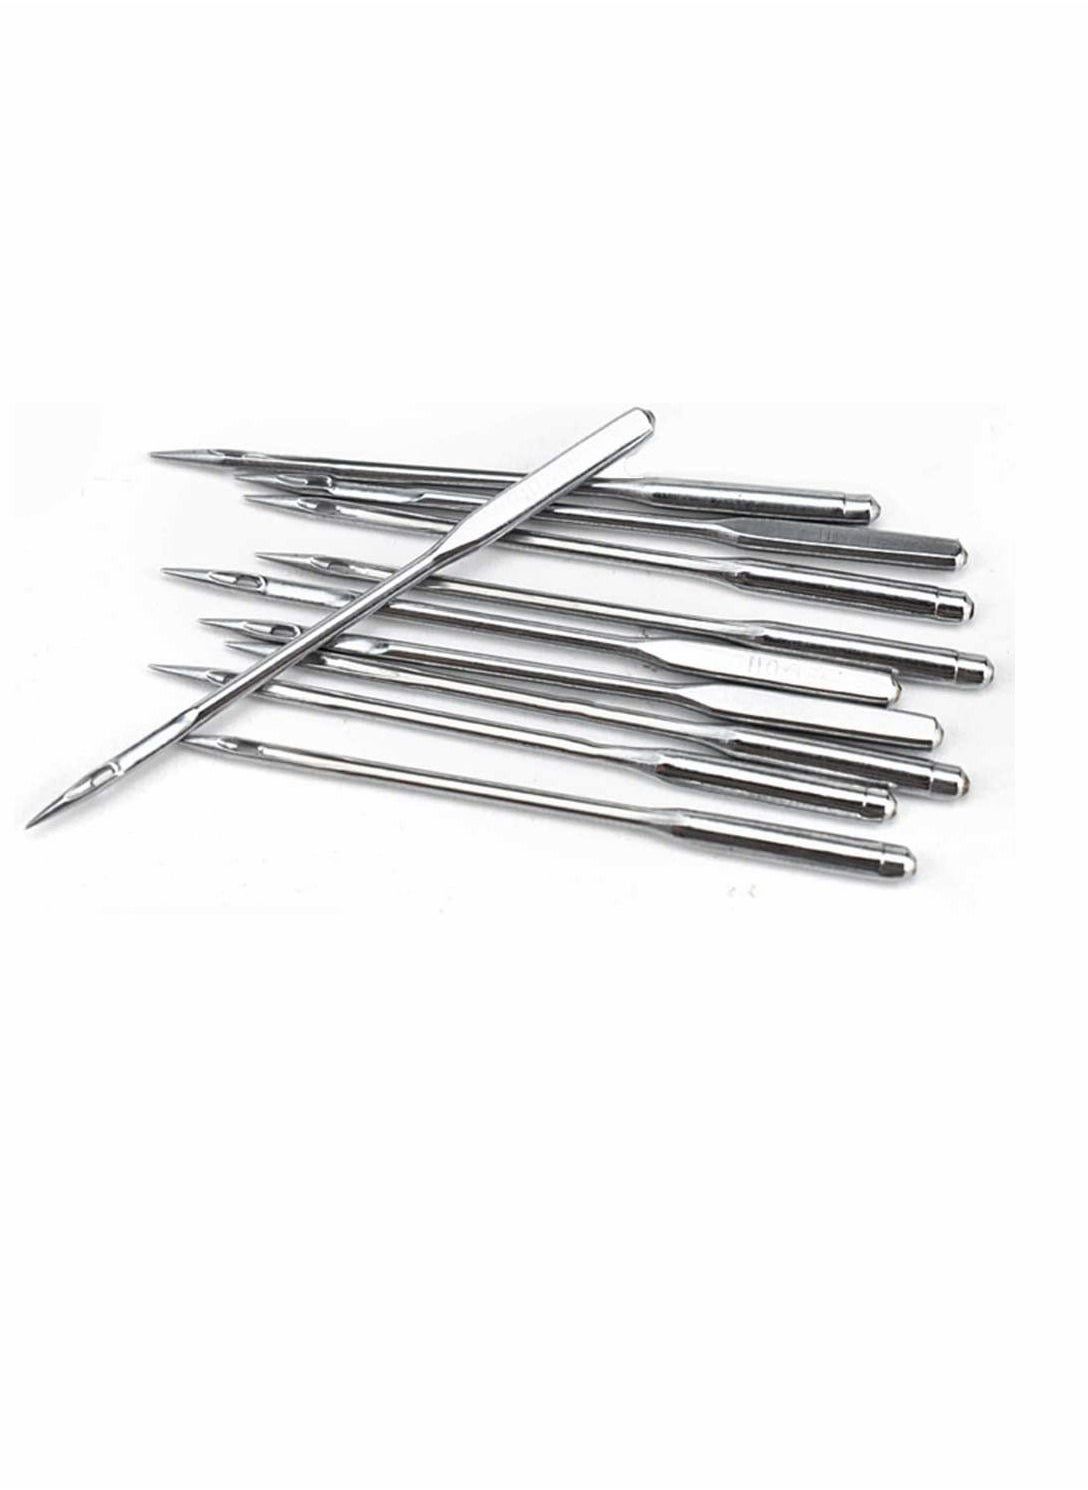
Photo credit: @ noon
Think of the universal needle as your reliable daily driver. It has a slightly rounded tip that sits between a sharp point and a full ballpoint, designed to work across a wide range of fabrics without specialising in any single one.
It is the needle that comes pre-installed in most sewing machines, and for good reason.
It works well on woven fabrics, quilting cotton, poplin, linen, and light wool blends.
When you are starting a new project and you are not sure where to begin, reach for an 80/12 or 90/14 universal needle. It will handle the majority of your everyday sewing without any drama.
What it will not do is perform at the highest level on very delicate fabrics, high-stretch knits, or heavy-duty materials.
For those, you need a needle built specifically for the job. The universal needle is the jack of all trades, dependable, but not the specialist.
Reach for it when: you are sewing cotton, linen, poplin, light denim, or any general woven fabric.
2. The Ballpoint — Jersey Needle — For Every Fabric That Stretches
If you have ever sewn a t-shirt, a jersey dress, or anything with stretch and ended up with skipped stitches, snagged loops, or fabric that curled at the seam, this is the needle you needed and did not have.
The ballpoint needle has a rounded tip that does not pierce the fabric fibres. Instead it slides between the loops of knit fabric, passing through without breaking or cutting a single thread.
That is the key difference. Knit fabric is constructed from interlocking loops, not woven threads.
Push a sharp point through those loops and you break them. Use a ballpoint and the fabric stays intact, the stitch forms cleanly, and the seam stretches the way it is supposed to.
Using a universal needle on knit fabric will cause the fabric to curl, the threads to snag, and your stitches to skip.
It is one of the most common mistakes made with stretch fabric, and now you know exactly why it happens and how to avoid it.
Reach for it when: you are sewing jersey, t-shirt knit, interlock, cotton lycra, or any fabric with visible stretch.
Pattern confusion is very common, but learning How to Read Sewing Patterns Without Feeling Lost makes project instructions much easier to follow.
3. The Stretch Needle — When Ballpoint Is Not Enough
The stretch needle looks similar to a ballpoint but has a modified scarf, that groove at the back of the needle, designed specifically for fabrics with very high elasticity.
If you have tried a ballpoint needle on a highly stretchy fabric and still find yourself getting skipped stitches, the stretch needle is your answer.
The modified scarf gives the bobbin hook a better chance of catching the thread at the right moment, even when the fabric is pulling and moving under the presser foot. It is the next level up from ballpoint and the right tool for fabrics that demand it.
Reach for it when: your ballpoint needle is still skipping stitches on high-stretch fabrics like swimwear, spandex, power mesh, or elastic ribbing.
4. The Microtex — Sharp Needle — For Precision and Delicate Fabrics
If you are sewing silk, chiffon, microfibre, faux suede, or any tightly woven fabric that demands a clean, precise stitch, this is your needle.
The Microtex needle has an ultra-fine, acute point that pierces the fabric threads with pinpoint accuracy, leaving the smallest possible hole and the crispest possible stitch line.
It is the needle of choice for heirloom sewing, fine quilting, and topstitching where every stitch needs to sit in a perfect, straight line.
On tightly woven fabrics, a universal needle can slightly deflect as it enters, a Microtex goes in exactly where you intend it to. That precision matters when the fabric and the finish both deserve it.
It is also worth knowing that on synthetic leather, unless it is very thick and heavy, a Microtex sharp needle often performs better than a leather needle. A leather needle’s cutting tip can tear thin synthetic leather rather than pierce it cleanly. The Microtex handles it far more gently.
Reach for it when: you are sewing silk, chiffon, microfibre, tightly woven cotton, fine linen, synthetic leather, or any project where clean precise topstitching matters.
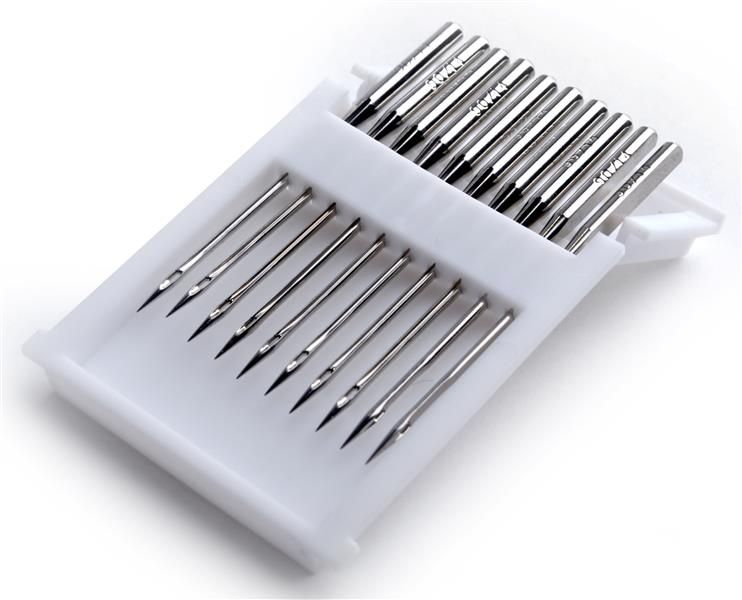
5. The Denim — Jeans Needle — Built for Tough Fabric
Denim is one of the most densely woven fabrics you will sew. It is thick, it is tight, and it will bend or break an underpowered needle without warning.
The denim needle is built with a stronger shaft and a very sharp point specifically to push through multiple layers of heavy fabric without deflecting or breaking.
For midweight denim, the kind used in most jeans and jackets — use a 90/14.
For thicker, heavier denim go up to a 100/16. For lighter denim fabrics like chambray or Tencel denim, an 80/12 universal needle will do the job without being unnecessarily heavy.
What a lot of sewists do not realise is that the denim needle is not just for denim.
It performs equally well on any dense, tightly woven fabric, heavy twill, canvas, thick workwear linen, and heavy interfacing. If the fabric is fighting your needle, this is the one to reach for.
Reach for it when: you are sewing denim, heavy canvas, thick twill, workwear fabric, or any project involving multiple heavy layers.
6. The Leather Needle — For Non-Fabric Materials Only
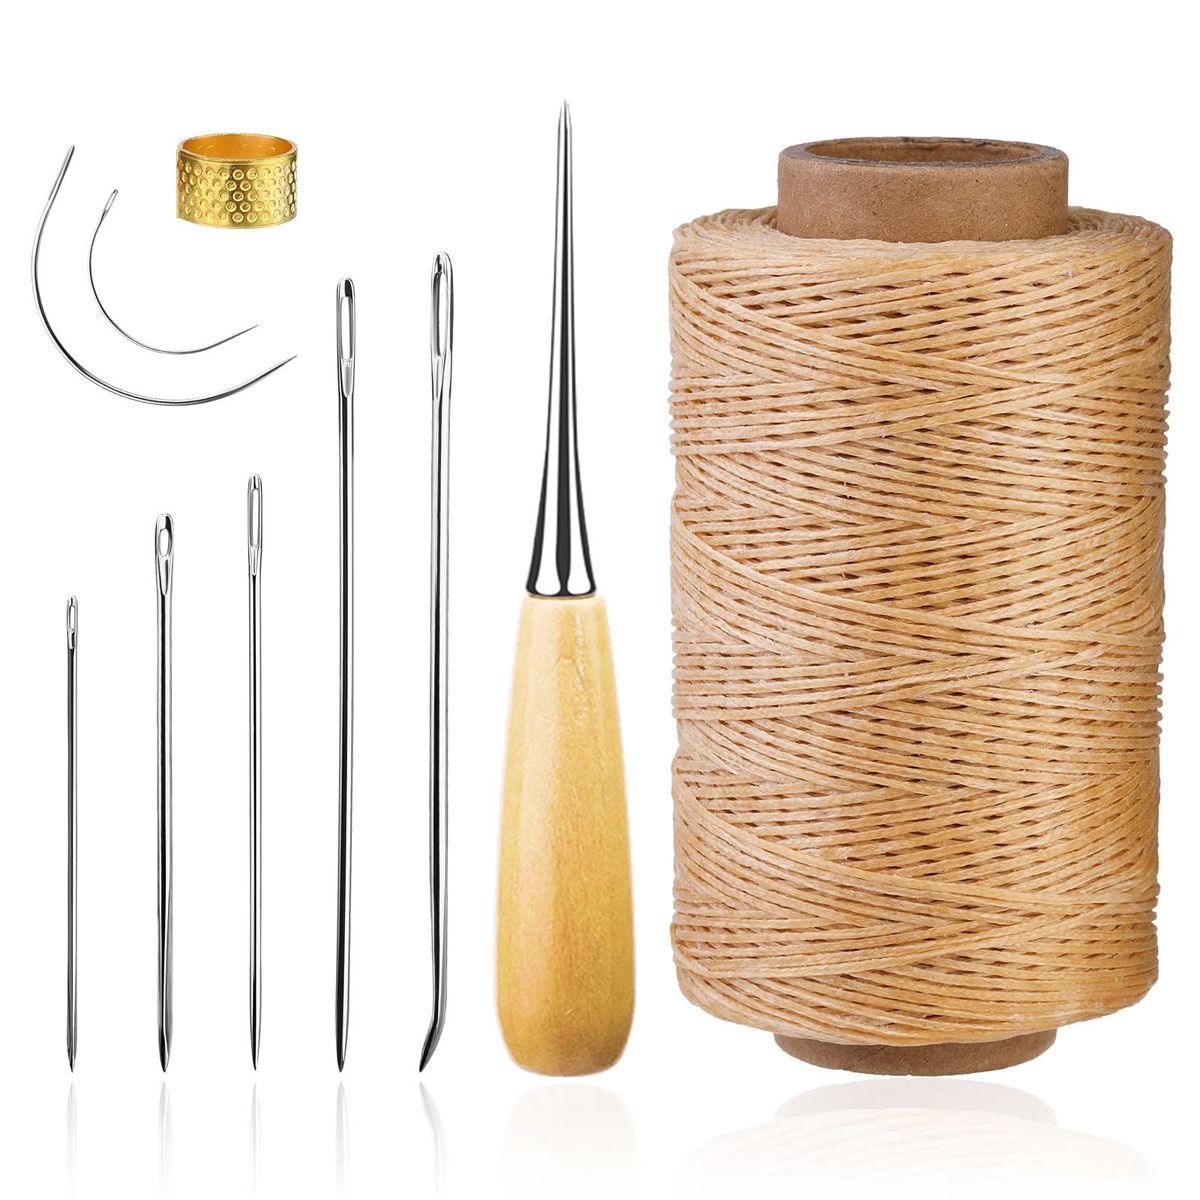
Photo credit: @ Amazon
The leather needle has a wedge-shaped cutting tip, think of it like a tiny spear, that does not pierce fabric so much as slice through it.
That cutting action is exactly what real leather, vinyl, and heavy non-woven materials need because they cannot be pierced the same way as woven or knit fabric.
There is one rule with the leather needle that you need to remember: it is for leather and vinyl only. Never use it on woven or knit fabric. The cutting tip will slice through fabric fibres and cause irreversible damage.
It is also worth noting that on thin or medium synthetic leather, the cutting tip can tear the stitch hole rather than creating a clean entry.
For synthetic leather that is not extremely thick, a Microtex sharp needle will give you a much cleaner result.
Reach for it when: you are sewing genuine leather, thick vinyl, or very heavy non-woven materials. For synthetic or faux leather, try a Microtex first.
7. The Embroidery Needle — For Decorative Machine Work
The embroidery needle is designed with one specific purpose, to let decorative embroidery thread pass through smoothly without shredding or breaking.
Embroidery thread is typically thicker, more textured, and more delicate than regular sewing thread. A standard needle eye is too narrow and creates friction that weakens and eventually breaks the thread mid-design.
The embroidery needle solves this with a larger, slightly elongated eye and a modified scarf that reduces friction as the thread loops during stitch formation.
It is built for decorative machine embroidery on stable woven fabrics and gives your embroidery thread the room it needs to move cleanly at speed.
Reach for it when: you are doing decorative machine embroidery with embroidery-specific thread on woven fabric.
Beginners can build confidence faster with a Beginner’s Guide to Sewing Machine Basics You’ll Actually Use, focusing only on practical, real-world skills.
The Needle Change Rule — The One Thing You Are Probably Ignoring

You have learned how to choose the right sewing needle for your fabric type. But there is one more thing that will undo all of that good decision-making if you ignore it, and almost every sewist does, especially in the beginning.
Changing your needle.
Not when it breaks. Not when you remember. Regularly. On purpose. Before it causes damage you can see and damage you cannot.
Cleaner finishes become easier with these 15 Sewing Hacks for Beginners Who Want Neater, More Professional Results, helping you upgrade your stitching quality quickly.
The Signs Your Needle Needs to Go Right Now
Your machine will tell you when the needle is past its best. You just need to know what to listen and look for:
Sound: If your machine is stitching louder than usual, a thudding or popping sound with each stitch, that is a dull needle forcing its way through fabric instead of piercing it cleanly. A sharp needle is almost silent. A dull one is not.
Skipped stitches: If your tension is correctly set, your machine is threaded properly, and you are still getting skipped stitches, change the needle before you touch anything else. This is the most common and most misdiagnosed sewing problem.
Thread shredding or breaking: Friction from a dull or damaged eye shreds thread. If your thread keeps breaking for no clear reason, the needle is almost always the cause.
Fabric snagging or puckering: A needle with even a microscopic burr on the tip will catch fabric fibres as it enters. On delicate or tightly woven fabrics this shows up immediately as snags, pulls, or puckering along the seam line.
A thudding sound: This is the clearest signal of all. A healthy needle pierces fabric quietly. A dull one thumps. If you hear it, stop sewing and change the needle before you go another stitch further.
If you’re ready to turn sewing into income, explore Struggling to Make Money From Home Sewing? Launch a Profitable Sewing Side Hustle for practical business ideas.
The Starter Needle Kit — What to Actually Buy
Now that you know what every needle type does and when to change it, the last thing you need is a clear, no-guesswork answer to the question every new sewist asks, what needles should I actually have in my kit?
Here is the honest answer. You do not need every needle type on the market. You need the ones that cover the widest range of projects so you are never caught without the right tool mid-sew.
The Five Needles That Cover 90% of Your Sewing
Start with these five and you will be prepared for almost every fabric and project you encounter:
Universal 80/12 — your everyday needle for cotton, linen, poplin, and general woven fabrics. This is the one you will reach for most often. Buy a multipack and keep it well stocked.
Ballpoint 80/12 — your go-to for jersey, t-shirt knit, and any fabric with stretch. Never sew a knit fabric without one of these in your machine.
Denim 100/16 — built for heavy denim, canvas, thick twill, and multiple layers. Keep a few of these on hand for any project that involves tough, dense fabric.
Microtex 70/10 — your precision needle for silk, chiffon, microfibre, fine linen, and clean topstitching. When the fabric is delicate or the finish needs to be sharp, this is the needle.
Twin Needle 2.0/80 — used for decorative double stitching and professional hemming on knit fabrics. Not an everyday needle but one you will be glad you have when you need it.
Those five needles, bought in small multipacks, will handle the vast majority of what you sew. Add a stretch needle and a leather needle when your projects call for them.
Choosing the right projects also matters, so How to Find Sewing Patterns That Are Easy to Follow and Beginner-Friendly (Save Hours of Frustration) helps you avoid difficult patterns and save time.
Needle Brands — Wherever You Are Shopping
Needle quality matters. A cheap needle bends faster, dulls sooner, and is harder to identify when you need a specific type in a hurry. These three brands are trusted by sewists internationally and are widely available whether you are shopping in Europe, the US, Australia, Africa, or Asia:
Schmetz — the most widely recommended brand among sewists worldwide, and the easiest to use. Schmetz colour-codes every needle type with a band on the shank so you can identify a needle at a glance, even if it has rolled off your table.
Universal needles have no colour band. Stretch needles have a yellow band. Denim needles have a blue band. Once you know the colour system, finding the right needle in your kit takes seconds. Schmetz needles are available in most fabric shops and online globally.
Organ — the most affordable of the three and excellent value when buying in bulk. If you sew regularly and go through needles quickly, Organ is a reliable choice that does not compromise on quality. Widely available across Asia, Europe, and online internationally.
Bohin — a French-made needle with a fine polish finish that reduces friction as the needle passes through fabric. Particularly good for delicate fabrics where smoothness matters. Less widely stocked than Schmetz or Organ but worth seeking out if you regularly work with fine or luxury fabrics.
Where to Buy
- Amazon — all three brands available internationally with multipack options
- Local fabric stores — Schmetz and Organ are stocked in most sewing and fabric shops worldwide
- Online fabric retailers — Sewingmachinefun, Mood Fabrics, Fabric.com, and most national fabric retailers carry a full needle range
One Last Practical Tip
Store your needles in their original packaging or in a dedicated needle case. Label any loose needles immediately, a Microtex and a Universal look almost identical out of the packet.
Keeping them organised saves you from sewing an entire seam with the wrong needle before realising the mistake.
Before you leave, read: Industrial vs Domestic Sewing Machines: Which One Should You Buy as a Beginner
Before You Touch That Tension Dial — Remember This
Next time your thread breaks or your seams pucker, stop. Before you adjust a single setting, check the needle. Is it the right sewing needle for your fabric type? Is it the right size? When did you last change it?
That one small check will save you more time, more fabric, and more frustration than any other sewing habit you build. The machine is rarely the problem. Now you know exactly where to look.