Hand pain shouldn’t have to end a sewing project. Sewing with arthritis can feel easier with the right tools and simple changes that take pressure off your hands while you stitch.
Sewing can be something you genuinely enjoy, but arthritis can make the parts you once did without thinking like threading a needle, gripping scissors, turning fabric, or working a small hand stitch, feel much harder.
That doesn’t necessarily mean you have to give up sewing. Sometimes, the bigger difference comes from changing how you sew rather than sewing less.
The right tools can reduce the amount of gripping and twisting your hands have to do, while a few simple changes to your sewing routine can make projects more comfortable to manage.
This guide looks at practical tools and sewing techniques that can help take some of the strain out of stitching, whether you sew by hand, use a sewing machine, or do a bit of both.
The goal isn’t to push through pain. It’s to help you find easier ways to handle the tasks that have become difficult.
Start with 11 Essential Sewing Tools for Sewists That Help Improve Accuracy and Are Budget-Friendly if you want to make your sewing setup more comfortable and choose tools that can reduce unnecessary hand strain.
1. Find Out Which Sewing Tasks Are Actually Causing the Problem
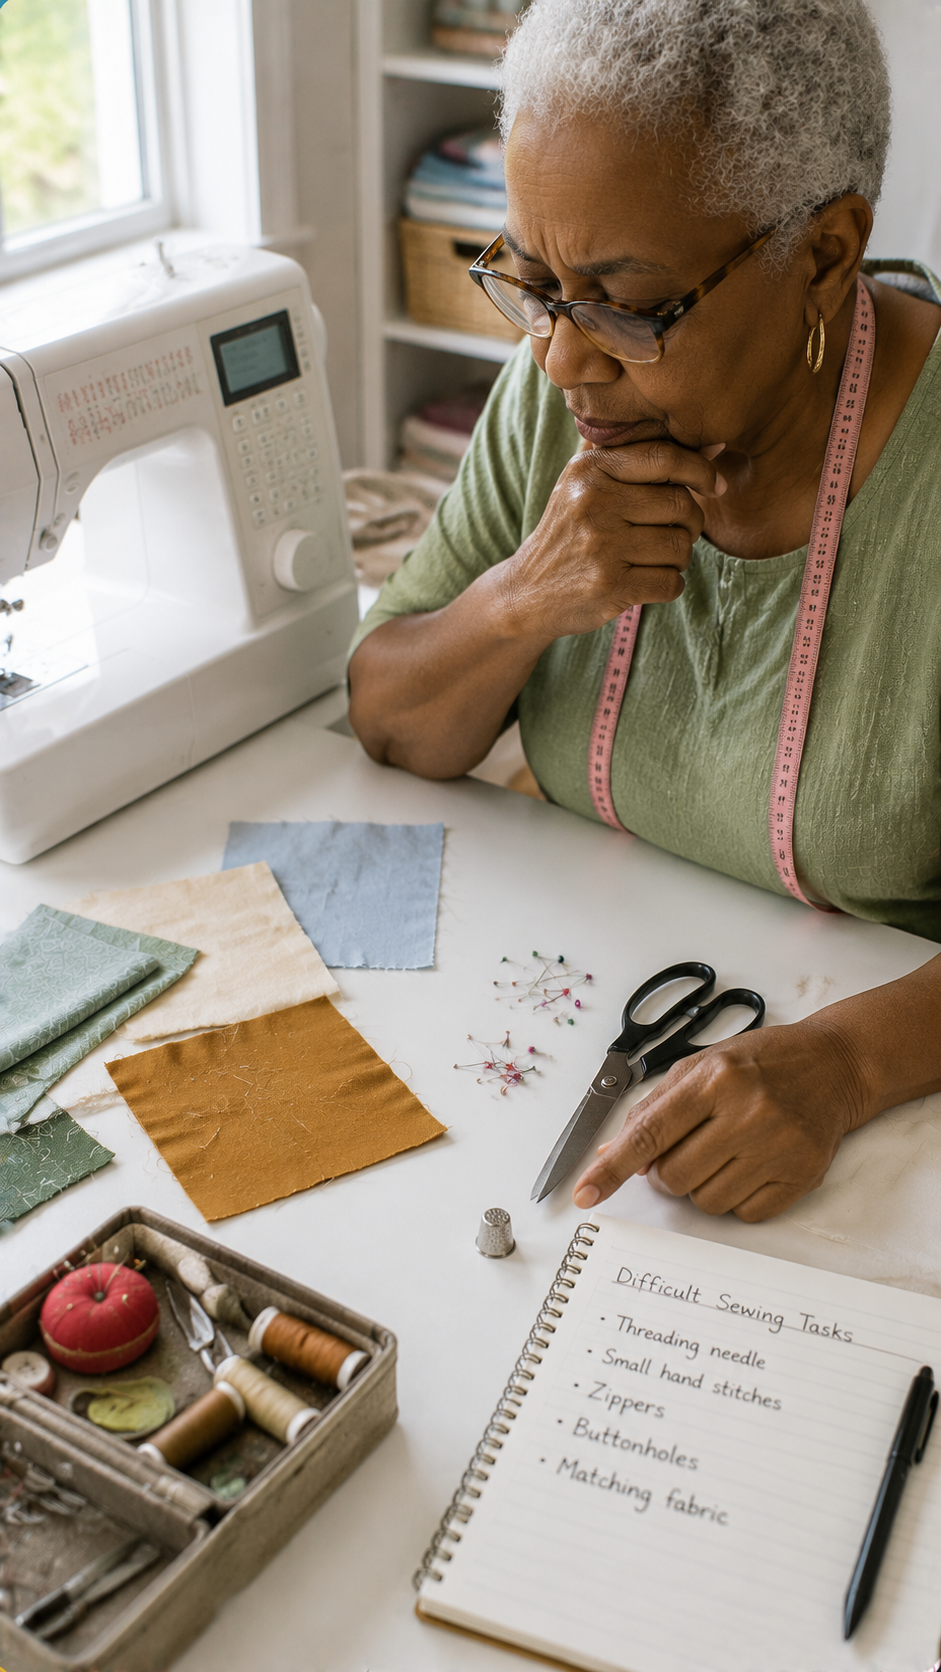
Before changing your sewing tools, pay attention to which part of sewing is actually making your hands hurt.
Arthritis does not affect every movement in the same way, so replacing all your tools may not solve the problem if you haven’t identified the movement causing the strain.
Notice what happens when you:
- Thread a needle — repeated pinching can be difficult when your fingers or thumb are stiff or painful.
- Cut fabric — opening and closing scissors repeatedly can put strain on the hands.
- Pull thread through fabric — this can require a firm pinch and pulling force.
- Hold fabric — gripping fabric tightly for long periods can increase hand strain.
- Use pins — picking up and pushing small pins involves repeated fine finger movements.
- Turn a sewing-machine handwheel — repeated twisting may bother painful thumb or wrist joints.
- Guide fabric through a machine — holding and controlling fabric can become tiring when hand strength or movement is limited.
- Work in one position for a long time — even a task that feels comfortable at first can become harder when repeated without a break.
The aim is to notice the movement, not just the pain. Joint-protection guidance recommends looking at how a painful activity is being performed and finding a way to reduce the force placed on the affected joint.
Once you know what is causing the trouble, you can choose a more useful solution.
The Arthritis Foundation specifically recommends adapting tools and techniques for needlework according to the difficulties a person’s hands are experiencing.
That makes this a better starting point than simply buying a collection of “arthritis-friendly” sewing tools.
Change the task that is causing the strain first, then choose the tool that helps with that particular movement.
If you’re learning to sew later in life, How to Learn to Sew as an Adult When You Feel Like You Are Already Too Late can help you build confidence without feeling rushed.
2. Use a Needle Threader Instead of Repeatedly Pinching Fine Thread
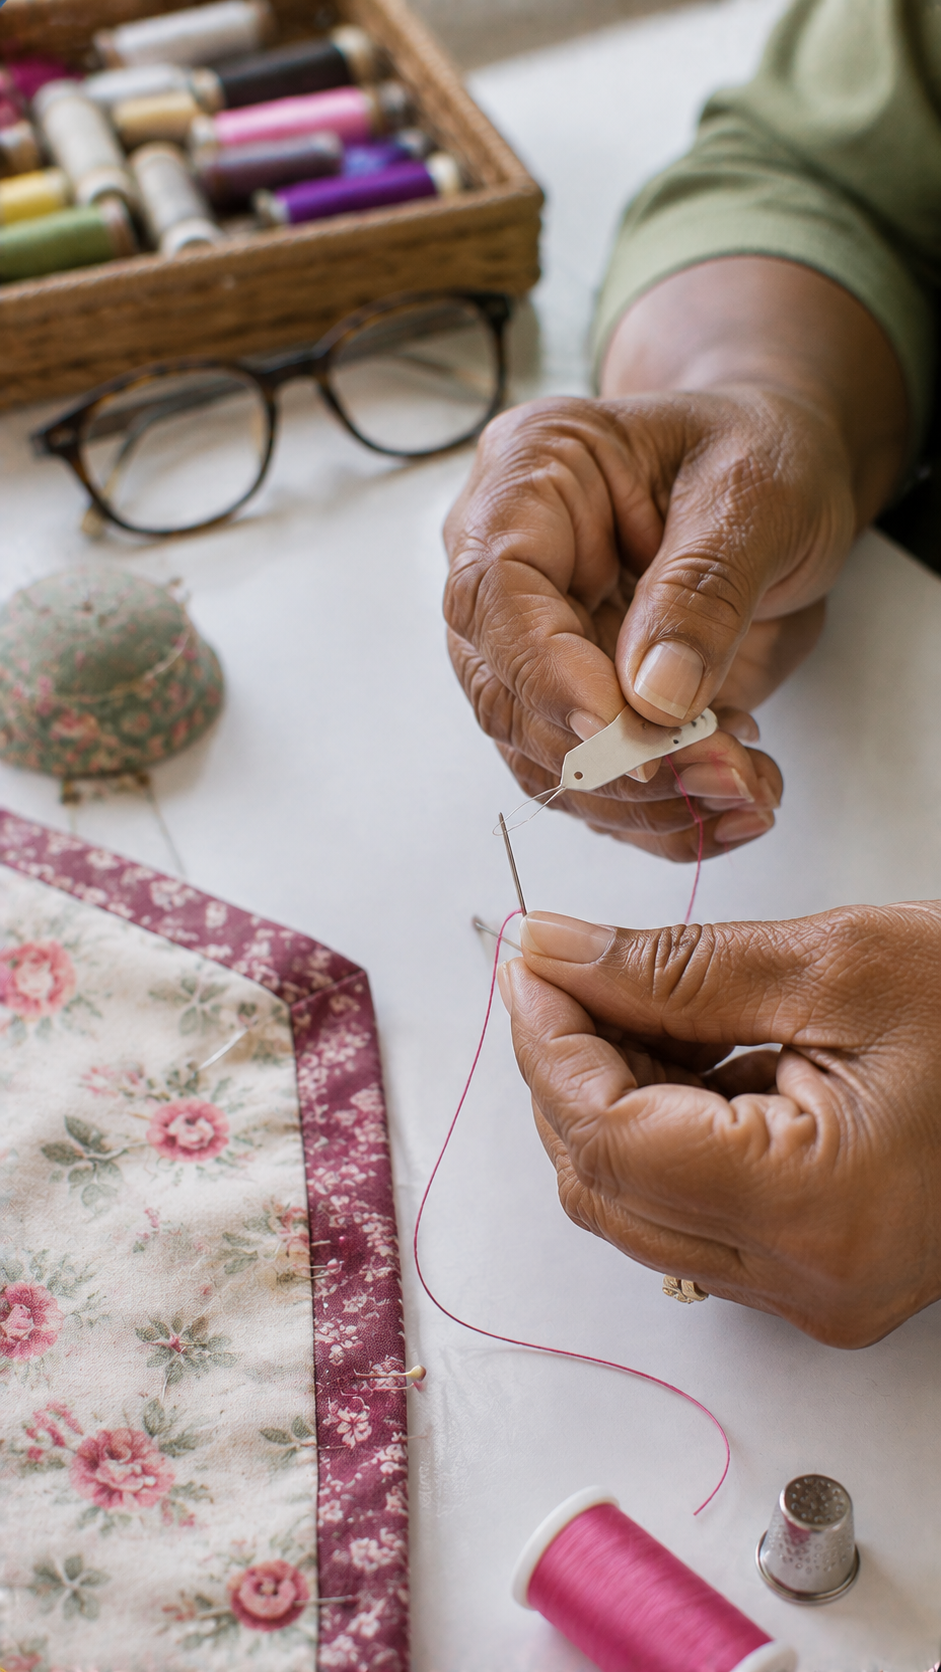
Threading a needle can become surprisingly frustrating when arthritis makes small pinching movements difficult.
Trying to hold a short piece of thread steady while lining it up with a tiny needle eye can mean repeated attempts and more pressure through the thumb and fingers.
A needle threader can take much of that fine work out of the process. Instead of repeatedly trying to push the thread through the eye, you use the threader to guide it through for you.
The Arthritis Foundation specifically recommends a needle threader as one of the tools that can make needlework easier for people with hand arthritis.
This is especially useful when the difficult part is fine finger control rather than the actual sewing. You are not changing the way you sew; you’re simply removing one of the smaller, more demanding tasks.
Choose a threader that is comfortable for you to hold and that works with the needles and thread you normally use. Different threaders have different designs, and very thick thread or very small needle eyes may not work well with every type.
The goal is simple: don’t spend extra effort pinching and repositioning a tiny piece of thread when a small tool can do that part of the job for you.
Before relying on your machine for longer sewing sessions, review Beginner’s Guide to Sewing Machine Basics You’ll Actually Use to understand the controls and settings you actually need.
3 Choose Larger, Padded Handles Instead of Small Handles
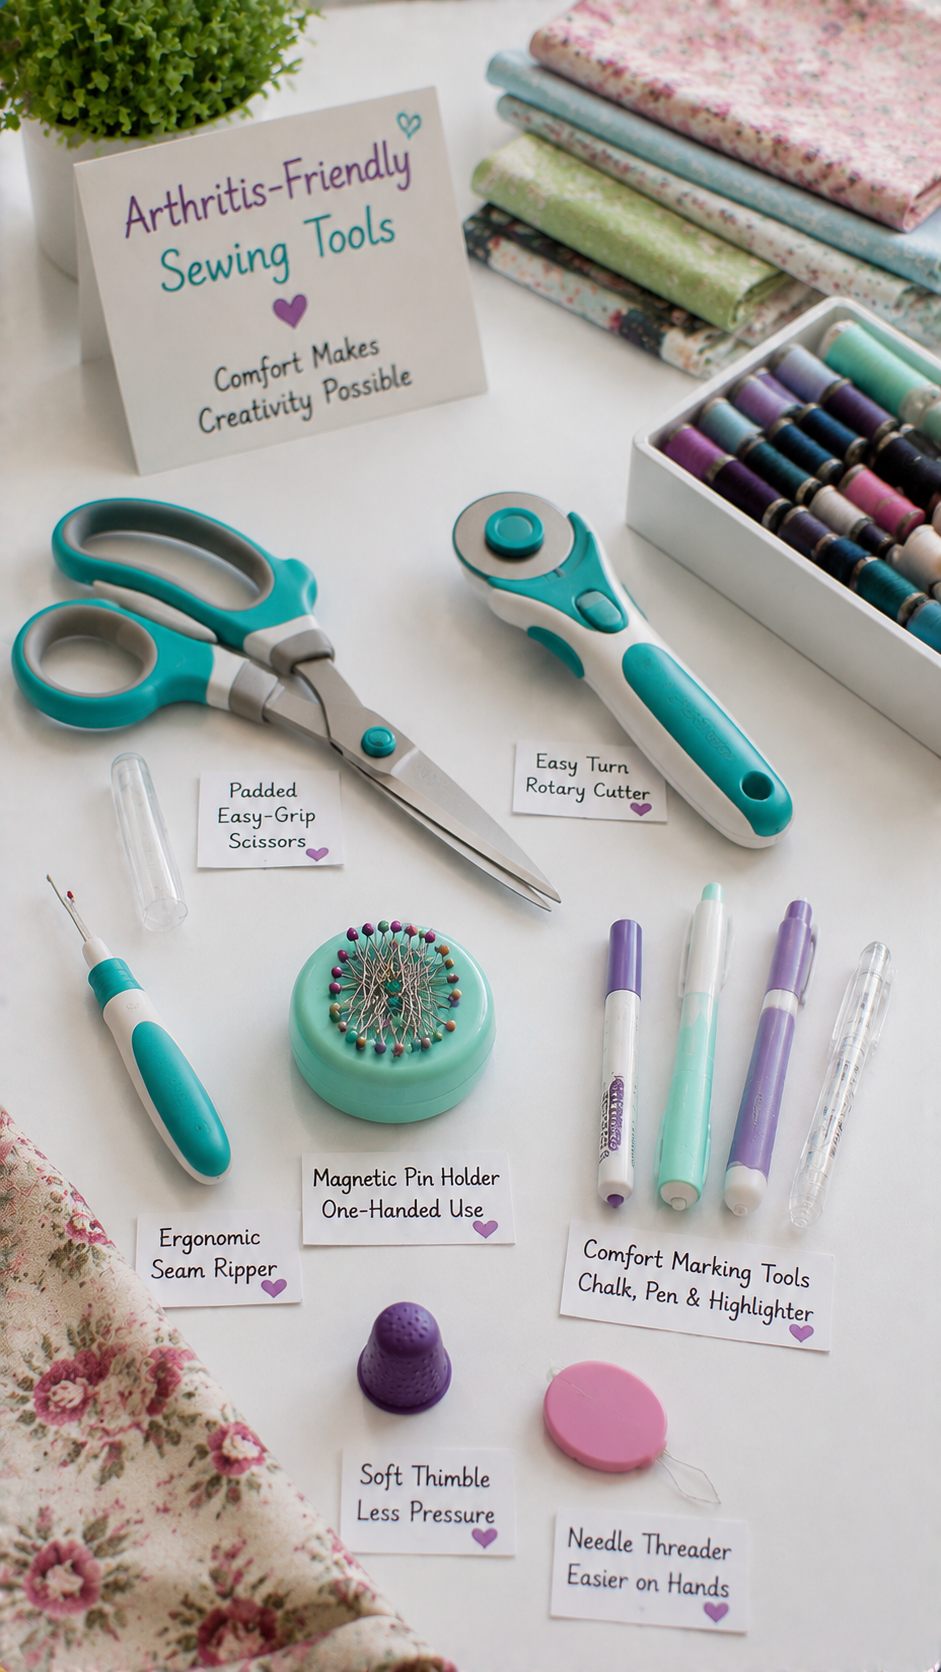
When sewing with arthritis, small, thin handles can make you grip a tool more tightly than necessary. That repeated pressure can be tiring and uncomfortable when your fingers or thumb joints are already stiff or painful.
Larger, padded handles give your fingers more surface to hold, which can make it easier to use a tool without squeezing it as firmly. This can be helpful with seam rippers, scissors, marking tools, and other sewing tools you use often.
You don’t have to replace everything in your sewing box. Start with the tools that cause the most discomfort and look for versions with thicker, softer grips or add a suitable handle cover.
The aim is simple: keep a secure hold without making your hands work harder than they need to.
When sewing patterns start to feel overwhelming, How to Read Sewing Patterns Without Feeling Lost breaks down the information you need to follow a pattern with less frustration.
4. Try Spring-Loaded or Easy-Open Scissors
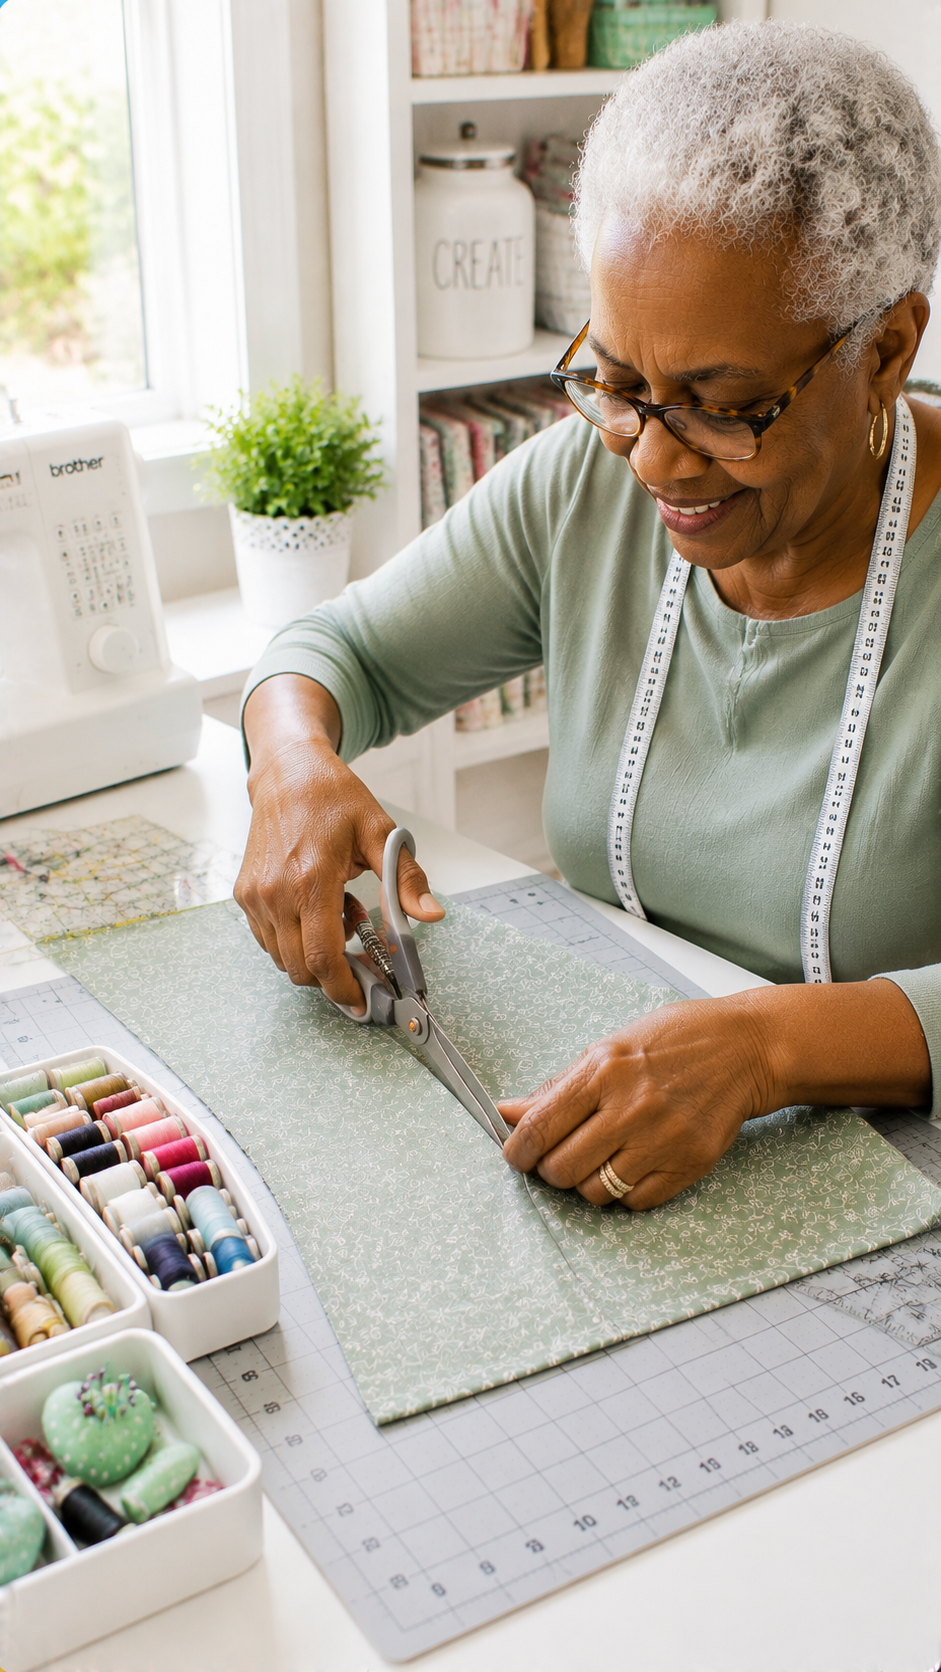
Cutting fabric can become tiring when you have to repeatedly squeeze scissors closed and then use your fingers to open them again. That repeated movement can be especially uncomfortable when arthritis affects the thumb or finger joints.
Spring-loaded scissors are designed to reopen the blades after you release your grip. This means your hand does less work during each cut. They can be particularly helpful when opening ordinary scissors is harder than closing them.
The size and sharpness of the scissors still matter. Choose a pair that fits comfortably in your hand and cuts fabric without requiring you to force the blades through it. Sharp scissors are important because dull blades can make you squeeze harder and take more effort to cut cleanly.
You don’t need to use spring-loaded scissors for every sewing task. If regular scissors are comfortable for light cutting but become difficult when you’re cutting several layers or working on a large project, an easier-opening pair may be worth keeping specifically for those jobs.
The important thing is to reduce the amount of force your fingers have to produce repeatedly. Arthritis guidance for needlework recommends options such as spring-loaded scissors when regular scissors become difficult to use.
For techniques that can make sewing smoother and more manageable, see 15 Sewing Hacks for Beginners Who Want Neater, More Professional Results.
5. Let a Cutting Mat and Table Do More of the Work
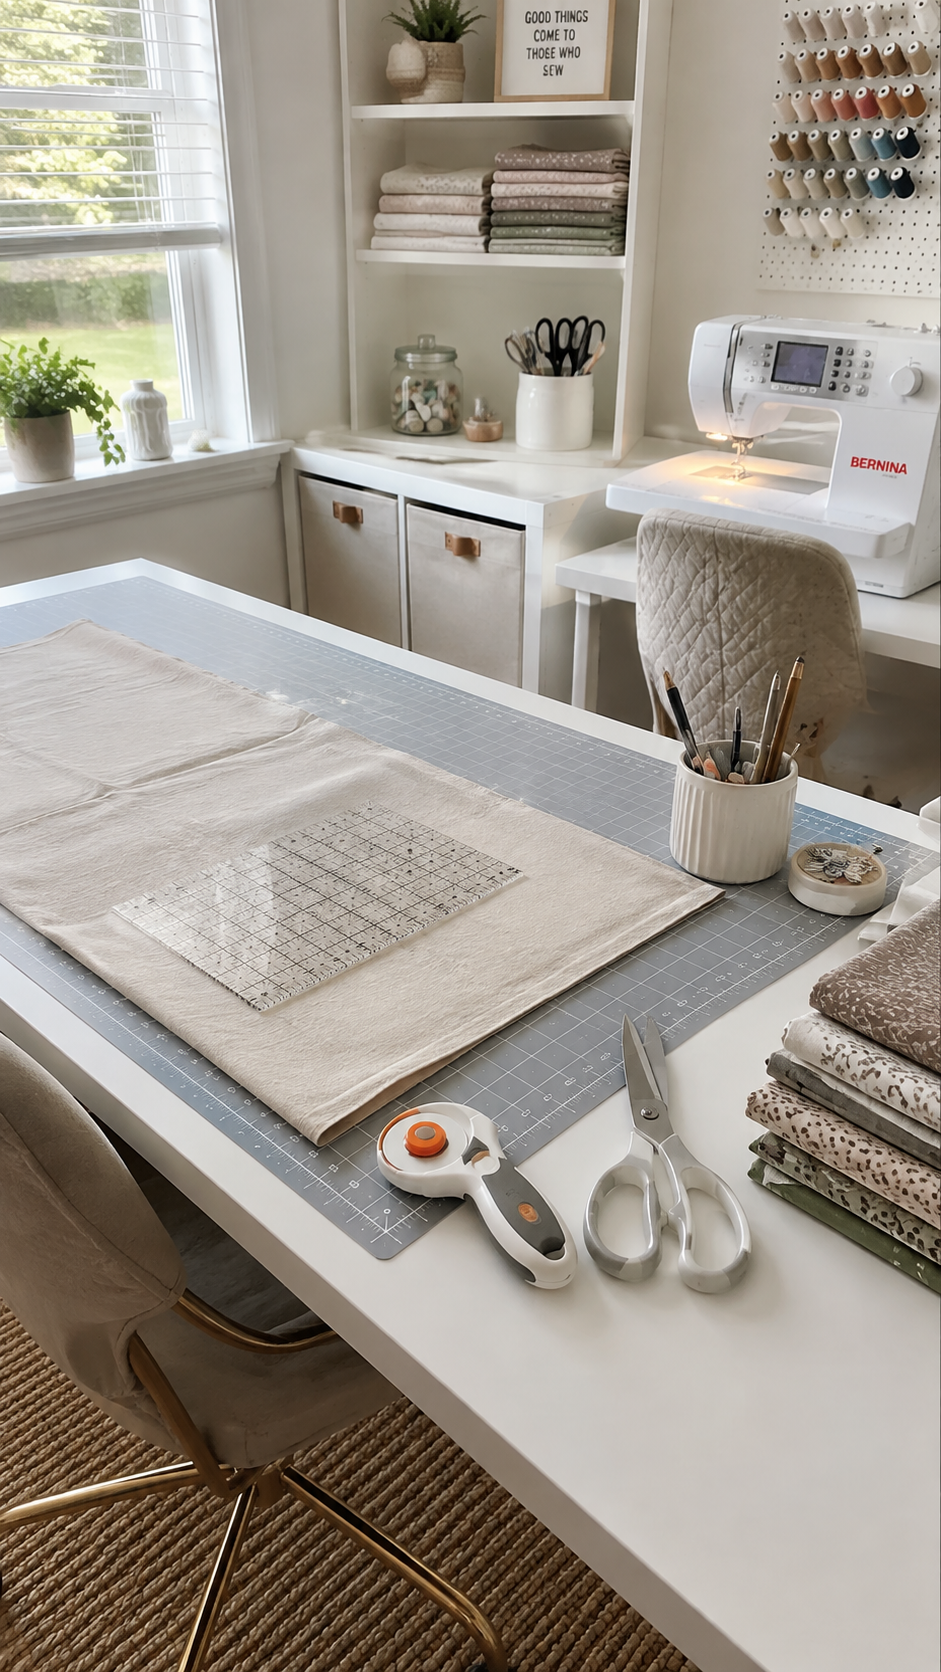
The way you position your fabric can put unnecessary work on your hands. Holding fabric up while cutting, trying to control a large piece in your lap, or repeatedly moving it around a small workspace can make you grip and reposition the material more than necessary.
A stable cutting surface gives the fabric somewhere to rest while you work. A self-healing cutting mat is useful when you prefer a rotary cutter, while a clear, sturdy table can make fabric easier to spread out and cut with scissors.
The benefit isn’t simply having a better place to cut. You’re allowing the table to support the weight and position of the fabric instead of asking your hands to do all of that work.
Keep the fabric as flat and supported as possible, and arrange frequently used tools within easy reach. This can reduce unnecessary stretching, twisting, and repeated repositioning.
If you use a rotary cutter, don’t assume it is automatically easier for arthritic hands. Rotary cutting still requires pressure and controlled hand movement, and the tool should only be used if you can operate it comfortably and safely. The better choice is the cutting method that lets you control the fabric and tool without excessive gripping or force.
That is the bigger principle behind this adjustment: use your work surface to carry some of the physical load instead of making your hands carry it all.
If you’re looking for a way to sew without spending heavily on new fabric, Thrift flip Sewing Projects Ideas For People Who Want Expensive Style on a Budget offers ideas for giving existing clothing a new purpose.
6. Use a Sewing Machine When Hand Stitching Is the Part That Hurts
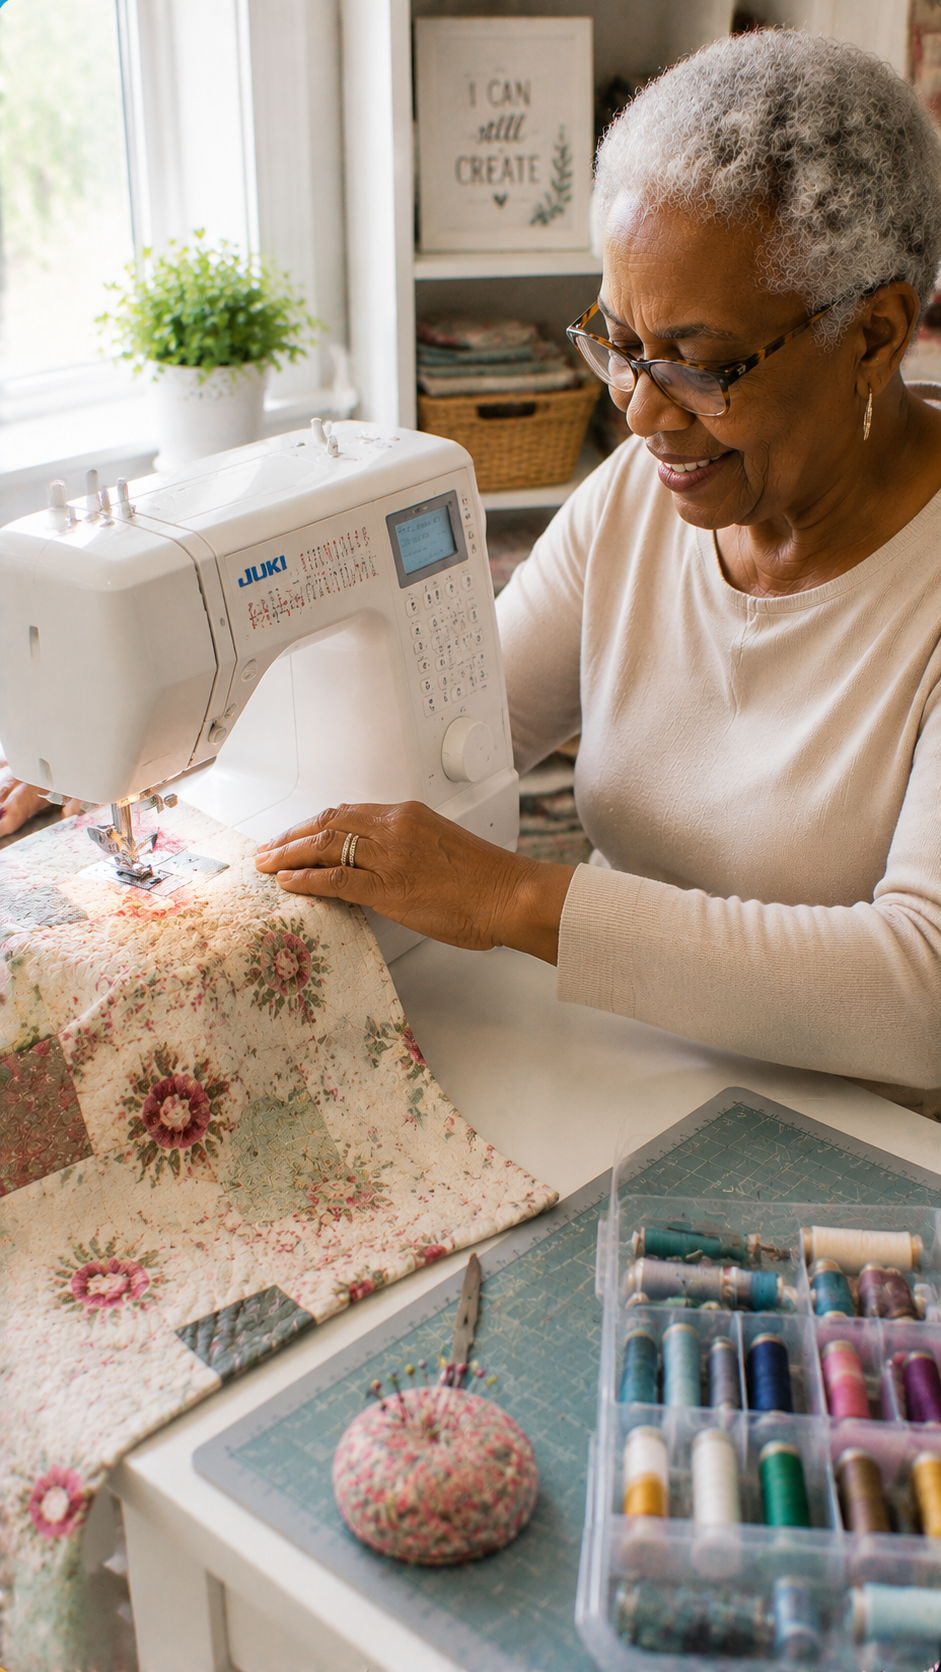
When sewing with arthritis, long periods of hand stitching can be difficult because the work involves repeated pinching, gripping, pulling, and small finger movements.
If those are the movements that cause you the most trouble, a sewing machine can take over much of the repeated stitching.
This doesn’t mean machine sewing is automatically easier for everyone. You still need to guide the fabric, operate the controls, and sometimes use the handwheel or presser-foot controls.
The useful question is whether the machine removes the particular movement that is causing your hands the most strain.
Use the machine for longer seams where possible and save hand sewing for shorter tasks such as attaching a button, closing a small opening, or adding a finishing detail. You can also choose projects that rely more on machine stitching and involve less hand-finishing.
The goal is not to stop using your hands. It is to move repetitive work to a method that requires less painful gripping or pinching.
Choosing the right needle can also make sewing easier on both your machine and your hands. How to Choose the Right Sewing Needle for Every Fabric Type — Before You Blame Your Machine explains which needle works best for different fabrics.
7. Make the Sewing Machine Easier to Control
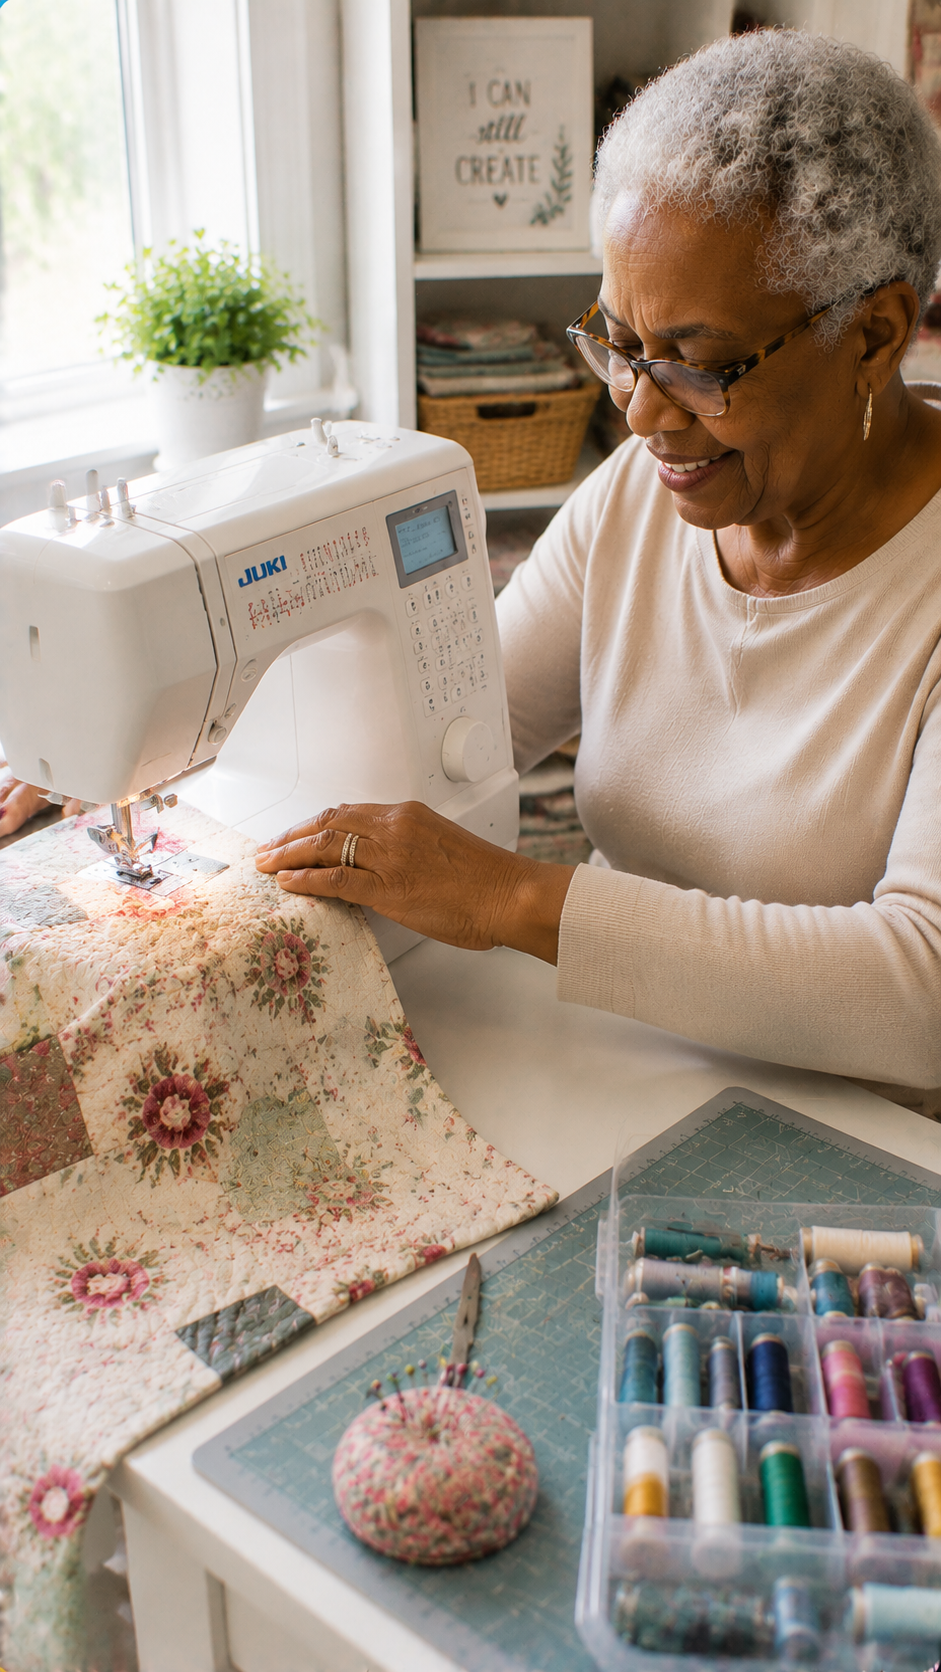
A sewing machine can reduce hand stitching but still become uncomfortable if you have to reach, twist, grip, or press controls repeatedly. Small adjustments to your setup can make the machine easier to use.
Start by keeping the machine at a height where you can sit comfortably without lifting your shoulders or leaning forward. Keep your fabric and the tools you use most often within easy reach so you aren’t repeatedly stretching across the table.
Use built-in features that remove small hand tasks when your machine has them. An automatic needle threader, for example, can reduce the fine finger work involved in threading the needle.
A machine with a comfortable speed-control system can also be easier to manage than one that makes you feel you have to work quickly.
Pay attention to the foot pedal as well. If pressing it repeatedly or maintaining a particular foot position causes discomfort, take regular breaks and adjust your sitting position rather than trying to push through it.
For sewing with arthritis, the aim is to make the entire workstation easier, not simply to put an electric machine in front of you and expect it to solve every problem.
Wondering whether your machine is making sewing harder than it needs to be, compare your options in Industrial vs Domestic Sewing Machines: Which One Should You Buy as a Beginner.
8. Stop Holding the Fabric Tightly—Change How You Stabilise It
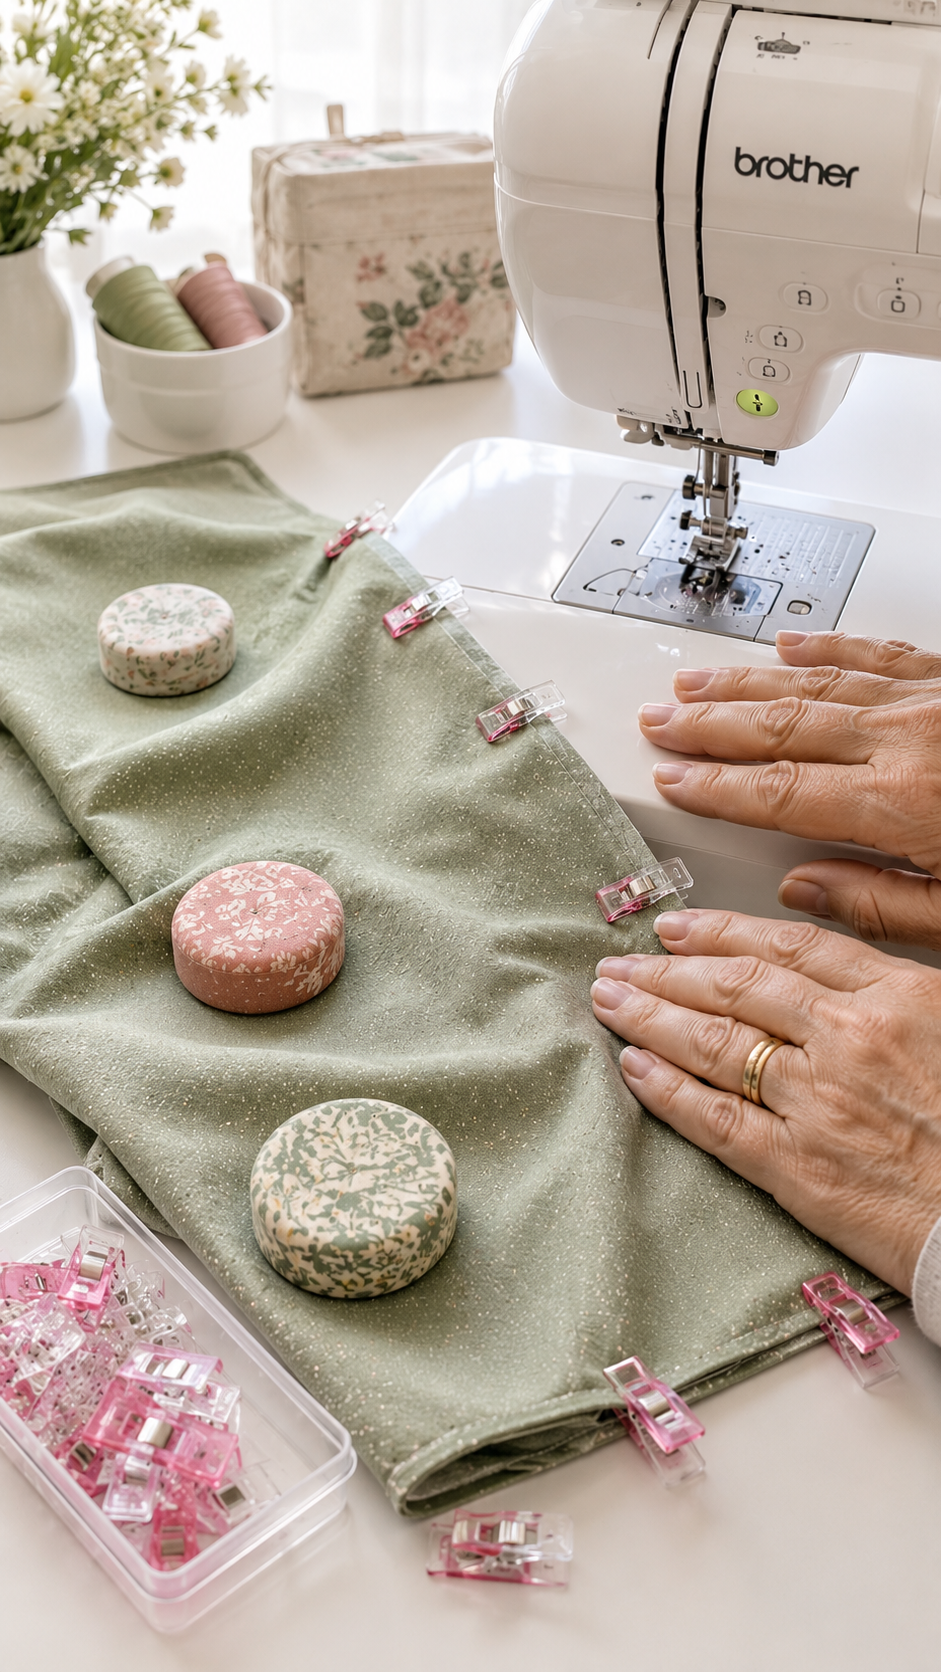
One easy habit to overlook is how tightly you hold the fabric. When your hands don’t feel as strong or steady as they once did, you may instinctively grip the fabric harder to keep it in place. That extra gripping can put more pressure on already painful finger and thumb joints.
Instead, let the table, sewing clips, pins where appropriate, and the sewing machine itself help keep the fabric under control.
Support larger pieces on the table rather than allowing their weight to hang from your hands. When machine sewing, guide the fabric gently instead of pulling it through the machine.
For smaller pieces, choose a method that gives you control without requiring a hard pinch. Sewing clips can be easier for some people to grasp than small pins, particularly when the task allows clips to be used safely.
You don’t need to hold fabric completely still with your fingers. The aim is to use support and positioning to do more of the stabilising work, so your hands can guide the material without constantly squeezing it.
This is a useful joint-protection principle beyond sewing too: when a task can be supported by the work surface or adapted with a tool, there is less reason to make small finger joints do all the work.
Reduce unnecessary handling and re-cutting by learning How to Cut Fabric Without Wasting It: A Beginner’s Guide to Cutting Confidently the First Time.
9. Use Pins for Sewing Clips When Pinching Is Difficult
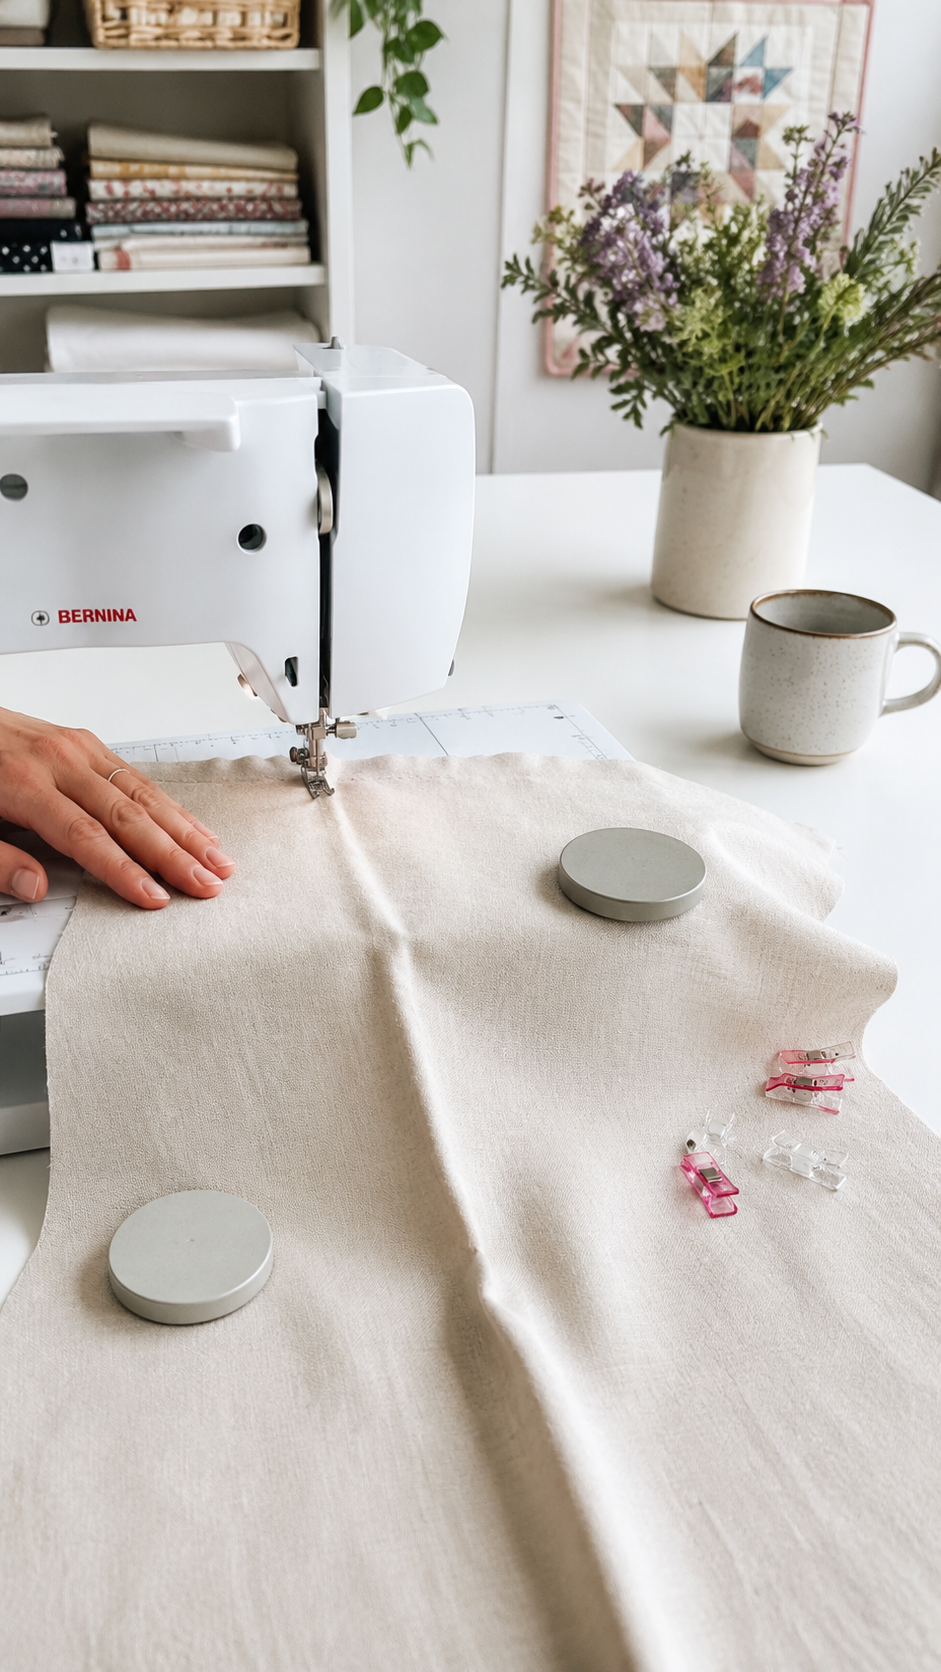
Small sewing pins can be frustrating when picking them up, opening your fingers around them, and pushing them through fabric puts too much pressure on your fingertips. Sewing clips give you another option for tasks where clips are suitable.
Clips have a larger surface that you can grasp and squeeze, so you don’t have to make the same small pinching movement needed to handle a tiny pin.
They can be particularly useful for holding layers together along seams, hems, quilting pieces, or thicker fabrics where a pin may be awkward to manage.
They aren’t a replacement for pins in every situation. Clips can get in the way of the presser foot, may not hold some fabrics or shapes as securely, and cannot always be placed where a pin can. Use them where they suit the project, and remove them before the sewing machine reaches them.
The useful change is simple: when the problem is repeatedly picking up and pinching tiny pins, use a fastening method that gives your fingers something larger and easier to hold.
You can also avoid starting from scratch by learning How to Copy a Pattern From Clothes You Already Own (Without Taking Them Apart).
10. Work in Shorter Sessions Instead of Waiting Until Your Hands Hurt
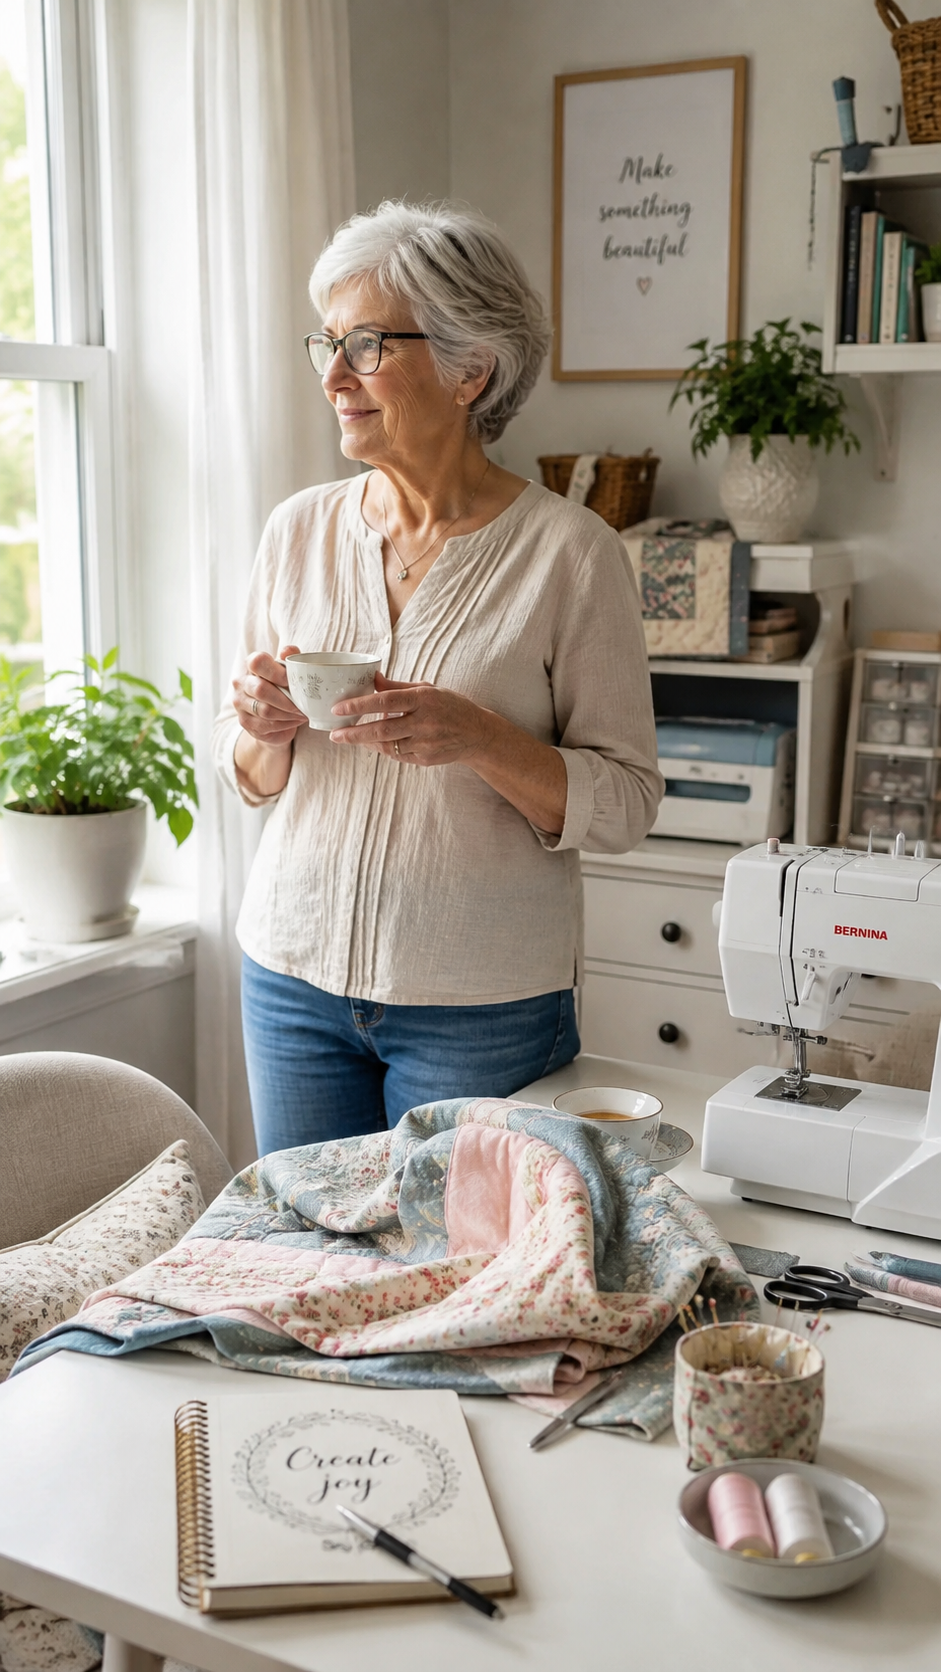
A common mistake is to keep sewing because your hands feel fine at the beginning of a project, then stop only when they become painful or exhausted. With repetitive activities, that can leave you struggling to finish the project comfortably.
Instead, divide your sewing into shorter sessions. You might cut your fabric during one session, sew the main seams later, and leave pressing or hand-finishing for another time.
Regular breaks also give your hands a chance to change position and move rather than staying in the same grip for a long period. The Arthritis Foundation recommends taking regular joint breaks during needlework, particularly when an activity involves repetition or holding one position for a long time.
Pay attention to what happens after each session, too. If a particular task repeatedly leaves your hands more painful afterward, that is useful information. You may need to shorten that activity, change your technique, use an adaptive tool, or discuss the problem with a healthcare professional.
The goal is not to see how long you can sew before your hands hurt. Plan your breaks before you reach that point.
If sewing is becoming more than a hobby, Sewing Skills That Actually Make You Money (Even If You’re Just Starting) shows which practical skills can help you turn sewing into an income stream.
11. Change the Project When the Project Is the Problem
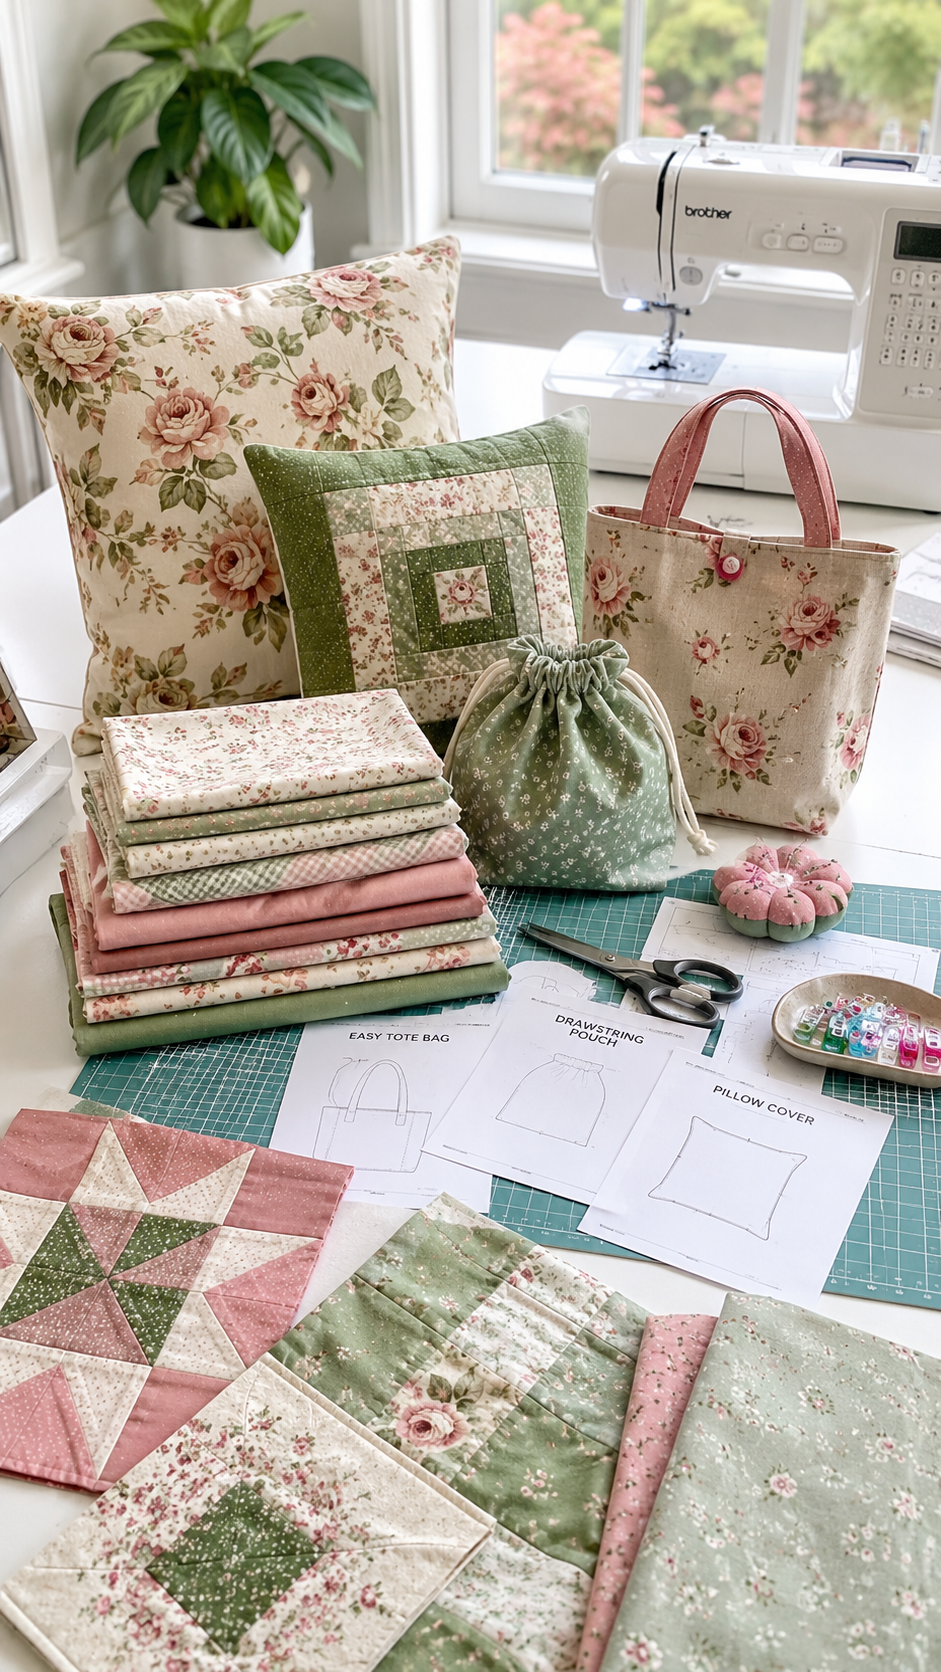
Sometimes the tool isn’t the main issue. The project itself may simply demand more repetitive hand work than your hands can comfortably manage.
A project involving hundreds of tiny pieces, hours of hand stitching, heavy fabric, or repeated small movements may be difficult even with better tools. Choosing a different construction can remove much of that strain before you even begin.
Look for projects that:
- Use larger pieces instead of many tiny ones
- Rely more on machine stitching than hand stitching
- Have fewer layers to handle
- Require less repeated pinching or pulling
- Avoid long stretches of detailed hand embroidery
- Can be completed in separate stages rather than one long session
You can also change how you make a familiar project. A large quilt, for example, may be easier to manage when divided into smaller sections rather than handling the entire piece at once.
This doesn’t mean you have to stop making the projects you love. It means being willing to adapt them. Sometimes the most arthritis-friendly sewing tool is a simpler construction method that removes the difficult movement altogether.
Hoping to earn from sewing at home, Struggling to Make Money From Home Sewing? Launch a Profitable Sewing Side Hustle can help you think through how to turn your skills into a practical side hustle.
Don’t Try to “Push Through” Hand Pain Just to Finish a Project
Getting close to the end of a sewing project can make you want to keep going, even after your hands start hurting.
But pushing through increasing pain isn’t a good strategy for sewing with arthritis.
Pain, swelling, stiffness, or a noticeable drop in hand strength are reasons to stop and reassess the task. You may need a longer break, a different tool, a change in how you hold the fabric, or shorter sewing sessions.
Pay attention to what happens after you sew, too. If the same activity repeatedly leaves your hands more painful or stiff afterward, don’t simply assume you need to work through it.
A healthcare professional, occupational therapist, or hand therapist can help you find safer ways to modify the activity.
Your project can wait. The goal is to keep sewing in a way that respects your hands, rather than finishing one project at the cost of making your hands feel worse.
For a smoother sewing experience, choose patterns that don’t create unnecessary frustration with How to Find Sewing Patterns That Are Easy to Follow and Beginner-Friendly (Save Hours of Frustration).
Conclusion
Sewing may need to look a little different, but arthritis doesn’t have to mean giving up the craft you enjoy.
The most useful changes are often simple: choosing tools that reduce effort, setting up your workspace well, changing demanding tasks, and giving your hands enough time to recover.
The key is to notice what your hands are telling you and make adjustments before a sewing session becomes too much.
Sewing with arthritis is about finding a way to keep creating that works with your hands, not forcing your hands to work the way they used to.
Ready to make your sewing space more comfortable? Start with the one sewing task that causes you the most trouble, change that first, and see how much easier your next project feels.
And when a garment has a small problem that doesn’t need replacing, 15 Smart and Easy Sewing Fixes for Clothes and Fabrics You Keep Throwing Away can show you how to repair and keep it useful.
FAQS
1. Can sewing actually make arthritis worse?
Sewing itself is not automatically harmful to people with arthritis. The bigger concern is how much force, repetition, and time a particular task places on your joints.
Needlework can still be a meaningful activity and may help maintain movement and strength, but persistent pain is a reason to change the way you work rather than simply continue through it.
2. Is it better to sew in the morning if I have arthritis?
There isn’t one best time of day for everyone with arthritis. Stiffness, pain, fatigue, and medication effects can vary from person to person. Instead of choosing a fixed “best” sewing time, pay attention to when your hands usually feel most comfortable and plan more demanding work for that period.
Keeping a simple note of what you sewed, how long you worked, and how your hands felt afterward can help you spot your own pattern. Activity logs are also used in arthritis care to identify which activities may be linked with worsening symptoms.
3. Should I wear an arthritis glove while sewing?
An arthritis or compression glove may feel helpful for some people, particularly if warmth or gentle compression makes their hands more comfortable. However, it isn’t a universal solution and shouldn’t be treated as a replacement for changing a painful sewing task.
If a glove makes your fingers feel restricted, numb, colder, or less controlled around needles and other sharp tools, take it off. People with ongoing hand problems can also ask an occupational or hand therapist whether a particular type of support is appropriate for them.
4. Can an occupational therapist help me adapt my sewing?
Yes. This can be especially useful if you’ve changed your tools and techniques but still struggle with particular sewing movements.
An occupational therapist can look at how you hold your tools, position your hands, sit at your machine, and carry out specific sewing tasks, then suggest practical adaptations or assistive equipment.
The advice can be much more useful than buying random products because the solution is based on the difficulty you’re actually having.
5. Why do my hands hurt more after sewing even when the sewing itself didn’t hurt?
Sometimes the problem becomes noticeable after the activity rather than during it. A long period of repetitive hand movements or staying in one position can leave your hands feeling stiff, tired, or more painful later.
That is why judging a sewing session only by how you feel while doing it can be misleading. Notice how your hands feel afterward and later in the day.
If the same type of sewing repeatedly leaves you worse, that is a useful reason to reduce the session length, change the task, or seek professional advice.
Arthritis guidance recommends regular breaks during repetitive needlework and paying attention to pain rather than simply working through it.