You are currently viewing Easy DIY Box-Shaped Storage Baskets You Can Sew Instead of Buying for a Clutter-Free, Organized Home

Easy DIY Box-Shaped Storage Baskets You Can Sew Instead of Buying for a Clutter-Free, Organized Home

If storage keeps failing you, this will help. Learn how DIY storage baskets can turn messy spaces into simple, organized systems that actually last.

I can’t count how many times I’ve bought storage baskets thinking this one will finally sort things out.

I’ll go to the shop, pick one that looks nice, bring it home, and for a short while it feels like I’ve done something productive. But then I start using it, and it doesn’t really help the way I expected.

It’s too small for what I wanted to put inside, or it’s too big and ends up wasting space. Sometimes it just sits there looking neat while the clutter slowly builds around it again.

And instead of stopping, I go back and buy another one. A different size, a different shape, same idea. I’ve done this more than once—spending money again and again on baskets, trying to “fix” the same space, but nothing really changes long term.

What I eventually realized is that I wasn’t really fixing the problem. I was just buying storage and hoping it would somehow make everything stay in place.

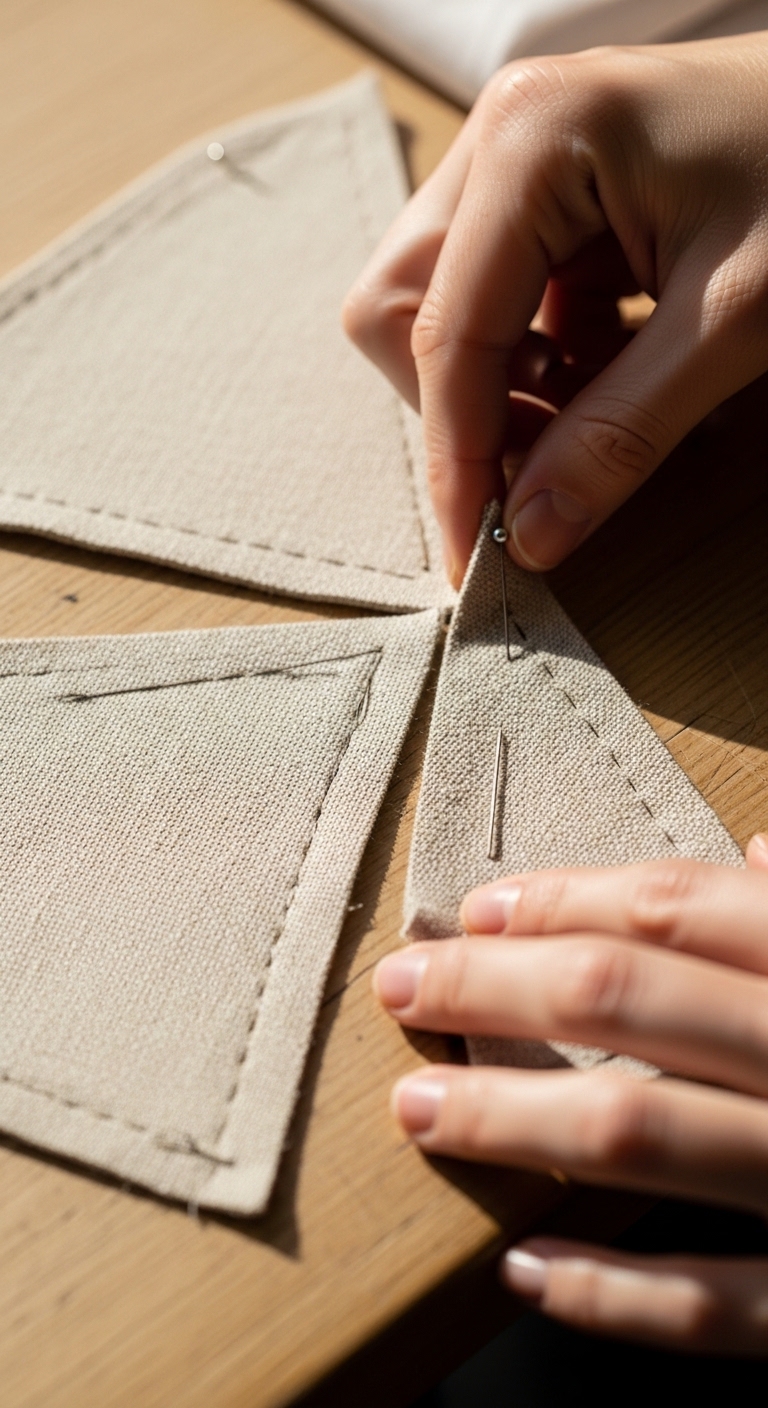
That’s what made me start thinking about making my own box-shaped fabric storage baskets instead, simple ones I can sew to the exact size I need, so I’m not guessing anymore or wasting money on something that only looks useful in the store.

In this guide, I’ll walk you through that same pattern, how to recognize it in your own home, especially if you’ve had the same experience of buying storage over and over without things actually staying organized.

And I’ll also show you a simpler way to make box-shaped fabric storage baskets that actually fit your space and how you use it.

Creating polished projects becomes easier when you understand what works—this guide on Low Budget Craft Ideas That Don’t Look Cheap for Events, Gift-Giving, and Home Decor breaks it down clearly.

Having the right tools makes a big difference, and these 15 Must-Have Crafting Tools Beginners Often Forget – That Make DIY Projects Easier help you avoid common struggles.

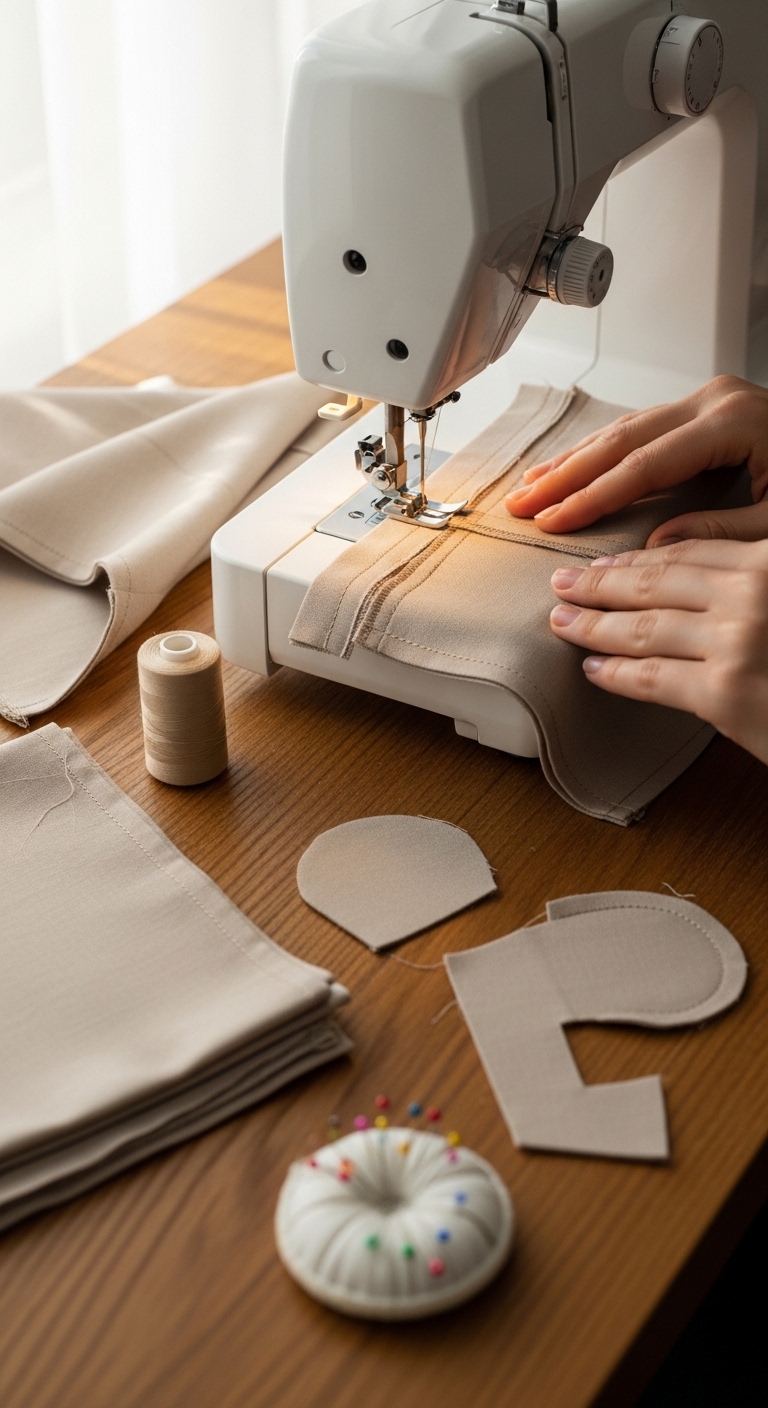
Materials You Will Need

Materials-You-Will-Need.-for-the-DIY-storage-baskets

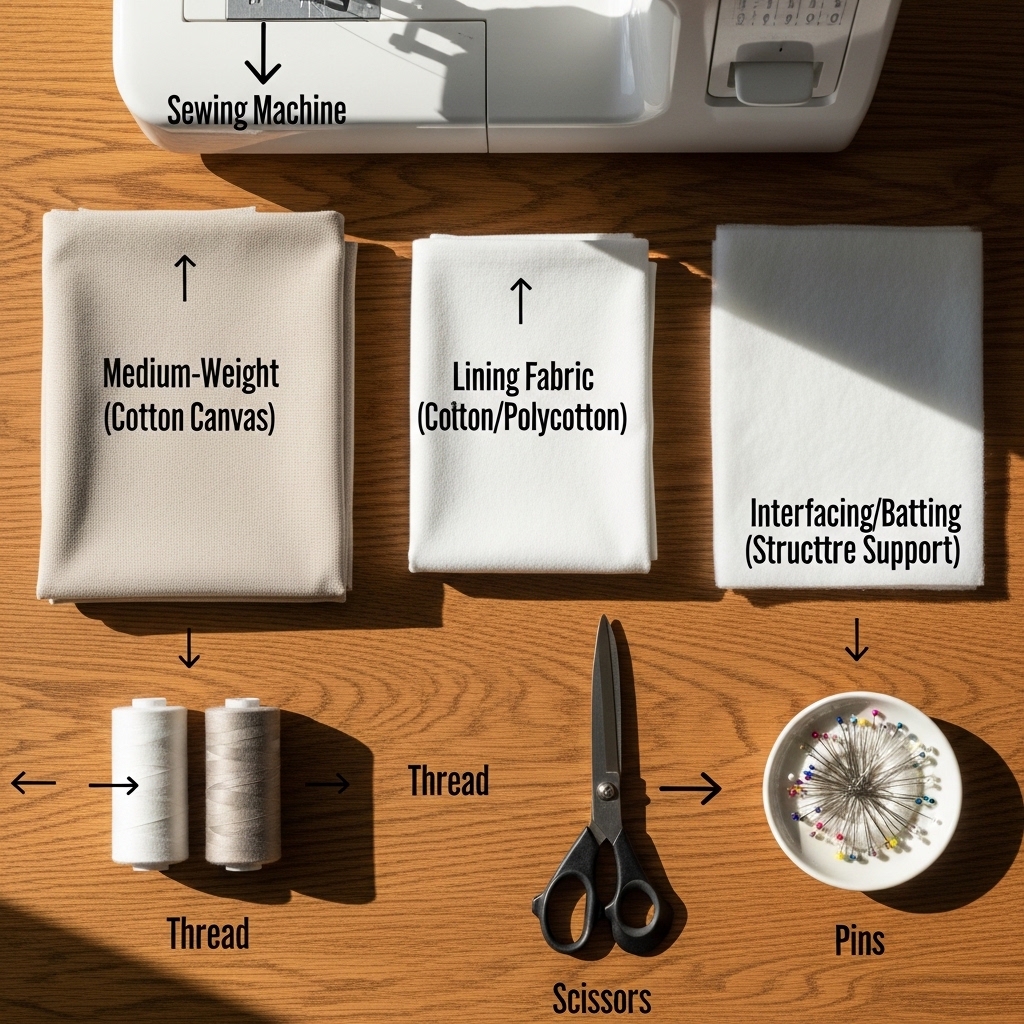
We will keep it simple, you don’t need anything complicated for this project.

Medium-Weight Fabric (Cotton Canvas Recommended)

This is the outer layer of the basket and the main factor that determines structure. A medium-weight fabric like cotton canvas helps the basket hold its shape when filled, instead of sagging or collapsing under weight.

Lining Fabric (Cotton Or Polycotton)

This forms the inner layer of the basket. It gives a neat interior finish, covers raw seams, and improves durability so the basket can handle regular use without wearing out quickly.

Fusible Interfacing Or Batting (For Structure Support)

This is what gives the basket its body. Fusible interfacing creates a firmer, more rigid shape, while batting produces a softer but still structured feel. This layer is essential if you want the basket to stand independently.

Thread, Scissors, Pins

These are the basic construction tools. Thread secures all fabric layers together, scissors ensure accurate cutting, and pins help keep pieces aligned before sewing.

Sewing Machine (Or Hand Sewing For Smaller Projects)

A sewing machine provides stronger, more consistent seams and is recommended for larger baskets. Hand sewing can be used for smaller versions, but it requires more time and careful stitching to maintain strength.

 Note:
Fabric choice and structure material directly determine the performance of the basket. Heavier fabrics combined with interfacing or batting produce a stable, box-shaped result, while lighter fabrics will reduce firmness and may cause the basket to lose shape over time.

Handmade products can also become a source of income, and these12 Polymer Clay Crafts You Can Make and Sell from Home for Beginners show simple ideas that are beginner-friendly.

Construction Method (How the Box Shape Is Created)

This is the part where your flat fabric becomes real structure. If you follow it carefully, you’ll be able to make DIY storage baskets that actually stand on their own and don’t collapse with use.

Take your time with each step. Accuracy here matters more than speed.

Step 1: Cut Your Fabric Panels

Cut-Your-Fabric-Panels

Start by cutting all your pieces before sewing anything.

You will need:

  • Outer fabric (front, back, two sides, and base)
  • Lining fabric (same pieces and same sizes)
  • Fusible interfacing (cut slightly smaller than fabric pieces)

Kow this:
Always include a 1 cm (½ inch) seam allowance on all sides.
If you skip this, your DIY storage baskets may end up too small or misaligned when assembled.

Step 2: Add Structure to the Fabric

Add-Structure-to-the-Fabric.

Attach fusible interfacing to the wrong side of your outer fabric using heat (iron). Let it cool fully before moving to the next step.

If you are using batting instead, layer it evenly and secure it lightly.

 This step determines whether your DIY storage baskets will:

  • hold their shape (with interfacing/batting)
  • or collapse (without structure)

Step 3: Sew the Side Panels

Sew-the-Side-Panels.

Join the outer fabric pieces together along the side edges to form a box-like tube.

Repeat the same process for the lining pieces separately.

 You now have two “boxes”:

  • one outer shell
  • one inner lining

Do not join them yet.

If you’re interested in making home decor that looks and smells amazing, this guide on How to Make Scented Candles at Home That Look and Smell Professional – Step-by-Step Guide walks you through it.

Step 4: Form the Box Shape

Form-the-Box-Shape

This is where the real structure happens.

Take each corner of the sewn box and flatten it so the side seam and base seam form a triangle.

Measure the same distance on every corner, for example:
4 cm x 4 cm or 5 cm x 5 cm

Then sew straight across that line.

 This creates depth and turns flat fabric into structured DIY storage baskets instead of a flat pouch.

Step 5: Assemble the Lining and Outer Shell

Assemble-the-Lining-and-Outer-Shell.

Place the lining inside the outer fabric with right sides facing each other.

Align the top edges carefully and sew all the way around.

 Leave a small opening (about 5–7 cm) on one side seam of the lining only.

Note:
Always leave the opening on a side seam, not at the front, so it closes neatly later.

Step 6: Turn and Finish the Basket

Turn-and-Finish-the-Basket

Pull the fabric through the opening so the right side is facing out.

Push out all corners properly so the box shape is sharp and defined.

Close the opening with a neat stitch.

Finally, topstitch around the top edge.

 This step locks the structure in place and helps your DIY storage baskets hold their shape during daily use.

Learning a new skill from scratch feels less overwhelming with a clear guide like How to Start Embroidery as a Beginner – Step-by-Step Guide for Complete Beginners.

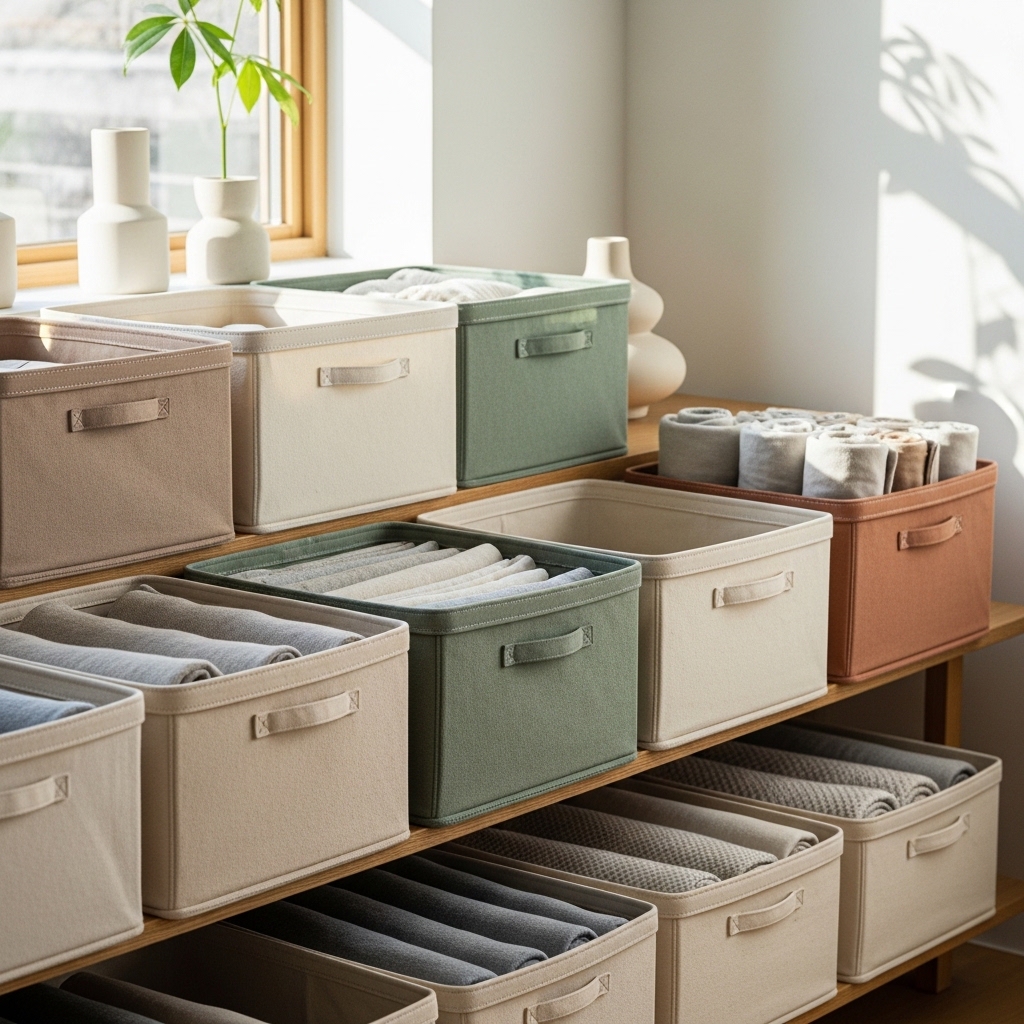
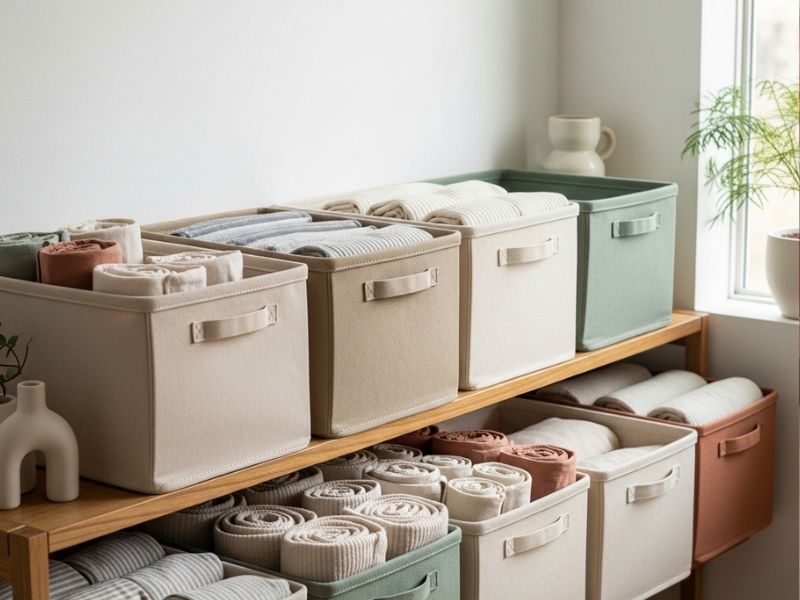
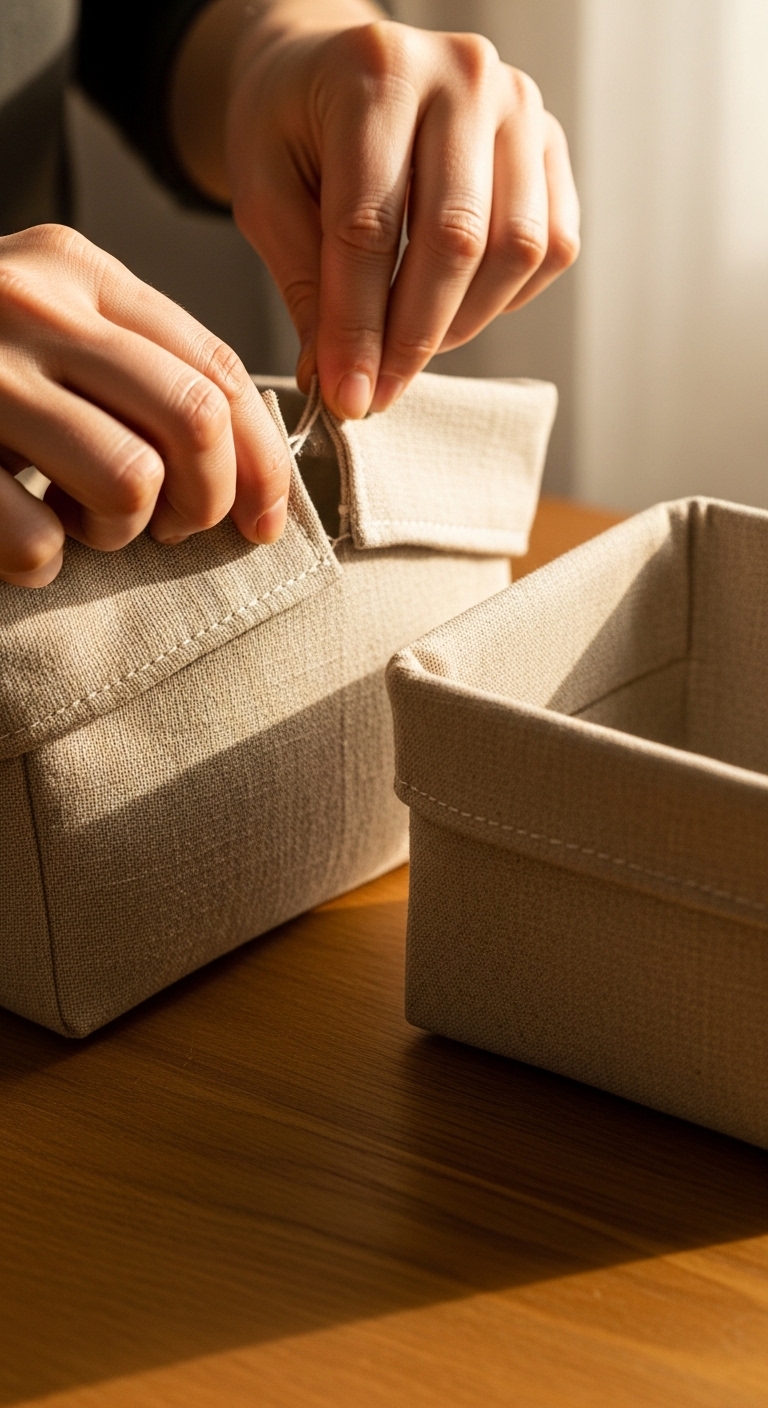
Best Sizes for Home Use (So Your DIY Storage Baskets Actually Get Used)


Best-Sizes-for-Home-Use


Most people don’t struggle with sewing the basket, they struggle with choosing the right size.

And that’s usually where things go wrong. You make one that looks nice, but later realize it doesn’t really fit anything properly in your home.

So instead of guessing, it helps to think in terms of how you’ll actually use your DIY storage baskets in real life.

Small Size (For Everyday Small Items)

This is for things that usually end up scattered in drawers or corners.

Use it for:

  • Socks
  • Makeup and small personal items
  • Charging cables and accessories

 This size works best inside drawers or tight shelf spaces where small items usually get lost.

Medium Size (For Regular Household Use)

This is the most practical and commonly used size.

Use it for:

  • Folded clothes
  • Books and notebooks
  • Kitchen items or daily essentials

 This is the size most people end up using the most in their DIY storage baskets because it fits everyday storage needs.

Large Size (For Bulk or Mess-Prone Areas)

This is for bigger items or areas where clutter builds up quickly.

Use it for:

  • Laundry
  • Kids’ toys
  • Extra household supplies

These DIY storage baskets usually go on the floor, under tables, or in open corners.

Key Idea

You don’t need random sizes. You need sizes that match your actual daily habits.

 When your DIY storage baskets are sized intentionally, they stop being extra storage and start becoming part of how your home stays organized.

For something more detailed and elegant, this guide on How to Make Resin Jewelry with Real Flowers That Looks Professional at Home shows how to achieve a clean, finished look.

Where to Actually Use These DIY Storage Baskets

Where-to-Actually-Use-These-DIY-Storage-Basket

Don’t think of these as home decor projects. Think of them as fixes for the spots in your home that always end up messy again, no matter how many times you clean them.

Because the truth is, clutter usually isn’t everywhere. It’s in the same places over and over.
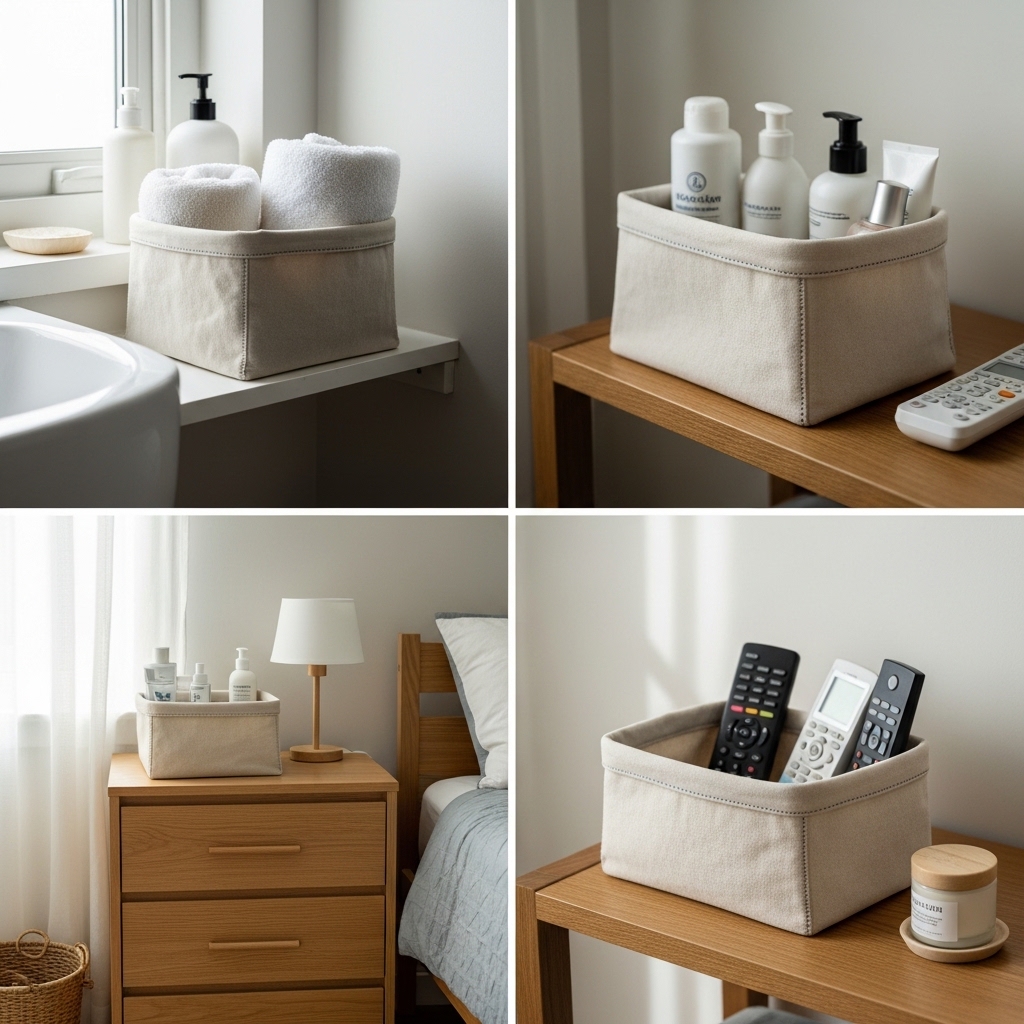
1. Bedroom Shelves

This is where things quietly pile up, folded clothes that don’t stay folded, small items you don’t feel like putting away properly, accessories that always end up scattered.

 A DIY storage basket here is just a way to stop that slow build-up. Instead of items sitting loosely on the shelf, they go into one place and actually stay there.

2. Kitchen

The kitchen mess is usually small things, sachets, snack packets, utensils you use often but don’t really have a home for.

 When you place a DIY storage basket here, it removes that “random counter clutter” feeling. Everything small just has one place to go instead of spreading everywhere.

3. Living Room

This one is usually quiet but constant, remotes, chargers, magazines, small things you move around but never really store properly.

A small DIY storage basket on a table or shelf solves that constant searching. You stop asking, “Where did I put that?” because there’s a fixed spot for it.

4. Bathroom

Bathrooms get messy faster than you realize because everything is small and used daily.

 A DIY storage basket helps you group things, so instead of scattered bottles or towels, you just have one contained space that’s easy to reset after use.

5. Kids’ Room

If you’ve ever cleaned a kids’ room, you already know the problem, it doesn’t stay clean for long.

 Larger DIY storage baskets help here not because they organize everything, but because they make cleanup simpler. Toys and school items go back into one place instead of spreading across the room again.

Feeling like you’re “not creative enough” is more common than you think, and DIY Projects for People Who Don’t Feel Crafty at All breaks things down into simple, doable steps.

Why This Saves You Money Long-Term

Why-This-Saves-You-Money-Long-Term

With this, you get to see the benefit clearly, not just in making something once, but in how it reduces how often you need to keep buying storage.

  • One Basket Replaces Repeated Purchases

When you make your own storage baskets, you’re not going back to the store every time something doesn’t “fit right.” One well-made basket can take the place of several store-bought bins you would normally keep replacing over time.

  • You Can Use What You Already Have

Instead of buying new materials, many of these baskets can be made from leftover fabric or old household textiles. That alone cuts down the cost significantly compared to constantly buying new organizers.

  • No More Wasted Space

Store-bought bins often come in fixed sizes that don’t fully match your shelves or corners. Making your own means you only create what actually fits, so you’re not losing usable space or stacking half-useful containers.

  • Built to Last When Made Properly

If you reinforce the structure correctly, these baskets don’t easily lose shape or break like cheap plastic storage. That means fewer replacements and less money spent fixing the same problem over and over again.

For practical ideas you can actually turn into income, these 10 Low-Cost DIY Crafts to Make and Sell From Home focus on easy projects that don’t require expensive materials.

Leave a Reply