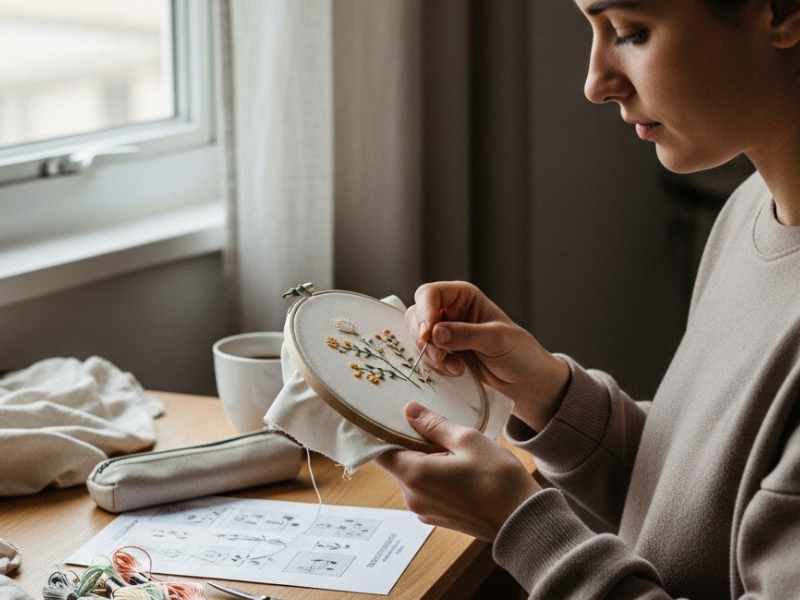
Not sure how to start embroidery for beginners? This guide shows you exactly what to do first, from tools to stitches, so you can start practicing without feeling overwhelmed.
Starting embroidery for the first time can feel confusing. You might be thinking, “I don’t know where to start,” or “What tools do I actually need?” Maybe you’re even wondering if you’re doing it the right way.
That feeling is normal. Embroidery looks detailed from the outside, but when you break it down, and you understand the basics, it becomes a calm and enjoyable craft that anyone can learn at their own pace.
In this guide, I’ll walk you through the very first steps so you can start embroidery without stress. You don’t need expensive tools or any prior experience. Just a few basic materials and a bit of patience is enough to begin.
Starting a craft journey with limited budget becomes easier with practical ideas like Low-Cost Craft Business Ideas for Beginners That Require No Expensive Tools or Skills, helping beginners discover realistic ways to start earning without pressure or confusion.
What Embroidery Is
Embroidery is simply the act of decorating fabric using a needle and thread. You’re not making clothes or fixing anything, you’re adding designs to fabric to make it look decorative.
As a beginner, you’ll usually start with very simple things like small flowers, basic shapes, or lettering like initials. These are easy to follow and help you get used to handling the needle and thread.
One thing to understand early is that embroidery is not the same as sewing clothes. Sewing is about joining fabric pieces together, while embroidery is just about creating designs on top of fabric.
A smoother crafting experience often depends on small essentials most people overlook, which is why 15 Must-Have Crafting Tools Beginners Often Forget -That Make DIY Projects Easier helps identify simple tools that improve results immediately.
Basic Embroidery Tools You Actually Need (Beginner Starter Kit)
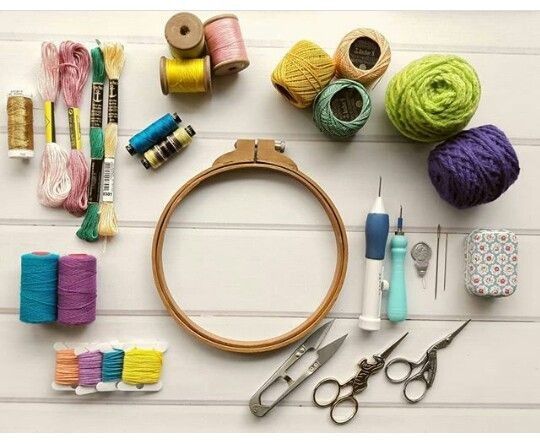
You don’t need a lot of tools to start embroidery. Just a few basic items are enough to begin and learn comfortably.
Embroidery Hoop:
This is a round frame that holds your fabric tight so it doesn’t move while you stitch. It helps keep your work neat and easier to control.
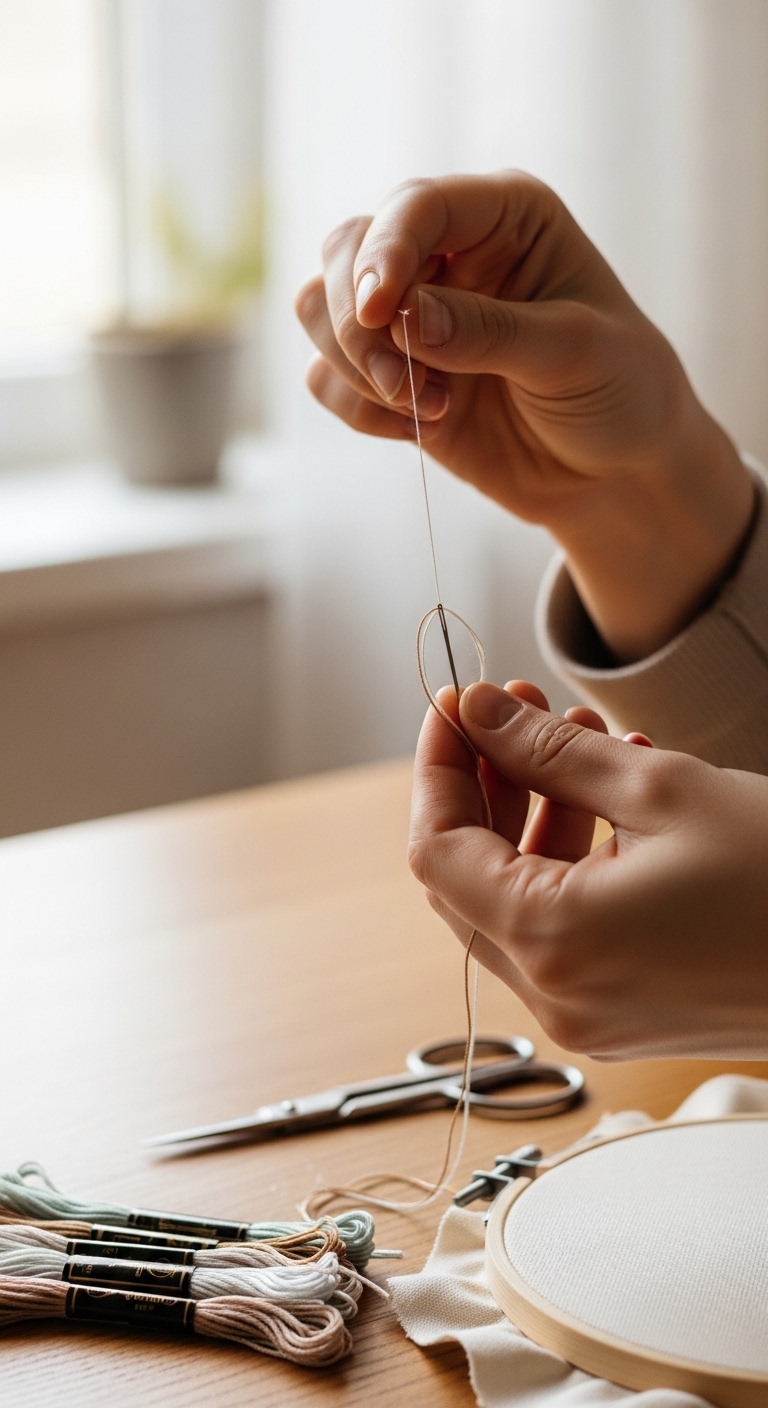
Embroidery Needles:
These are needles with a slightly bigger eye than normal sewing needles, so your thread can pass through easily.
Embroidery Floss/Thread:
This is the colored thread you use to create your designs. It usually comes in cotton strands, and you can separate them depending on how thick or thin you want your stitches to look.
Fabric:
This is what you stitch on. Cotton or linen works best for beginners because they are easy to handle and don’t slip too much.
Scissors:
You’ll need small, sharp scissors to cut your thread neatly.
Simple Pattern:
This is your design guide. It can be printed or drawn directly on your fabric to help you know where to stitch.
For now, don’t buy expensive embroidery kits yet. Start with basic tools first so you can learn without spending too much or feeling overwhelmed.
Creating something advanced at home becomes more achievable through guided steps, as shown in How to Make Resin Jewelry with Real Flowers That Looks Professional at Home, where the process is broken down in a beginner-friendly way.
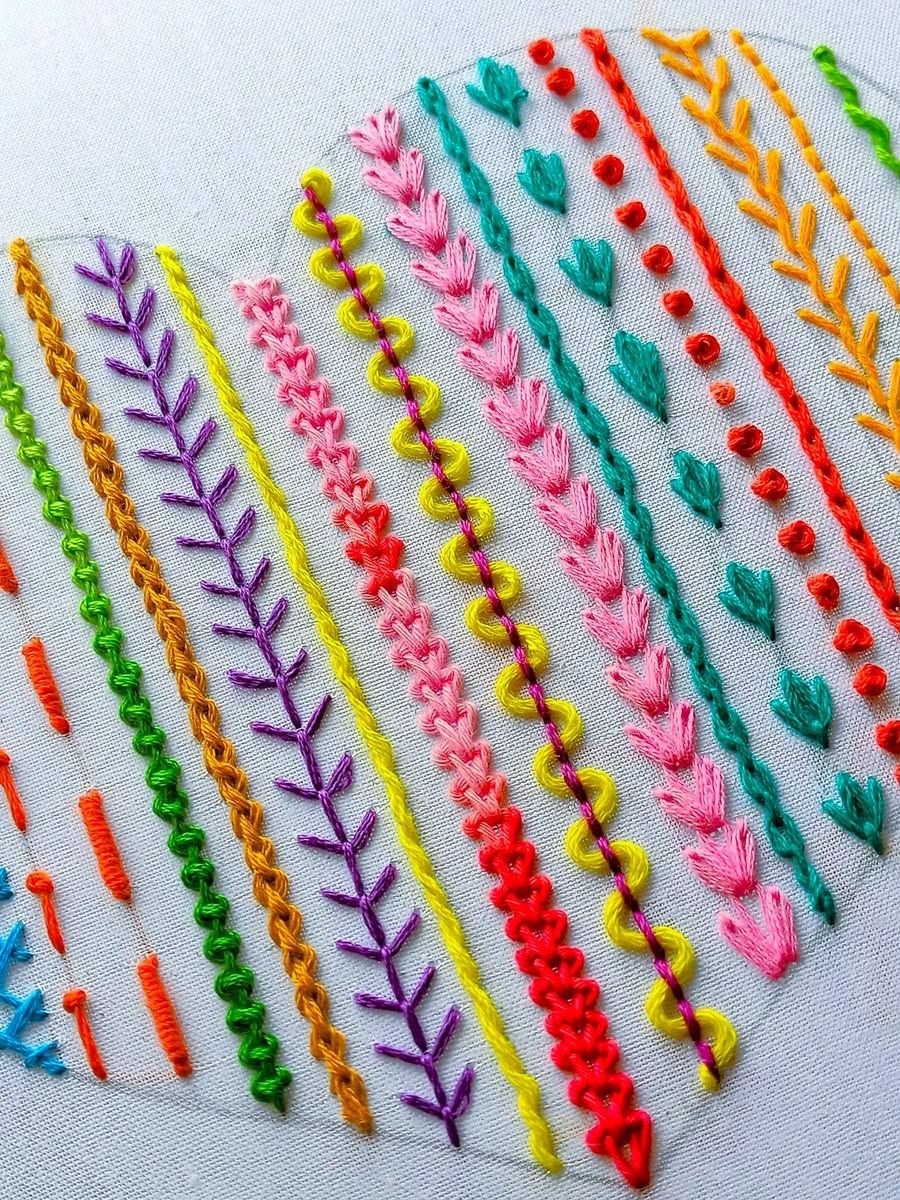
First Basic Embroidery Stitches to Learn

When you’re learning how to start embroidery for beginners, you don’t need many stitches. Just focus on a few simple ones and practice them until they feel natural.
Start with the running stitch. This is the easiest stitch to learn. It’s just a simple in-and-out motion through the fabric and helps you understand control and spacing.
Next is the back stitch. This one is used for clean outlines. It creates a solid line and is very useful when you want your design to look neat and defined.
The third one is the satin stitch, which is used to fill shapes. It takes a bit more patience, but it helps you cover areas smoothly once you get comfortable.
✔ Keep it simple:
Don’t try to learn too many stitches at once. Focus on these three first so you don’t feel overwhelmed and can build confidence step by step.
A simple entry into creativity becomes easier with relatable ideas shared in DIY Projects for People Who Don’t Feel Crafty at All, designed to help anyone start without needing artistic confidence.
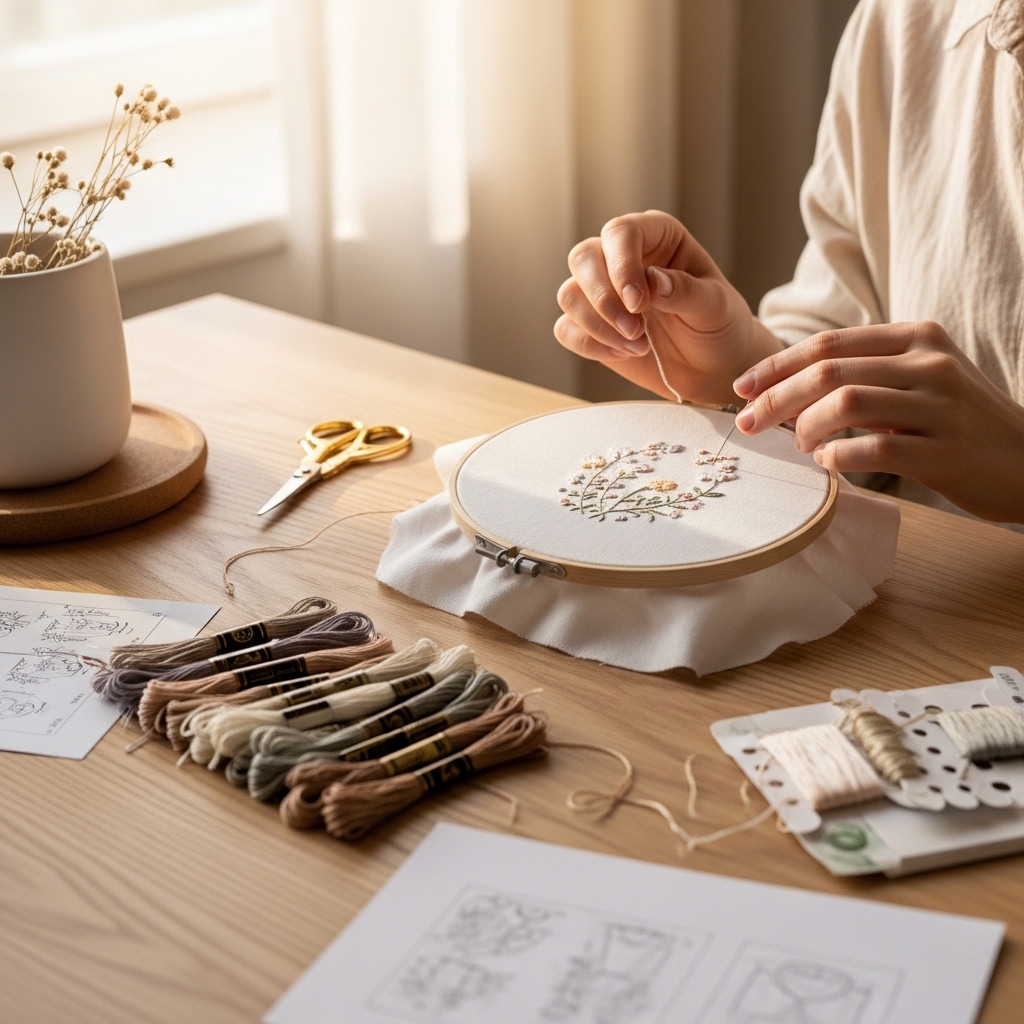
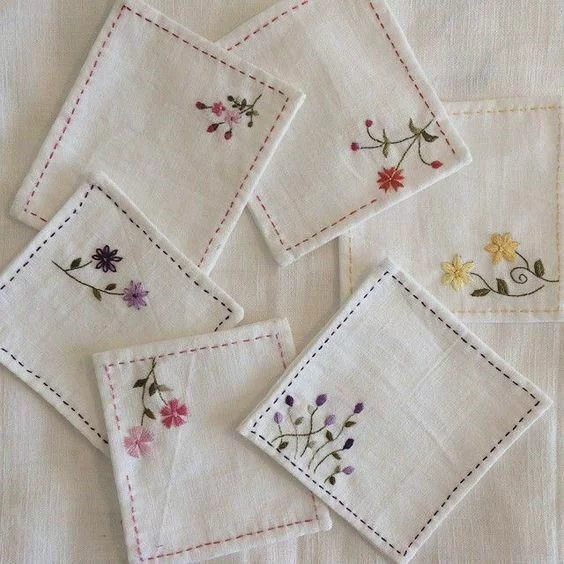
Your First Practice Project
At this stage, you don’t need anything complicated. You just need a small project that helps you practice control and get used to how the needle and thread feel on fabric.
- Small heart – This is one of the easiest shapes to start with. It helps you practice smooth curves and steady hand movement while keeping things simple.
- Flower outline – A basic flower helps you learn how to follow rounded shapes and space your stitches evenly around a design.
- Simple leaf – A leaf is good for practicing pointed shapes and learning how to control stitch direction.
- Letter initials – Stitching a letter from your name helps you practice straight lines and gives you something personal to work on.
Building a profitable skill from home requires clarity and direction, and Struggling to Make Money From Home Sewing? Launch a Profitable Sewing Side Hustle explains the common gaps and how to move from hobby to income step-by-step.
Step-by-Step: How to Do Your First Simple Design
Video credit: @ Bonequeiras Fora da Caixa
Now that you’ve picked a simple design, you can start stitching it step by step. Don’t rushlmjust follow each step slowly and focus on control.
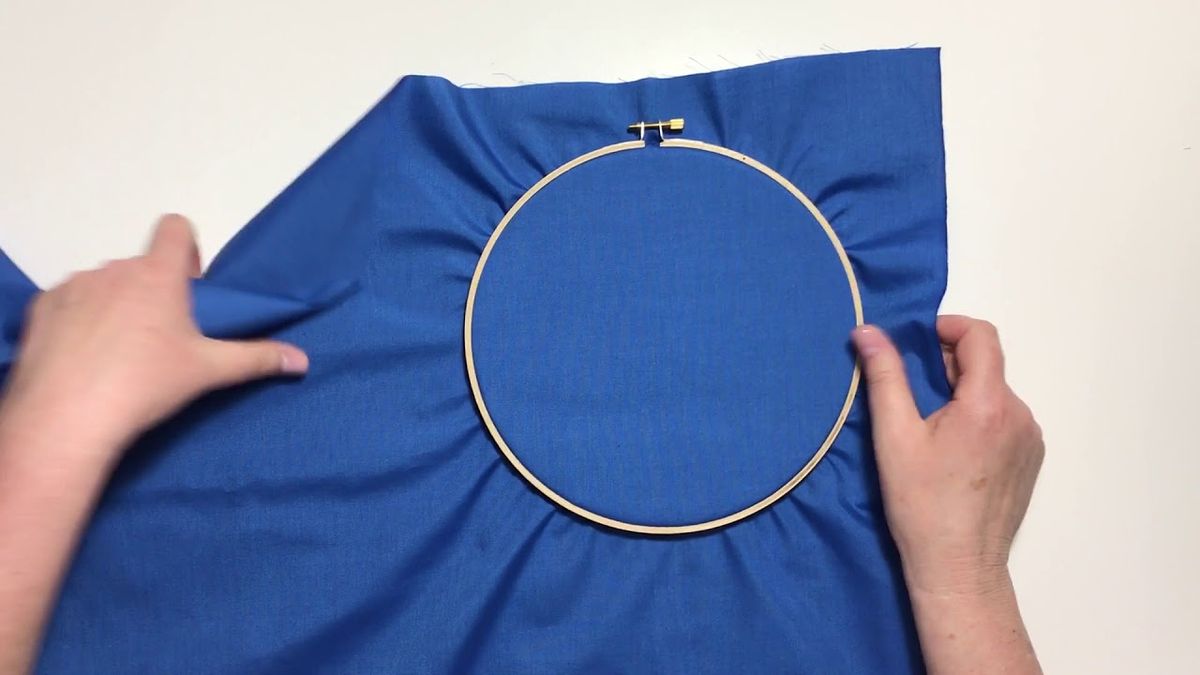
- Draw or trace your design on the fabric
Start by lightly drawing or tracing your chosen shape (like a heart or flower) onto the fabric. This gives you a guide so you know exactly where to stitch. - Secure the fabric in the hoop
Place your fabric in the embroidery hoop and tighten it so it stays flat and firm. This helps your stitches stay neat and even. - Start with an outline stitch (back stitch)
Begin stitching along the lines of your design using the back stitch. This helps you form a clean and clear outline. - Fill lightly (optional)
If your design needs filling, use simple stitches like satin stitch, but keep it light and slow. You don’t need to fill everything perfectly. - Finish and knot the thread
Once you’re done, tie a small knot at the back of the fabric to secure your work so the stitches don’t come loose.
How Long It Takes to Learn Embroidery Basics
When you’re starting embroidery, it helps to know what to expect so you don’t feel like you’re behind or doing something wrong. The truth is, learning embroidery doesn’t happen all at once—it comes in small stages.
For the basic stitches, like running stitch, back stitch, and satin stitch, you can understand how they work in just a few hours. At this stage, you’re not trying to be perfect, you’re simply learning how to move the needle, control the thread, and follow a line on fabric.
After that comes the comfort stage, which usually takes about 1 to 2 weeks of regular practice. This is when your hands start to feel more natural. Your stitches may still be uneven, but you’ll notice you’re no longer struggling with every step.
Finally, improvement in embroidery is something that continues over time. Even after weeks or months, you’ll still get better the more you practice. Your stitches become neater, your control improves, and you start to feel more confident with new designs.
✔ The most important thing to remember: embroidery is not about speed. It’s about steady practice. Everyone improves at their own pace, so focus on consistency, not perfection.
Turning creativity into income becomes more realistic through 10 Low-Cost DIY Crafts to Make and Sell From Home, which shares practical ideas that require minimal setup and investment.
Next Steps After Learning the Basics
Once you can do the basic stitches, something important happens, you stop “learning stitches” and start learning how to control your hand on real designs.
This is where most beginners get stuck, because they don’t know what to do next. So I’ll break it down clearly.
1. Start with simple embroidery patterns (don’t design yet)
At this stage, don’t try to create your own designs. Use patterns that already guide you.
For example:
If you pick a small flower pattern, it already shows you:
- where the petals go
- where the stem starts
- how the shape flows
Your job is not to think. Your job is just to follow the lines slowly with your needle.
Other good starter patterns are:
- a small daisy
- a simple leaf branch
- a butterfly outline
- your initials written in a simple font
You’re training your hand, not your creativity yet. Thinking too much too early makes beginners quit.
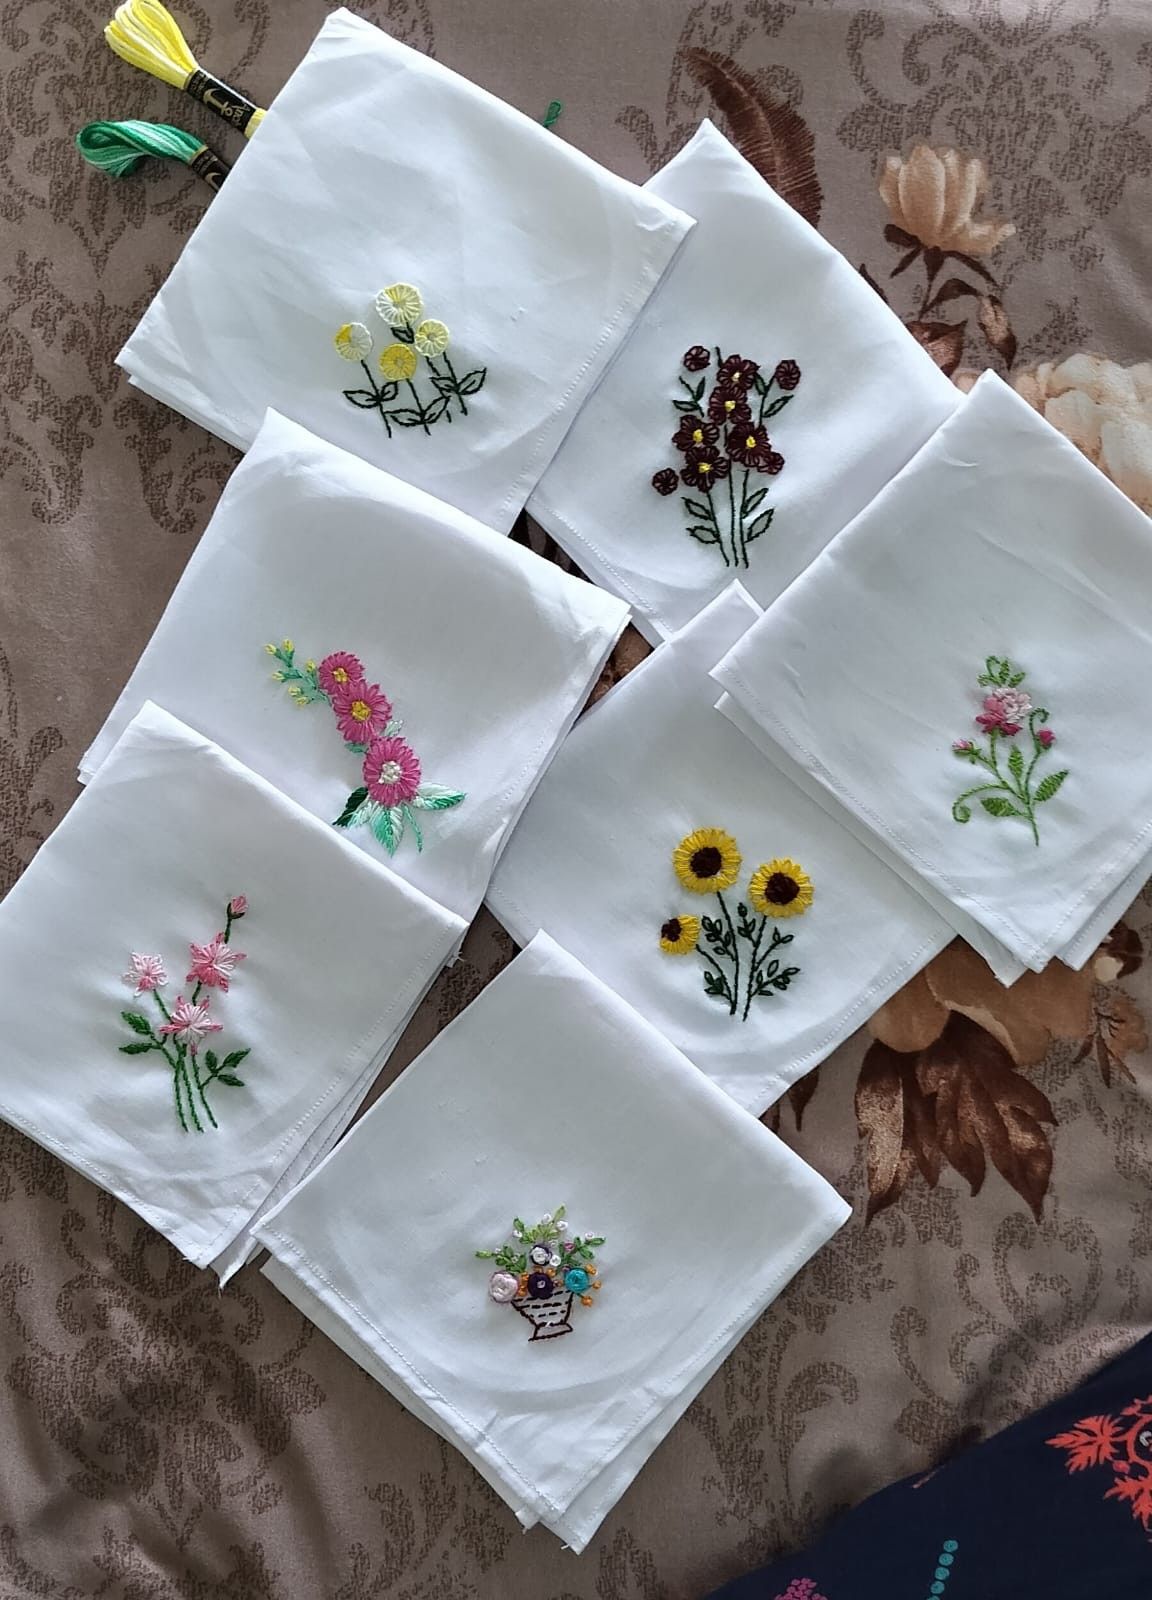
2. Turn patterns into tiny finished projects
After a few patterns, don’t just practice and move on. Finish something small.
For example:
If you stitch a small flower in a hoop, don’t stop halfway and start something new. Finish it completely, even if it looks uneven.
Other simple finished projects:
- a 4-inch hoop with a single flower
- a handkerchief with your initials
- a tote bag corner with a tiny leaf
- a small heart stitched neatly in the center of fabric
Finishing teaches you patience and control. That’s when embroidery starts to feel real.
3. Focus on neatness
Now you start noticing things like:
- your stitches are uneven
- thread looks loose or tight in some areas
- curves don’t look smooth
Don’t panic here.
Instead, focus on just three things:
- keep stitch size as even as you can
- don’t pull thread too tight (this bends fabric)
- slow down when you turn corners or curves
Neat embroidery is not about talent. It’s about slowing down and repeating the same motion calmly.
4. Slowly think about what comes next (no pressure)
At this stage, you might start thinking:
“Can I actually do something useful with this?”
That’s normal.
Once you can finish small pieces comfortably, you can try:
- small hoop decorations
- initials on fabric gifts
- simple handmade designs for friends or personal use
If you ever decide to sell later, these exact small pieces are what people usually start with—but don’t rush that step yet.
✔ The real goal of this stage is simple:
You’re moving from learning stitches → to finishing small things without stress
The goal is to finish something, not make it perfect.
Conclusion
If you take one thing from this guide, let it be this: embroidery is slow learning, not instant perfection. You don’t need to get it right on your first try, or even your second. What matters is that you start and keep practicing a little at a time.
As you continue learning how to start embroidery for beginners, you’ll notice that your hands slowly become more steady, your stitches become more controlled, and things that once felt confusing start to feel normal.
Don’t rush the process. Just give yourself time to practice, even if it’s only a few minutes when you can.
Try one small project today, something simple like a heart, a flower, or your initials. That one small step is enough to begin building confidence and improving your skills.
This post talked on: How to start embroidery for beginners-Step-by-Step Guide for Complete Beginners