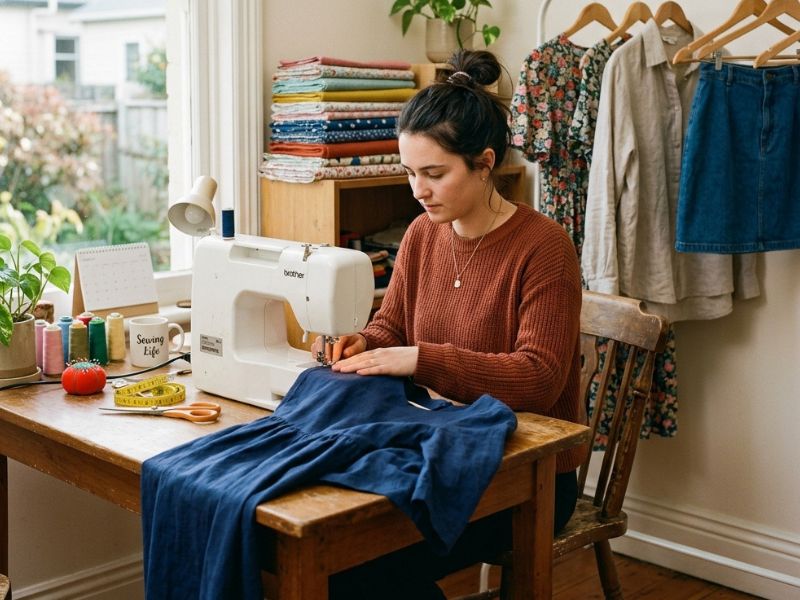
Discover how to copy a pattern from a garment you already own and recreate it as many times as you want.
You know that one piece of clothing that just fits. The shirt that sits perfectly on your shoulders, the dress that skims exactly where it should, or the pair of pants you reach for every single time.
And then one day, you simply want it in every color it comes in.
So you go looking for a commercial sewing pattern to recreate it. You measure yourself carefully, pick your size, cut the fabric, and it doesn’t fit the same way at all.
Most commercial patterns are drafted using a fit model and follow a standard set of body landmarks, but they don’t reflect the wide range of body shapes and proportions people actually have.
They’re drafted for a standard shape, and most bodies wander away from that standard in at least one direction.
That’s not a you problem. That’s just how patterns work.
There’s a smarter way to solve this.
You can copy the pattern directly from it.without taking it apart. The original stays completely intact while you work, and by the end you have a pattern that fits your body, because it came from your body.
This post shows you exactly how to do it.
Before you start copying, make sure you can read what you produce — How to Read Sewing Patterns Without Feeling Lost walks you through every symbol and marking.
What This Method Is Actually Called
Most home sewers stumble onto this technique by accident and never know it has a name. It does.
It’s called the rub-off method, and it’s not a beginner workaround. It’s a method of pattern drafting used by fashion and costume industry professionals that traces an existing garment or accessory without deconstructing or damaging it.
The rub-off technique is an older copying method used before digitizing, and variations of this traditional method are still described in pattern making textbooks, internet blogs, and YouTube videos today. It also goes by other names, cloning, duplicating a pattern, or pattern tracing, but rub-off is the term professionals use.
Hollywood and theater costume designer Steffani Lincecum, with over twenty years of experience in film, television, and theatre, literally wrote the book on this technique.
It’s the same method used behind the scenes to recreate garments for productions, duplicate a designer piece, or preserve a pattern from something irreplaceable.
You’re not improvising. You’re using a real, tested industry skill, just applying it at home.
If you’d rather work from a ready-made pattern first, How to Find Sewing Patterns That Are Easy to Follow and Beginner-Friendly helps you pick one that won’t frustrate you.
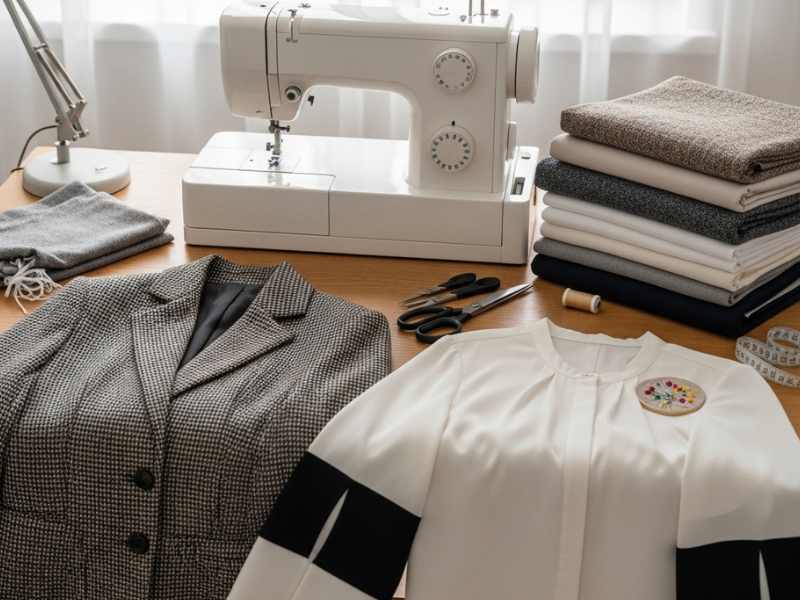
What Garments Work Best When You Copy a Pattern From a Garment
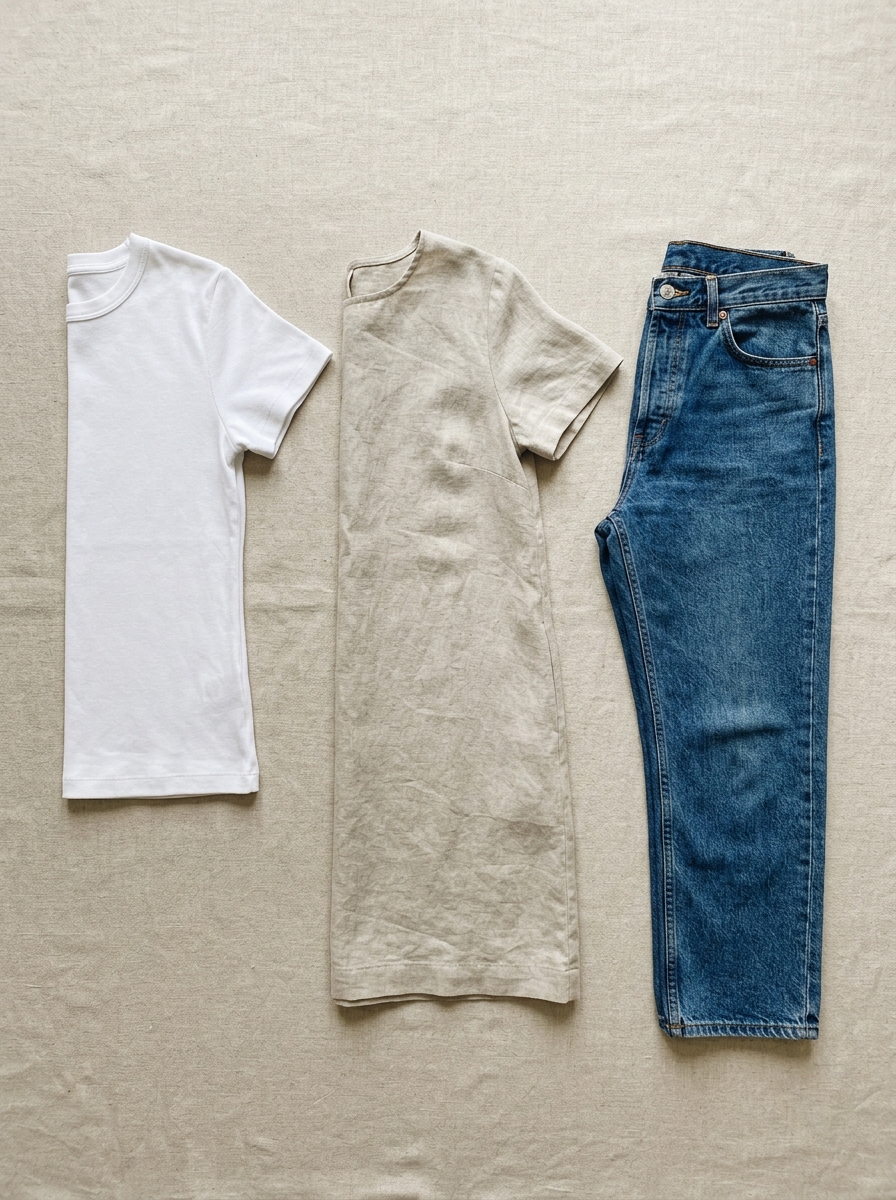
Not every piece in your wardrobe is equally easy to copy. Before you start, it helps to know what you’re getting into,because picking the wrong garment first is the fastest way to get frustrated and quit.
✅ Easiest to copy:
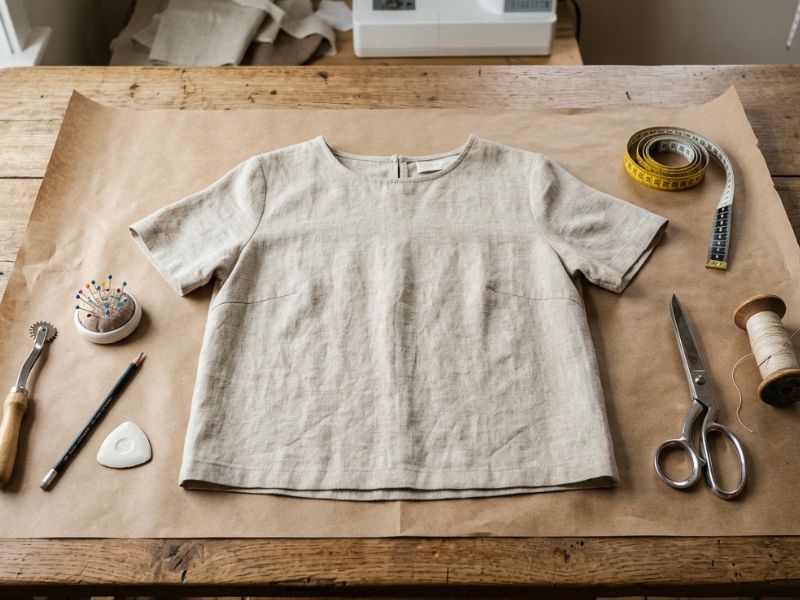
A simple knit top is one of the best places to begin. You can copy it by tracing directly onto wax paper, and knits are forgiving on fit, which makes them ideal for getting comfortable with the process.
Think basic t-shirts, long-sleeve tops, simple jersey dresses, anything with few seams and no structure.
✅ Move up to these next:
Woven tops, simple A-line skirts, and shift dresses. Woven fabrics are stable and structured with very little stretch along the grain, which makes them easier to lay flat, trace accurately, and reproduce cleanly. Fewer surprises, cleaner lines.
For garments with multiple elements like jackets or blouses, the pin-through technique works well, but save these for once you’ve done at least one or two simpler pieces first.
✅ Approach these with caution:
Pants are not the first garment to copy when learning this process, start with something simpler and work your way up once you have the hang of it. Jeans in particular involve curved seams, a crotch seam, and waistband construction that all need to lie completely flat to trace accurately.
Heavily structured garments, think blazers with shoulder pads, boned bodices, or anything with interfacing built into the shape, are also harder.
Garments with a lot of built-up structure are difficult to replicate because that structure is what creates the shape, not just the pattern pieces alone.
One rule that applies across all of them:
The garment needs to lie flat. If it can’t lie flat without distorting, because of heavy boning, thick padding, or complex 3D shaping, it will be hard to trace accurately regardless of your skill level. When in doubt, start simpler.
Make sure your workspace is set up properly — 11 Essential Sewing Tools for Sewists That Help Improve Accuracy covers everything you need without breaking the bank.
Tools You Actually Need to Copy a Pattern From a Garment

Most of what you need is already in your home or costs very little. Here’s what you will be needing.
1. Your Work Surface
You need a large, flat workspace and a folded blanket or something similar underneath as a padded surface, this cushioning is what allows your tracing tool to pierce through the garment and leave marks on the paper below. A dining table covered with a folded duvet works perfectly.
2. Pattern Paper
This is where most beginners make the wrong call. Regular printer paper is too small and tears too easily.
Swedish tracing paper is a non-woven material that behaves like a blend of paper and fabric, semi-transparent, strong enough to fold and pin without falling apart, and you can even sew it to test fit before cutting your real fabric. It’s the most versatile option for this method.
If Swedish tracing paper isn’t available locally, kraft paper on a roll is a more substantial alternative that holds up better for pattern adjustments than standard tracing paper.
Both work, Swedish tracing paper just gives you more flexibility at the fitting stage.
3. Tracing Tool
There are two main types of tracing wheels: a blunt serrated wheel best used with carbon paper, and a spiked needle-point wheel that pierces holes directly through the fabric.
A double tracing wheel marks both the stitching line and the seam allowance at the same time, which saves significant time.
For copying a garment specifically, the needle-point wheel is the more useful of the two, it transfers the seam line through the garment onto the paper below without needing carbon paper at all.
Once your pattern is ready and you’re about to sew, don’t guess your needle — How to Choose the Right Sewing Needle for Every Fabric Type tells you exactly what to use before you blame your machine.
4. Everything else
Beyond the surface and tracing tools, you need a pencil, an embroidery needle or any heavy sharp needle, paper scissors, a straightedge, pins, and a tape measure.
A French curve or pattern ruler helps smooth out curved seams like armholes and necklines once you’ve traced them,not essential, but worth having if you can get one.
One thing you do not need: an expensive cutting mat, a rotary cutter, or any specialized equipment. The goal is accuracy, not tools.
Before you cut your copied pattern in new fabric, make sure you’re choosing the right material — Understanding Fabrics for Sewing: Choosing the Right Material for Every Project breaks it all down clearly.
How to Copy a Pattern From a Garment: The Core Process Step by Step
You have your garment, and your tools. Here’s what to do.
Step 1: Prep the garment before you touch any paper
Wash and press the garment first. This is not optional. Any wrinkle, fold, or shrinkage left in the fabric will transfer directly into your pattern as a false curve or a short seam.
You’re tracing what’s in front of you, so what’s in front of you needs to be accurate.
Also take photos of the garment from every angle before you start. Photograph it from every angle and label each photo in sequence, these become your reference when questions come up mid-process.
Step 2: Establish the grain line before you lay anything flat
This is the step most tutorials skip, and it’s the one that causes the most problems. Before you place the garment on your paper, you need to know which direction the grain runs, because your pattern pieces must be marked with a grain line or the new garment will twist, sag, or pull when worn.
The straight grain generally runs up the centre front and centre back of garments, and up through the centre of sleeves and pant legs.
On most woven garments, you can see this by looking closely at the weave, the threads running parallel to the centre front are your straight grain. On pants, the grain line may not be obvious, examine the weave of the fabric carefully to find it.
Draw a straight vertical line on your paper first. This becomes your grain line anchor, everything else is positioned relative to it.
Step 3: Lay the garment flat and secure it
Flatten the garment as much as possible without distorting the fabric’s grain. For a top or dress, fold it in half carefully, matching the side seams, and lay the fold along the grain line you drew on your paper.
Pin along the seamlines to hold the garment fold exactly on your fold line, making sure the hem lines up with the horizontal reference line on your paper.
Use pattern weights or heavy objects like food cans to keep the garment from shifting. Use pattern weights instead of pins to prevent any shifting or grain movement on areas you can’t pin through without distorting the fabric.
Got clothes that are damaged but not worth throwing away yet? 15 Smart and Easy Sewing Fixes for Clothes and Fabrics shows you how to rescue them before you decide to copy and recreate them.
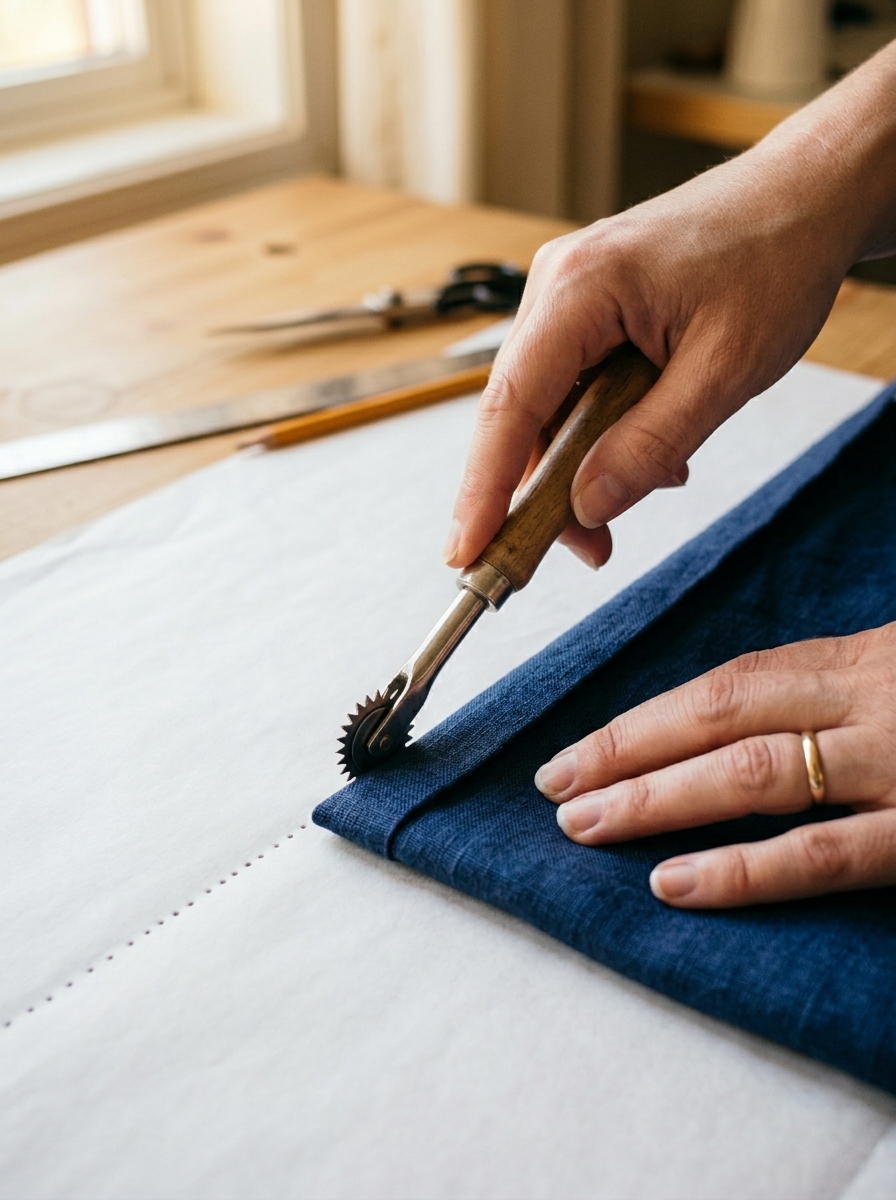
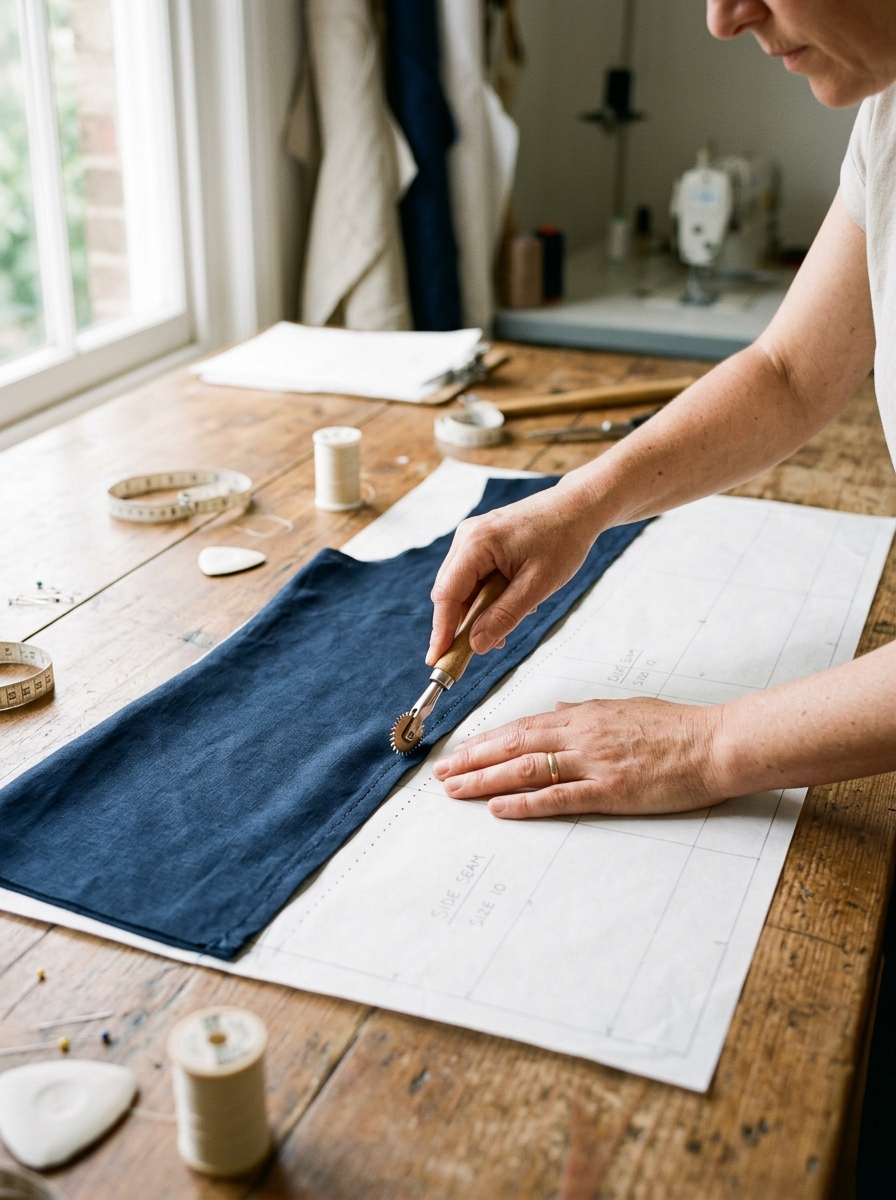
Step 4: Trace the seam lines
Work one section at a time, front first, then back, then sleeves. Use your tracing wheel along the seam lines, pressing firmly so it leaves marks on the paper below.
Trace the neckline and hemline with a pen or pencil where you can see them clearly, and use the tracing wheel for the side seams and sleeve seams where direct access is harder.
For seams that are hidden under layers of fabric, like the sleeve seam where it meets the bodice, use pins pushed all the way through the fabric to outline the seam.
Remove the pins and you’ll have a pin-pricked outline of the curved seam. Connect the dots with a pencil to draw in the curves.
Transfer every notch or hash mark along curved edges like princess seams or sleeve caps, these are what allow you to match pieces correctly when you sew.
Step 5: Handle darts accurately
Darts are the trickiest part of this process and where most beginner copies go wrong.
Pin the garment edge to the straight grain line you established first, then flatten the garment as much as possible while attached to that line, this lets you smooth and secure your way to one leg of each dart before tracing it.
When rubbing off the dart, mark the stitching lines’ location and length on your paper, then measure the dart intake, the distance at the waist seamline between the stitching line and the dart fold.
That measurement is what you recreate on the new pattern piece. Don’t guess it. Measure it.
Step 6: True up the pattern pieces
Once all pieces are traced, this step is what separates a usable pattern from a frustrating one. Trueing up means checking that every seam that will be sewn together is actually the same length, because even small tracing inconsistencies add up.
Match up the seams as if you were sewing them and check they are the same length.
If your pattern has seam allowances, overlap the seam allowances so the stitching line sits on top of the stitching line, not seam allowance edge to seam allowance edge.
If two seams that should match are different lengths, add a small amount to the shorter one and remove a small amount from the longer one until they meet.
Check that notches align properly and that both pattern pieces create a smooth blend when joined, no sharp dips or awkward points. Run a French curve along any neckline, armhole, or curved seam to smooth out any wobbles from the tracing.
Want cleaner, more professional results from the start? 15 Sewing Hacks for Beginners gives you the shortcuts that actually make a difference.
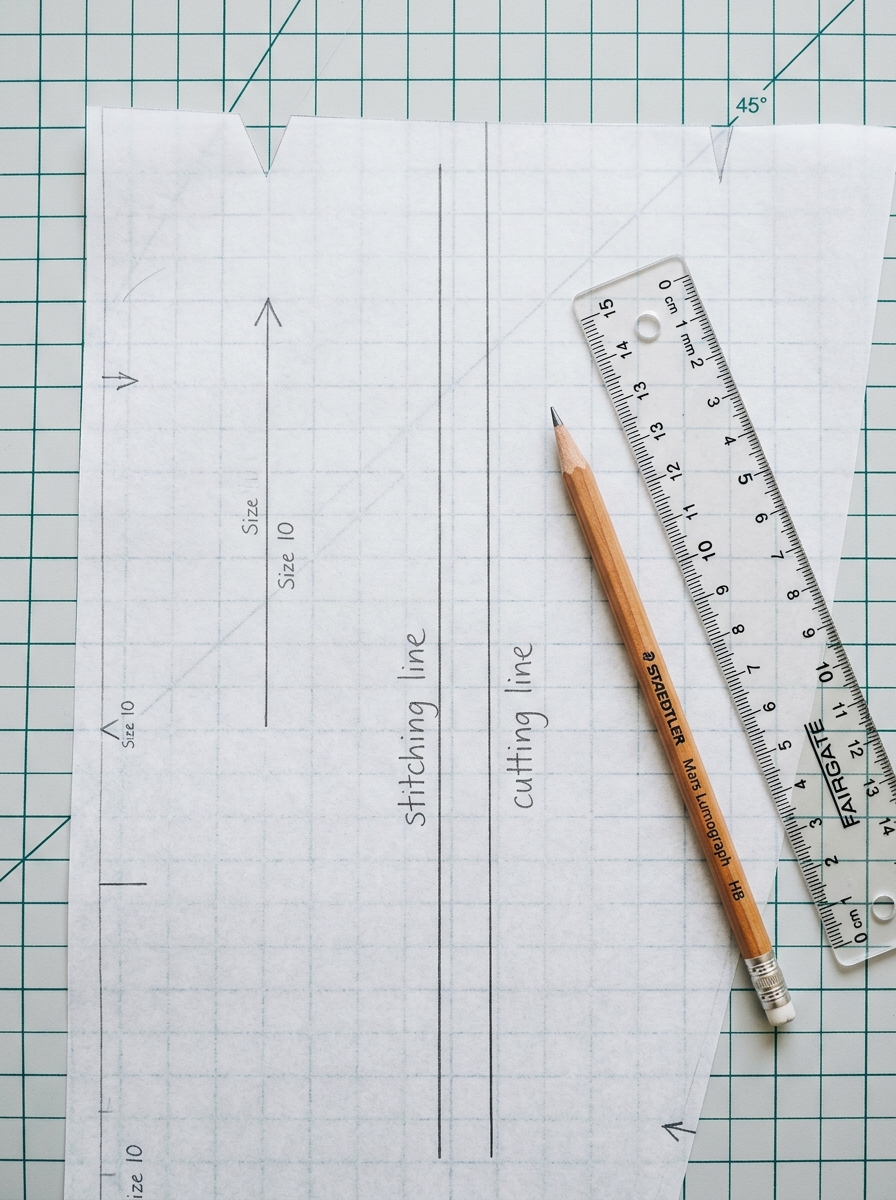
Step 7: Add seam allowances and label every piece
The lines you’ve traced so far are the stitching lines, the lines you sew along. You still need to add seam allowances outside those lines before cutting fabric.
Common seam allowances are 5/8 inch (1.5 cm) for most seams, ½ inch (1.2 cm) for neckline and armhole facings, and 1 inch (2.5 cm) or more for hems.
Measure out from each stitching line, mark points at the correct distance, then connect them, that outer line is your cutting line. Write the seam allowance amount on each edge of every pattern piece so you remember how much to use when sewing.
Label each piece clearly: front, back, sleeve, facing, plus the grain line direction, the cut quantity, and whether it’s cut on the fold.
Step 8: Test with a muslin before cutting your real fabric
Do not skip this. Cut your traced pattern in cheap fabric, an old bedsheet, inexpensive calico, any fabric that costs you nothing, and sew it up. Wear it. Move in it.
Check every seam, every dart, every curve against the original garment. ‘
The fit should match the garment you already know you love, that’s the entire point of this method. Fix anything that’s off on the paper pattern before you ever touch the fabric you actually care about.
If you’re thinking of turning this skill into income, read Sewing Skills That Actually Make You Money — copying patterns is one of the most sellable skills you can have.
The Seam Allowance Question — and Why It Trips Most People Up
When you copy a pattern from a garment, you are tracing the outside edge of the finished garment, the cut edge of the fabric. That edge is not where you sew. It never was.
Here’s what’s actually happening inside every seam of that garment you’re tracing: seam allowance is the space between the cutting line, the fabric edge, and the stitch line.
It’s the part of the garment that lives on the inside, hidden in the seam.
When a garment is finished and worn, that seam allowance is already folded away and sewn in. What you see and trace on the outside is the cutting line, not the stitching line.
So when you trace the outline of your garment onto paper, you are capturing the cutting line.
The stitching line sits inside that edge, it’s the line you actually sew along, and the seam allowance is the extra fabric that sits between the two.
This means your traced pattern already has the cutting line built in. What it does not have is the stitching line marked, or any indication of how far in from the edge you should sew.
If you’re still getting comfortable with your machine, Beginner’s Guide to Sewing Machine Basics You’ll Actually Use is the place to start before you cut a single piece of fabric.
So what do you do?
You have two options:
The first is to draw the stitching line onto each pattern piece by measuring inward from the cut edge.
Commercial patterns for home sewers typically use seam allowances ranging from ¼ inch to 5/8 inch (6.4mm to 15.9mm), with 5/8 inch (1.5cm) being the most common standard for most body seams.
Neckline and armhole facings typically use ½ inch (1.2cm), and hems use 1 inch (2.5cm) or more.
Pick one standard and stay consistent across all pieces, mixing seam allowances on different edges of the same garment is how you end up with pieces that don’t match.
The second option is to use a double tracing wheel. A double tracing wheel marks the original pattern outline and the seam allowance simultaneously, the two heads run parallel and you adjust the spacing between them to match your desired seam allowance.
This is especially helpful for beginners because it gives you both the cutting line and the stitching line in one pass.
One thing to stay clear on:
Using the wrong seam allowance will make your finished garment too big or too small, so it matters that you measure accurately rather than estimate.
Mark the seam allowance amount directly on every edge of every pattern piece before you cut anything. Don’t rely on memory once you’re at the sewing machine.
Not sure whether your current machine can handle this kind of project? Industrial vs Domestic Sewing Machines: Which One Should You Buy as a Beginner helps you decide.
Making Adjustments as You Copy a Pattern From a Garment
One of the biggest advantages of this method over buying a commercial pattern is that you are not locked into the original design.
The moment you transfer those lines onto paper, the garment becomes a starting point, not a final answer.
Here are the adjustments you can make and exactly how to handle each one:
✅ Shortening or lengthening the garment
This is the most common adjustment and one of the easiest to execute. To lengthen a pattern piece, cut along a horizontal line drawn perpendicular to the grain line and spread the two pieces apart by the desired amount, filling the gap with tracing paper.
To shorten, fold the pattern at that line to remove the excess length.
One important rule: if you are lengthening or shortening a piece that has a matching pair, for example a front bodice that joins a back bodice, make the exact same adjustment to both pieces, otherwise your seams will not match when sewn.
✅ Changing the hem shape
If the original garment has a curved hem but you want a straight one, or vice versa, redraw the hemline on your paper pattern before you cut anything.
Make sure that after adjusting both front and back pieces they have exactly the same length at the side seam. A hem that looks great on paper but has mismatched side seams will pull and twist on the body.
✅ Adjusting pockets, waistbands, and details
You can adjust pockets, completely change a waistband design, or alter any detail as you copy, it is best to have your changes in mind before you start, but you can always adjust as you go.
Mark the original pocket placement on your pattern first, then redraw it at the new size or position before cutting fabric.
✅ Adding or removing design elements
Want a V-neck instead of a round neck? Sleeves instead of sleeveless? Make those changes directly on the paper pattern after tracing.
Never make changes on the original garment or a single working copy, always trace a duplicate first and make all adjustments to that.
This keeps your master pattern clean and gives you something to refer back to if a change doesn’t work.
✅ One rule that applies to every adjustment
Whatever you change on one pattern piece, check every other piece it connects to. A longer bodice affects the skirt length. A wider waistband affects where the hip seam sits.
Keep the grain line perfectly straight throughout, do not allow it to stagger when spreading or overlapping pattern pieces during adjustments.
A shifted grain line means a garment that twists on the body, and that problem is very hard to fix after the fabric is cut.
If you’re copying a garment to make something special for someone else, 11 Unique and Handmade Wedding Gift Sewing Projects is full of ideas worth recreating.
You Don’t Have to Say Goodbye to the Clothes That Fit You Best
That shirt, that dress, that pair of pants, the one you keep reaching for, doesn’t have to be irreplaceable anymore.
Learning how to copy a pattern from a garment you already own gives you a template built around your actual body, taken from a piece of clothing that already proved it fits.
No more losing a favorite piece to wear and tear with nothing to replace it. Once you know how to copy a pattern from a garment, you trace it once, keep the pattern, and remake it in any fabric or color you want, for as long as you want.
The original stays hanging in your wardrobe, completely untouched.
Now pick one garment from your wardrobe, just one, and start there. Drop a comment below and tell me which piece you’re copying first.
This guide talked on: how to copy a pattern from a garment without ruining your clothe(s).