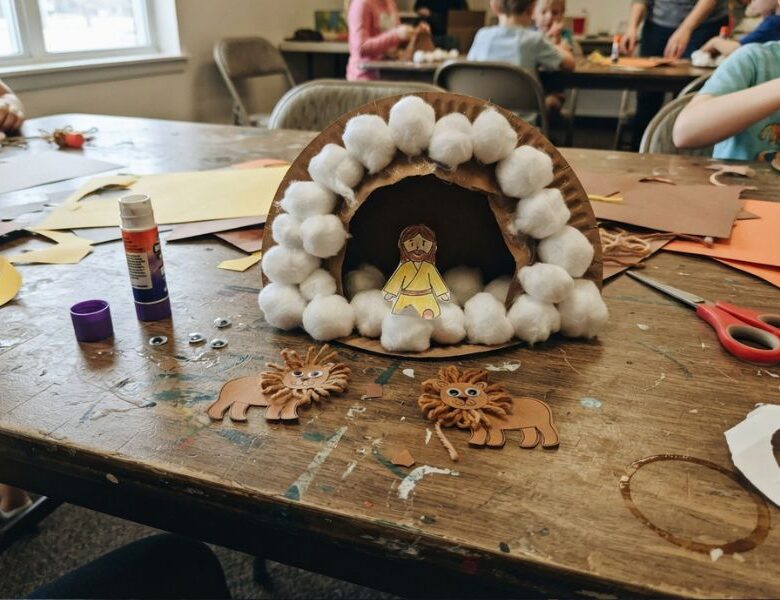
Help kids connect with Daniel’s story through a Daniel and the Lion’s Den craft that makes lessons about courage and faith easy to understand.
Most kids already know how this story ends. Ask a room full of second graders and someone will yell it out before you finish the question.
What they usually miss is the one detail that makes the whole thing matter: Daniel wasn’t safe because the lions felt like being nice that night.
He was safe because God shut their mouths. On purpose. Because Daniel kept praying even after it became illegal to.
That’s worth slowing down for. It’s easy to tell this story fast and move on to snack time, but the real lesson isn’t “Daniel didn’t get hurt”, it’s that he kept doing the right thing even when it cost him something, and God met him in that.
This craft gives kids a way to hold onto that part. Instead of a flat paper lion, they make one with a mouth that opens and closes, so when they retell the story, they can actually show the moment it happened instead of just repeating it back.
It works whether you’ve got a full Sunday school class, a homeschool group, or just your own kid at the table on a quiet afternoon.
Looking for more Bible-inspired activities? Read 12 African Art Projects for Kids That Teach Culture, Not Just Craft for meaningful projects that encourage creativity while introducing children to different traditions and stories
The Story of Daniel and the Lion’s Den
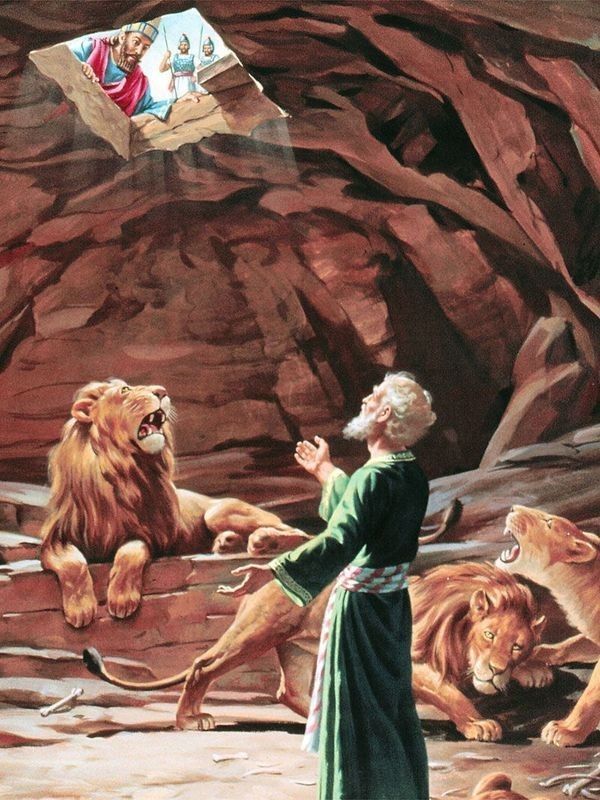
A long time ago, there was a man named Daniel who loved God very much. Every single day, three times a day, Daniel would go to his window, kneel down, and pray.
He didn’t hide it. He didn’t skip it, even on busy days. It was just something he always did.
Daniel worked for a king named Darius, and he did such a good job that the king wanted to put him in charge of the whole kingdom.
But some of the other men who worked for the king didn’t like that. They were jealous of Daniel, and they wanted to get him in trouble.
So they came up with a tricky plan. They convinced the king to make a new law: for thirty days, no one was allowed to pray to anyone except the king.
Anyone who broke this law would be thrown into a den of lions.
The king didn’t know this law was really a trap set just to catch Daniel.
Daniel heard about the new law. But when it was time to pray, he did exactly what he always did. He went to his window, knelt down, and prayed to God, just like every other day.
The men who didn’t like Daniel were watching. They ran to the king and told him what Daniel had done.
The king was very upset. He liked Daniel and didn’t want to hurt him. But the law had already been signed, and even a king couldn’t take it back.
So Daniel was taken and lowered into a den full of lions. A big stone was rolled over the opening, and the king sealed it with his own ring so no one could sneak in to help.
That night, the king couldn’t sleep. He was so worried about Daniel that as soon as the sun came up, he ran to the den and called out, “Daniel! Did your God protect you?”
And Daniel answered back: “Yes! God sent an angel, and the angel shut the mouths of the lions. They didn’t hurt me at all.”
The king was overjoyed. He had Daniel lifted out of the den, and everyone could see he didn’t have a single scratch on him, because he trusted God, even when it was scary.
Want another hands-on nature activity? Read How to Make Seed Paper with Kids: A Fun Nature Craft That Actually Grows and discover a creative project that continues growing long after craft time ends.
What You’ll Need
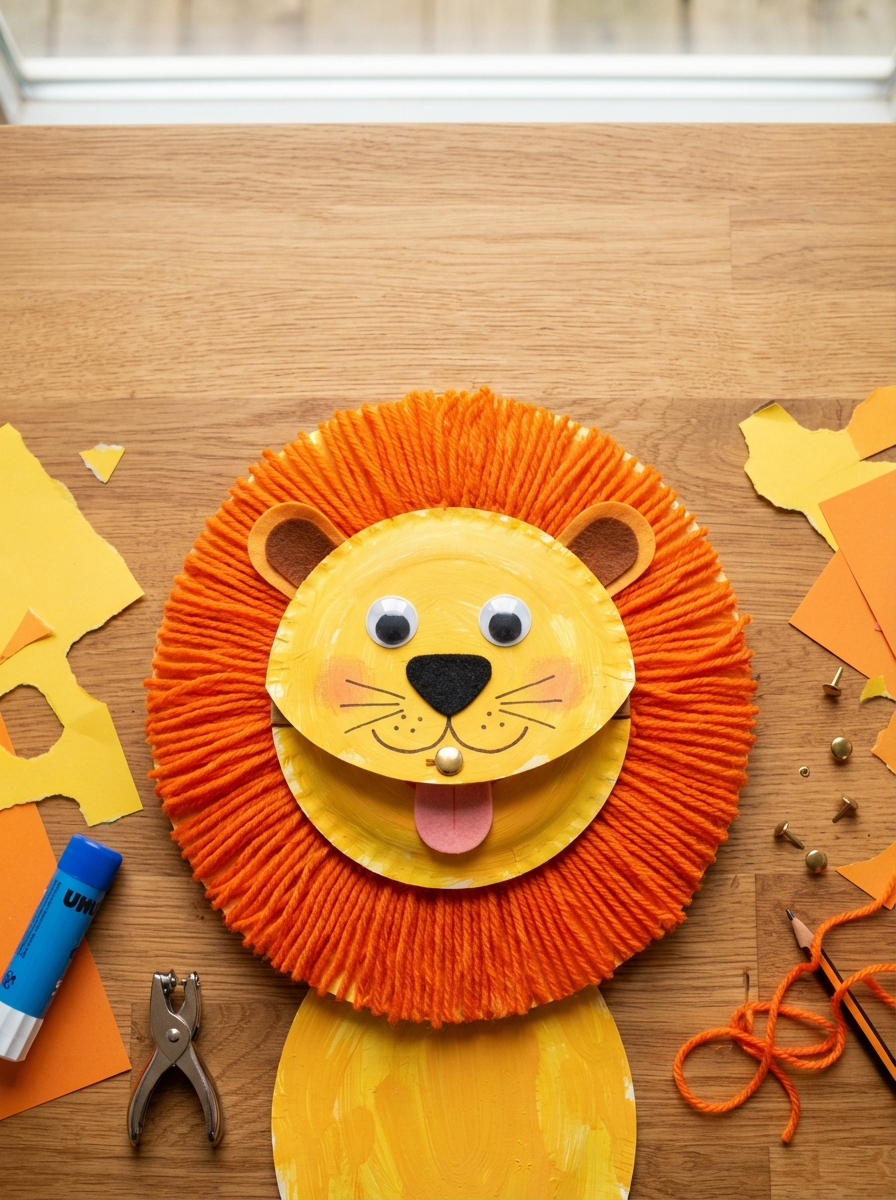
- 1 paper plate – this becomes the lion’s whole face, so pick a plate that’s nice and round like a lion’s head.
- Yellow and orange construction paper – yellow makes the lion’s face, and orange (cut into strips or a fringe) makes the mane that goes all around the edge, like a lion’s fur.
- 1 brass brad (paper fastener) – this is the special piece that makes the mouth actually open and close, like a little hinge. Without this, the mouth would just stay still.
- Scissors – for cutting out the mane, ears, and the two mouth pieces.
- Glue or glue stick – to stick the mane and face pieces onto the plate so everything stays put.
- Black marker or crayon – for drawing the eyes, nose, and a few whisker lines, so your lion has a face full of personality.
- A hole punch (or scissors to poke a small hole) – to make the tiny hole where the brad goes through, right at the corner of the mouth.
- Optional: googly eyes – if you want your lion’s eyes to wiggle a little, these are a fun swap for drawn-on eyes.
If your kids love painting, don’t miss Bubble Wrap Painting: The Easy Texture Trick That Turns Bored Kids Into Little Artists for a simple way to create colorful artwork with everyday materials.
How To Carry Out The Craft
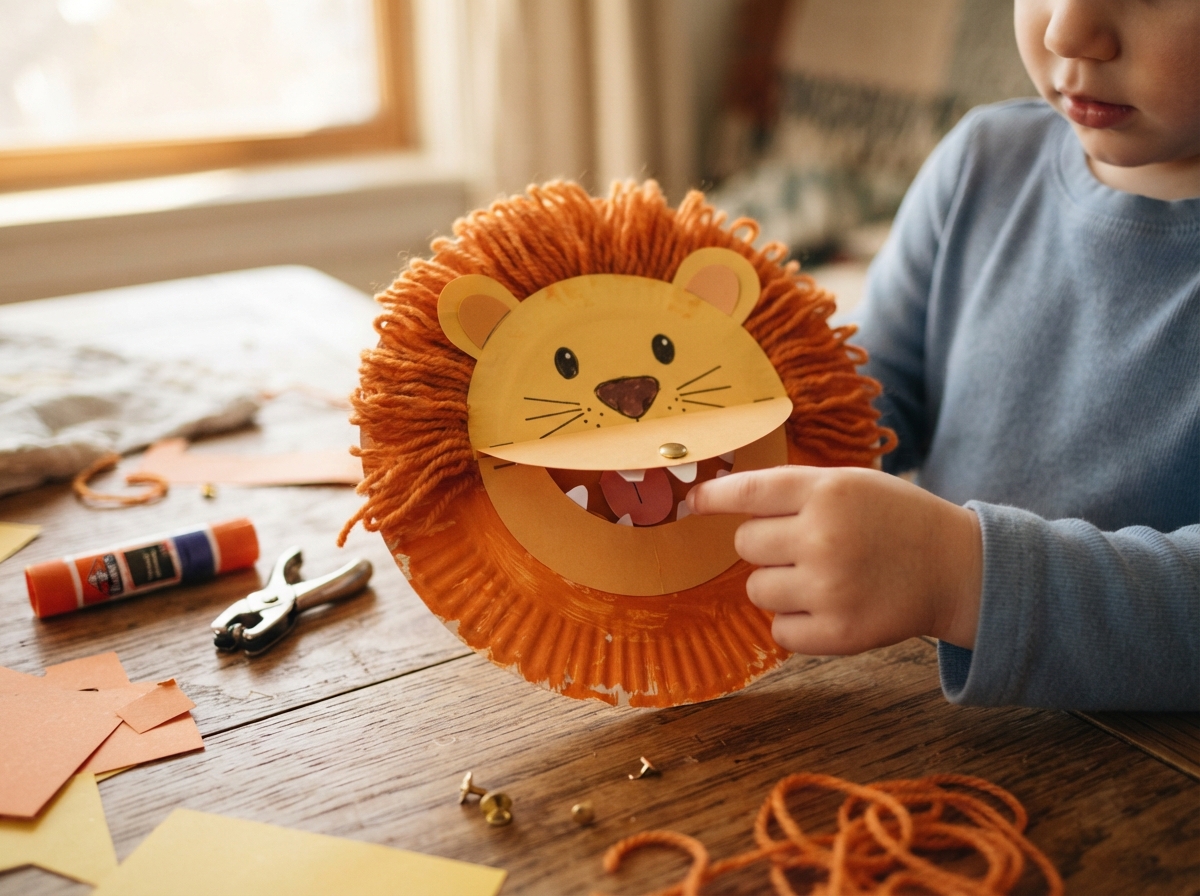
Step 1: Start with the face
Your paper plate is already shaped just right for a lion’s head, so there’s no cutting to worry about here, just lay it flat and get ready to bring it to life.
- Take your paper plate and lay it flat in front of you, plain side up.
- This will be the base for your lion craft, so you’re ready to start adding the details that bring it to life.
Step 2: Give your lion a mane
A lion isn’t a lion without a big, bold mane, and this is the step where your craft really starts to look like something.
- Cut your orange paper into thin strips.
- Glue the strips around the outer edge of the plate, one next to the other, until they circle all the way around.
- The more strips you add, the fuller and fiercer your lion looks.
Step 3: Cut out the mouth pieces
This is the part that makes this lion different from any other paper lion craft — the piece that’s about to let your lion actually open its mouth.
- Draw two matching half-circle shapes on your yellow paper, like two little smiles.
- Cut both shapes out carefully.
- If a younger child is helping, this step goes easier with an adult holding the scissors.
Step 4: Punch a hole in each mouth piece
This tiny hole is doing a big job, it’s what lets your lion’s mouth move at all.
- Punch a small hole in the same corner of each half-circle.
- Hold the two pieces together like a mouth about to open, and check that the holes line up.
Need activities for children with different learning needs? Take a look at 15 Sensory DIY Craft Ideas for Kids With Special Needs That Support Learning Through Play for engaging projects that combine creativity with sensory exploration.
Step 5: Add the hinge
Remember that small metal fastener from your materials list, the one with two thin legs that spread apart? That’s called a brad, and it’s the one piece doing all the real work in this craft.
Once it’s in place, it acts just like a hinge on a door, letting your lion’s mouth swing open and shut instead of staying flat and still.
- Push the brad’s two legs through both holes at the same time, so it’s holding both mouth pieces together at that one corner.
- On the underside, gently fold the two legs outward and flatten them down, this locks the brad in place so it won’t slip back out.
- Hold the plate steady and swing the loose mouth piece up and down a few times. If it opens and closes smoothly around that one point, your hinge is working exactly the way it should.
Step 6: Attach the mouth to the face
Only one half of the mouth gets glued down, the other half needs room to move, just like a real jaw does.
- Glue only the top mouth piece onto the middle of the plate, right where a mouth should sit.
- Leave the bottom piece unglued so it can still swing freely.
Step 7: Finish the face
Now for the fun part, giving your lion a personality of its own.
- Add two eyes, drawn or googly.
- Add a small nose.
- Draw a few whisker lines on each side.
- Add two ears at the top, cut from yellow or orange paper.
Step 8: Try it out
This is the moment the whole craft has been building toward.
- Hold up your lion.
- Gently open and close the mouth.
- Say it out loud as you do: “God sent an angel, and the angel shut the mouths of the lions.”
Teaching letters through crafts? Check out Train Craft Ideas for Kids That Make Learning the Alphabet Fun With Things You Already Have for an easy activity that blends learning with imaginative play.
Age Adaptations for This Daniel and the Lion’s Den Craft
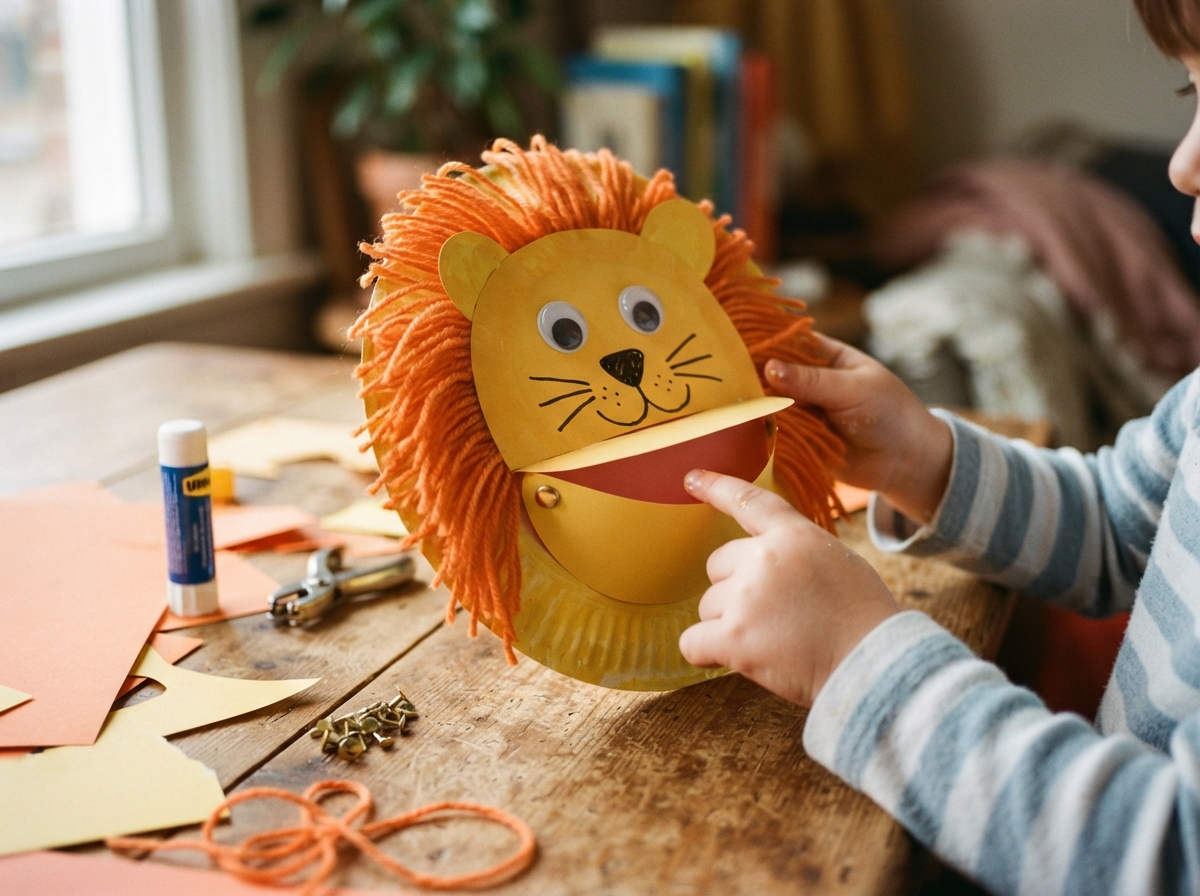
Every classroom and every home has a mix of little hands and big hands, so here’s how to adjust this Daniel and the Lion’s Den craft depending on who’s making it.
At this age, scissors and small holes can be more frustrating than fun, so let an adult handle the cutting and hole-punching ahead of time. Pre-cut the mane strips, the mouth pieces, and punch the holes before the activity begins.
The child’s job becomes gluing the mane, attaching the eyes and nose, and, the best part, working the brad themselves so they get to be the one who makes the mouth open and shut.
Kids this age can usually manage the mane strips and rounded cuts with supervision, even if the lines aren’t perfectly straight.
Let them cut the mane themselves, but have an adult nearby for the mouth pieces, since those need to match up evenly for the hinge to work. This is a good age for a child to push the brad through the holes themselves, with a little help folding the prongs flat.
This is the age where a child can usually complete this Daniel and the Lion’s Den craft almost entirely on their own, cutting the mane, drawing and cutting the mouth pieces, punching the holes, and assembling the hinge with only light supervision.
If you’re working with a mixed-age Sunday school class, older kids at this stage make great helpers for younger classmates who are still building up their scissor skills.
If you’ve got a wide age range in the room at once, consider pairing an older child with a younger one, the older child manages the cutting and hole-punching, while the younger child handles gluing and gets to operate the finished hinge.
It keeps everyone involved in a version of the craft that matches their skill level, without anyone feeling left out or rushed.
Looking for another faith-friendly craft? Try Coffee Filter Butterfly Craft for Kids (Easy Stained Glass Effect Craft Idea) for a colorful project that’s simple enough for home, Sunday School, or the classroom.
Discussion Questions Tied to the Verse
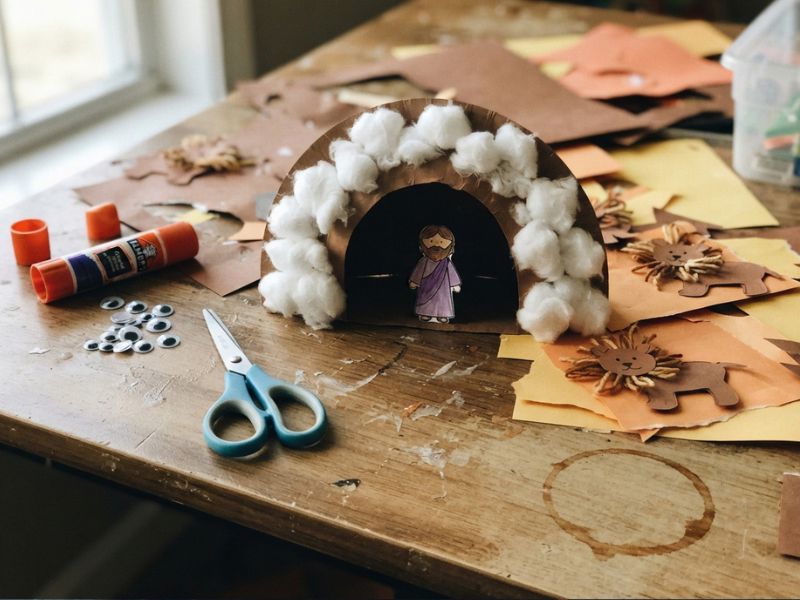
Daniel 6:22 says: “My God sent his angel, and he shut the mouths of the lions. They have not hurt me, because I was found innocent in his sight.”
Once your Daniel and the Lion’s Den craft is finished, use these questions to help kids sit with what actually happened in the story, not just the plot, but the meaning behind it.
For younger kids (preschool – 1st grade)
- What did God send to help Daniel in the den?
- What do you think it looked like when the lions’ mouths closed?
- Daniel kept praying even when it was scary to. What’s something you do even when it’s a little bit hard?
For older kids (2nd grade and up)
- The verse says Daniel was “found innocent”, why do you think that mattered to God, even though the king’s law said Daniel had done something wrong?
- Daniel didn’t stop praying just because a new law told him to. Was that easy for him, or brave? Why?
- If you were in Daniel’s place, do you think you’d have kept praying, or waited until it was safe again? Why?
A question for the whole group
- The story doesn’t say God kept the lions away from Daniel, it says God shut their mouths. Why do you think that detail matters? What does it tell us about how God takes care of people?
These questions work well while the craft is still in kids’ hands, having them open and close the lion’s mouth while they answer helps the idea stay connected to something they can actually hold, not just something they heard.
Before you throw away empty cardboard tubes, read Toilet Paper Roll Crafts for Kids That Turn Everyday Waste into Skill-Building DIY Projects at Home for creative ways to turn recyclables into fun crafts.
Take-Home Element for Teachers
A craft that stays on the classroom shelf is easy to forget by the following week, but a craft that goes home with a reason attached to it tends to stick around a little longer, placed on a bedroom shelf or stuck to a fridge.
Before kids take their lions home, attach a small verse card with Daniel 6:22 written on it: “My God sent his angel, and he shut the mouths of the lions.”
You can punch a hole in the corner of the card and tie it to the craft with a bit of string or ribbon, or simply tape it to the back of the plate.
A few ways to make this small step count for more:
- Let kids decorate their own verse card before attaching it, so it feels like something they made, not something handed to them.
- Ask kids to read the verse out loud once it’s attached, right before they leave, a small way to send the lesson home in their own voice, not just yours.
- Encourage parents to ask about it later in the week, a quick note home (“Ask your child what their lion’s mouth means!”) turns the craft into a conversation starter at the dinner table, not just a keepsake on a shelf.
This is a small addition, but it’s often the difference between a craft that gets tossed in a bag and forgotten, and one that becomes a small, physical reminder of a story a child actually understood.
Need another low-mess activity? Explore 13+ Pipe Cleaner Crafts for Kids That Are Simple, Fun, and Completely Mess-Free for easy projects that help strengthen fine motor skills.
Conclusion
Ask a child a month from now what happened in the story of Daniel, and most will say the same thing: he didn’t get eaten.
Ask them why, and that’s usually where the answer runs out.
This Daniel and the Lion’s Den craft exists to close that gap, because a child who has physically opened and shut a lion’s mouth while saying the words “God shut the mouths of the lions” is far more likely to remember the actual mechanism of the miracle, not just the outcome.
That’s a small, testable difference. It’s the kind of thing you notice when a child brings up the craft again on their own, weeks later, and gets the detail right without being prompted.
If you’re teaching this lesson to a full class, a homeschool group, or just your own child at home, this craft gives you a concrete way to check whether the story actually landed, not just whether the activity was fun.
Try it, and see if it holds up the next time the story comes up.
Planning crafts for brothers and sisters to enjoy together? Don’t miss Fall Crafts for Siblings of Different Ages: 9 Projects the Whole Family Can Do Together for activities that encourage teamwork and creativity.
FAQ:
1. How do I explain the story without kids getting scared of the lions?
Keep the focus on what God did, not on how scary the lions were. Remind kids that the lions were never really in control, God was, the whole time.
2. What is the lesson of Daniel and the Lion’s Den for kids?
It teaches that staying faithful, even when it’s costly, matters to God, and that He takes care of the people who trust Him.
3. Why did God shut the lions’ mouths instead of just keeping Daniel out of the den entirely?
Because the story isn’t about avoiding hard things, it’s about God meeting Daniel right in the middle of one. That’s worth sitting with.
4. Can this craft be used for a mixed-age Sunday school class?
Yes, pair an older child to handle the cutting with a younger one who glues and works the hinge.