Sensory bottles are a simple, calming DIY tool that helps kids ease big emotions using items you already have at home.
Meltdowns don’t wait for a good time. One minute things are fine, the next you’re out of options, talking doesn’t land, distraction doesn’t land, and you’re just waiting for the storm to pass on its own.
Every parent knows this moment, whether your child has big feelings once a week or once a day.
Here’s what’s actually happening: in that moment, a child’s brain doesn’t need more words, it needs something simple to focus on so the big feeling has somewhere to go.
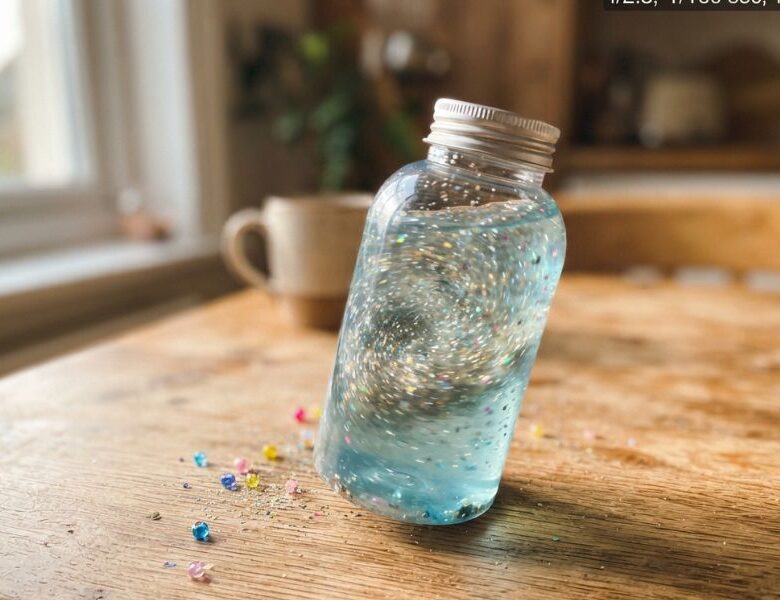
A sensory bottle gives them exactly that, glitter slowly settling, the weight of the jar in small hands, something to shake and watch instead of something to think through.
Occupational therapists use sensory bottles for exactly this reason, to help a child calm down, re-engage their senses, and build focus, all while their hands are busy doing something that feels almost automatic.
You can make one in ten minutes with stuff you likely already have at home, and once it’s made, it’s ready every single time the next big feeling shows up.
Children who learn best through hands-on exploration will benefit from 15 Sensory DIY Craft Ideas for Kids With Special Needs That Support Learning Through Play, where creative projects are designed to encourage engagement, sensory development, and confidence-building.
What To Use
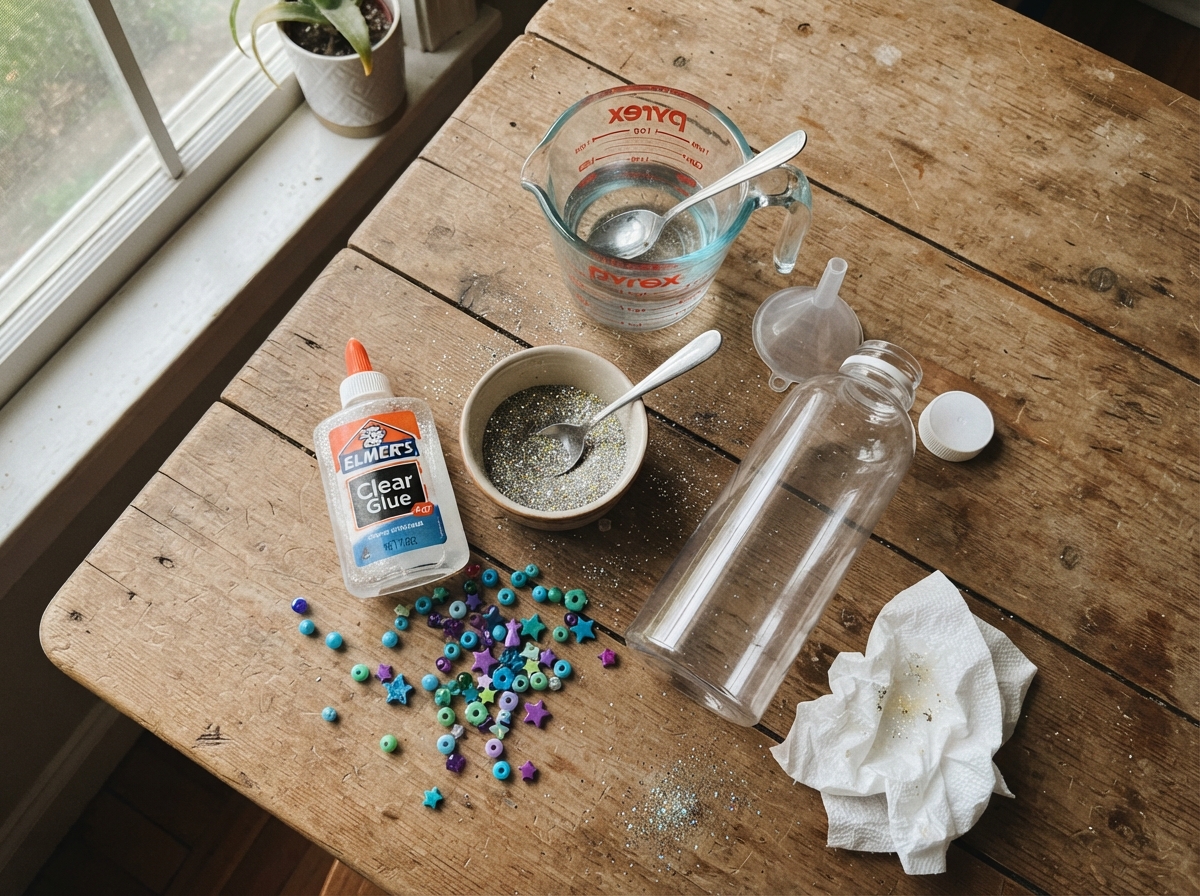
Oil + water base
- Clear plastic bottle (with a secure, glueable lid)
- Water
- Vegetable oil or baby oil
- Ratio: half water, half oil — or 1/3 oil to 2/3 water for a slower drift
Glue + water base
- Clear plastic bottle (with a secure, glueable lid)
- Clear glue
- Warm water
- Ratio: roughly 1 part glue to 2–3 parts warm water, adjusted until the glitter drifts at the speed you want
- Hot glue gun (for sealing)
- Funnel (optional, but makes filling much easier)
Fillers (for either base)
- Fine glitter
- Small beads or sequins
- Tiny charms or pom poms (anything that won’t dissolve in water)
Letter recognition becomes much more exciting with Train Craft Ideas for Kids That Make Learning the Alphabet Fun With Things You Already Have, combining early literacy skills with imaginative crafting using everyday materials.
Choosing Fillers by What Your Child Actually Needs
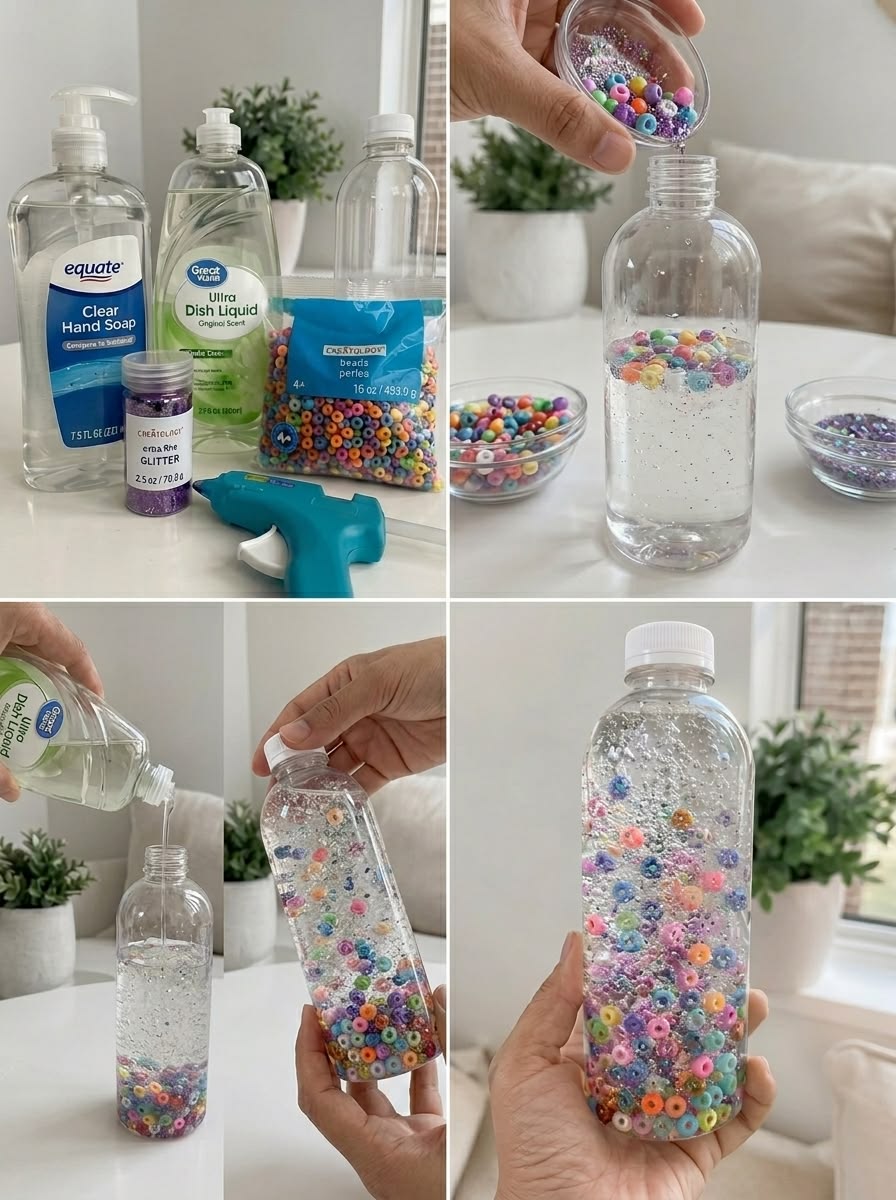
The fillers you choose aren’t just decoration, they decide whether the bottle calms your child through their eyes or through their hands.
For visual calming (slow settle)
Fine glitter and small beads drift down gradually, giving restless eyes something steady to follow. This is the pick for a child who calms down by watching, the kind of kid who gets lost staring at a lava lamp or ceiling fan.
Tactile and body-focused calming
Heavier fillers like pony beads or small charms sink faster and land with a little “thunk” against the bottom or sides. That extra weight gives a child something to physically feel and track, not just watch, better for a child who needs to shake, squeeze, or feel something move to settle down.
Know This
Anything solid works, as long as it won’t dissolve in water, pom poms, small Lego pieces, tiny toy animals, sequins, aqua beads. Mix and match until you find the combination your child reaches for again and again.
Meaningful keepsakes are easy to create with Salt Dough Handprint Keepsake for Babies: A Craft Every Parent Should Make, a timeless project that captures tiny handprints and preserves precious memories for years to come.
How to Make
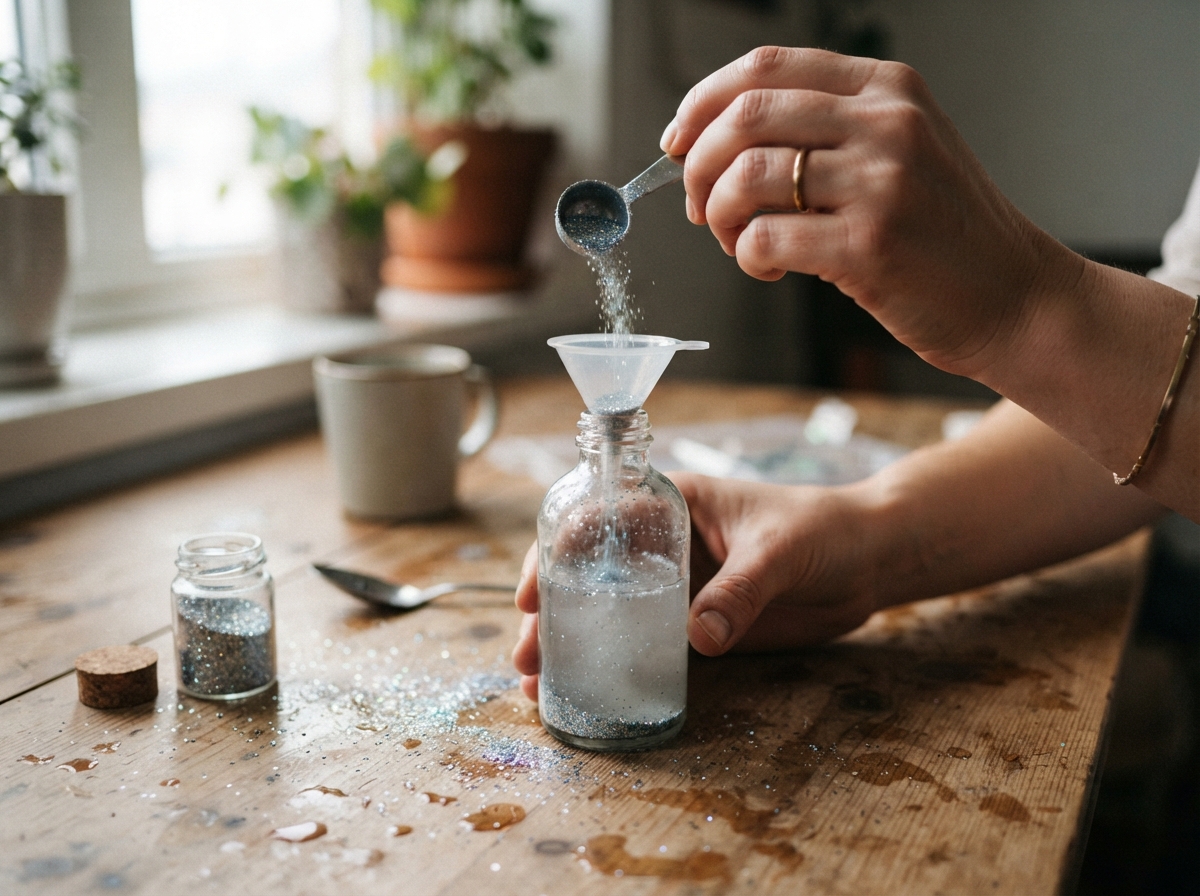
Making your own DIY sensory bottle takes about ten minutes, and most of what you need is probably already in your kitchen or craft drawer. Here’s how to put one together properly, from base to seal.
Steps
1. Choose your base. Decide whether you’re making the oil-based version (better for visual calming) or the glue-based version (better for tactile calming), since this determines what you’ll pour in first.
2. Fill the bottle about three-quarters full with your liquid base. For oil-based, pour in equal parts water and oil, or 1/3 oil to 2/3 water for a slower drift. For glue-based, mix roughly 1 part clear glue to 2–3 parts warm water, stirring until fully blended.
3. Add your fillers. Drop in your chosen glitter, beads, or charms a little at a time, checking how they move as you go. This is the moment to adjust, add more if the bottle feels too empty, or hold back if it’s already drifting the way you want.
4. Top off with more of your base liquid, leaving just a small gap of air at the top. That air pocket is what gives the contents room to swirl and settle when the bottle is shaken or tilted.
5. Screw the lid on tightly, then turn the bottle upside down once to check for leaks before moving to the final step.
6. Seal the lid with hot glue. Run a thick line of hot glue around the rim where the lid meets the bottle, then let it set fully before handing it over. This step turns your DIY sensory bottle into a safe, sealed tool that little hands can shake and roll without ever prying it open.
Once it’s sealed and set, your DIY sensory bottle is ready to use, no maintenance needed, just grab it the next time a big feeling shows up.
Texture, color, and creativity come together beautifully in Bubble Wrap Painting: The Easy Texture Trick That Turns Bored Kids Into Little Artists, an activity that turns ordinary packing materials into a surprisingly fun art tool.
Keeping Your DIY Sensory Bottle Safe
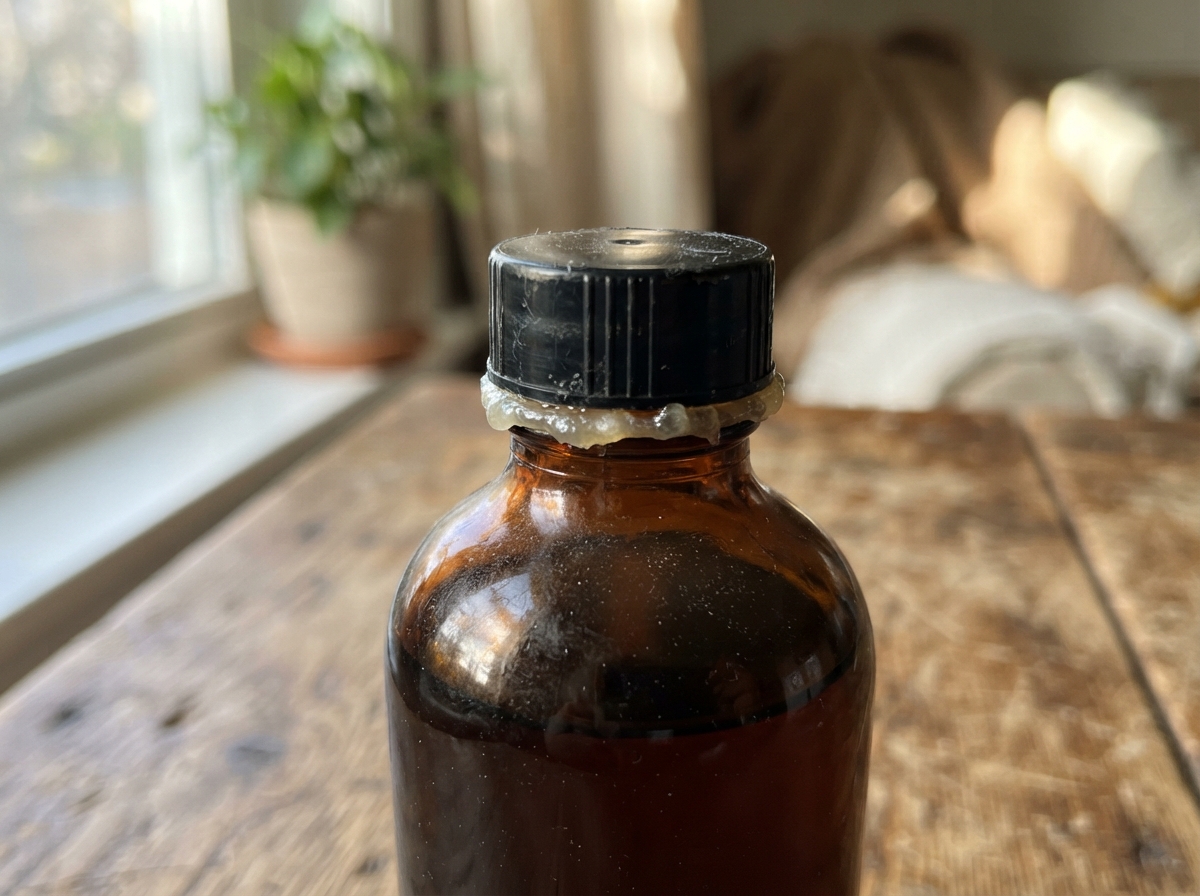
A calming tool only works if it’s actually safe to hand over, and this is the part parents worry about most: little hands finding a way to pry that lid back open.
1. Sealing the lid
Run a thick line of hot glue around the rim before twisting the lid on tight, then let it fully set before handing the bottle over. This turns your DIY sensory bottle into a sealed unit a toddler can shake, drop, and roll around without ever getting it open.
2. Choosing the right bottle
Stick to unbreakable plastic bottles, never glass. Even a well-sealed lid doesn’t help if the bottle itself can shatter when dropped on a hard floor.
3. Sizing fillers for younger kids
If the bottle is going to a toddler or a child who still mouths things, skip small choking-hazard fillers altogether, even sealed inside. Go with larger charms, bigger pom poms, or beads too big to swallow, so the bottle stays safe even if the seal is ever compromised.
A DIY sensory bottle is meant to feel safe in small hands the moment they pick it up, not something you have to hover over.
Hands-on sensory fun continues with Safe and Easy Slime Craft Ideas for Kids — Non-Toxic Projects That Keep Them Busy for Hours, offering kid-friendly recipes that encourage exploration while keeping safety a priority.
How to Actually Introduce the DIY Sensory Bottle to your Child
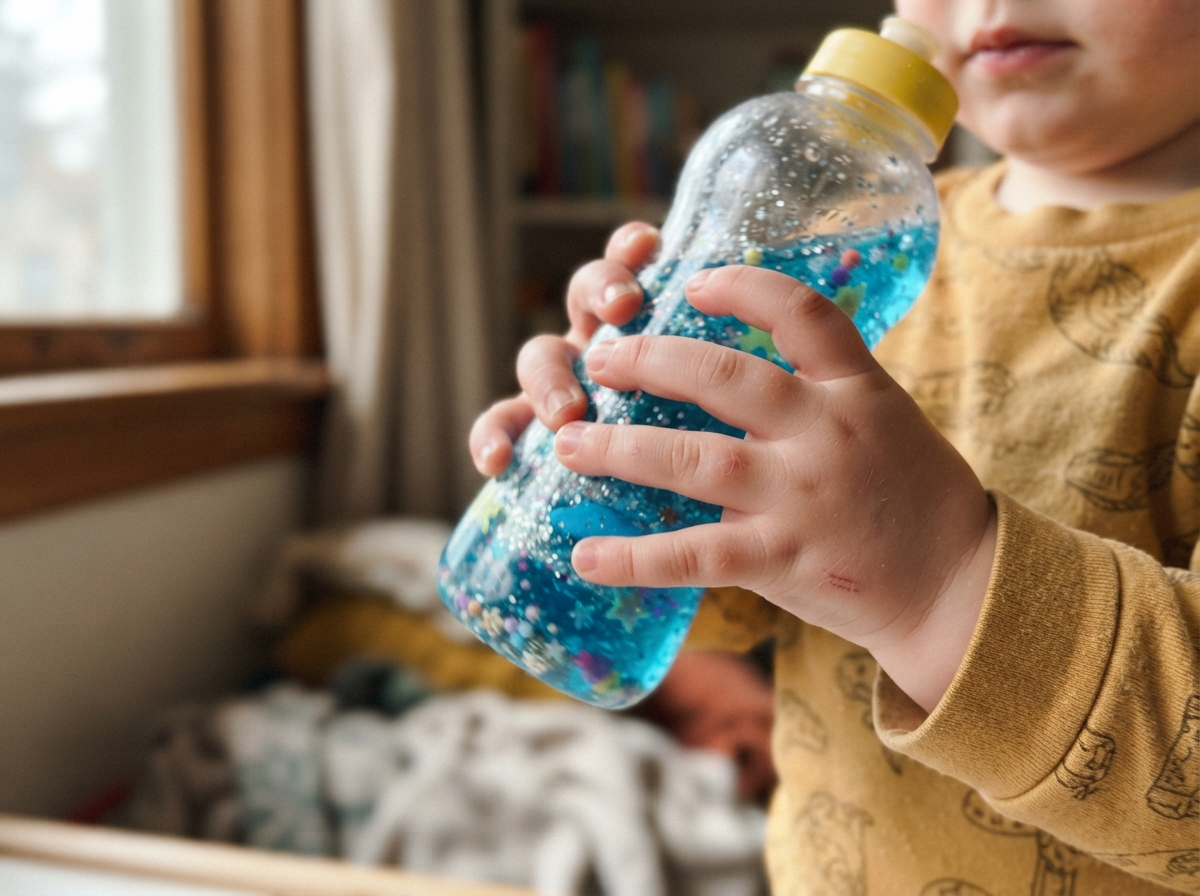
Handing your child the bottle the moment they melt down isn’t enough on its own, the tool works best when it’s introduced with a little intention, not just placed in their hands mid-storm.
Start by naming what you’re seeing, out loud, before you bring the bottle in at all: “You’re having a really big feeling right now.”
That one sentence does something important,it tells your child their emotion is real and seen, instead of something to be redirected away from.
Only after that, bring in the DIY sensory bottle, and frame it as a tool, not a fix: “Let’s shake this and watch it together while your body calms down.”
The difference matters. You’re not handing over glitter to distract them from the feeling, you’re giving them something to focus on while the feeling moves through, at its own pace.
Over time, this pairing sticks. The DIY sensory bottle stops being something you introduce and becomes something your child reaches for on their own the moment they feel a big emotion building, which is really the whole point
Everyday cardboard tubes get a second life in Toilet Paper Roll Crafts for Kids That Turn Everyday Waste into Fun, Skill-Building DIY Projects at Home, proving that some of the best craft materials are already sitting in your recycling bin.
Likely Issues and How to Fix Them
Even a well-made DIY sensory bottle can run into a few hiccups over time. Here’s what to expect and how to fix it.
-
Cloudy water
If your oil-based bottle starts looking cloudy instead of clear, it’s usually because the water and oil have been shaken so often that they’re taking longer to separate, or tap water with mineral content was used instead of distilled.
Let the bottle sit undisturbed for a few hours to let it settle back out, and consider redoing it with distilled water next time for a clearer, longer-lasting result.
-
Glitter clumping at the bottom
This usually means there’s too much glitter for the amount of liquid, or the glue-to-water ratio is too thick to keep it suspended. Open the bottle, add a little more warm water to loosen things up, reseal, and shake well. If it keeps clumping, it’s a sign to rebuild the bottle with less glitter next time.
-
Glue base turning yellow
Over weeks or months, a glue-based bottle can shift from clear to a faint yellow tint, this is just the glue naturally aging and isn’t a sign anything’s wrong. If the color bothers you, it’s an easy fix: empty the bottle, rinse it out, and remix a fresh glue-and-water base with the same fillers.
None of these mean you made your DIY sensory bottle wrong, they’re just normal signs it’s getting used, and each one has a quick fix that gets it back to working the way it should.
Color blending becomes a fascinating learning experience through Coffee Filter Butterfly Craft for Kids (Easy Stained Glass Effect Craft Idea), where simple supplies create vibrant butterflies while introducing children to basic science concepts.
When a Sensory Bottle Isn’t Enough
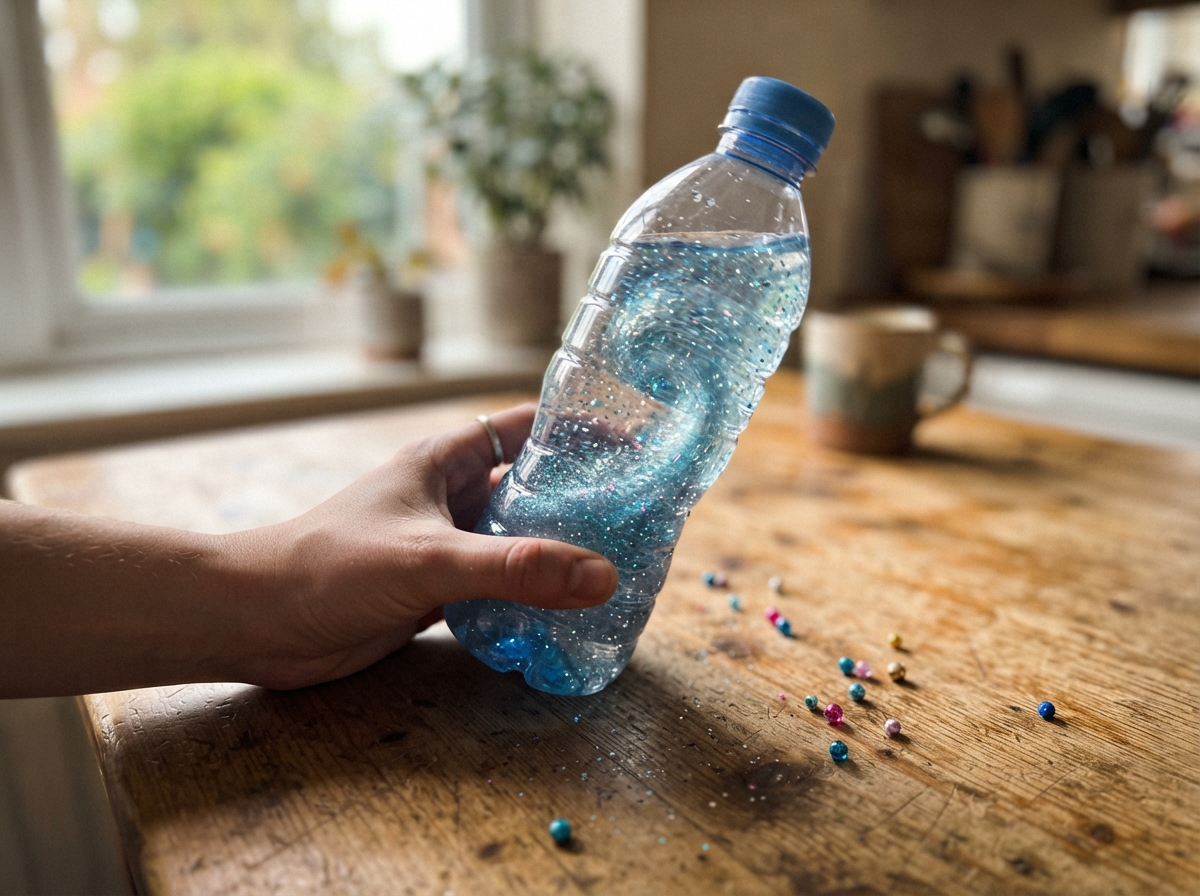
A DIY sensory bottle is a genuinely useful coping tool, but it isn’t a cure-all.
If big emotions are showing up frequently, feel especially intense, or seem to be getting in the way of everyday life at home or school, that’s worth paying attention to beyond what any craft can fix.
Occupational therapy is built specifically for this, a trained OT can work with your child on the deeper skills behind emotional regulation, not just the in-the-moment coping tools.
A DIY sensory bottle can absolutely help your child through a hard moment, but it’s meant to sit alongside real support, not replace it.
Recycling becomes part of the creative fun with 13 Easy Egg Carton Craft Ideas for Preschoolers at Home (Perfect for Tired Days), where simple egg cartons are transformed into playful projects that keep little ones engaged without requiring complicated supplies.
FAQs
1. What age are DIY sensory bottles appropriate for?
They work well from around age 2 through early elementary years, though even older kids and adults can find them calming. For toddlers, stick to larger, well-sealed fillers and skip anything that could pose a choking risk if the seal is ever compromised.
2. Do sensory bottles actually work, or is it just a trend?
They’re a real, evidence-based coping tool, occupational therapists use them in actual therapy sessions to support calming and focus, not just as a craft-blog trend. That said, they work best as one tool among several, not a guaranteed fix every time.
3. Can you make a sensory bottle without glitter?
Yes. Glitter is popular because it drifts slowly and looks appealing, but you can build the same calming effect with small beads, sequins, or tiny buttons instead, especially if you’d rather avoid loose glitter in your home.
4. Can I use hair gel instead of glue or oil?
Hair gel works as a base and actually gives an even thicker, slower drift than a glue-and-water mix, making it a good third option if you want maximum resistance and a heavier tactile feel.
5. How long does a DIY sensory bottle last before it needs to be redone?
A well-sealed bottle can last for months of regular use. The glue-based version is the one most likely to need refreshing first, since the glue naturally yellows over time.
6. How do I clean a sensory bottle if the outside gets sticky or dirty?
Wipe the outside down with a damp cloth and mild soap, avoiding the sealed lid area so you don’t loosen the hot glue seal. Since the bottle is sealed shut, the inside never needs cleaning.
7. Is a “calm down jar” different from a sensory bottle?
Not really, they’re the same tool, just named differently depending on where you find them. “Calm down jar” tends to show up more in parenting content, while “sensory bottle” is the term more commonly used in occupational therapy settings.