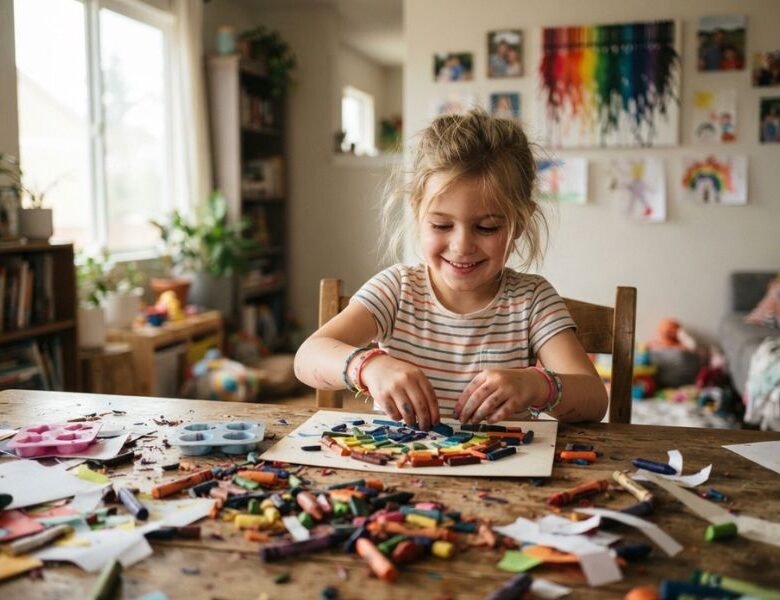
That drawer of broken crayons doesn’t have to be trash, melted crayon art for kids turns every leftover piece into something new.
Melting crayons back down is one of those rare crafts that gives a genuinely useless object a second life instead of just repackaging it.
A crayon too short to hold, too broken to color with, still carries every bit of its original pigment and wax, it just needs heat to become something new again.
This isn’t about filling an afternoon with busywork. It’s about teaching a child, in a way words never quite manage, that broken doesn’t mean finished.
There’s more than one way to melt a crayon, and the method matters, a hairdryer, an oven with silicone molds, a low-heat crayon melter pen, even a hot afternoon in direct sun will each give a different result, at a different level of supervision.
This guide walks through what’s actually happening to the wax as it melts, which method fits which age and setting, and the small but real safety details that get glossed over elsewhere.
By the end, that drawer of broken crayons stops being a guilt pile and becomes the start of something a child made with their own hands, out of pieces everyone else would have thrown away.
Keep little hands busy with Safe and Easy Slime Craft Ideas for Kids — Non-Toxic Projects That Keep Them Busy for Hours, featuring fun sensory activities that are easy to make and safe for children to enjoy.
What’s Actually Happening When a Crayon Melts
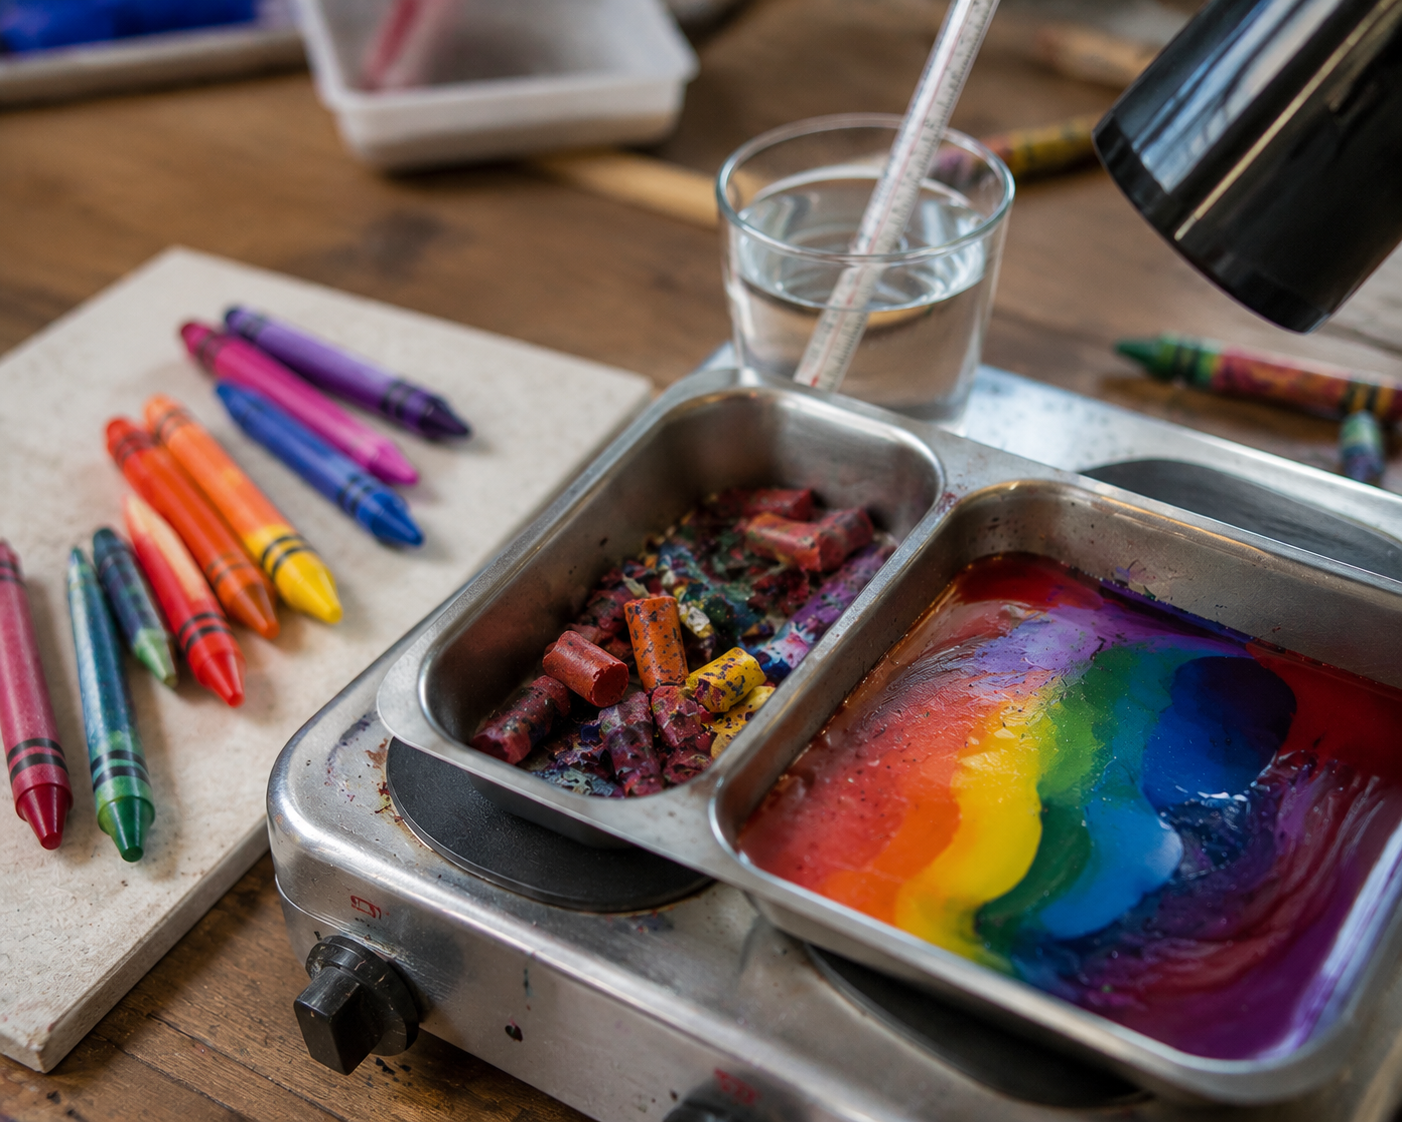
A crayon isn’t just “wax.” It’s pigment suspended inside wax, and the wax is what does all the moving.
Most crayons are paraffin wax, a petroleum byproduct, the same base used in candles. Soy and beeswax crayons exist too, and they melt differently: softer, slower, and at slightly different temperatures than paraffin.
Here’s the temperature breakdown for standard paraffin crayons:
- 100–115°F — the wax starts to soften. Edges go dull, corners round off slightly. Nothing runny yet.
- 130–150°F — full liquefy point. This is where color starts to move and blend.
- Below 100°F — nothing happens, no matter how long it sits there.
That gap explains a lot. A hairdryer on high heat pushes air well past 150°F, so wax melts fast. A sunny windowsill might only reach the 100–115°F range, which is why sun-melting takes patience, the wax is softening, not fully liquefying, so colors move slowly instead of dripping.
Why this matters for the craft itself:
- Pigment doesn’t melt — only the wax carrying it does. Bright, saturated colors happen when wax melts fully; muddy, dull color usually means the wax barely softened before it was moved or mixed.
- Different brands melt at slightly different points. Mixing an off-brand crayon with a name-brand one in the same project can mean one melts while the other’s still solid.
- Once wax cools back down, it hardens at roughly the same temperature it melted, there’s no shortcut to speed up the cooling, only patience.
Knowing this turns “melt the crayon” from a vague instruction into something a child can actually predict and understand, why the hairdryer works fast, why the sun works slow, and why patience matters more than heat.
Turn ordinary bubble wrap into a creative art tool with Bubble Wrap Painting: The Easy Texture Trick That Turns Bored Kids Into Little Artists, a simple painting activity that adds exciting texture to every masterpiece.
Choosing Your Method
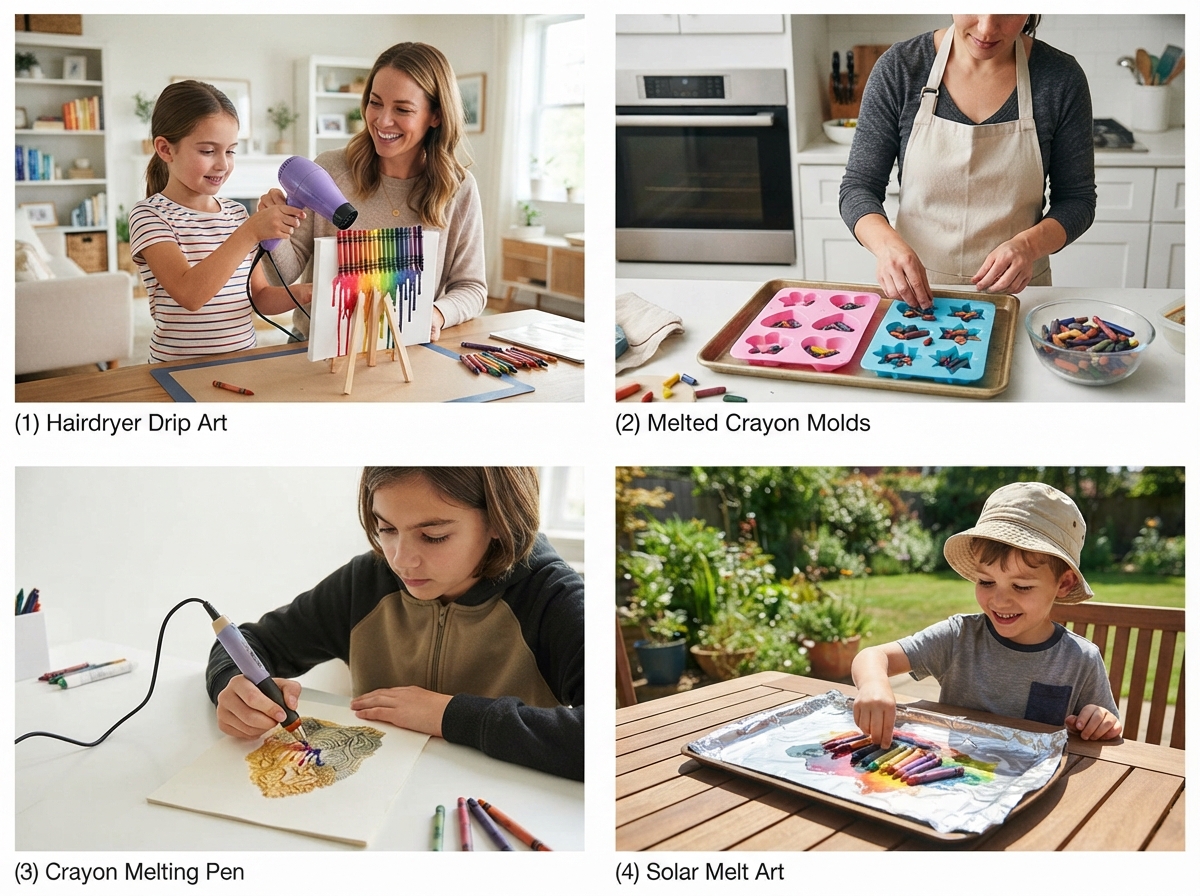
There’s more than one way to melt a crayon. Each way uses heat differently, so each one gives a different look, needs a different amount of watching, and works better for different ages.
It also helps to know upfront that each method leads to a different kind of finished piece.
A hairdryer and canvas produce wall art. An oven and mold produce a new, solid, shaped crayon.
Sun-melting produces a flat, hardened piece that can either stand alone or be broken up and reused in another project.
A melter pen produces detail work added onto something else, rather than a project on its own.
Sun-melting produces a flat, hardened piece that can either stand alone or be broken up and reused in another project.
Picking a method isn’t just about how it melts, it’s about what you want to end up with.
Hairdryer or Heat Gun (on canvas)
- How it works: Glue the crayons onto the canvas first, pointing down, near the top edge. Then use a hairdryer on high heat, low air speed, to melt them right there. The wax drips down the canvas on its own. Nothing needs to be poured or carried anywhere.
- Best for: Drip art — bold streaks of color running down the canvas.
- Age/supervision: Ages 6 and up, with an adult holding or aiming the dryer. The wax stays hot after it drips, so hands need to stay away until it sets.
- Time: Fast — a few minutes.
- The trade-off: Looks great, but the child mostly watches instead of doing the melting themselves.
Oven + Silicone Molds
- How it works: Put small crayon pieces into a silicone mold, then place it in the oven, somewhere between 200°F and 350°F. The mold holds the wax the whole time — no pouring involved.
- Best for: Shaped crayons, like hearts, stars, or letters.
- Age/supervision: The oven part is adult-only. Kids can break the crayons and fill the mold before or after.
- Time: Slower — melting and cooling together can take 20–30 minutes.
- The trade-off: Looks the most “finished,” but kids don’t get to watch the actual melting happen.
Crayon Melter Pen (low-heat tip)
- How it works: A small pen with a warm tip melts one crayon at a time. It works almost like drawing, wax comes out and goes right where the pen touches.
- Best for: Small details like doodles, lines, texture, not big areas.
- Age/supervision: Made for kids age 8 and up, with supervision. The tip stays low-heat and cools fast.
- Time: Slow, one small spot at a time.
- The trade-off: Gives kids the most control, but isn’t good for covering a big surface.
Sun-Melting
- How it works: Lay small crayon pieces on a foil-lined tray, then set it in strong, direct sunlight. The heat from the sun softens and melts the wax slowly. The tray becomes the finished piece, just peel it off the foil once it’s cooled.
- Best for: Younger kids, or anytime you want a hands-off, low-risk option.
- Age/supervision: The safest of the four, there’s no hot tool for a child to touch.
- Time: The slowest method. Depends on how strong the sun is that day.
- The trade-off: Results are less predictable, but there’s no burn risk.
How to pick one:
Choose based on who’s doing the melting, not which one looks best in photos. A hairdryer works well for an older kid who wants to see fast results.
An oven and molds suit a parent who wants a shaped keepsake and doesn’t mind handling the oven.
A melter pen fits a child old enough to want control over small details. Sun-melting fits a hot day and a younger child who just wants to watch colors change.
Create colorful butterflies with Coffee Filter Butterfly Craft for Kids (Easy Stained Glass Effect Craft Idea), a hands-on project that teaches color blending while strengthening fine motor skills.
Step-by-Step: Sun-Melting Crayon Art (The Safest Kid-Led Method)
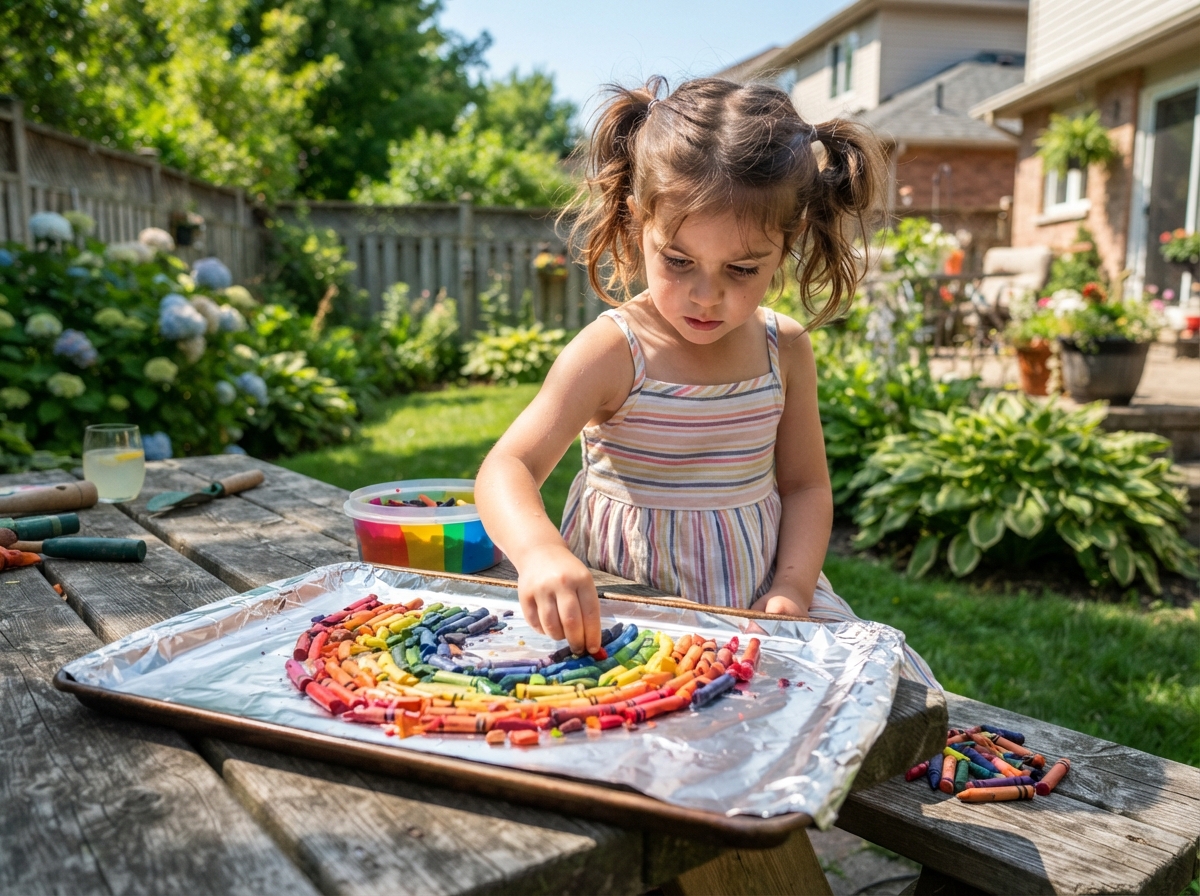
This is the method to start with if you want a child doing the actual melting themselves, start to finish, with no heat source they could touch.
It’s slower than a hairdryer or oven, but that’s exactly what makes it the right entry point, nothing here gets hot enough to burn skin.
What You’ll Need
- Broken crayon pieces, unwrapped (paper removed)
- A baking sheet or shallow tray
- Aluminum foil (to line the tray)
- A hot, sunny day — direct sunlight matters more than air temperature, so a warm but cloudy day won’t work well
- A window ledge, porch, or outdoor table that gets full sun for several hours
- Oven mitts (only needed if you move the tray while it’s still warm later)
Step 1: Unwrap Every Crayon
Peel or soak off the paper wrapping. Soaking the crayons in a bowl of warm water for a few minutes loosens the glue and makes the paper slide off far more easily than trying to peel it dry, this alone saves a lot of frustration for small hands.
Step 2: Line the Tray
Cover the baking sheet completely in foil, with the shiny side facing up. Foil reflects heat back onto the crayons instead of absorbing it, which speeds up the melt and keeps wax from bonding to the tray itself.
Step 3: Break the Pieces Down Further
Even broken crayons are often still too big to melt evenly in the sun. Snap them into smaller chunks, roughly the size of a pea or smaller.
The bigger the piece, the longer it takes to soften, and uneven sizes mean uneven melting: small pieces will fully liquefy while a big chunk next to them is still solid.
Step 4: Arrange the Pieces
Lay the pieces out on the foil in whatever pattern or color grouping you want the finished piece to have, colors won’t move much in the sun compared to a hairdryer, so the layout you start with is close to the layout you’ll end with.
This is the step to let a child fully control: grouping by color family, building a rainbow line, or scattering pieces at random.
Step 5: Set It in Direct Sun
Place the tray somewhere it will get uninterrupted, direct sunlight, not just a warm room, but sun actually hitting the wax.
A windowsill that gets sun for hours, a porch table at midday, or pavement in full sun all work. Indirect light or shade won’t generate enough heat.
Introduce children to different cultures through 12 African Art Projects for Kids That Teach Culture, Not Just Craft, where every project encourages creativity while exploring African traditions and artistic styles.
Step 6: Wait — and Check Back Every 20–30 Minutes
This is the part that requires patience, not supervision. Depending on how strong the sun is, softening starts within 30–60 minutes and full melting can take anywhere from 1 to 3 hours. Check the tray periodically:
- Edges look dull and slightly rounded → softening has started, not fully melted yet.
- Pieces look shiny and have started to sag or spread → it’s melting.
- Colors have pooled and merged slightly at the edges → fully melted.
There’s no need to touch anything during this stage, that’s what makes it the lowest-risk method on the list.
Step 7: Bring It Inside to Cool
Once melted to your liking, move the tray to a flat, indoor surface out of direct sun. Let it cool and re-harden completely before anyone touches the finished piece, this takes about 15–20 minutes at room temperature.
Moving it too early risks smearing the design or, if it’s still warm, mild contact heat on fingertips.
Step 8: Pop It Off the Foil
Once fully hardened and cool to the touch, gently peel the foil away from the back. It should release cleanly if the foil was smooth and unwrinkled underneath.
Troubleshooting you might experience
- Been hours and nothing’s melting → the tray likely isn’t in strong enough direct sun, or the pieces are too large. Move it to the sunniest spot available and break pieces down smaller.
- Colors turned muddy instead of vibrant → too many colors were mixed too close together before they fully melted. Next time, group same-family colors together with more space between different color zones.
- The wax stuck to the tray → the foil had wrinkles or gaps where wax touched the metal directly. Smooth the foil completely flat before laying out crayons next time.
By the end of this process, a child has unwrapped, broken, arranged, watched, and unveiled the finished piece entirely on their own, the only adult role is choosing the sunny spot and handling the final foil peel if needed.
Encourage outdoor exploration with Milk Carton Bird Feeder Craft to Get Preschoolers Outside and Off Screens, where children can build a simple bird feeder and enjoy watching backyard birds together.
What to Make With the Result
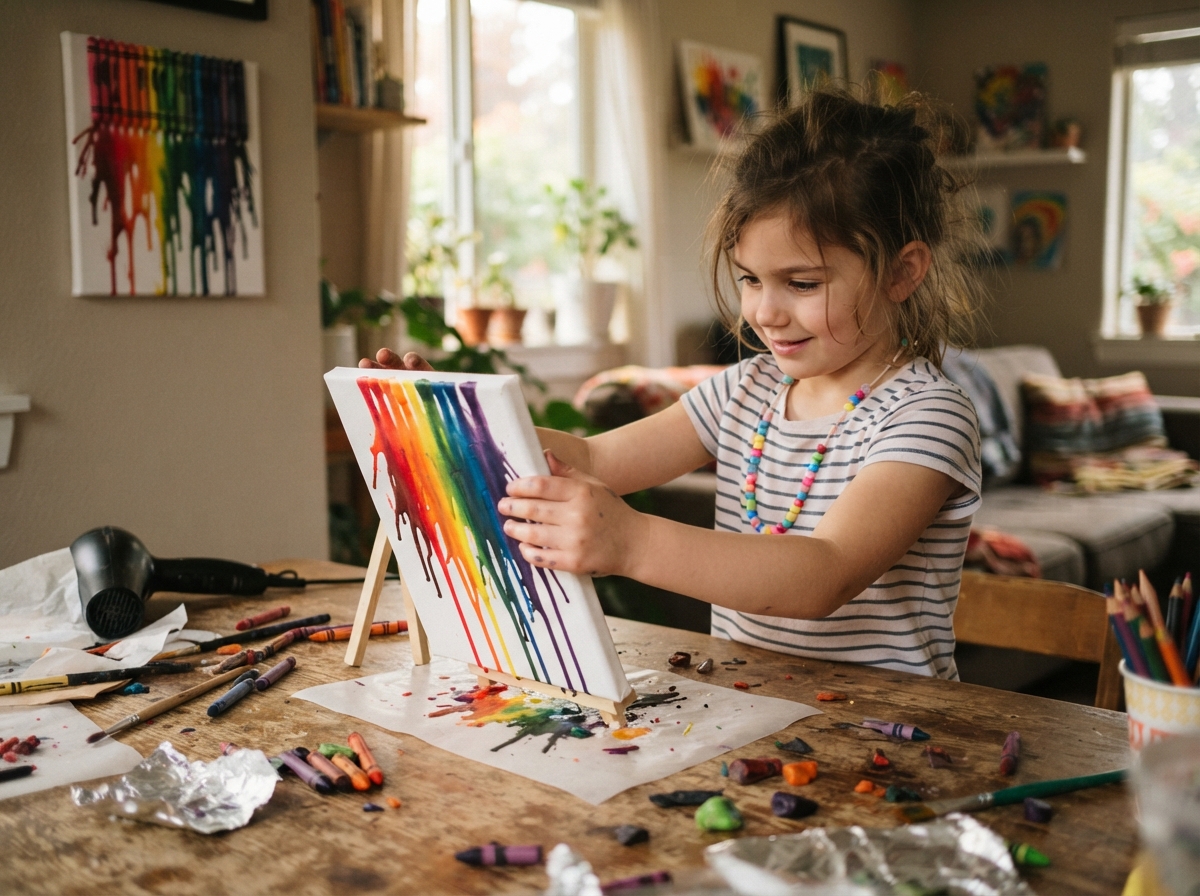
Once the wax has cooled and hardened, melted crayon art for kids can take a few different forms depending on how it was made and what’s on hand.
- Canvas art — Pour or drip the melted wax directly onto a small canvas while still warm, tilting it slightly so colors run and blend on their own before setting. A thin layer is enough here, since canvas art is meant to be displayed rather than handled often.
- Painted rocks — Smooth, fist-sized rocks work well as a base, but they need to be completely dry and at room temperature first, any dampness stops the wax from bonding evenly. Press warm wax onto the surface in patches, building up a slightly thicker layer than canvas art since rocks tend to get picked up and handled more.
- Bookmarks — Sandwich crayon shavings between two sheets of wax paper and press with a warm iron on a low-to-medium setting, too hot, and the wax paper can scorch or the colors turn muddy instead of blending cleanly. Since bookmarks get handled constantly, a slightly thicker, fused layer holds up far better over time than a thin one.
- Pencil toppers — Pour melted wax into small silicone molds with a pencil tip inserted before it hardens, so the finished shape slides right onto a pencil. These need enough wax to fill the mold solidly, since a thin or hollow topper cracks easily with regular use.
Each option uses the same melted wax differently, the choice comes down to what’s already around the house and how much handling the finished piece needs to survive.
And none of it requires starting with a fresh crayon: leftover shavings trimmed off a bookmark or scraped from a mold can go straight into the next project instead of the trash, keeping the whole process waste-free from start to finish.
Give empty cartons a new purpose with 13 Easy Egg Carton Craft Ideas for Preschoolers at Home (Perfect for Tired Days), packed with budget-friendly projects that inspire creativity using recycled materials.
Safety Notes You Should Know
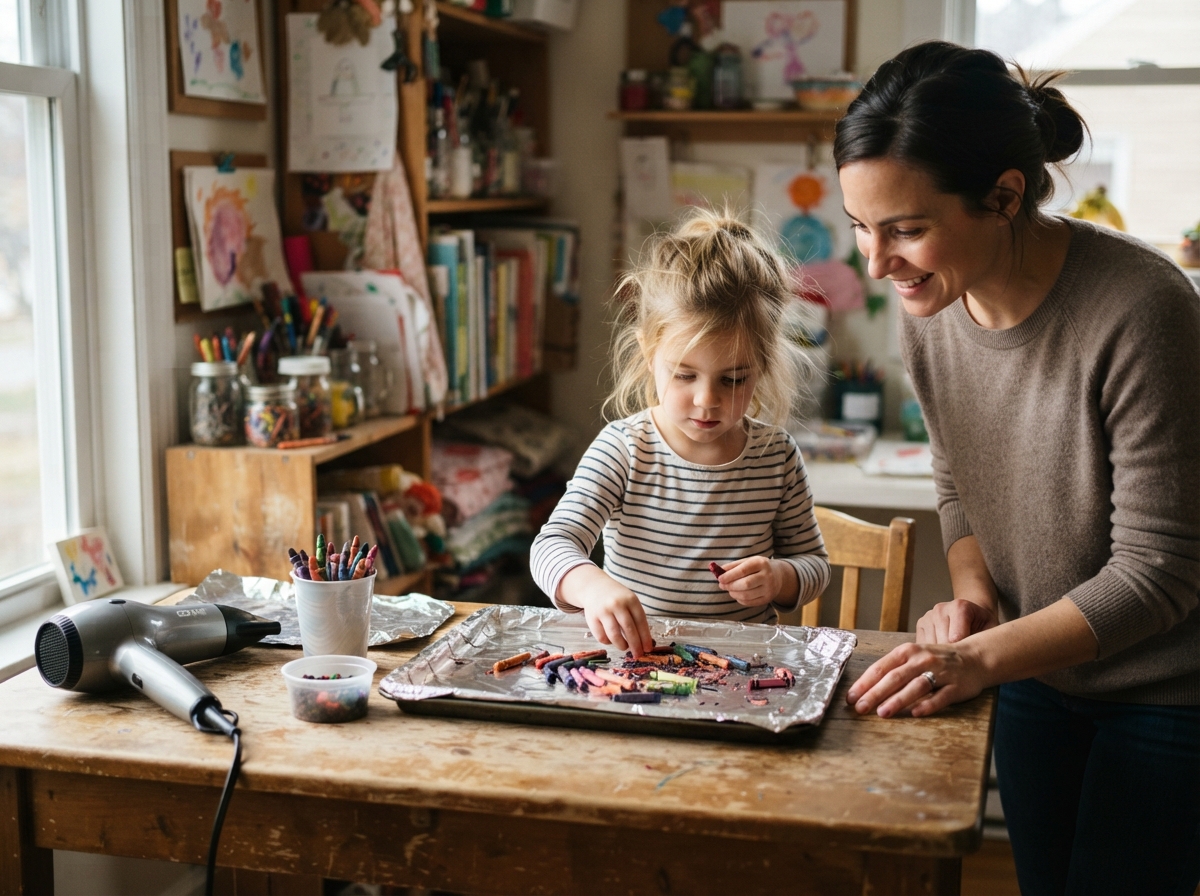
Adult supervision required” is common advice, but it doesn’t say what to actually watch for. Here’s the specific stuff worth knowing:
- Wax burns before it looks dangerous. Melted crayon wax doesn’t look hot the way an open flame does, it looks like liquid color. That’s exactly what makes it risky: a child can reach toward it assuming it’s safe to touch, when it’s still well above skin-safe temperature. Treat any freshly melted wax as hot until proven otherwise, regardless of how it looks.
- Cooling takes longer than it seems. A finished piece needs a full 15–20 minutes at room temperature before anyone touches it, even after it looks solid on the surface. Wax can harden on top while the layer underneath is still warm enough to cause discomfort. Rushing this step is where most minor burns happen.
- The surface underneath matters more than people expect. Wax paper and foil aren’t just about easy cleanup, they’re what keeps hot wax from bonding directly to a tray, canvas backing, or table.
Skipping a non-stick layer means wax can fuse to a surface while still hot, and separating it later often means re-melting or scraping, both of which reintroduce heat risk unnecessarily.
- Match the method to the child, not the other way around. A hairdryer or oven needs direct adult handling of the heat source itself. Sun-melting and a low-heat crayon melter pen remove that risk almost entirely, which is why they’re the better starting point for younger or first-time crafters.
The goal isn’t to make this sound more dangerous than it is, melting crayons is a genuinely low-risk craft. It’s to know exactly which moment carries the risk, so supervision is focused where it actually matters instead of hovering the whole time.
Support learning through play with 15 Sensory DIY Craft Ideas for Kids With Special Needs That Support Learning Through Play, offering engaging activities that encourage creativity while meeting a variety of sensory needs.
The Bigger Picture
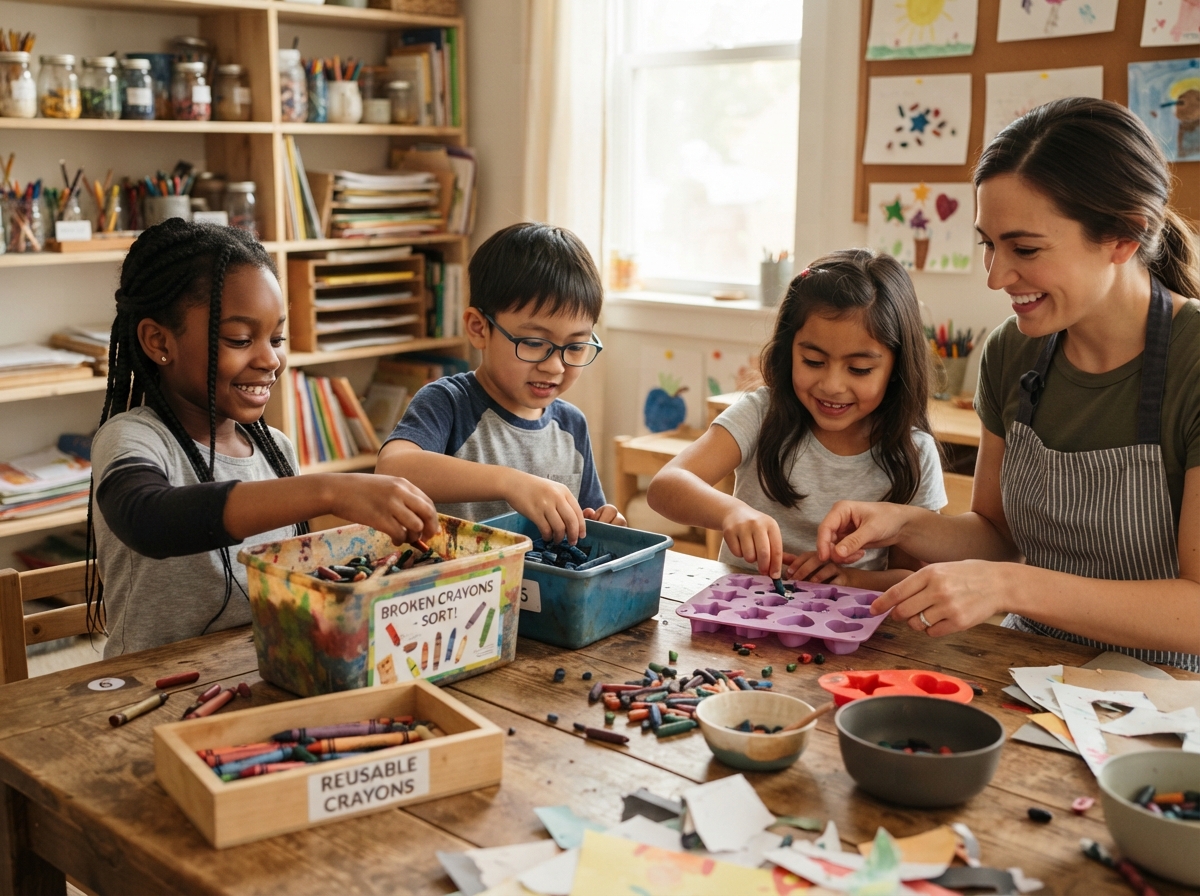
Crayons are made almost entirely of paraffin wax, a petroleum byproduct.
Unlike paper or food scraps, paraffin doesn’t break down naturally once it’s in the ground. A crayon thrown away today can sit in a landfill for generations without decomposing.
And it adds up faster than most people realize. Estimates put broken and discarded crayons at somewhere between 45,000 and 75,000 pounds landfilled every year in the U.S. alone, all from something that looks harmless enough to toss without a second thought.
This is exactly why organizations like The Crayon Initiative and the National Crayon Recycle Program exist. Both collect broken and unwanted crayons, many donated by restaurants, schools, and homes, and melt them down into new crayons instead of letting them end up in the ground.
The National Crayon Recycle Program alone has kept over 170 million pounds of crayons out of landfills through this kind of collection and reuse.
Melting crayons at home is a small-scale version of the exact same idea. Every piece that goes into a canvas, a painted rock, or a bookmark is one less piece adding to that pile.
It’s not framed as an environmental lecture for kids, it’s shown to them, hands-on, in real time: something broken and “used up” still has value, and throwing it away isn’t the only option.
That’s the quiet lesson underneath the craft. Not “don’t waste things,” spoken as a rule, but demonstrated as a fact a child can see for themselves, the nub of a crayon they thought was finished becomes the start of something they made.
Make alphabet practice exciting with Train Craft Ideas for Kids That Make Learning the Alphabet Fun With Things You Already Have, using everyday supplies to combine crafting with early literacy.
Conclusion
That drawer of broken crayons was never really trash, it was just waiting for the right project. Melted crayon art for kids turns something a parent almost threw away into a piece a child made with their own hands, start to finish, without a single new supply purchased.
Whichever method fits your household, a slow afternoon in the sun, a low-heat melter pen, or a hairdryer session with an older kid, the result is the same: broken pieces stop being clutter and become something worth keeping.
And every bit of wax that goes into a canvas or a painted rock is one less piece adding to a landfill that doesn’t need any more paraffin sitting in it.
If there’s a drawer of crayon nubs sitting somewhere in the house right now, this is the weekend to finally do something with it.
Pick a method, pull out the broken pieces, and let a child see for themselves that “used up” was never really the end of the story.
Blend crafting with nature in How to Make Seed Paper with Kids: A Fun Nature Craft That Actually Grows, an eco-friendly activity that lets children create handmade paper they can later plant and watch bloom.
FAQ
-
Can you melt crayons in the microwave?
Not recommended. Microwaves heat unevenly, and paraffin wax can overheat in spots before the rest even softens, which raises both a fire risk and an uneven melt. Stick to a hairdryer, oven, melter pen, or sun for predictable, safer results.
-
Is melted crayon wax safe if a child touches or tastes it?
Standard crayons are non-toxic by design, so accidental contact or a lick isn’t a poisoning concern. That said, “non-toxic” doesn’t mean “harmless while hot” — the risk with melted wax is heat, not chemical safety.
-
How do you get crayon wax off carpet, clothing, or furniture?
Let the wax harden completely first, never wipe it while soft, which just spreads it further. Once solid, scrape off the excess gently, then place a paper towel or brown paper bag over the remaining residue and press a warm iron over it; the heat pulls the wax up into the paper instead of the fabric.
-
Does melted crayon art fade or crack over time?
Direct sunlight is the main cause of fading, since it’s the same UV exposure that eventually breaks down the wax’s pigment. Cracking usually comes from a layer that was too thin or cooled too fast. Keeping finished pieces out of direct sun and giving them the full cooling time helps both problems.
-
Can a finished piece be remelted if it doesn’t turn out right?
Yes — this is one of the few crafts where “starting over” doesn’t waste anything. Since the wax hasn’t changed chemically, it can go through the same melting process again as many times as needed until the result works.