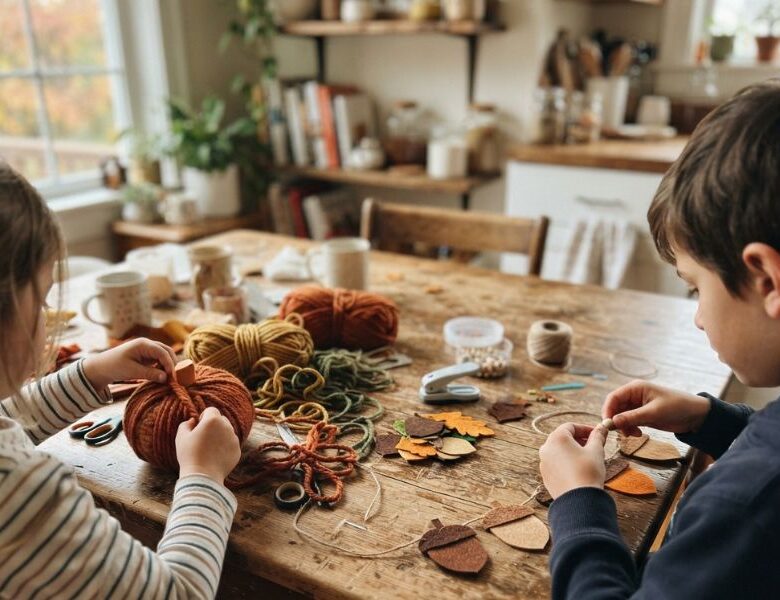
Toddlers and big kids can craft together this fall, with fall crafts for siblings of different ages split by real skill level so both actually build one thing together.
Crafts fall apart in almost every household for the same predictable reason, and it has nothing to do with patience or planning. It’s biology.
A three-year-old’s hands physically cannot hold scissors the way a nine-year-old’s can, the fine motor control for a controlled, straight cut doesn’t fully develop until somewhere around age six or seven.
Fall crafts make this worse than usual, because the season practically demands fine detail work, cutting leaves, snipping felt, trimming paper pumpkins, right at the moment pumpkin patches and hayrides have every sibling wanting to do something together.
So when a craft asks every sibling to do the exact same steps, one child sails through it and the other is set up to fail before the glue even comes out.
That’s the actual source of the meltdown, the “this is boring,” the fight over who gets to cut the paper, not attitude, not attention span, a genuine skill gap nobody accounted for.
The fix isn’t finding a craft “easy enough” for your youngest or “advanced enough” for your oldest.
It’s building one project with two jobs baked in from the start, so each child works inside what their hands can actually do, and both end up holding something they made, at the same table, without anyone doing the whole thing for anyone else.
Get that part right, and the craft table stops being a battleground and starts being the one place your kids actually want to sit down together and make something for themselves.
Looking for seasonal projects that people actually buy? What to Make and Sell This Fall: 15 Fall Craft Fair Project Ideas Worth Your Table Space shares beginner-friendly ideas that are perfect for craft fairs, markets, and small creative businesses.
Why One Craft for Everyone Usually Doesn’t End As Planned
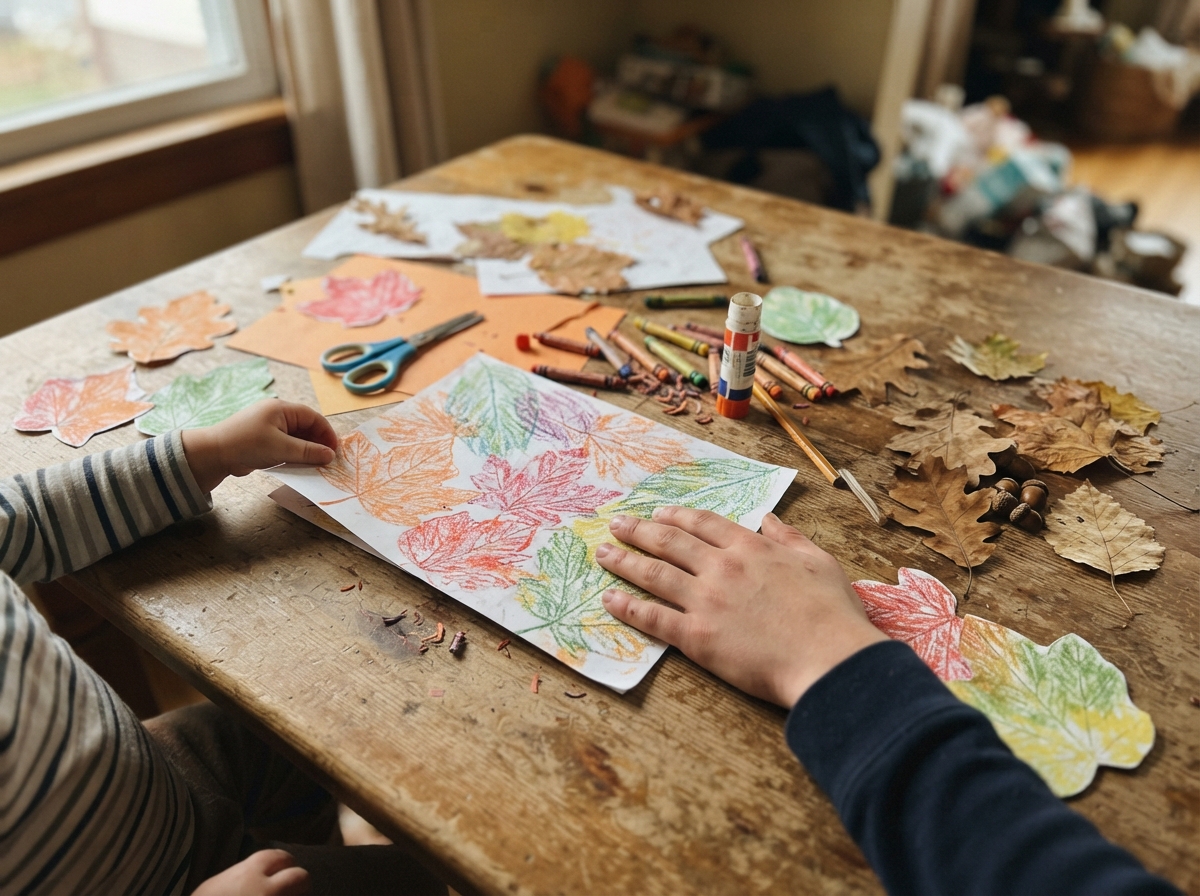
Handing every child the same materials, the same instructions, and the same project seems like the obvious way to make family time happen.
In practice, it rarely survives past the first ten minutes, and the reason isn’t attitude or patience. It’s that kids at different ages don’t actually play the same way.
Toddlers spend most of their early play in what child development specialists call parallel play: sitting next to another child, using the same materials, but not truly working together. That’s not a phase to rush a child out of, it’s a real developmental stage, typically starting around 18 to 24 months.
The shift toward true cooperative play, where kids take turns, build on what someone else is doing, and work toward one shared outcome, usually happens closer to age three or four.
That single fact explains a lot. A five-year-old and a nine-year-old have almost always moved past parallel play.
A three-year-old often hasn’t. So when you sit them down with identical steps, you’re not giving them the same craft, you’re asking one child to do something they’re developmentally ready for, and the other to fake readiness they don’t have yet.
That mismatch is exactly what shows up as the meltdown. The older sibling rushes through the project or quietly takes it over. The younger one loses interest, gets frustrated, or declares the whole thing boring within minutes.
It looks like a bad attitude, well it’s actually a structural problem, the craft was built for one skill level and asked to stretch across two.
The fix isn’t making the project easier until the youngest keeps up, or adding extra steps to keep the oldest interested.
The more reliable approach, one occupational therapist point to when working on sibling play, is giving each child a defined role that matches their actual ability, both working toward the same finished project.
One sibling sorts, presses, or stacks: tasks that only need basic grasp, no precision required. The other cuts, arranges, or handles the finer assembly.
Neither child ends up with a lesser version of the craft. Each one gets the version that fits their hands right now, and both are working on the same thing, together, instead of two separate projects happening to share a table.
That’s the actual difference between kids who drift apart within minutes and kids who are still sitting there twenty minutes later, arguing over whose leaf goes where, not whether they want to be there at all.
Meaningful play starts with 15 Sensory DIY Craft Ideas for Kids With Special Needs That Support Learning Through Play, featuring hands-on activities that encourage creativity while supporting sensory development.
Fall Crafts for Siblings of Different Ages
1. Leaf Rubbing Collage
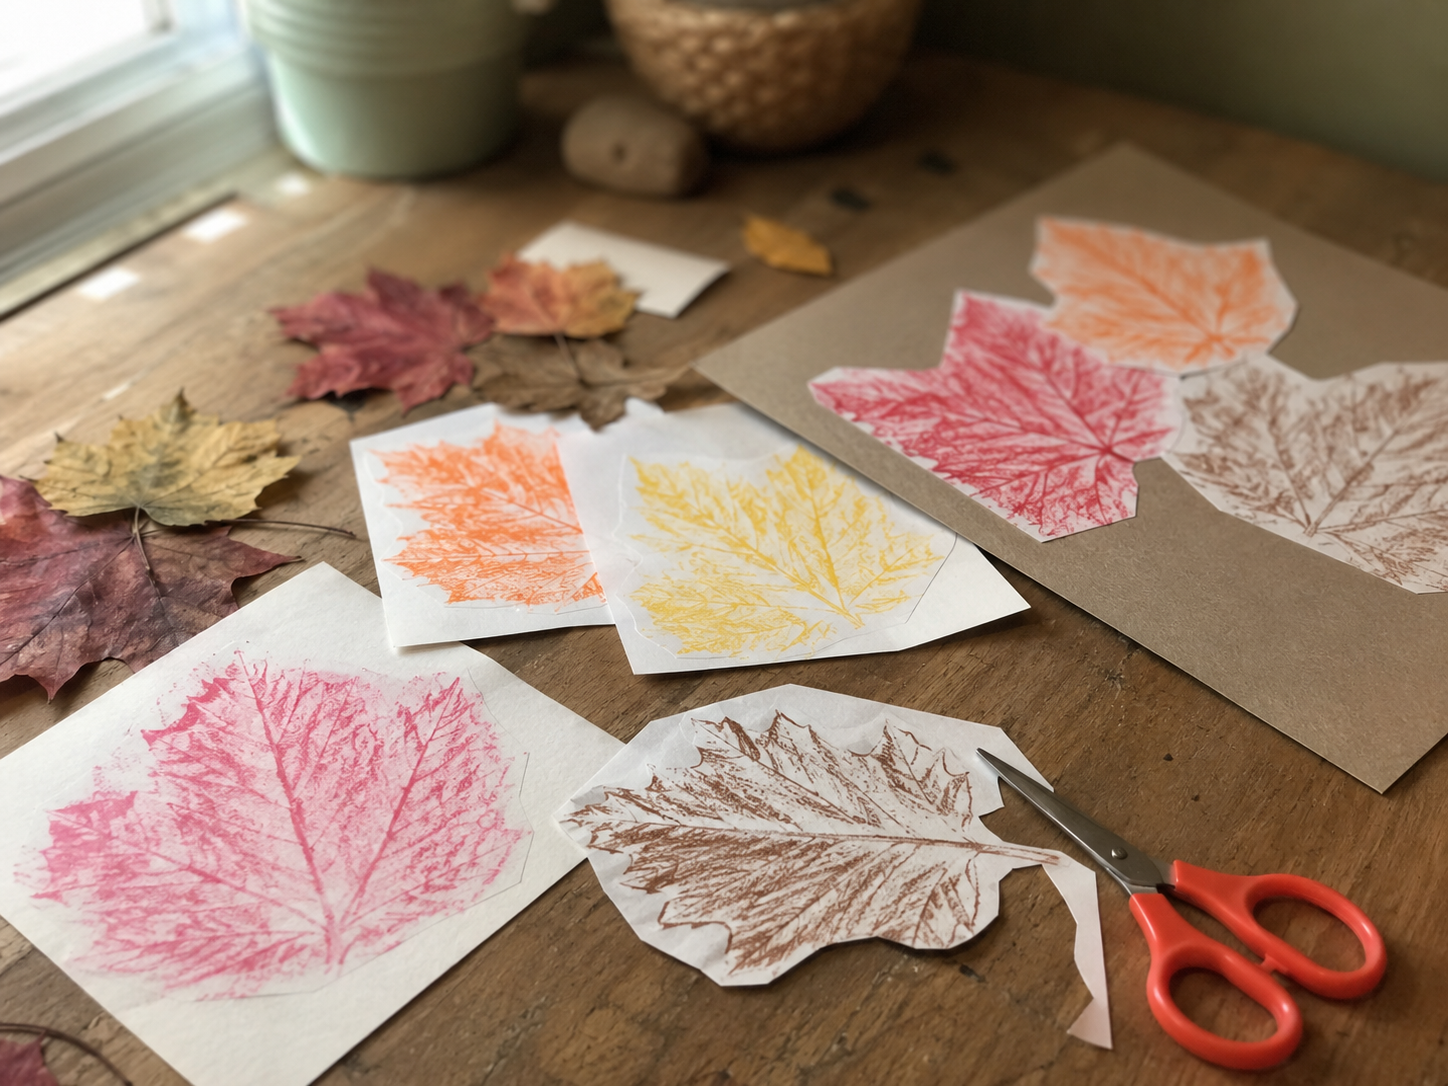
A textured piece of fall art made by capturing the shape and vein pattern of real leaves onto paper, then arranging those rubbings into a full scene.
It turns leaves collected on a walk into something that actually gets framed or hung up, instead of dried out in a junk drawer.
How to make it:
- Collect a variety of leaves outside, different shapes and sizes work best for a fuller-looking collage
- Place a leaf flat on the table, vein-side up, and lay a sheet of plain paper over it
- Rub the flat side of a crayon firmly and evenly across the paper until the leaf’s outline and veins show through
- Repeat with several leaves and colors
- Cut out the finished rubbings
- Arrange the cutouts on a larger piece of cardstock or canvas into a scene — a tree, a scattered pile, a fall landscape
- Glue the arrangement down once everyone’s happy with the layout
Who does what:
- Younger sibling: Steps 2–4, the rubbing itself. This only needs basic grasp and a repetitive motion, and there’s no wrong way to do it — a real advantage for a child who gets frustrated when something doesn’t come out “right”
- Older sibling: Steps 5–6, cutting and composing. This is where actual scissor control and spatial planning come in, both of which develop further along than basic grasp does
- Together: Step 7, gluing the final piece down
Materials: thick crayons, plain paper, child-safe scissors, glue stick, a large piece of cardstock or canvas.
Spending quality time together is easy with 12 Easy Sewing Projects Adults and Kids Will Actually Complete Together, featuring beginner-friendly sewing ideas that are enjoyable for all ages.
2. Pinecone Owls
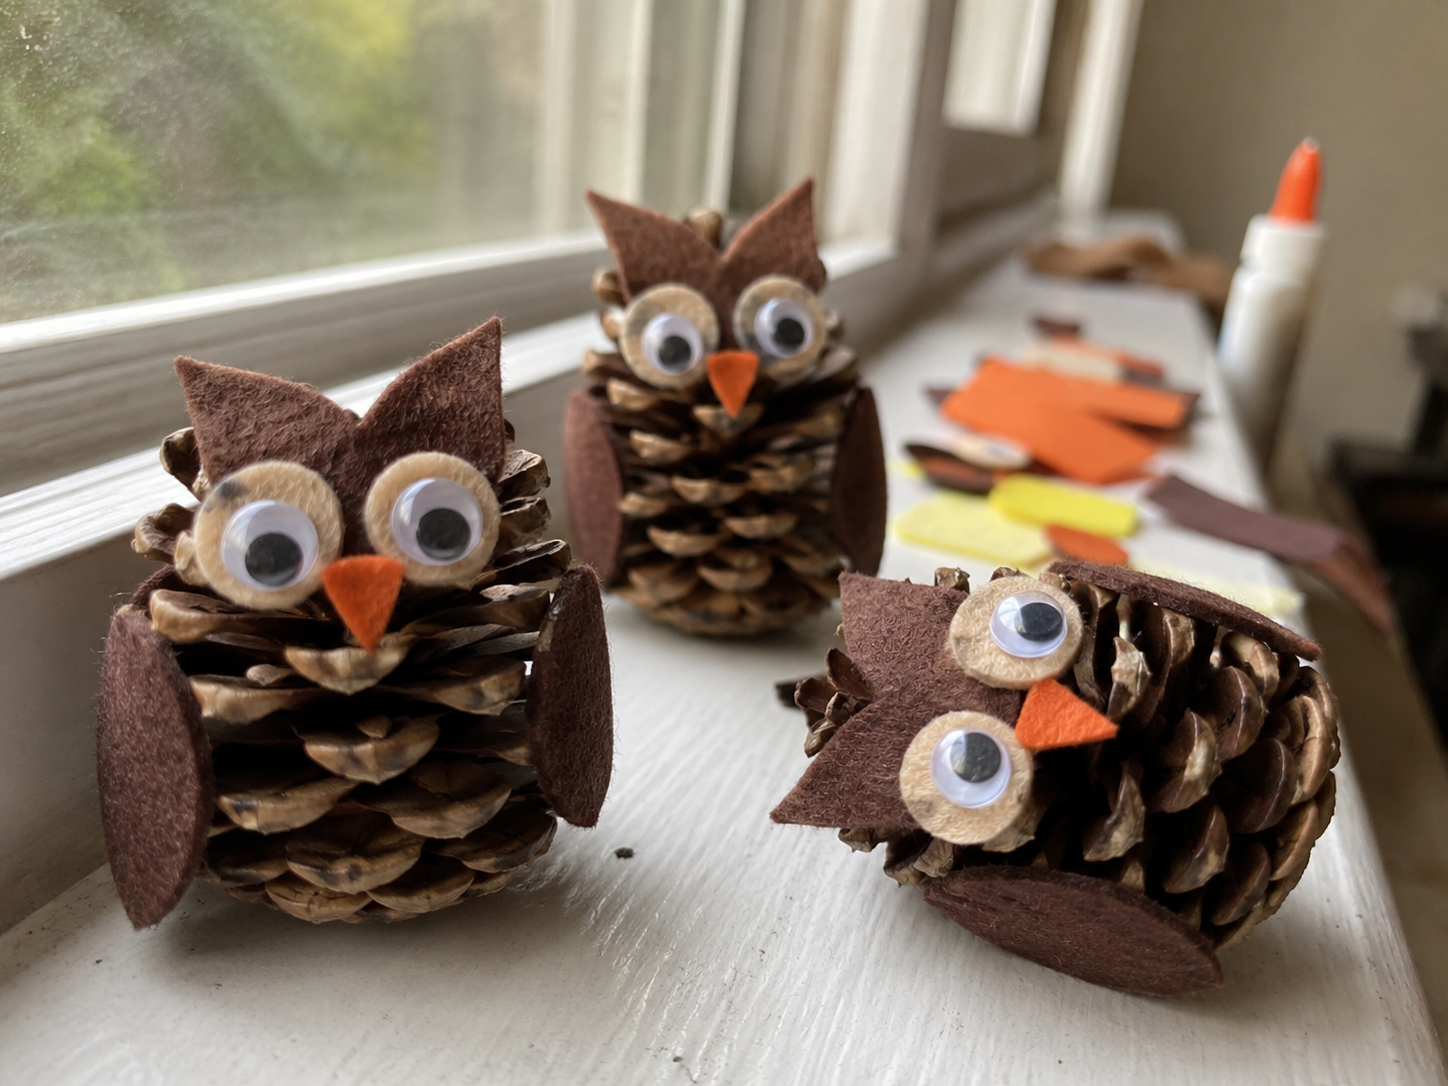
A pinecone dressed up with felt features to look like a little owl, a simple project built almost entirely around texture and stacking, which is part of why it splits so cleanly across ages.
How to make it:
- Collect pinecones outside (look for ones with fully opened scales, they hold felt and glue better)
- Cut felt into basic owl shapes: two wing shapes, a small triangle for the beak, and circles for eyes
- Add a dot of glue to the back of each felt piece
- Press the felt eyes, beak, and wings onto the pinecone in the right spots
- Add a googly eye on top of each felt eye circle for extra detail
- Let dry, then set the finished owls somewhere they’ll actually be seen, a mantel, a windowsill, a table centerpiece
Who does what:
- Younger sibling: Step 4, pressing the pre-cut, pre-glued felt pieces onto the pinecone. This needs basic hand-eye coordination, not fine control, and an adult can prep steps 2–3 ahead of time so the younger child jumps straight into the satisfying part
- Older sibling: Steps 2 and 5, cutting the felt shapes from scratch and placing the smaller detail pieces like the googly eyes. Cutting along a drawn line is real scissor control, a skill that’s still developing before age six or seven
- Together: Step 6, lining up the finished owls and deciding where they go on display
Materials: pinecones, felt scraps, googly eyes, child-safe scissors, glue (glue dots or a glue gun for pre-glued pieces, liquid glue for detail work).
Make learning feel exciting with Train Craft Ideas for Kids That Make Learning the Alphabet Fun With Things You Already Have, where simple supplies become educational crafts children will love.
3. Yarn-Wrapped Pumpkins
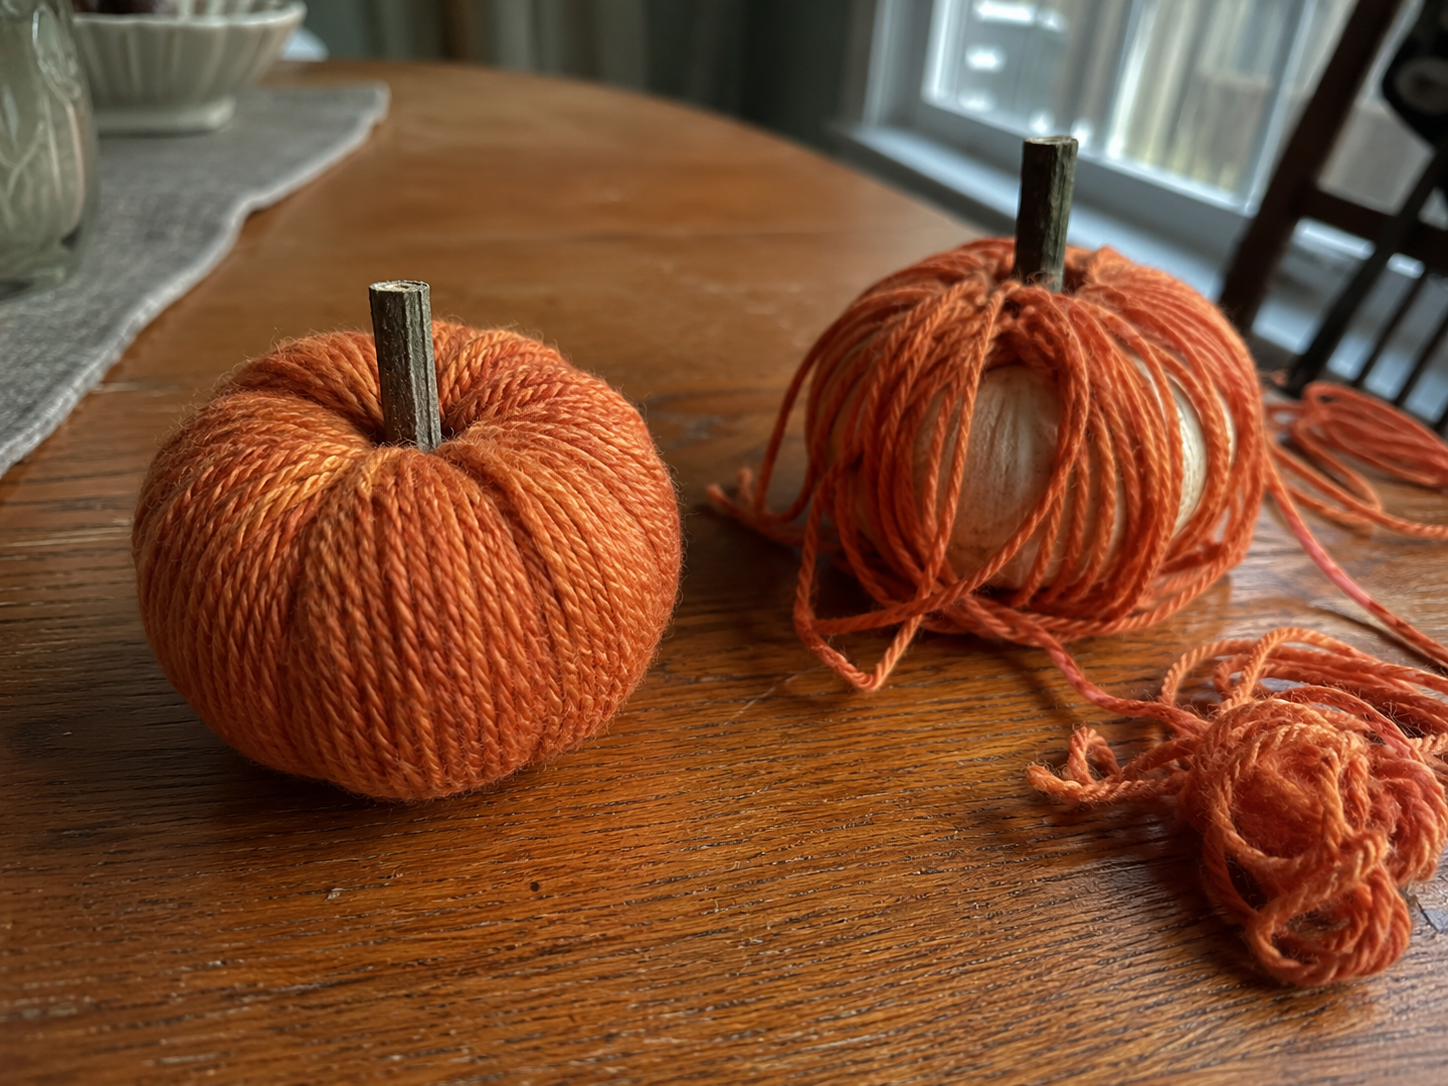
Foam or cardboard pumpkin shapes fully wrapped in yarn, one of the more forgiving fall crafts for siblings of different ages since the wrapping step has no wrong way to do it, while the finishing touches still leave room for real skill-building.
How to make it:
- Cut a pumpkin shape out of thick cardboard, or use a foam pumpkin form
- Tie one end of orange, red, or yellow yarn to the top of the pumpkin shape
- Wrap the yarn around the shape repeatedly until the cardboard or foam is fully covered
- Tuck the loose end under a few wrapped layers to secure it, or add a dot of glue
- Cut a short length of brown yarn or a small twig for the stem, and attach it at the top
- Add a few felt leaves near the stem for a finished look
Who does what:
- Younger sibling handles step 3, the wrapping itself, which only needs repetitive hand motion and loose grasp, no precision, and there’s no way to wrap it “wrong”
- Older sibling handles steps 1 and 5, cutting the base shape and the stem, plus tucking and securing the yarn end in step 4, which takes more hand control than it looks like
- Both work together on step 6, adding the felt leaves and deciding how many pumpkins to line up together
Materials: thick cardboard or foam pumpkin base, yarn in fall colors, child-safe scissors, felt scraps, glue
4. Nature Stamping Art
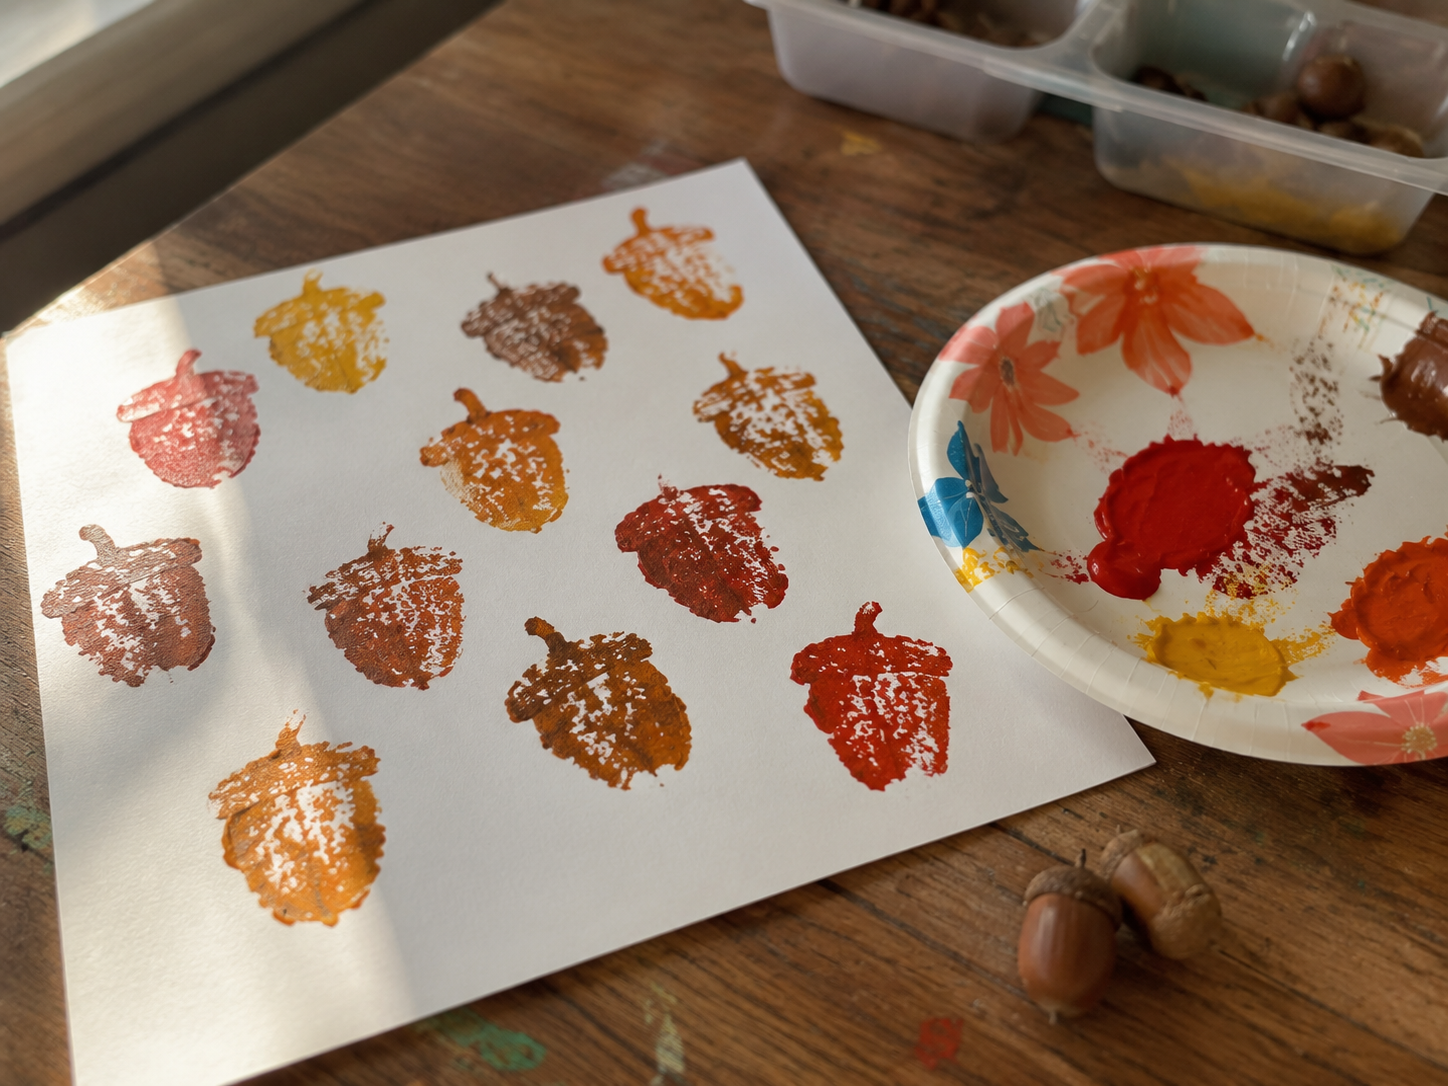
Simple stamped prints made using the flat end of acorns dipped in paint, one of the easier fall crafts for siblings of different ages to pull off since the stamping motion itself needs almost no fine motor control, while the composition side gives an older child something to actually plan.
How to make it:
- Collect a handful of acorns outside
- Pour a small amount of washable paint onto a paper plate or shallow tray
- Dip the flat end of an acorn into the paint
- Press the acorn onto paper or cardstock to leave a print
- Repeat with different colors and spacing to build a full pattern or scene, a tree, a scattered leaf pile, a border around the page
- Once dry, add fine detail with a marker if wanted, like little stems or outlines
Who does what:
- Younger sibling handles steps 3 and 4, dipping and stamping, which is just pressing and releasing, well within a toddler’s ability, and mistakes just become “more texture”
- Older sibling handles step 5, planning out the pattern or scene with intention, plus step 6, adding marker details that need actual pen control
- Both work together choosing the color scheme and deciding when the piece is “finished”
Materials: acorns, washable paint, paper plate or tray, paper or cardstock, fine-tip markers (optional).
Creativity becomes a fun way to learn about the world through 12 African Art Projects for Kids That Teach Culture, Not Just Craft, combining hands-on activities with meaningful cultural lessons.
5. Paper Bag Scarecrow Puppet
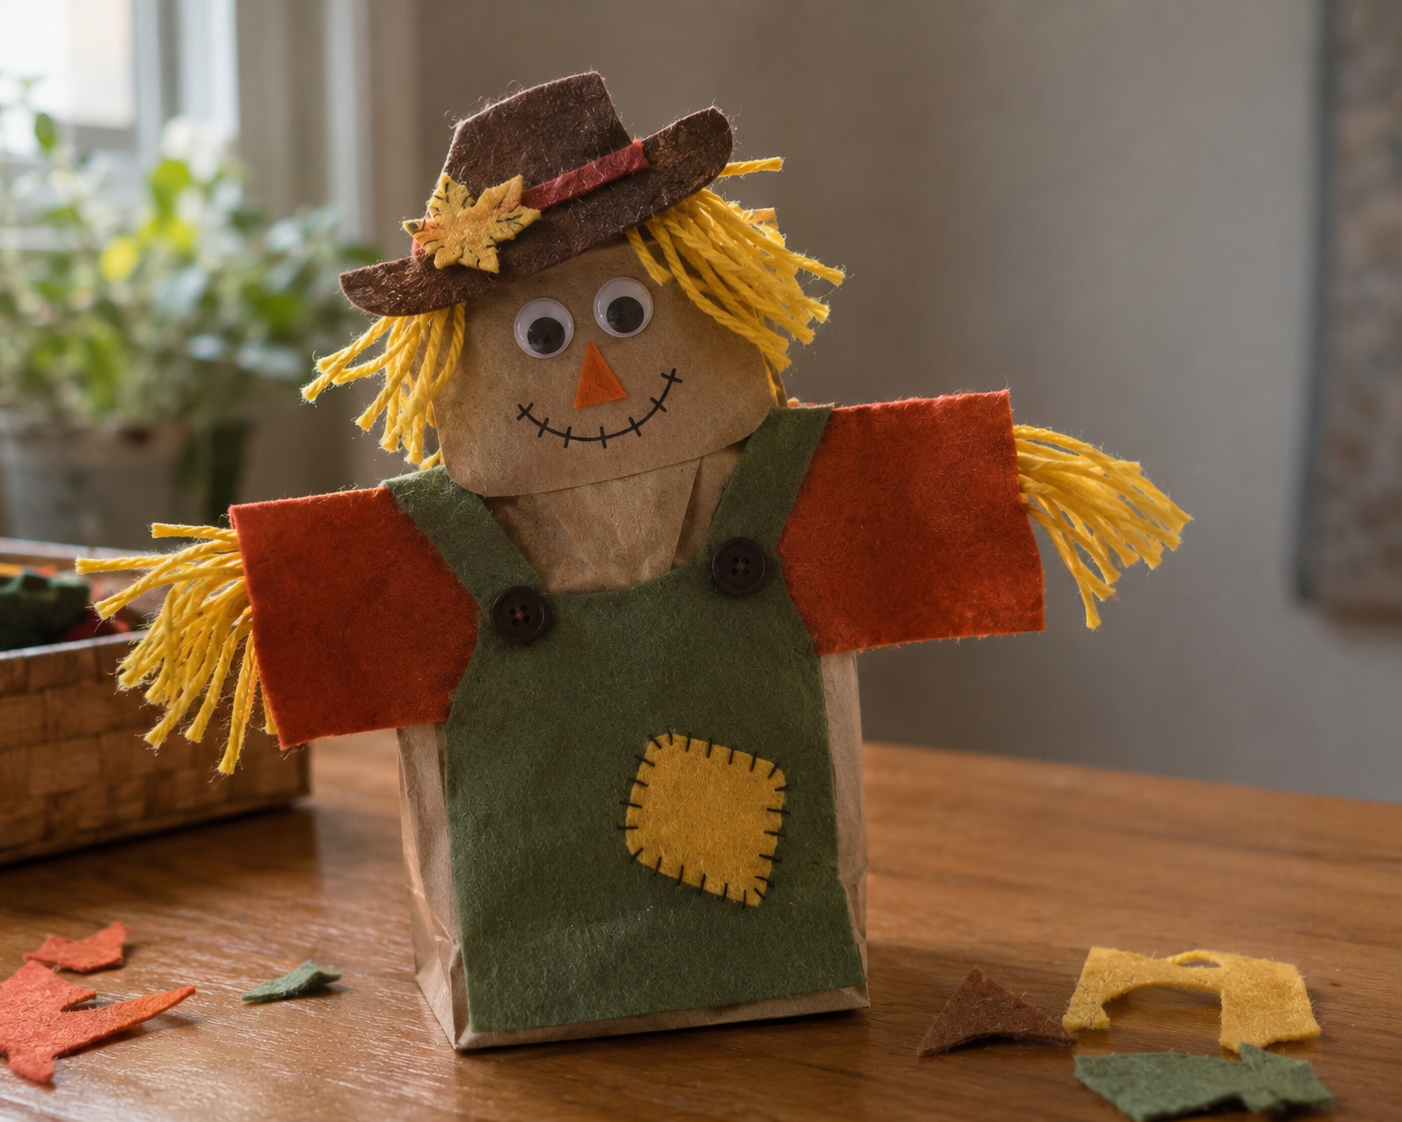
Not a decoration but a toy, a scarecrow puppet with moving arms, built from a stuffed paper bag, which makes it one of the few fall crafts for siblings of different ages that both kids will keep playing with well after the glue dries.
How to make it:
- Stuff a paper lunch bag loosely with crumpled newspaper or tissue paper
- Tie off the open end with twine or a rubber band to form the head and body
- Cut a shirt shape, hat, and facial features from felt or construction paper
- Glue the felt pieces onto the bag to dress the scarecrow and give it a face
- Cut two strips of felt or fabric for arms, and attach them at the sides so they can move
- Add straw-like yellow yarn poking out from the sleeves and collar for the finished look
Who does what:
- Younger sibling handles step 1, stuffing the bag, plus pressing pre-cut felt pieces onto the bag in step 4 once an adult or older sibling has them ready
- Older sibling handles steps 3 and 5, cutting the felt shapes and attaching the movable arms, which needs actual scissor precision and some hand-eye coordination to get the joints working
- Both finish together on step 6, adding the yarn and deciding how “scruffy” the scarecrow should look
Materials: paper lunch bag, newspaper or tissue paper for stuffing, twine or rubber band, felt or construction paper, child-safe scissors, glue, yellow yarn
6. Handprint Fall Tree
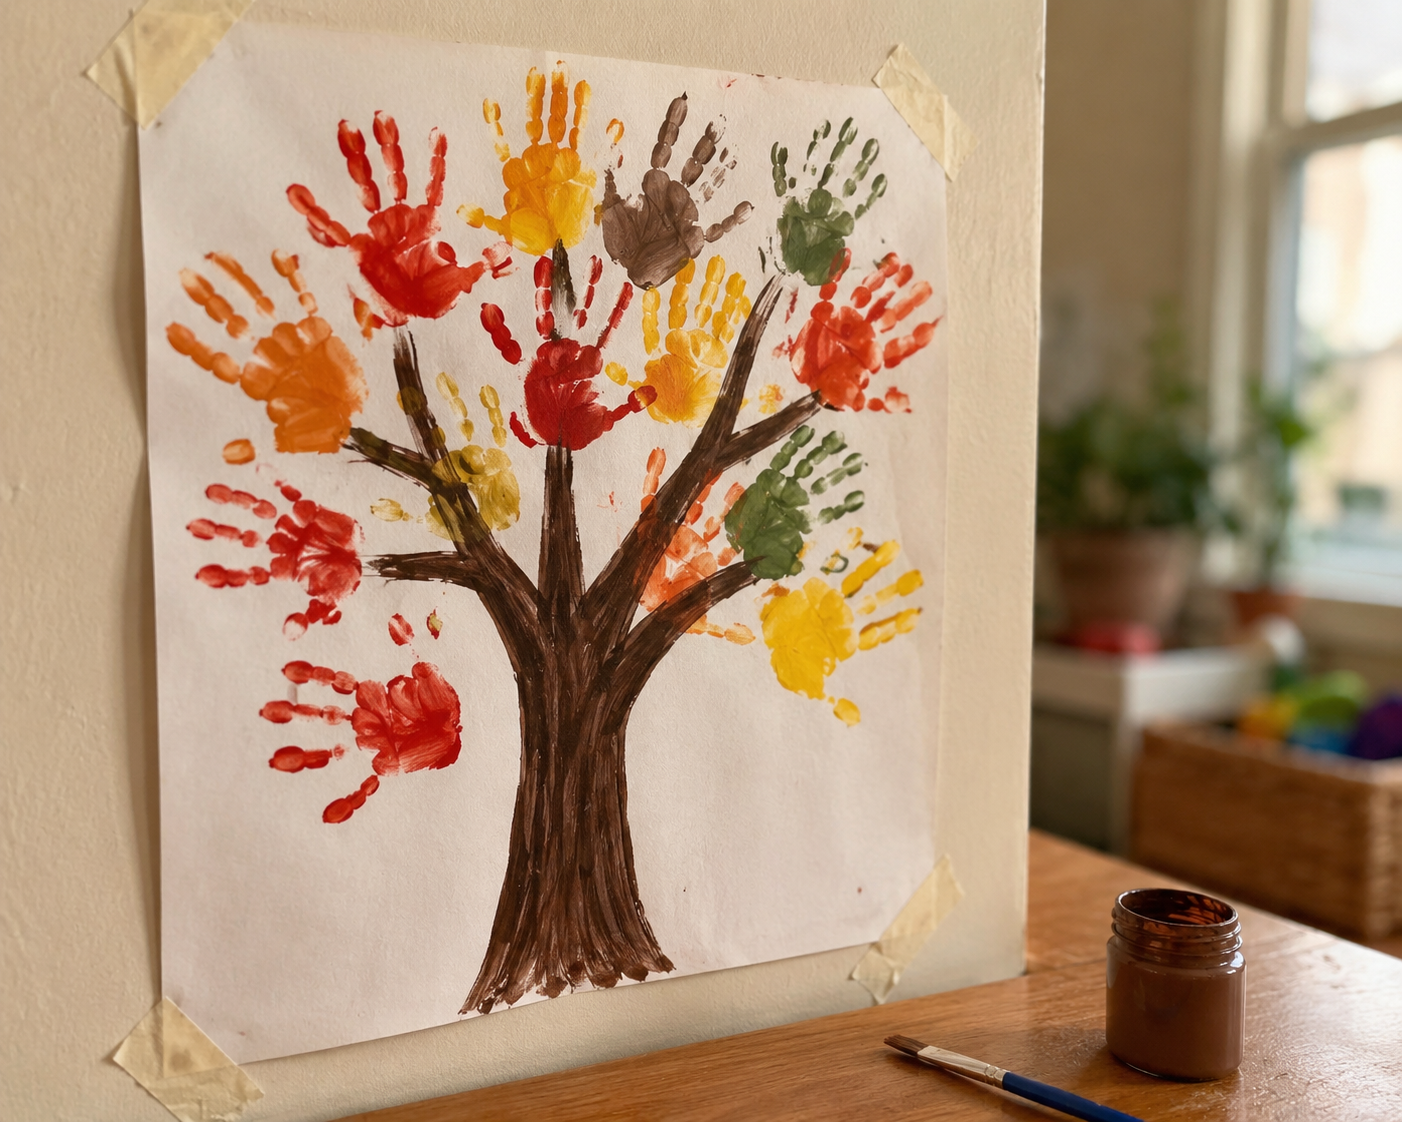
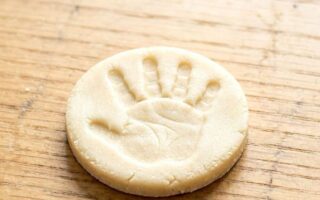
A tree made from handprints and painted leaves, one of the more sentimental fall crafts for siblings of different ages since it doubles as a keepsake — both kids’ handprints end up on the same tree, at whatever size their hands actually are right now.
How to make it:
- Paint a tree trunk and branches onto a large piece of paper or canvas (freehand or using a printed outline as a guide)
- Dip each child’s hand in brown, orange, red, or yellow paint
- Press handprints around the branches to form the “leaves” of the tree
- Let dry, then use a marker to add small details like a date or each child’s name near their prints
- Add a few extra painted or stamped leaves scattered at the base of the tree, as if they’ve fallen
Who does what:
- Younger sibling handles step 2, the handprinting itself, which needs no precision at all — pressing a painted hand onto paper is well within reach for a toddler
- Older sibling handles step 1, painting the trunk and branches freehand, plus step 4, the labeling and detail work, both of which take steadier hand control
- Both work together on step 5, scattering the fallen leaves and deciding when the tree looks “full enough”
Materials: large paper or canvas, washable paint, paintbrush, fine-tip marker.
Turn recycled paper into something that keeps growing with How to Make Seed Paper with Kids: A Fun Nature Craft That Actually Grows, an engaging project that blends crafting, gardening, and environmental learning.
7. Felt Acorn Banner
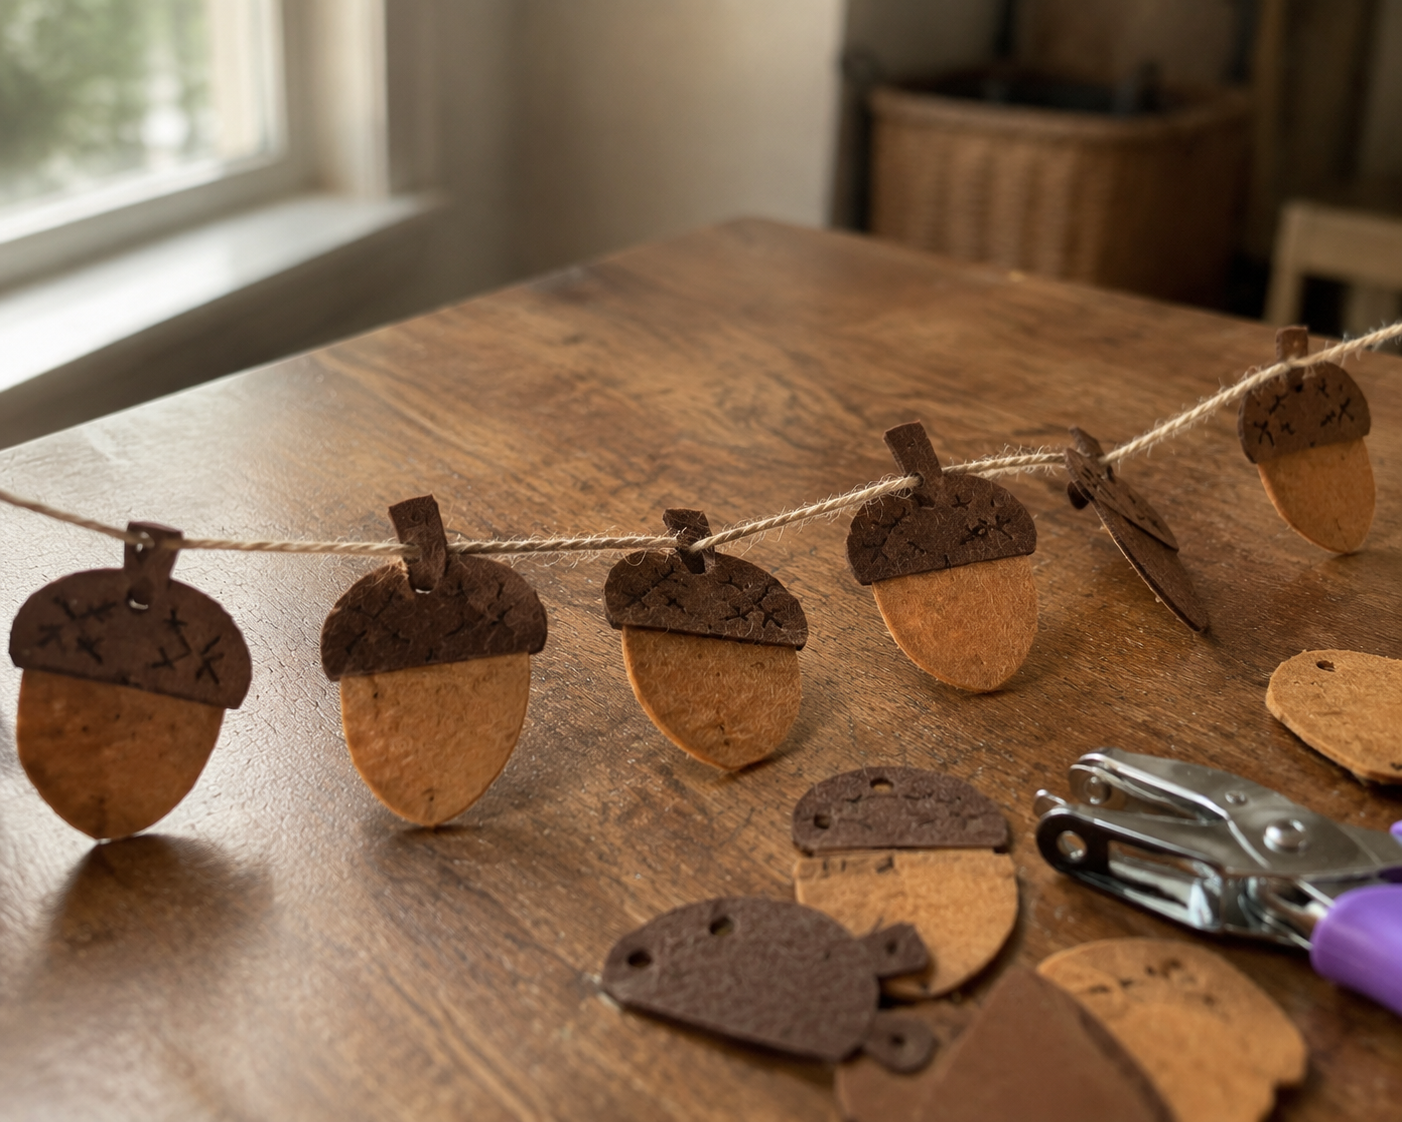
Felt acorns strung together into a hanging banner, a good pick among fall crafts for siblings of different ages because the shapes are simple enough to prep ahead, letting both kids work at their own pace without waiting on each other.
How to make it:
- Cut felt into acorn shapes, an oval “body” in brown or tan, and a small scalloped “cap” in a darker brown
- Glue the cap onto the top of each acorn body
- Punch a small hole at the top of each finished acorn
- Thread twine or ribbon through the holes to string the acorns together in a row
- Hang the finished banner along a mantel, window, or wall
Who does what:
- Younger sibling handles step 2, gluing the pre-cut caps onto the acorn bodies, which only needs basic placement and pressing, no precision
- Older sibling handles step 1, cutting the felt shapes, and step 3, punching the holes accurately near the top edge without tearing the felt, both of which take steadier hand control
- Both work together on step 4, threading and spacing the acorns evenly along the string
Materials: brown and tan felt, scissors, glue, a hole punch, twine or ribbon
8. Cardboard Leaf Stamping
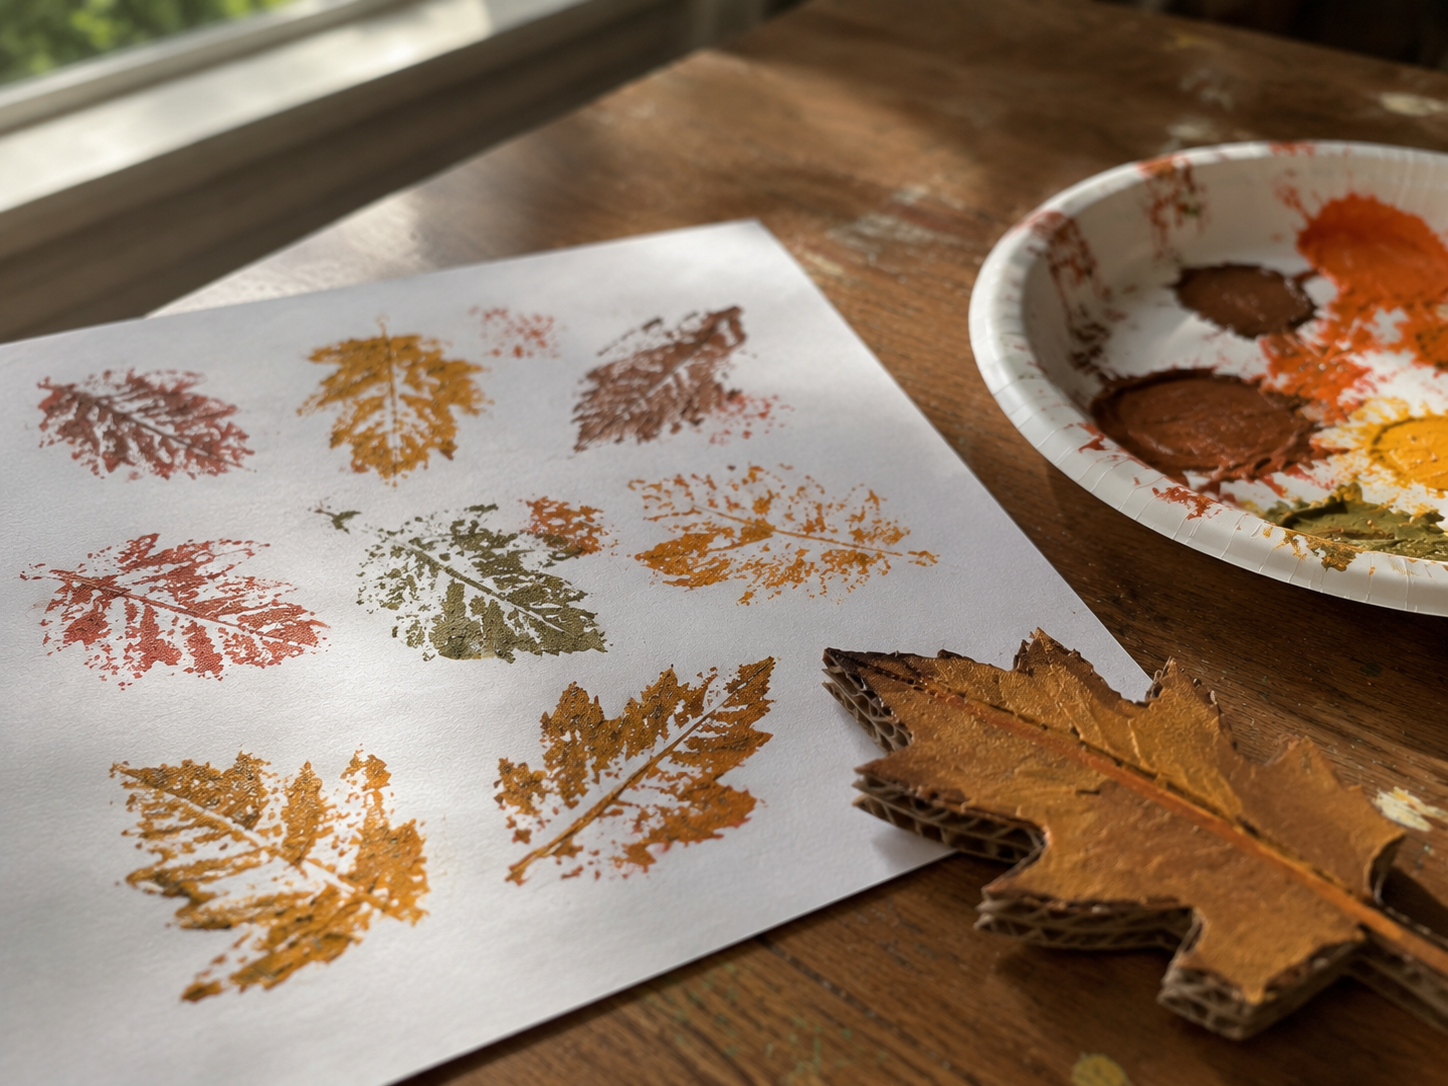
Stamped leaf prints made from a leaf-shaped piece of cardboard instead of a real leaf, which holds up to repeated dipping and pressing far better than the real thing, a practical choice among fall crafts for siblings of different ages when the goal is a reusable stamp both kids can use again and again.
How to make it:
- Cut a simple leaf shape out of a flat piece of cardboard
- Glue a small loop of cardboard or a spool onto the back as a handle
- Pour washable paint onto a paper plate or shallow tray
- Press the cardboard leaf stamp into the paint, then onto paper or cardstock to leave a print
- Repeat with different colors and placements to build a full pattern or scene across the page
- Once dry, add fine detail with a marker if wanted, like veins or a stem on each printed leaf
Who does what:
- Younger sibling handles step 4, dipping and stamping using the handle, which needs grip and pressing but no fine control
- Older sibling handles steps 1 and 2, cutting the stamp shape and attaching the handle securely, plus step 6, adding marker detail that requires actual pen control
- Both decide together on step 5, the color scheme and layout across the page
Materials: flat cardboard, scissors, glue, a spool or cardboard loop for the handle, washable paint, paper plate or tray, fine-tip marker
9. Sensory Bin and Diorama Pairing
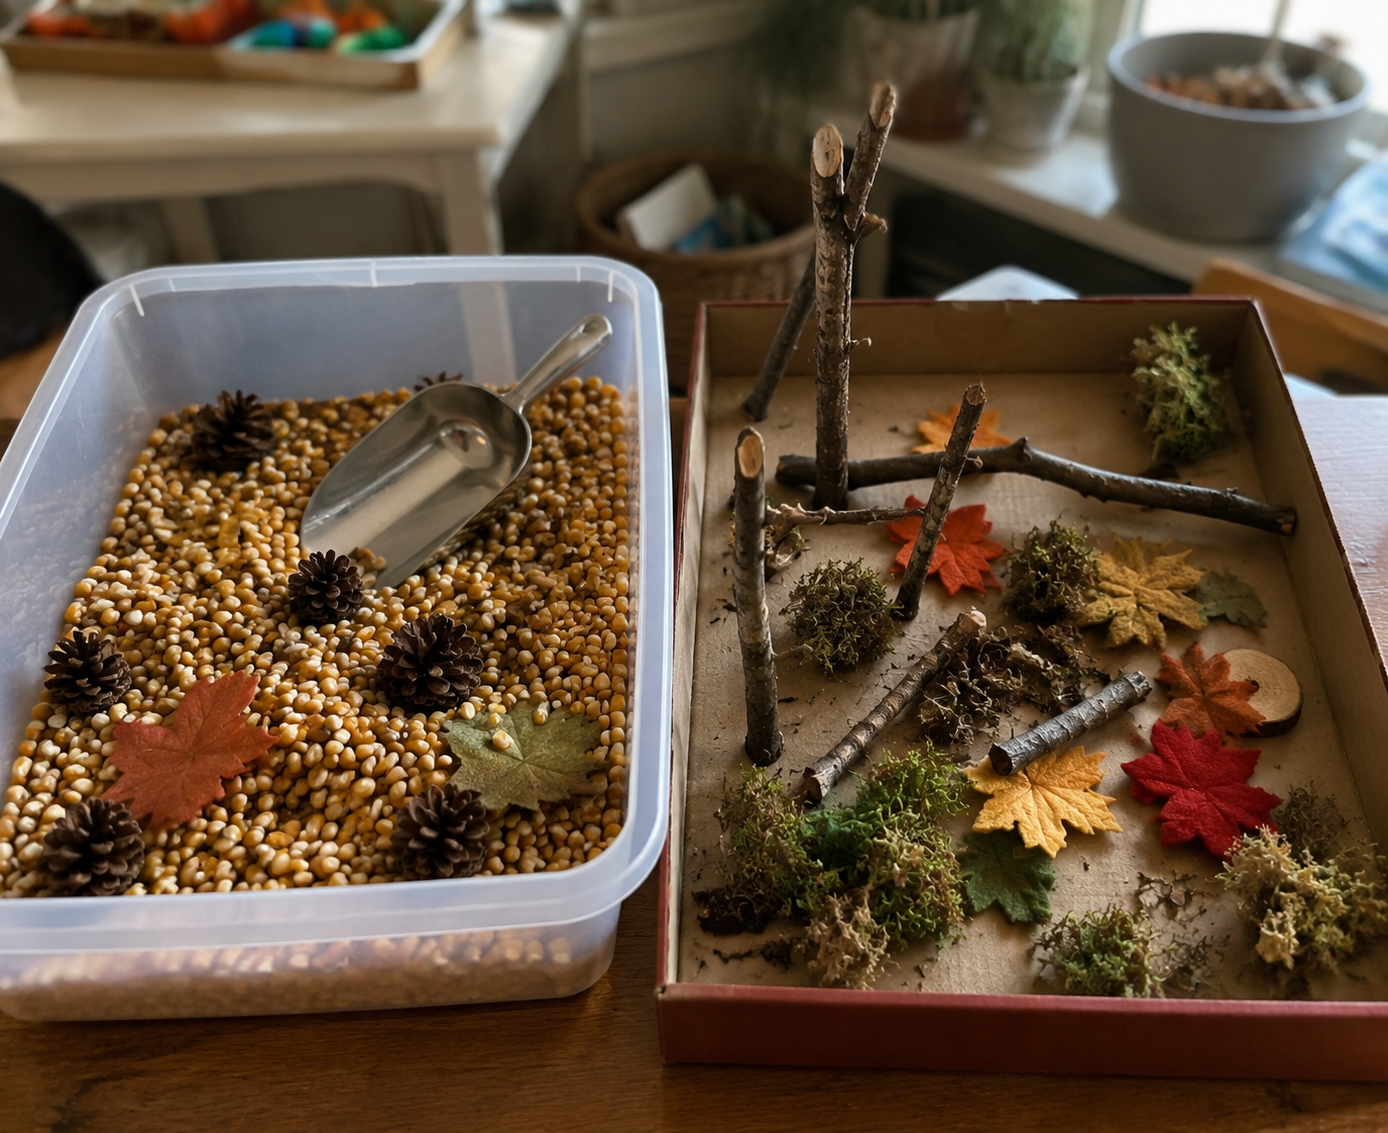
Two separate activities running side by side using the same fall materials, a sensory bin for scooping and exploring, and a diorama for building a scene, making this one of the more flexible fall crafts for siblings of different ages when the age gap is wide enough that a shared single task isn’t realistic yet.
How to make it:
- Fill a shallow bin with dried corn kernels, small pinecones, acorns, and fall leaves
- Add scoops, small cups, and tongs for scooping, sorting, and pouring
- Separately, set up a shoebox lid or shallow tray as the base for a diorama
- Use twigs, moss, felt, and small craft leaves to build a fall scene inside the diorama — trees, a path, a pond made from blue paper
- Add small figures or paper cutouts of animals or people to complete the scene
Who does what:
- Younger sibling works in the sensory bin the whole time, scooping, pouring, and sorting materials by texture or color, an activity that fits parallel play well, since it doesn’t require the child to interact directly with a shared task to still feel included at the same table
- Older sibling builds the diorama, handling the cutting, arranging, and gluing needed to construct a full scene, which draws on planning and fine motor skills a toddler hasn’t developed yet
- Both share the same pool of collected materials, so pinecones or leaves gathered together outside end up split between the bin and the diorama
Materials: shallow bin, dried corn kernels, pinecones, acorns, leaves, scoops and tongs, shoebox lid or tray, twigs, moss, felt, small figures or paper cutouts.
Watch colors magically blend in Coffee Filter Butterfly Craft for Kids (Easy Stained Glass Effect Craft Idea), a simple craft that introduces children to color mixing while creating beautiful butterfly decorations.
Conclusion
Fall crafts for siblings of different ages don’t need a compromise craft or two separate projects running in the same room. They need a role for each child’s actual hands, working toward one finished thing.
So, pick two or three from this list, split the jobs the way we outlined, and see which ones your kids gravitate toward, then build your own fall craft rotation around it.
FAQs
✅ Do siblings need to do the same craft to bond?
No, and expecting that is usually what causes the fighting in the first place. Bonding comes from working on the same project, in the same space, toward the same result, not from doing identical steps.
Toddlers naturally bond through parallel play, sitting side by side and using shared materials without needing to do the exact same task as the other child.
Give each sibling a role that fits their actual ability, and the shared experience happens naturally, without either child faking a skill level they don’t have yet.
✅ What craft jobs work for a toddler who can’t use scissors yet?
Plenty. Look for jobs built around basic grasp and repetitive motion instead of precision: pressing pre-cut felt pieces into place, gluing with a glue stick, stamping with paint, wrapping yarn around a shape, scooping and sorting in a sensory bin, or pressing handprints onto paper.
None of these require the fine motor control that scissors demand, and all of them still produce a real, visible contribution to the finished project.
✅ How do I stop the older sibling from taking over?
Give them a defined job that’s actually theirs, rather than a vague “help your sibling” role. An older child left without a clear task will often default to managing or correcting the younger one, since that’s the only way they know how to stay involved.
Handing them the cutting, assembling, or detail work, parts that genuinely need their more developed skills, keeps them engaged in their own piece of the project instead of hovering over their sibling’s.