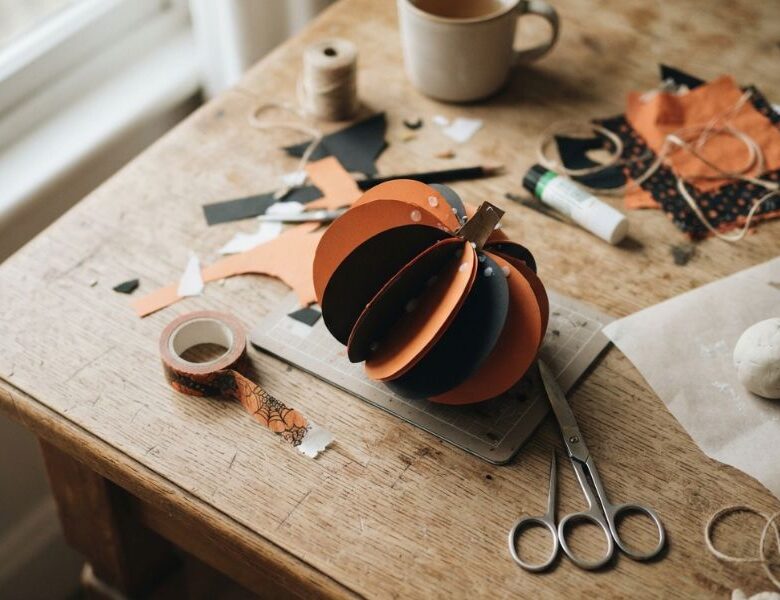
Tired of Halloween crafts that feel like a kid’s project? These Halloween craft ideas for adults actually look intentional.
Halloween crafting for adults often turns into more mess and more time than expected.
A project meant to take twenty minutes stretches into an hour once paint needs to dry or a hot glue gun needs careful handling. What starts as a fun seasonal activity ends up feeling like a chore.
This isn’t really about the craft idea itself, it’s about the material behind it. Paint requires drying time and can stain skin or fabric if it isn’t wiped up quickly.
Hot glue guns need steady handling and produce sticky residue that’s slow to clean. Most craft instructions focus on the finished look, not on how the materials used will affect your time or your surfaces.
A more reliable way to plan a Halloween craft is to choose it by material first, theme second. Paper, fabric, tape, and air-dry clay each behave very differently from paint and hot glue.
Every project in this post uses one of these four materials, and each one takes under 30 minutes to complete, so you can enjoy the season’s crafting without a long cleanup afterward.
Coordinating costumes becomes much easier with Plus-Size Group Halloween Costumes: 11 Costume Ideas That Fit the Group, Not Just the Theme, featuring inclusive ideas that help everyone feel comfortable, confident, and part of the fun.
What “Low-Mess” Actually Means
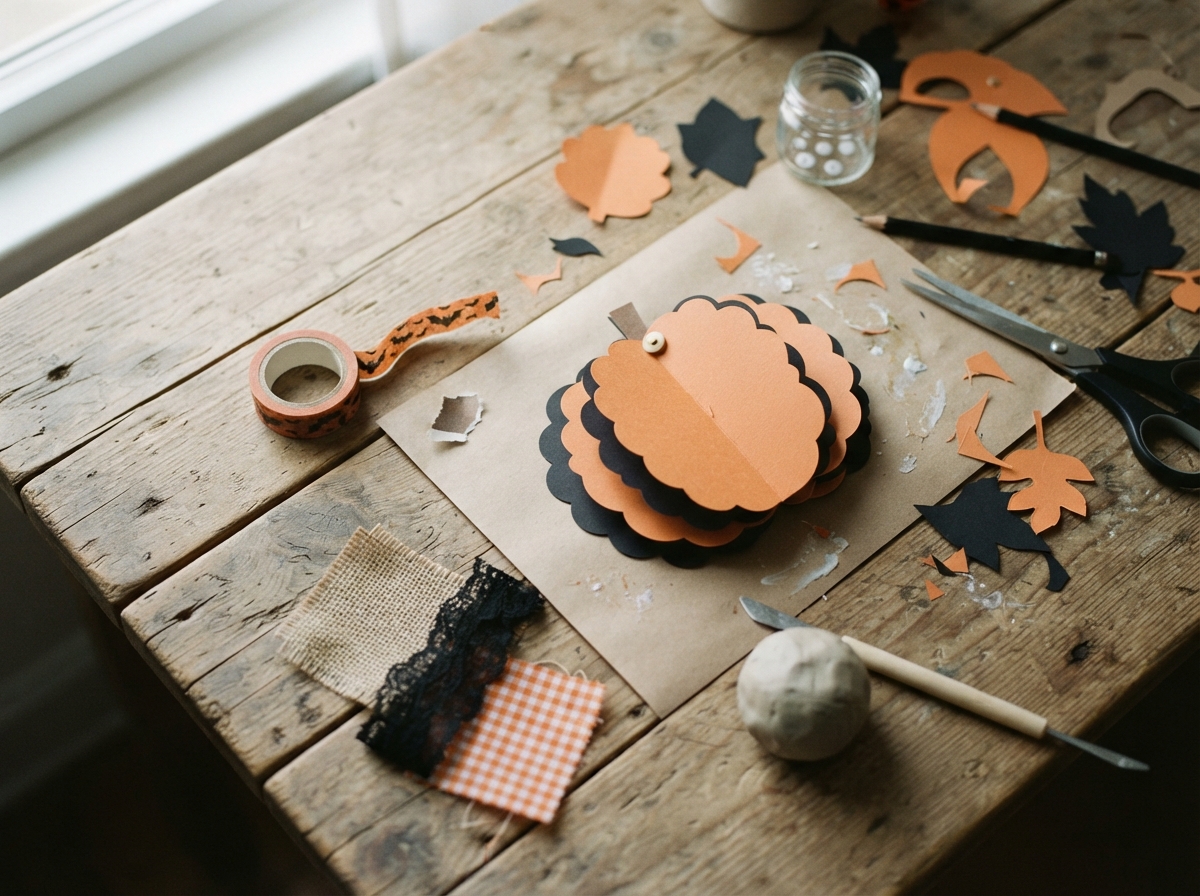
No Halloween craft is completely mess-free, that’s an honest starting point, not a disclaimer.
What varies is how easily a mess can be cleaned up, and how much residue is left behind on hands, clothes, or furniture.
That difference comes down almost entirely to the material used, not the craft idea itself.
Acrylic paint, for example, dries quickly on skin and fabric and can leave a stain that takes real effort to remove, especially from porous surfaces like wood or cloth.
Hot glue guns produce strong, fast-setting bonds, but the glue itself is difficult to remove from skin once it cools, and it can damage certain fabrics if it’s peeled off too soon.
Air-dry clay behaves differently. As it dries, it turns powdery rather than sticky, and it brushes off hands and most surfaces without leaving a mark.
Fabric glue is another useful exception: unlike super glue or hot glue, it washes off skin with plain soap and water while still bonding fabric securely once dry.
This is the simple rule used to choose every project in this post: if a craft needs a paintbrush or a hot glue gun, it isn’t included here.
Everything that follows is grouped by paper, fabric, tape, or air-dry clay, the four materials that consistently clean up faster and stay off skin more easily than paint or hot glue.
A relaxing evening at home feels even more rewarding with Cozy Craft Night Ideas for Adults to Relax, Unwind, and Get Creative at Home, filled with enjoyable projects that are perfect for slowing down after a busy day.
Halloween Craft Ideas for Adults
✅ Paper & Cardstock Crafts
Paper and cardstock sit at the safest end of the low-mess spectrum for a simple reason: nothing wet ever touches your hands.
There’s no drying time to wait out and no product that can transfer onto skin, clothing, or furniture, which makes this category a good starting point among Halloween craft ideas for adults who want a genuinely clean process from start to finish.
Why this Craft:
- No paint, no drying time, and nothing that can transfer onto skin or clothing
- Cutting and folding are entirely dry processes, so there’s nothing to spill or wipe up
- Cleanup is limited to sweeping up paper scraps afterward
- Adapts easily to whatever paper is on hand, cardstock, old greeting cards, or plain construction paper — making it practical regardless of local craft store access
1. Layered Paper Pumpkin or Lantern
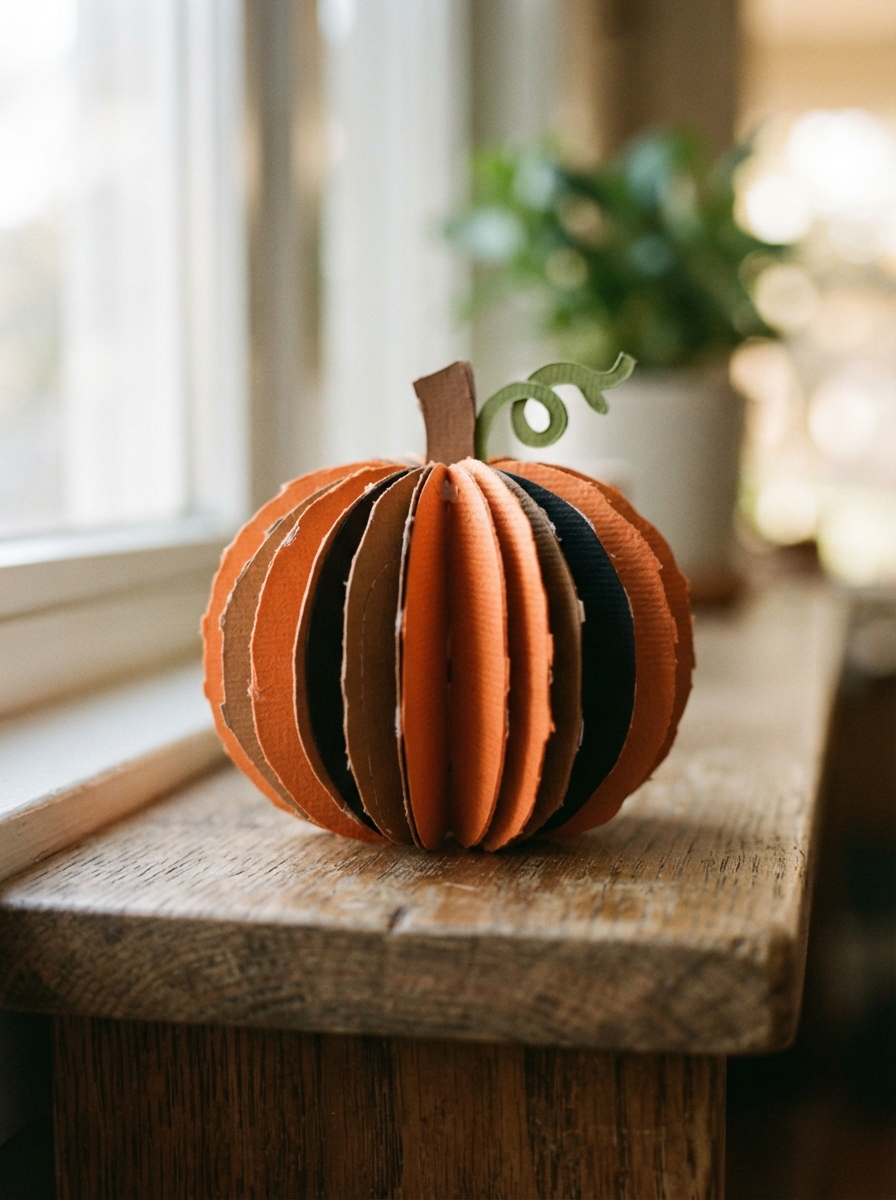
What you’ll need:
- Two or three shades of orange, brown, or black cardstock
- Scissors
- Paper glue or a glue stick
- A loop of string or ribbon (optional, for hanging)
How it comes together:
- Cut several pumpkin or lantern shapes in slightly different sizes from each shade of cardstock
- Fold a few simple accordion pleats into the largest layer before assembling, which gives the finished piece real dimension
- Layer the shapes from largest to smallest and glue along the edges only, using a small amount of glue
- Add a cut paper stem, then attach a loop of string or ribbon at the top if it will be hung near a window or door
The result has visible texture and depth without a single drop of paint involved, and it stores flat for reuse the following year.
2. Concertina Paper Bats
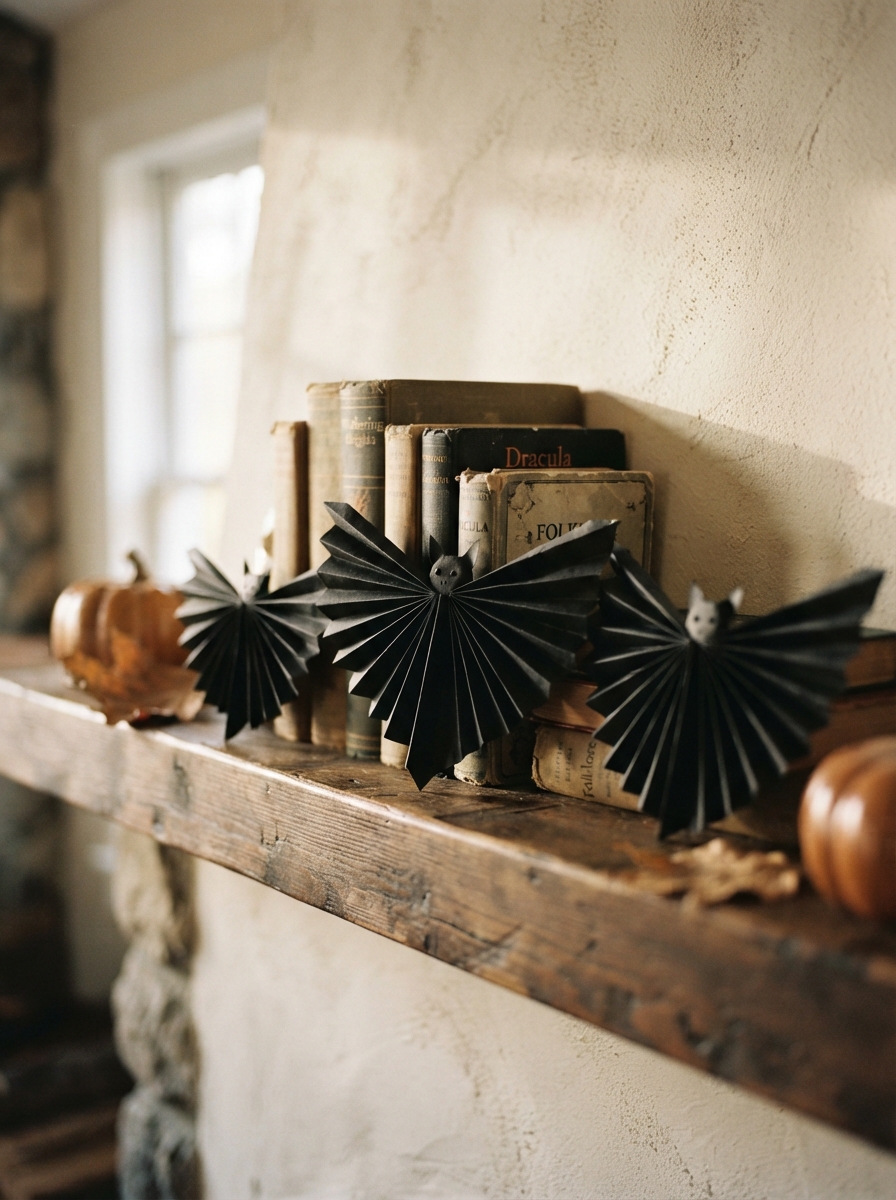
What you’ll need:
- Black cardstock
- Scissors
- A pencil for tracing (optional, for a bat template)
- A hole punch (optional)
- String or fishing line for hanging
How it comes together:
- Fold a rectangle of black cardstock into narrow accordion pleats, similar to a paper fan
- Cut a simple bat wing shape along one folded edge, keeping the fold intact so the wings open outward when unfolded
- Unfold gently to reveal a symmetrical, fanned-wing bat shape
- Punch a small hole at the top and thread string through for hanging, or leave flat to prop against a shelf or mantel
This project works well as a set, cutting several at once from a single stack of cardstock means multiple bats are ready in one sitting, with no repeated setup.
3. Paper Chain Garland with Cut Silhouettes
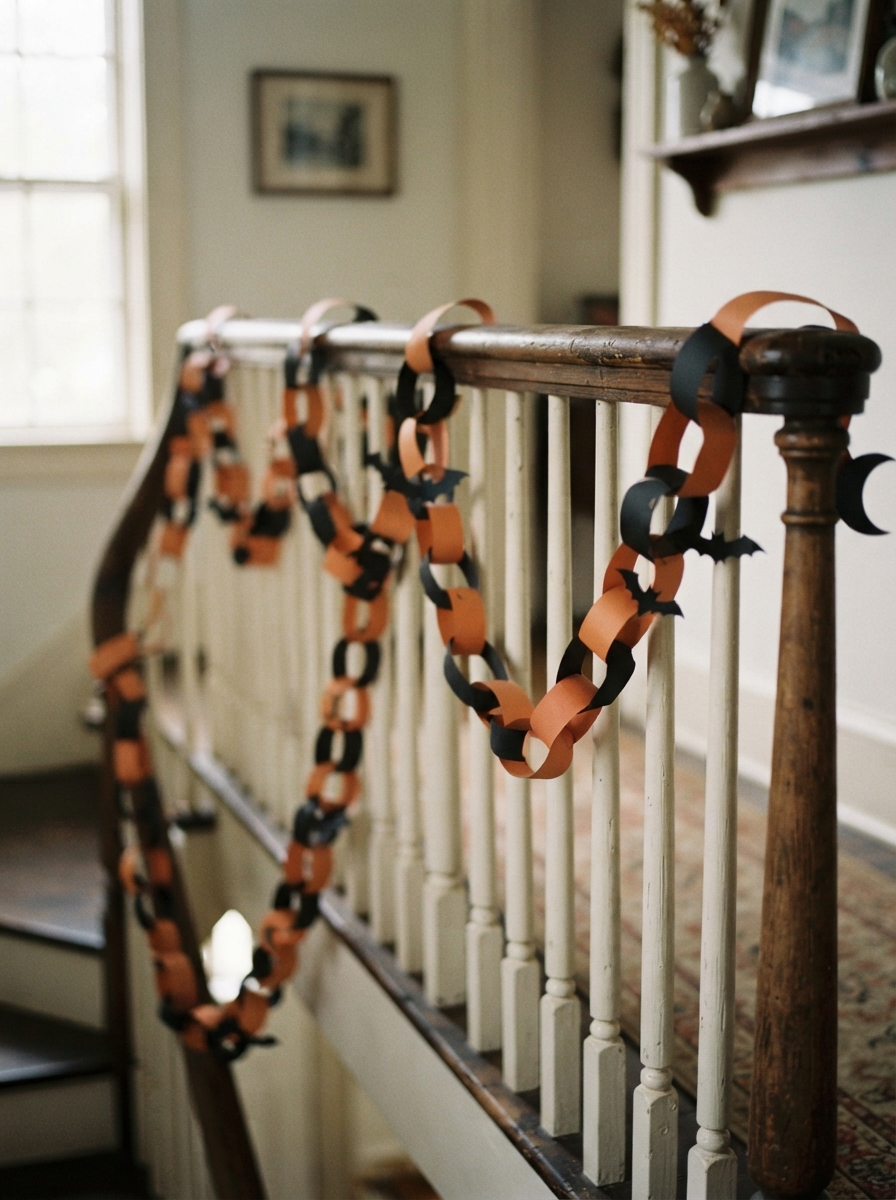
What you’ll need:
- Black and orange cardstock or construction paper
- Scissors
- Paper glue or a stapler
How it comes together:
- Cut even strips of cardstock, roughly 2–3 cm wide
- Alternate colors and loop each strip through the last, gluing or stapling the ends together to form a chain
- For extra detail, cut small silhouette shapes, simple cats, moons, or spiders, from scrap cardstock and glue them onto individual links before assembling
This is a naturally scalable project: a short garland takes a few minutes, while a longer one for a doorway or staircase can be built gradually over several short sessions instead of one long sitting, which suits the “no big time commitment” promise well.
Leftover fabric doesn’t have to go to waste when What to Do With Fabric Scraps: Sewing Hacks That Turn Leftovers Into Keep-Worthy Gifts shows creative ways to transform small pieces into thoughtful handmade treasures.
✅ No-Sew Fabric Projects
Fabric adds texture and warmth that paper can’t quite match, which is why it’s a popular category among Halloween craft ideas for adults who still want something with more visual depth.
The key to keeping this material low-mess is choosing fabric glue over hot glue, and skipping needle-and-thread entirely.
Why this craft:
- Fabric glue washes off skin easily with plain soap and water, unlike hot glue, which sets fast and is hard to remove once cooled
- No sewing machine or hand-stitching skills are needed, everything is tied, stuffed, or glued
- Fabric scraps and old socks are things most households already have, so there’s rarely a need to buy new supplies
1. No-Sew Fabric Pumpkins
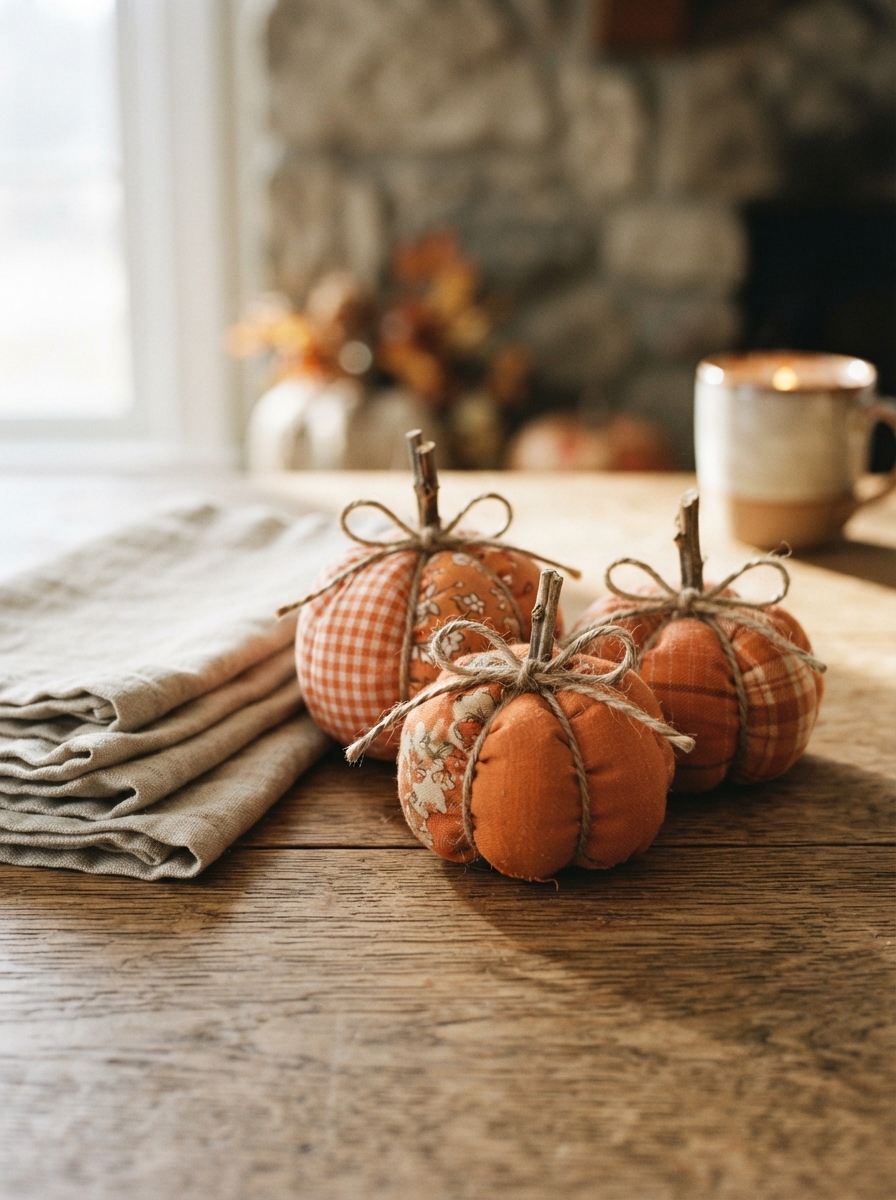
What you’ll need:
- Fabric scraps or an old sock
- Stuffing (cotton balls, fabric scraps, or old stuffing from another project)
- String or twine
- Fabric glue (optional, for the stem)
- A small stick or rolled piece of brown fabric (for the stem)
How it comes together:
- If using a sock, cut off the top cuff and set it aside; if using fabric scraps, cut a circle roughly 20–25 cm across
- Fill the center with stuffing, then gather the edges upward and tie tightly with string just below the stuffed ball, creating the pumpkin’s rounded shape
- Wrap the string around the gathered top a few more times to create the look of pumpkin ridges, tying off securely
- Attach a small stick or a rolled scrap of brown fabric as the stem, securing it with a dab of fabric glue if needed
2. Cheesecloth Ghosts
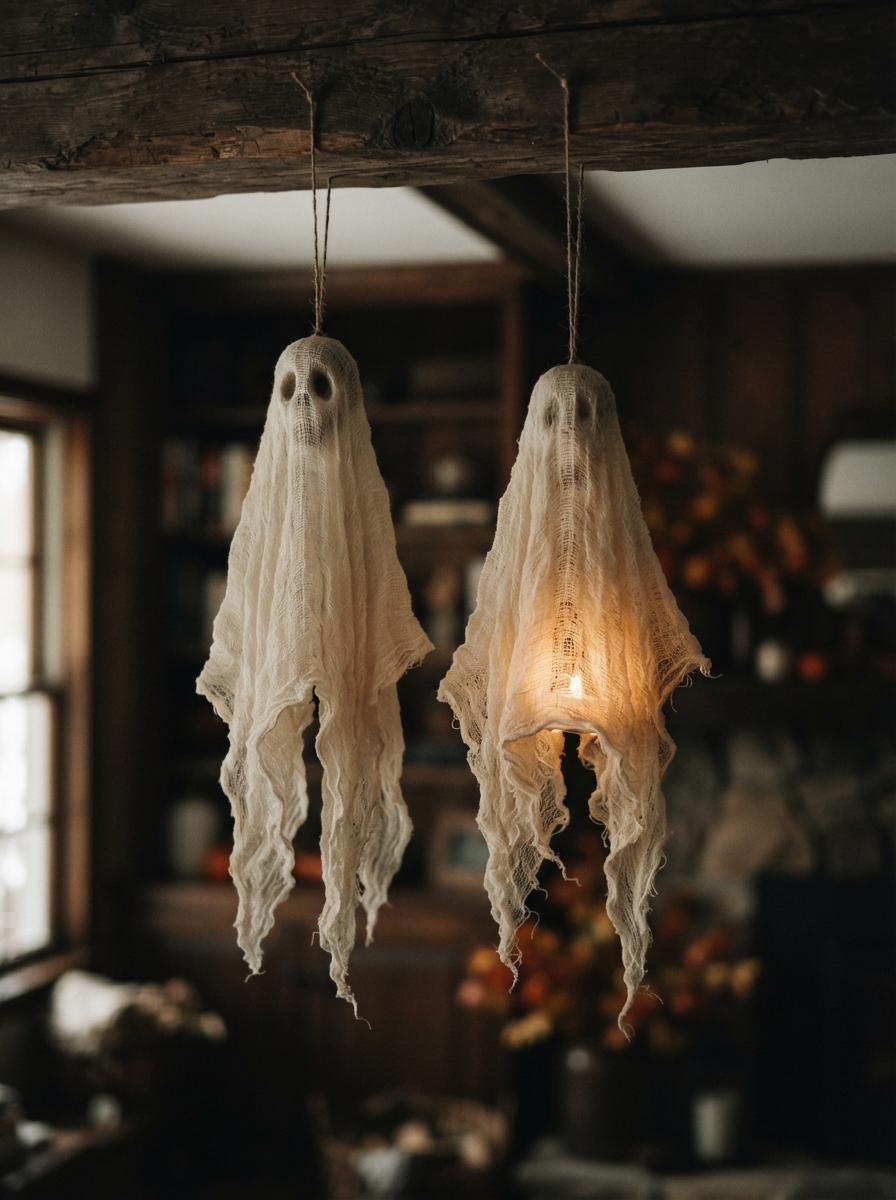
What you’ll need:
- Cheesecloth or an old white sheet cut into squares
- A small foam ball or crumpled paper ball
- String or twine
- Fabric glue (optional)
- Googly eyes or two small black fabric scraps for eyes
How it comes together:
- Drape a square of cheesecloth or fabric over the foam or paper ball, letting the edges hang loosely to form the ghost’s “body”
- Gather the fabric just below the ball and tie tightly with string to create the head and neck shape
- Let the remaining fabric fall naturally to create a flowing, uneven bottom edge, which gives the ghost its shape
- Add googly eyes or small glued-on fabric circles for eyes, positioned just above the tied neck
This project is naturally forgiving, there’s no wrong way for the fabric to fall, which makes it a good option for a relaxed, low-pressure crafting session.
3. Felt Bat Garland
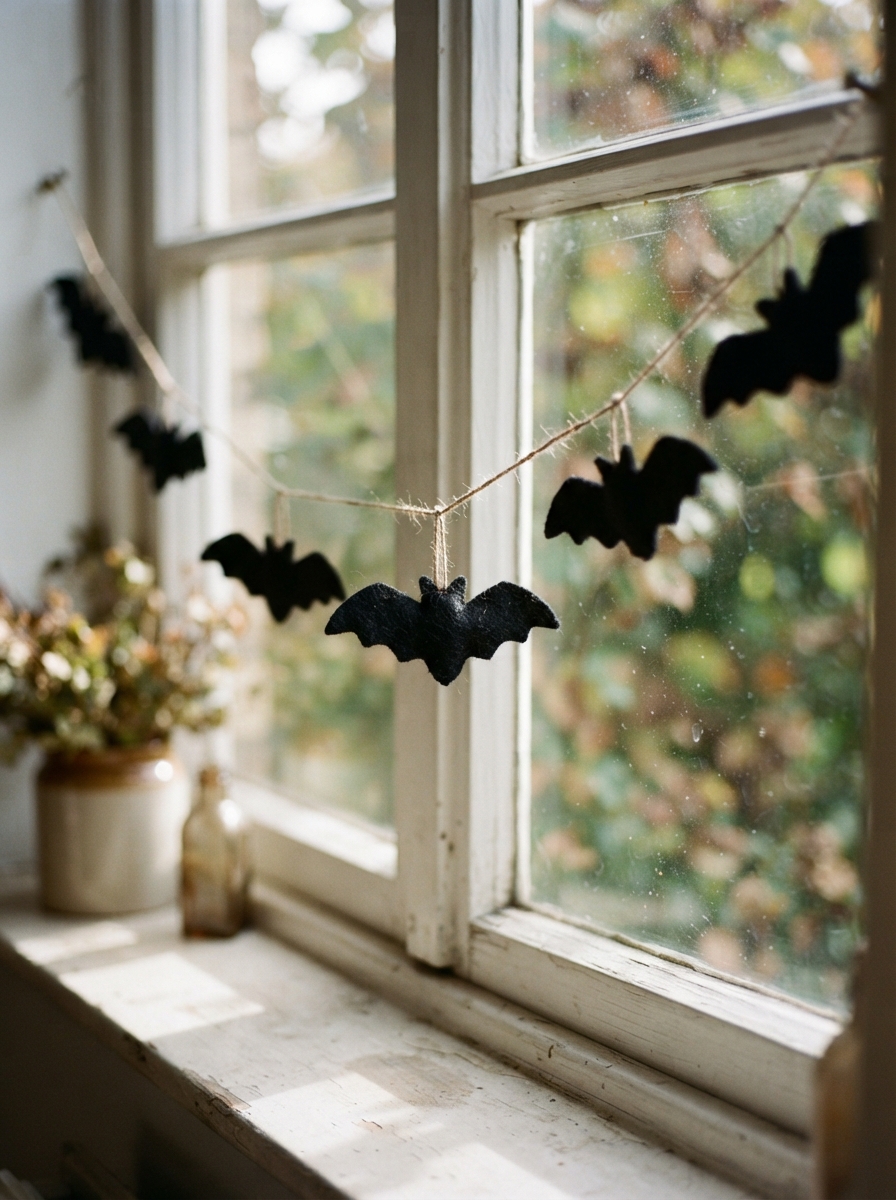
What you’ll need:
- Black felt (felt doesn’t fray, so no cut edges need finishing)
- Scissors
- Fabric glue
- String or twine
How it comes together:
- Cut several bat silhouettes from felt, either freehand or using a simple traced template
- Fold each bat gently down the center to give it a slight three-dimensional shape
- Glue or tie each bat along a length of string or twine, spacing them evenly
- Hang the finished garland along a mantel, doorway, or window frame
Felt is worth calling out specifically here: because it doesn’t fray at the edges, there’s no need to hem, stitch, or seal the fabric at all, which keeps this project fully needle-free from start to finish.
Creative inspiration continues with What to Do With Fabric Scraps: 13 Junk Journaling Ideas for When You Need to Create Something Just for You, where fabric offcuts become meaningful additions to personalized journals and memory books.
✅ Tape & Sticker Decor
Tape and stickers are about as close to zero-mess as Halloween crafting gets, which makes this category a favorite among Halloween craft ideas for adults working with very limited time or cleanup tolerance.
There’s no adhesive that touches skin directly, no drying time to wait through, and most designs can be repositioned or removed without damage.
Why this crafts:
- Tape and stickers are pre-set adhesives, so nothing wet or sticky ever transfers onto hands
- Designs are fully reversible, mistakes can be peeled off and repositioned instead of redone from scratch
- Cleanup is as simple as removing the tape when the season ends, with no residue on most surfaces
1. Washi Tape Stained Glass Window Silhouettes
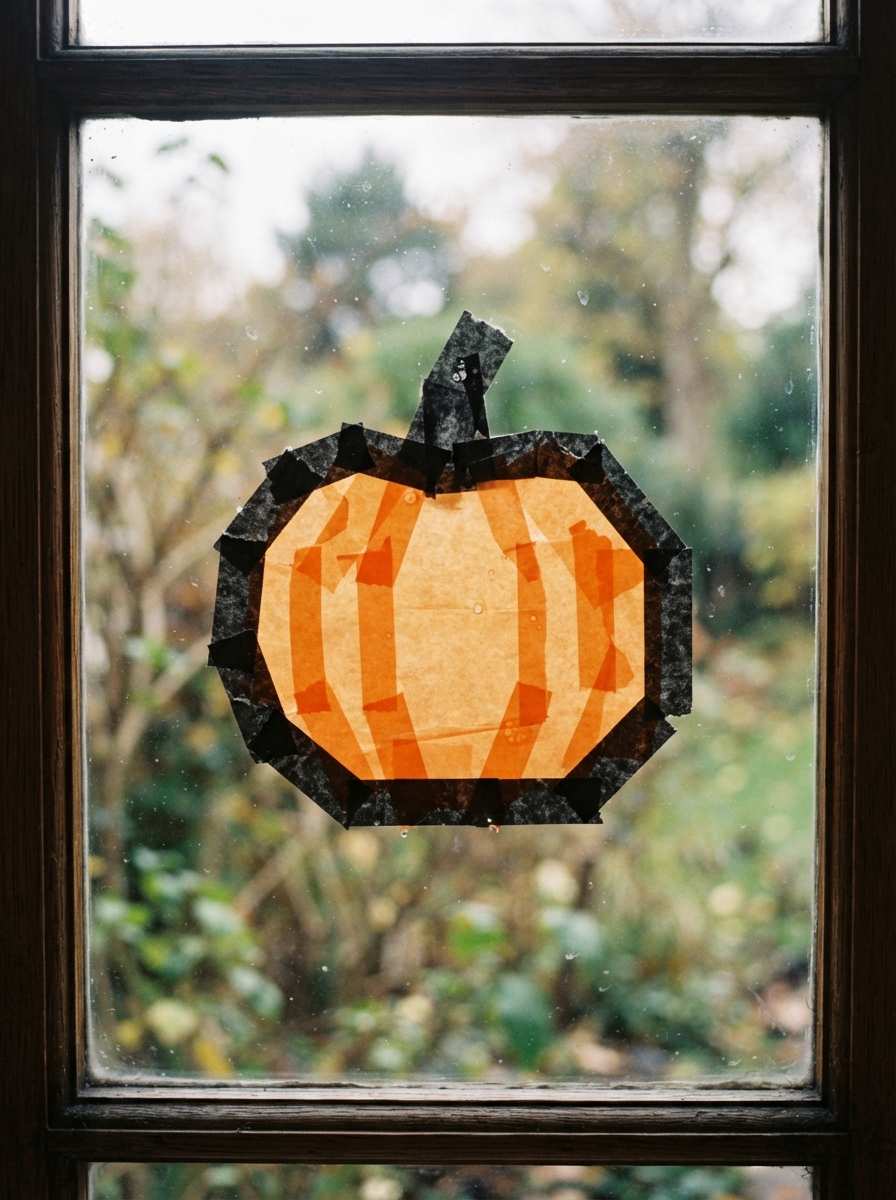
What you’ll need:
- Colored or patterned washi tape (black, orange, and translucent shades work well)
- Scissors
- A window or glass surface
How it comes together:
- Build a simple silhouette directly on the glass using strips of black washi tape as the outline, a pumpkin, bat, or moon shape all work well
- Fill in the outlined shape using shorter strips of colored or translucent tape, layering pieces slightly to mimic a stained-glass effect
- Trim any overhanging edges with scissors for a clean finish
This is one of the simplest Halloween craft ideas for adults to do directly at a window, since the glass itself acts as the “canvas” and there’s nothing extra to prop up or display separately.
2. Tape-Patterned Pumpkins
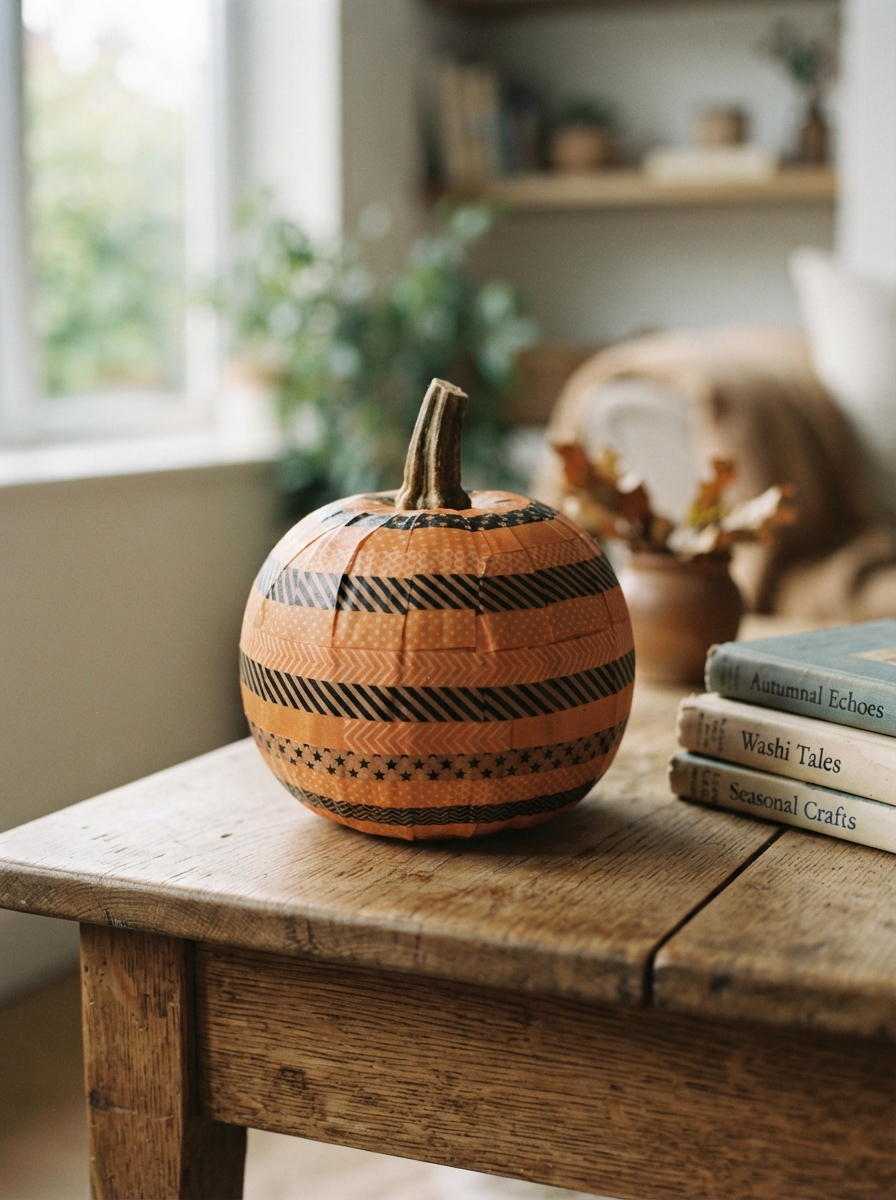
What you’ll need:
- A plain faux pumpkin or a pumpkin-shaped cutout from cardstock
- Washi tape in two or three coordinating patterns or colors
How it comes together:
- Wrap strips of washi tape vertically around the pumpkin from top to bottom, alternating patterns or colors as you go
- Overlap each strip slightly at the top and bottom near the stem for a neater finish
- Trim excess tape at the base with scissors
Because the tape sits entirely on the surface rather than soaking in, this is a project that can be undone and redone if the pattern doesn’t look right the first time, a small but genuine advantage over paint-based versions of the same idea.
3. Sticker Silhouette Garland
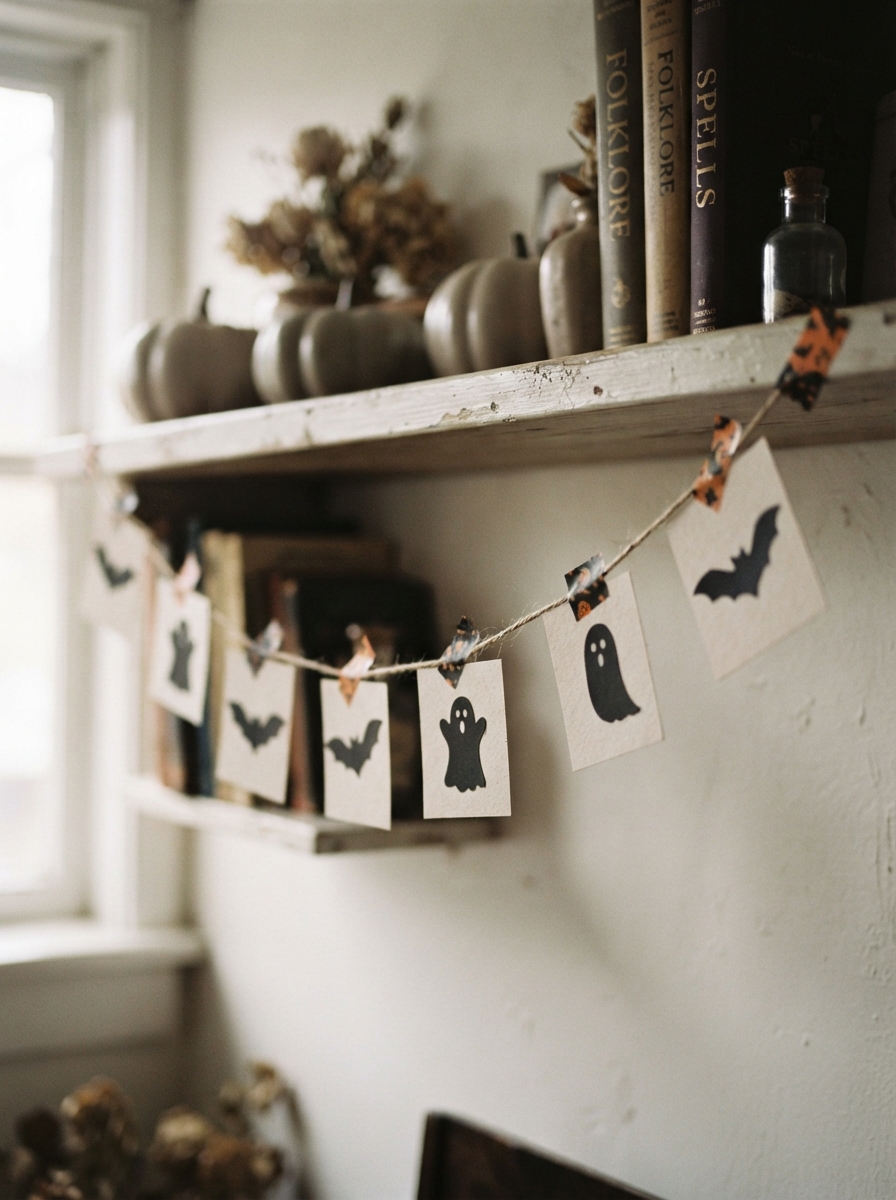
What you’ll need:
- Halloween-themed stickers or die-cut sticker sheets (bats, ghosts, pumpkins)
- A length of string or ribbon
- Washi tape
How it comes together:
- Cut small squares of cardstock or thick paper as backing for each sticker
- Apply one sticker to each backing square, then attach the squares to the string using small pieces of washi tape, spacing them evenly
- Hang the finished garland along a shelf, doorway, or window frame
Among Halloween craft ideas for adults working in shared spaces like rentals or dorms, this project stands out because nothing is glued directly to a wall or window, the entire garland can be taken down and stored without leaving marks.
Making something beautiful doesn’t require years of experience, and DIY Projects for People Who Don’t Feel Crafty at All proves that simple, beginner-friendly projects can still deliver impressive results.
✅ Air-Dry Clay Projects
Air-dry clay is the one material in this list that’s genuinely wet during use, and it’s worth including honestly rather than leaving it out just to keep every project bone-dry.
What makes it fit among low-mess Halloween craft ideas for adults is how it behaves as it dries: unlike paint, air-dry clay turns powdery rather than sticky, and it brushes off hands, tables, and most fabrics without leaving a stain behind.
Why this craft:
- Dries to a chalky, powdery finish rather than a sticky or staining one
- Any residue on hands or surfaces brushes away once fully dry, rather than needing to be scrubbed off
- No oven or kiln required, it air-dries on its own over a day or two
- Small, simple shapes dry faster and are easier to finish in one sitting
1. Mini Clay Skulls
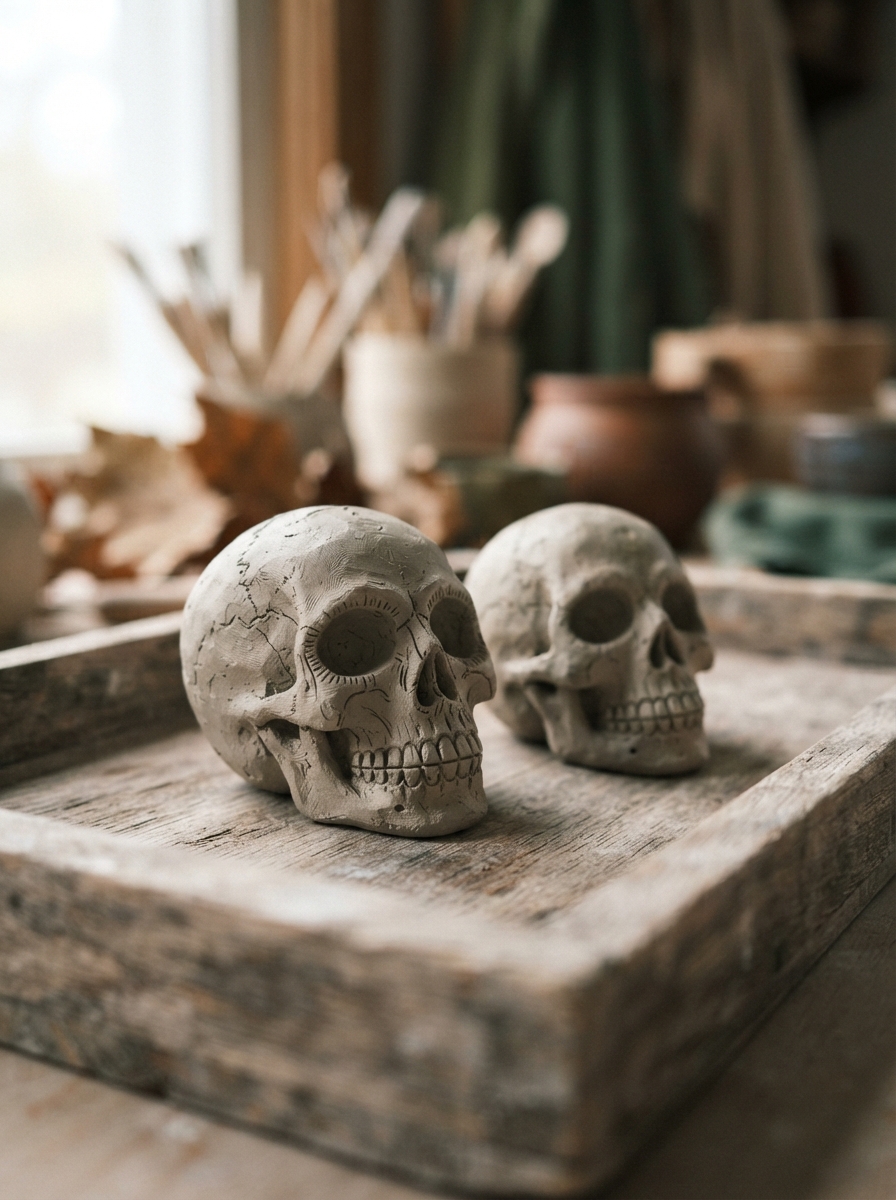
What you’ll need:
- White or grey air-dry clay
- A small sculpting tool or toothpick
- A flat surface or tray to dry on
How it comes together:
- Roll a small ball of clay, roughly the size of a walnut, and gently shape it into a rounded skull form by pinching in slightly at the jaw
- Use a toothpick or sculpting tool to press in eye sockets, a nasal cavity, and simple tooth lines along the front
- Set the finished piece on a tray to air-dry fully, usually over 24 to 48 hours depending on size and humidity
This is one of the more detail-oriented Halloween craft ideas for adults on this list, but the clay stays fully workable for several minutes, so there’s no rush to finish before it sets.
2. Clay Pumpkin Charms
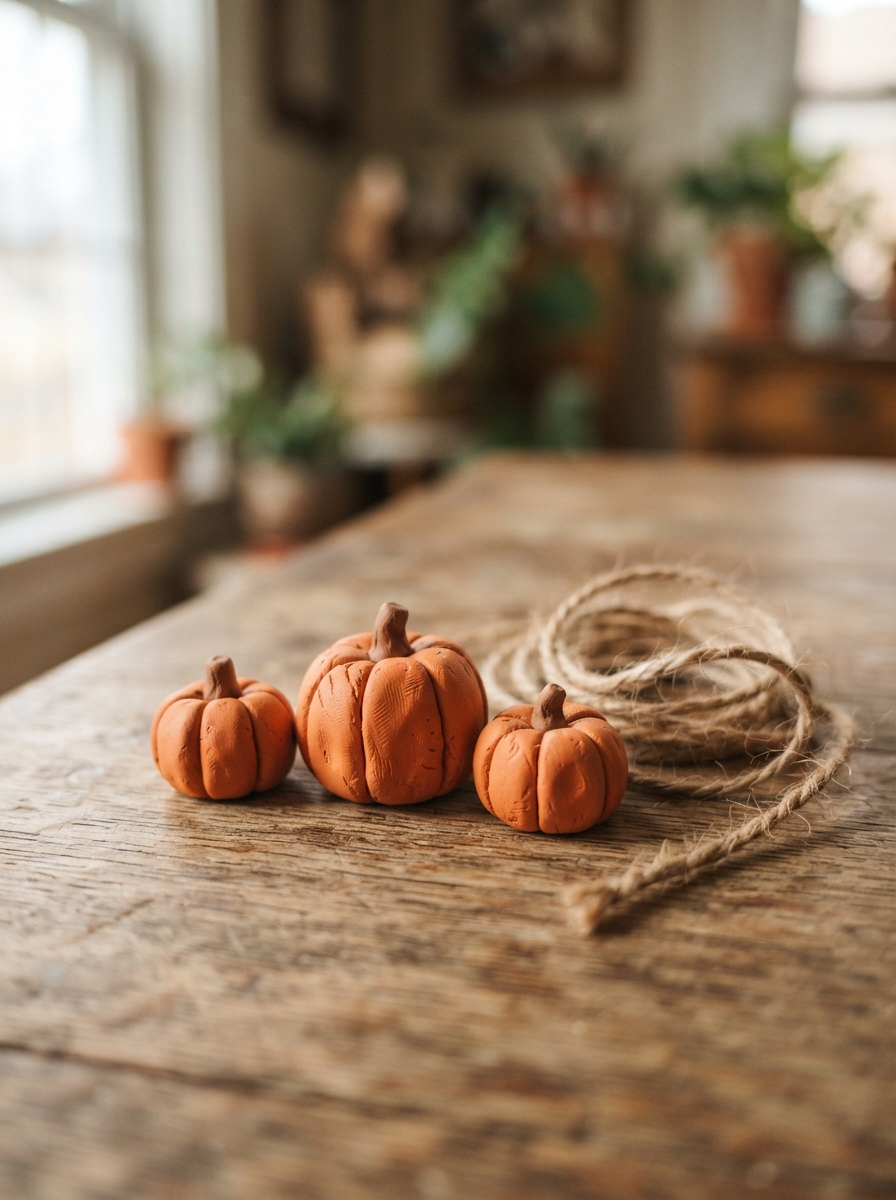
What you’ll need:
- Orange or terracotta-toned air-dry clay
- A toothpick or small tool for ridge lines
- A skewer or straw (to create a hole for hanging, if desired)
- Twine or cord (optional)
How it comes together:
- Roll a small ball of clay and flatten it slightly into a rounded pumpkin shape
- Use a toothpick to press vertical ridge lines around the sides, mimicking a pumpkin’s natural grooves
- Add a small rolled piece of clay on top as a stem, pressing it gently into place
- If making a hanging charm, push a skewer through the top before the clay dries, then thread twine through once fully dry
3. Clay Charm Bowl (small trinket dish)
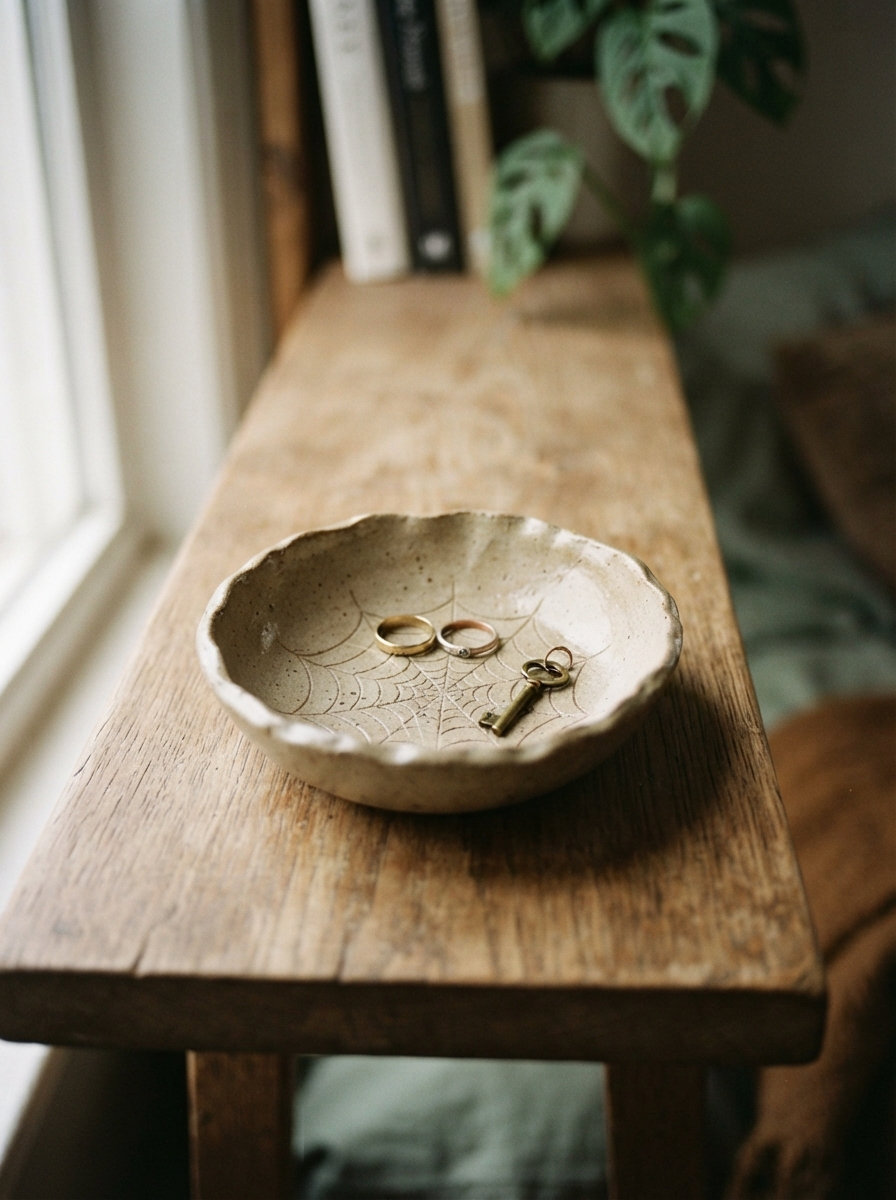
What you’ll need:
- Air-dry clay
- A small round object to shape around (a bowl, cup, or jar lid)
- A toothpick for simple etched details
How it comes together:
- Roll out a flat, even circle of clay, roughly 5mm thick
- Drape the clay gently over the outside of a small bowl or cup to form a shallow dish shape, smoothing the edges by hand
- Once it holds its shape, carefully lift it off the mold and let it air-dry fully before use
- Etch a simple design, a spiderweb, moon phase, or small bats, into the surface with a toothpick while the clay is still slightly soft
Among Halloween craft ideas for adults, this project doubles as a small, functional piece afterward, a spot for rings, keys, or candy on a side table, rather than something that gets packed away once the season ends.
Quality time becomes even more memorable with 12 Easy Sewing Projects Adults and Kids Will Actually Complete Together, offering beginner-friendly ideas that make crafting enjoyable for every age.
Setup & Cleanup Tips
A little bit of setup saves a lot of frustration later.
What to do:
-
Work on a tray or placemat, not directly on the table
Even low-mess materials like clay or fabric glue can leave faint marks on wood or fabric surfaces over time. A tray also makes it easy to move a project aside if it needs to sit and dry.
-
Keep a damp cloth within reach, not just at the end
For air-dry clay especially, wiping hands while the clay is still slightly wet is far easier than waiting until it’s fully dried and brushed off later.
-
Store fabric and paper scraps by color in a small labeled bag or box
Halloween-specific colors (black, orange, white) are easy to reuse the following year, which cuts down on repeat purchases and keeps the craft drawer from becoming cluttered with mismatched leftovers.
-
Let glued or tied projects sit undisturbed for the first 10–15 minutes
Fabric glue and tied string both hold their shape better once they’ve had a short, uninterrupted setting period, rather than being moved or handled right away.
-
Test washi tape on the surface first if it will stay up for more than a few days
Most washi tape removes cleanly, but painted walls or certain varnished wood can occasionally pull away a thin layer of finish if the tape is left on for an extended time. A quick test in a small, hidden spot avoids any surprises.
Conclusion
Halloween crafting is supposed to be fun, cutting, folding, shaping something out of nothing, seeing it come together on the table in front of you. That’s the part worth keeping.
These Halloween craft ideas for adults use materials that don’t need much drying time or extra supplies, so there’s more time for the actual making.
Made one of these? Tell me which one you loved most.