

Tips for Finishing Your Seasonal Craft Projects

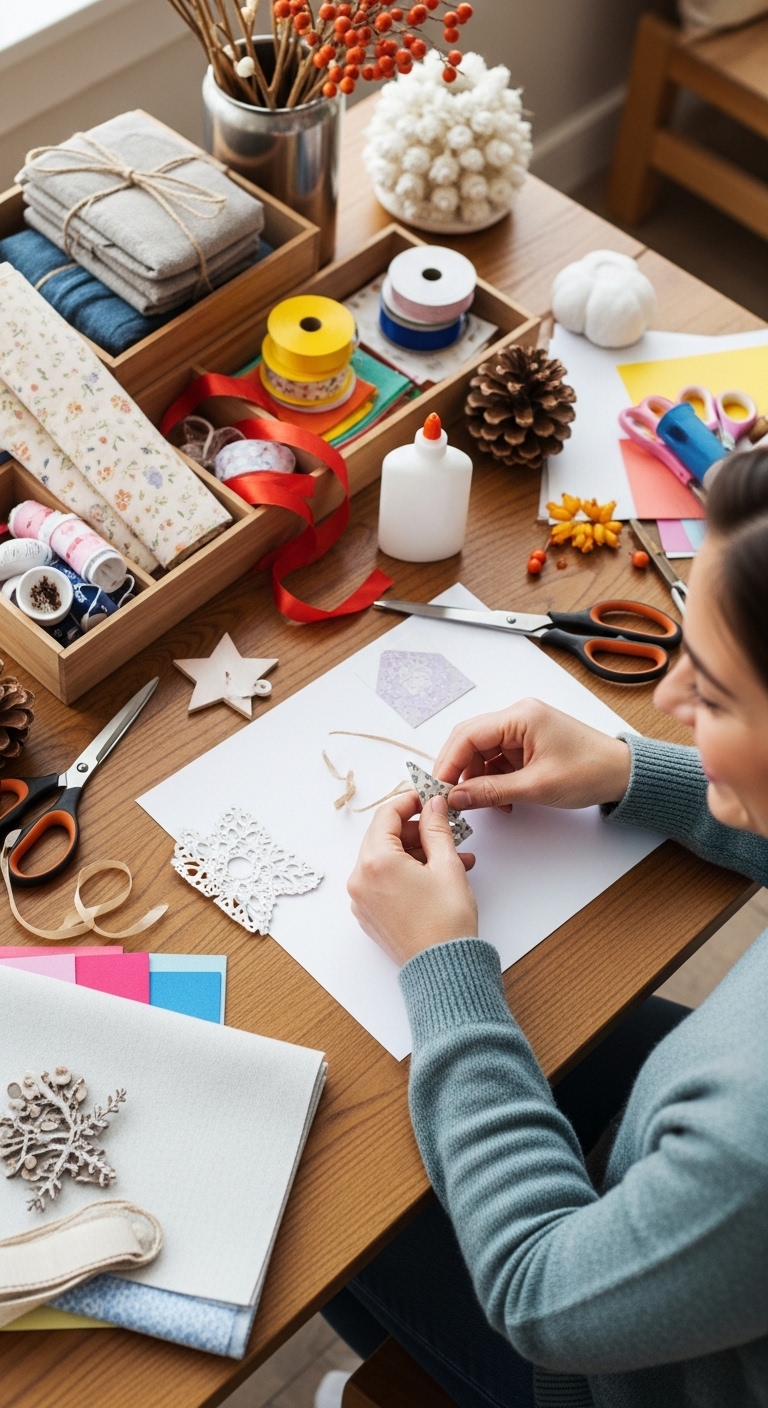
It’s easy to start a craft project full of enthusiasm… and then get distracted or frustrated before it’s done. These simple strategies will help you actually finish your seasonal craft projects and enjoy the process from start to finish:
-
Set a 1-hour timer: Dedicate just one focused hour to your project. Short, focused sessions prevent overwhelm and make progress feel achievable.
-
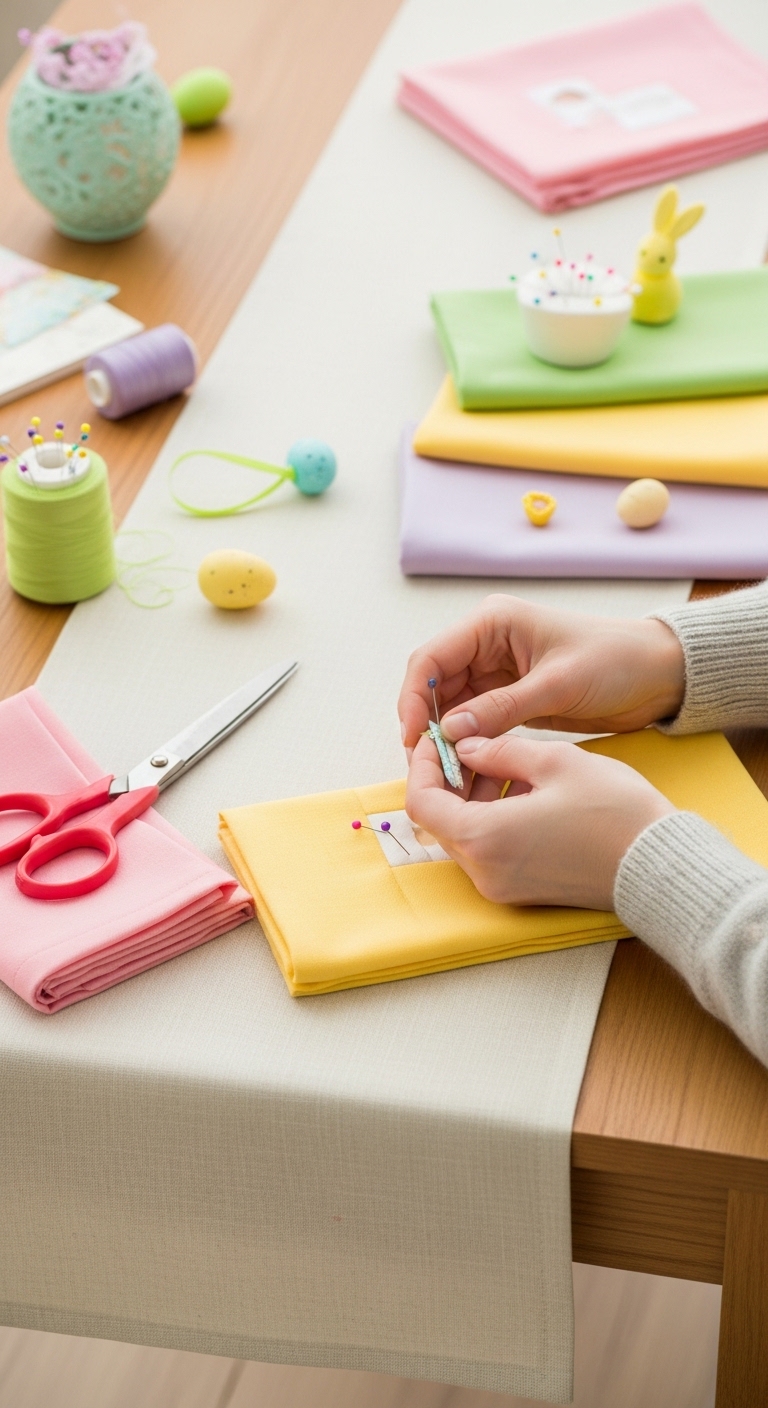
Prep materials ahead: Gather all your fabrics, scissors, threads, and embellishments before you start. When everything is ready, you’ll stay in the creative flow without stopping.
-
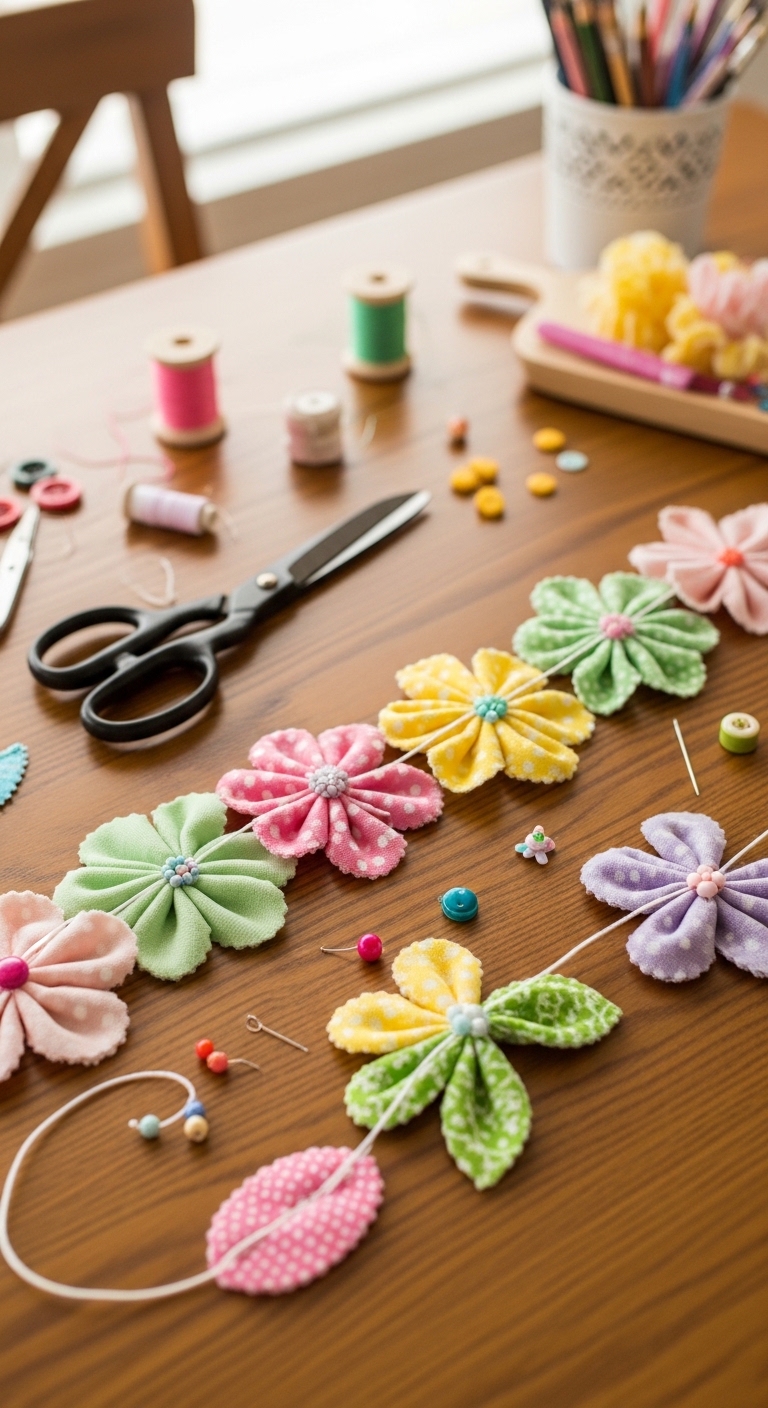
Keep projects small: Choose manageable projects that can be completed in one or two sessions. Small wins build confidence and motivation to tackle the next craft.
-
Don’t aim for perfection: Seasonal craft projects are about fun, creativity, and personal touch. Embrace imperfections — they make your handmade items unique.
-
Batch cut fabric: If your project uses multiple pieces of fabric, cut them all at once. This saves time and keeps your momentum going while sewing or assembling.
By using these strategies, you’ll stop leaving projects unfinished and start enjoying your seasonal craft projects fully, seeing them through from start to beautiful completion.
If you want seasonal craft projects you can start, pause, and pick up without losing progress, this post on spring DIY projects you can stop and pick up again has even more flexible ideas.
7️⃣ July – No-Sew Patriotic Cushion Covers
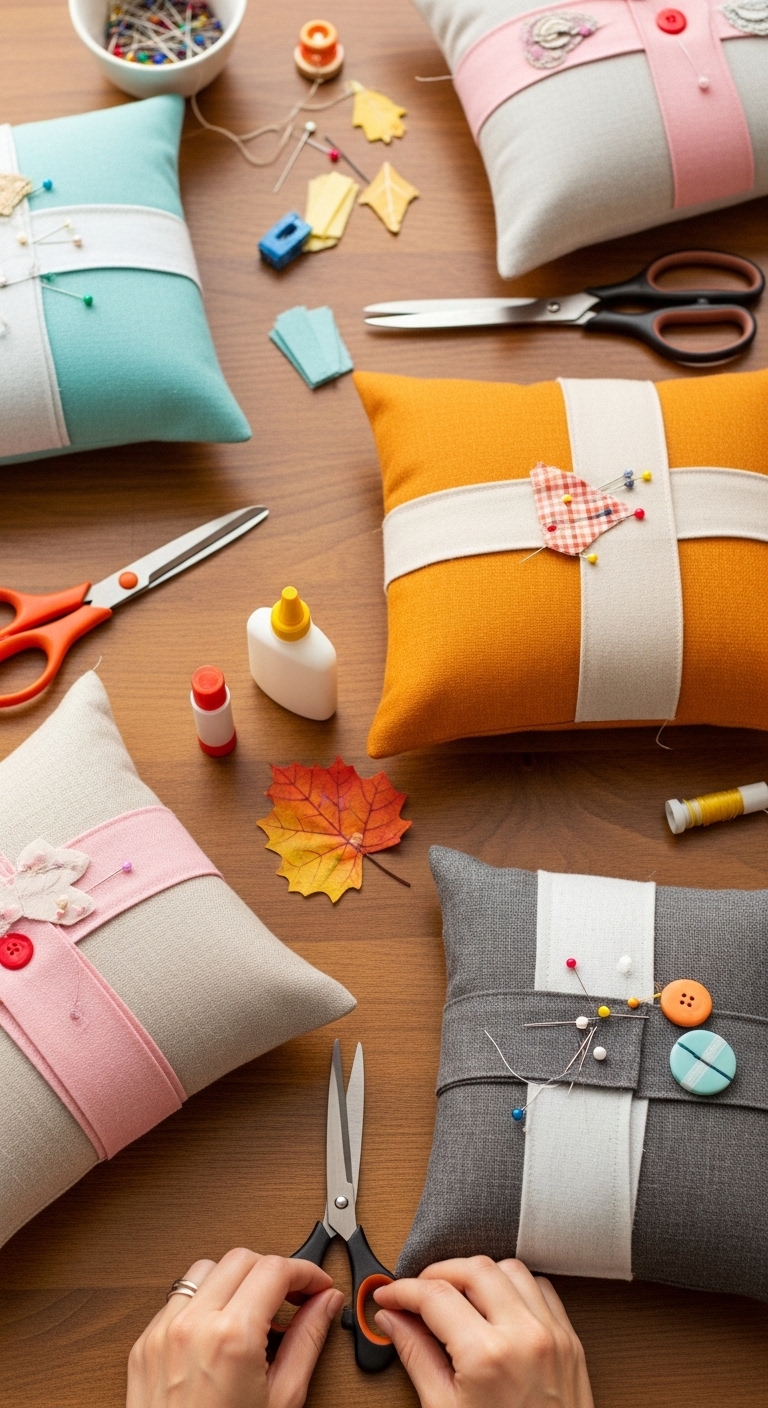
July brings summer holidays and celebrations, but store-bought decor can be expensive or generic. These no-sew patriotic cushion covers are quick, beginner-friendly, and let you add festive charm to your home without complicated sewing.
Project Description:
Decorate your couch or outdoor furniture with simple fabric covers in red, white, and blue. No sewing required, perfect for a last-minute seasonal project.
Materials Needed:
-
Fabric squares (18×18 inches each)
-
Fabric glue or fusible tape
-
Scissors
-
Ruler
-
Decorative trim (optional)
How to Make:
-
Measure & cut: Cut two squares of fabric for each cushion.
-
Add design: Use fabric glue or fusible tape to attach stripes, stars, or other patriotic shapes.
-
Assemble cover: Glue or fuse edges, leaving one side open to insert the cushion.
-
Finish edges: Fold and glue hems for a clean look.
-
Insert cushion: Slide cushion in and display.
Optional Tip: Switch designs yearly or mix patterns for a playful summer vibe.
8️⃣ August – Back-to-School Pencil Case (Sewn)
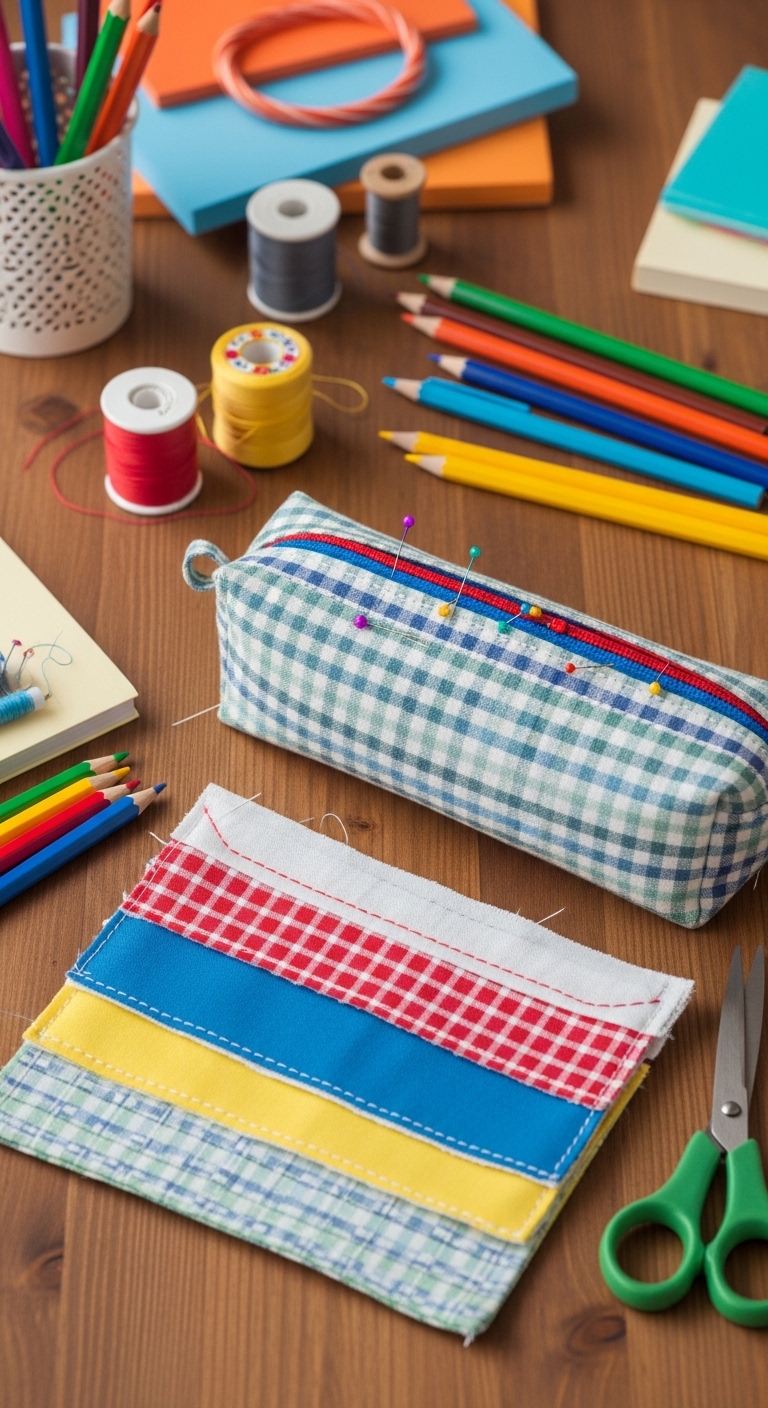
August signals back-to-school season, and kids (or adults!) need fun, functional supplies. Making a fabric pencil case solves the pain point of boring, generic school accessories and lets you personalize it.
Project Description:
A small sewn pouch perfect for pencils, pens, or other school essentials. Easy enough for beginners and quick to complete.
Materials Needed:
-
Fabric (8×10 inches)
-
Zipper (8 inches)
-
Matching thread
-
Needle or sewing machine
-
Scissors
-
Pins
How to Make:
-
Cut fabric: Two rectangles of the same size.
-
Pin zipper: Place zipper between the fabric pieces, right sides together.
-
Sew sides: Sew along the zipper edge, then the remaining sides.
-
Turn inside out: Flip the pencil case so the right side is outside.
-
Topstitch: Sew around the zipper for a neat finish.
Optional Tip: Add appliques or initials to personalize the case.
For more creative ways to reuse and remake clothes or fabrics, check out my post on ways to upcycle old clothes into trendy new outfits , it’s great inspiration beyond your monthly craft projects.
9️⃣ September – Fabric Pumpkin Decor
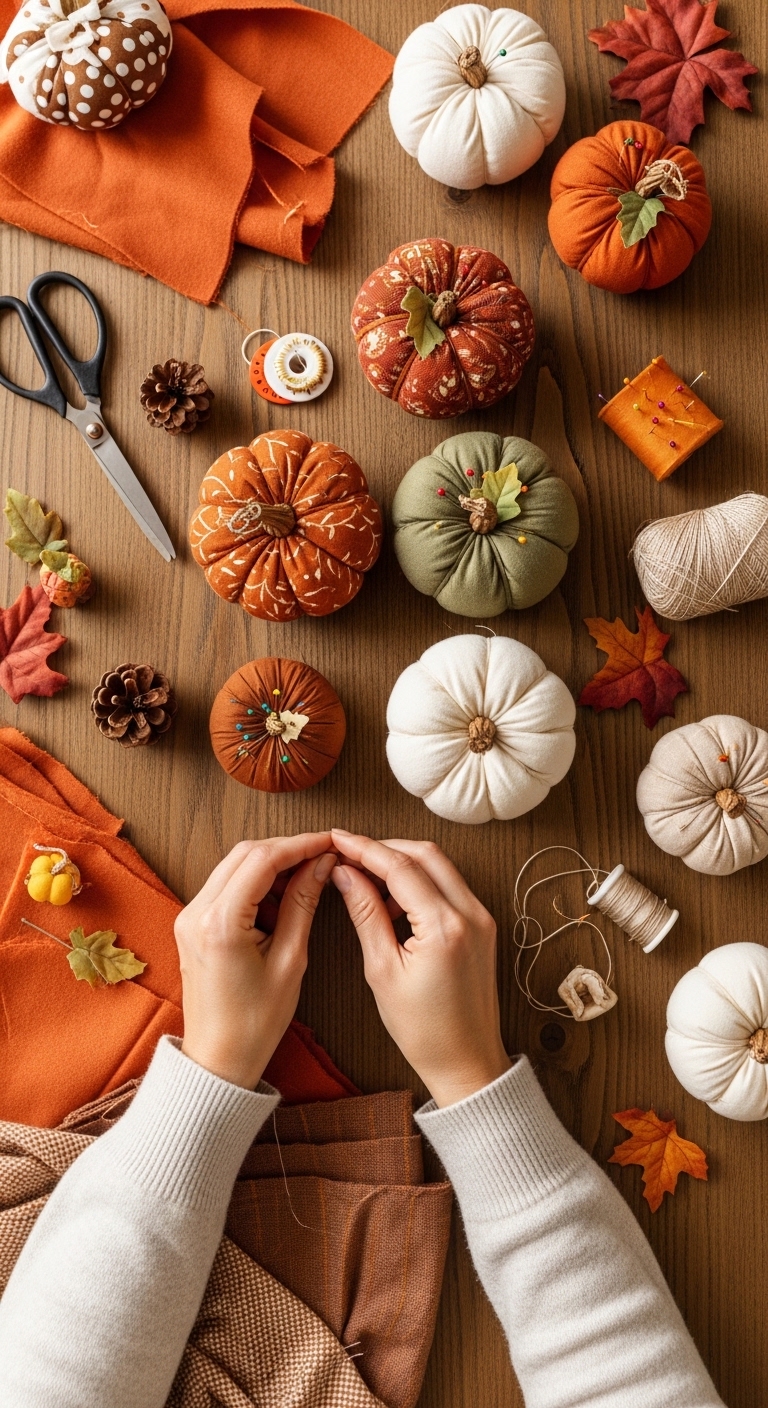
Fall is here, and pumpkin decor is everywhere, but pre-made items are expensive. A fabric pumpkin lets you celebrate the season on a budget while reusing scraps.
Project Description:
Soft fabric pumpkins that can be used as table accents, shelf decor, or gifts. Beginner-friendly and quick to make.
Materials Needed:
-
Fabric scraps
-
Needle and thread
-
Scissors
-
Stuffing (polyfill or fabric scraps)
-
Twine or small sticks (for stems)
How to Make:
-
Cut fabric: Circle or square pieces, depending on the style you want.
-
Sew edges: Gather edges with running stitch.
-
Stuff pumpkin: Fill with polyfill or scraps.
-
Close opening: Pull thread tight and knot securely.
-
Add stem: Insert twine or small stick at top.
Optional Tip: Mix fabrics and sizes for a cute autumn display.
🔟 October – Easy DIY Halloween Treat Bags
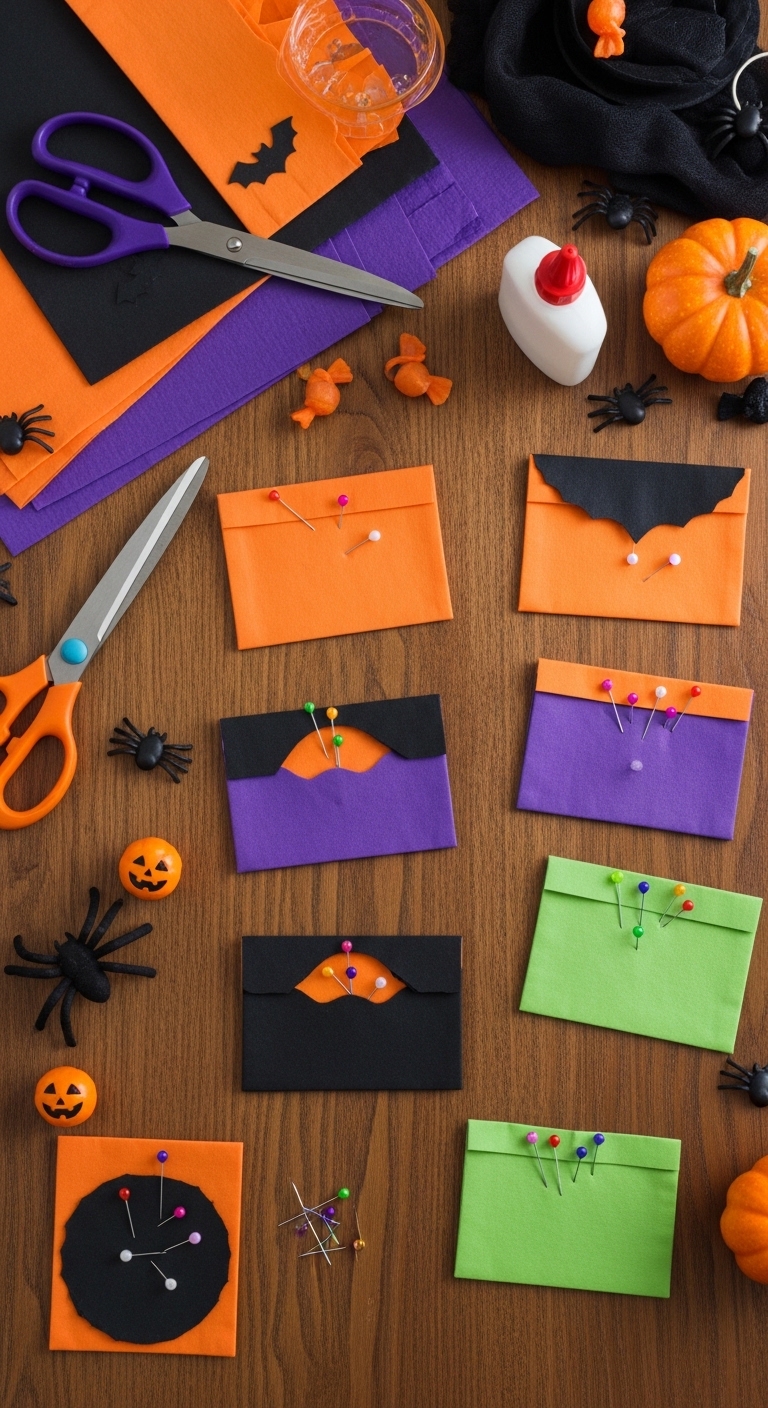
Halloween can sneak up fast, and buying themed bags is expensive. These easy DIY treat bags are perfect for kids or guests and require minimal sewing.
Project Description:
Small fabric bags decorated with fun Halloween motifs, ghosts, pumpkins, or witches. Perfect for candy or small gifts.
Materials Needed:
-
Fabric (5×7 inches per bag)
-
Drawstring cord or ribbon
-
Needle and thread or sewing machine
-
Fabric paint or markers
-
Scissors
How to Make:
-
Cut fabric: Two rectangles per bag.
-
Sew sides: Place right sides together and sew along two edges.
-
Hem top: Fold top edge down and create a channel for the drawstring.
-
Insert drawstring: Thread cord or ribbon and knot ends.
-
Decorate: Add Halloween designs with paint or markers.
Optional Tip: Make a batch for neighbors or a school party, quick and budget-friendly.
1️⃣1️⃣November – Gratitude Fabric Wall Banner
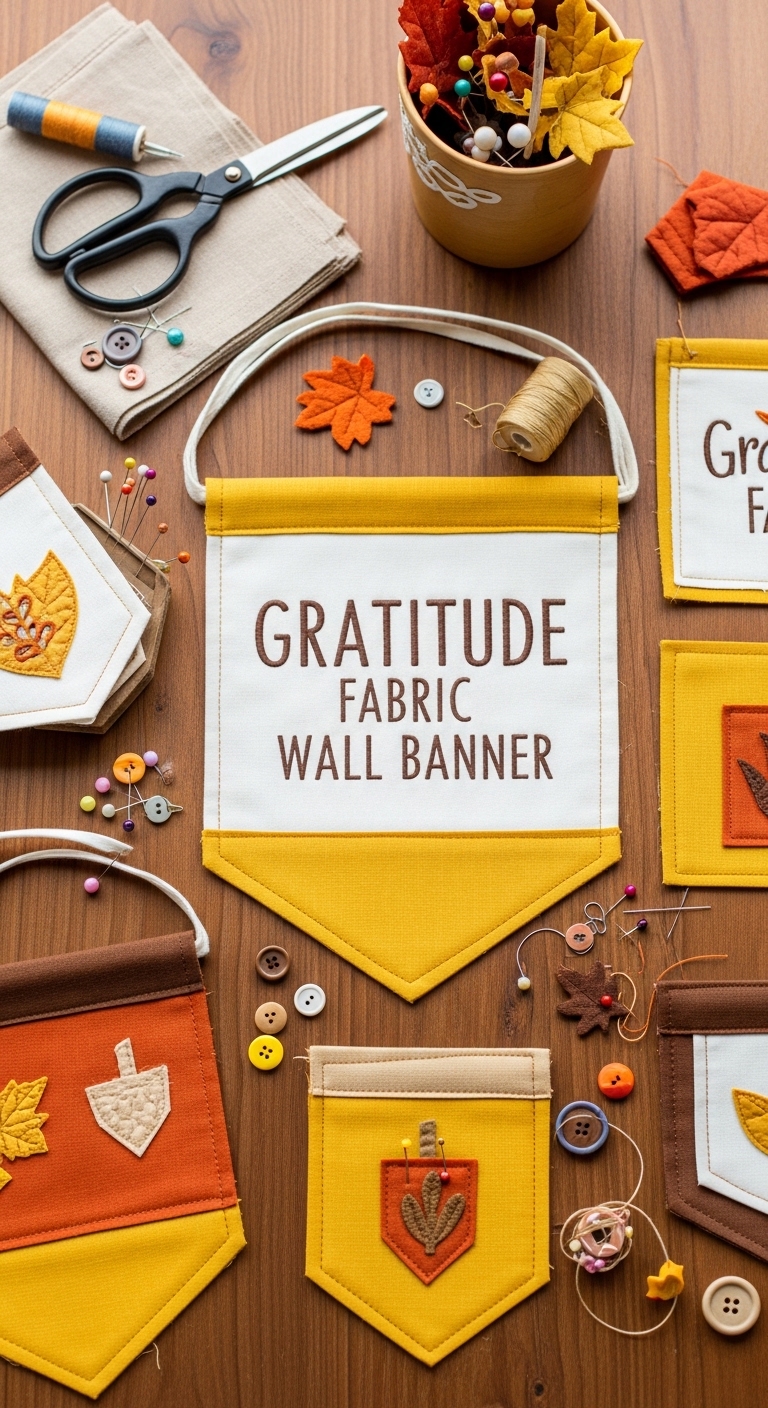
November is all about gratitude, but store-bought decorations often feel impersonal. This fabric wall banner is a meaningful, inexpensive way to celebrate the season.
Project Description:
A simple banner with pockets or clips to display thankful notes, photos, or seasonal embellishments.
Materials Needed:
-
Fabric for base (12×24 inches)
-
Fabric scraps
-
Clothespins or clips
-
Needle and thread or hot glue
-
Scissors
-
Ribbon or dowel
How to Make:
-
Prepare base: Cut and hem the main fabric.
-
Attach hanger: Fold top edge over dowel or ribbon and secure.
-
Add clips/pockets: Sew or glue small pockets or clips along the banner.
-
Decorate: Add fabric leaves, embellishments, or quotes.
-
Fill with notes: Encourage family or guests to write what they’re thankful for.
Optional Tip: Change the notes weekly to keep the banner interactive.
Before you leave, Read this: 10 Cricut Crafts Beginners Always Struggle With- And How to Make and Sell Them
1️⃣2️⃣December – Handmade Christmas Stocking
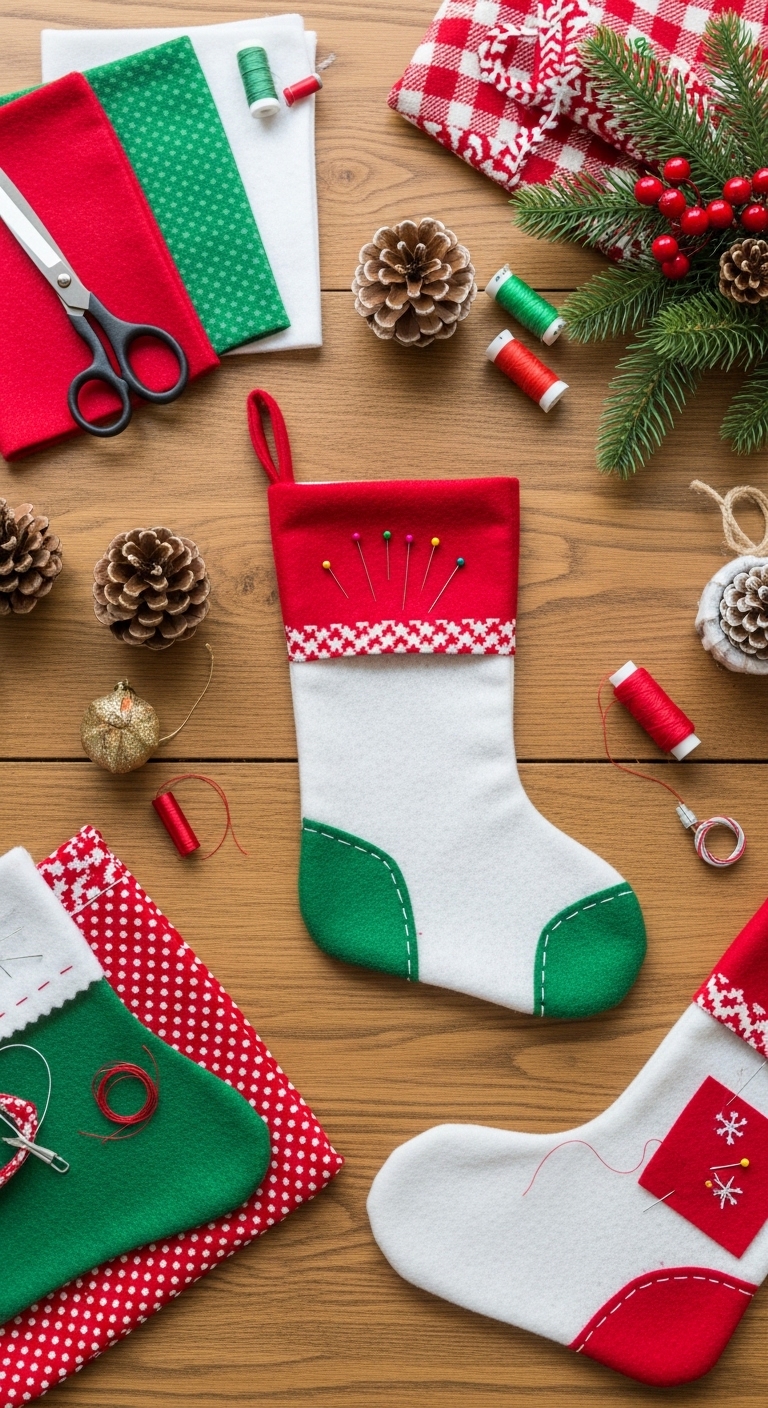
Holiday decorations can be costly, but making your own Christmas stocking adds a personal, cozy touch to your home and is a fun family project.
Project Description:
A sewn stocking with optional appliques or embroidery for gifts, decor, or traditions.
Materials Needed:
-
Fabric for main stocking
-
Fabric for cuff
-
Needle and thread or sewing machine
-
Scissors
-
Ribbon or loop for hanging
-
Optional embellishments (buttons, felt shapes)
How to Make:
-
Cut fabric: Stocking shape for main body and cuff.
-
Sew edges: Place right sides together and sew around body.
-
Attach cuff: Fold and sew cuff at top.
-
Turn inside out: Reveal right side.
-
Add hanging loop: Sew ribbon at top corner.
-
Decorate: Apply any festive embellishments.
Optional Tip: Make a set in coordinating colors for each family member.
Other DIY You Can Make Yourself:
DIY Sequin Clutch Tutorial: Easy & Sparkly Party Handbag You Can Make Yourself
Handcrafted Petal Floral Hand Fan for Easter Weddings: A DIY Guide
Ending Your Year With Completed Seasonal Craft Projects
Planning your crafts month by month keeps creativity flowing and prevents unfinished projects. These seasonal craft projects show how small, focused ideas can save scraps, reduce costs, and add handmade charm to your home.
Handling one project each month, you’ll build a organized, and enjoyable crafting routine, and end the year with a collection of completed, meaningful creations.