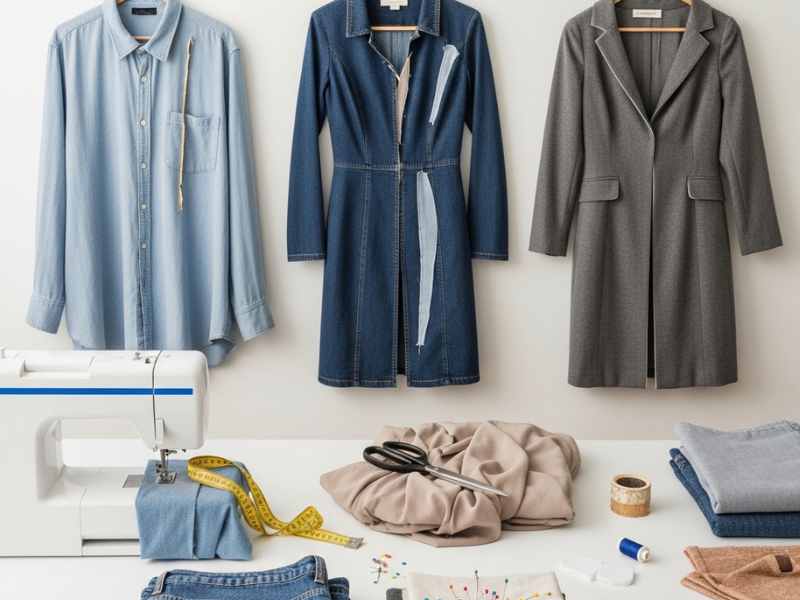
Before you give up on that thrift find, try this. These thrift flip sewing projects ideas will change how you see and fix clothes.
You see it on the rack, lets say, a jacket, blouse, or bag that looks like it could be something special. You bring it home, but once you try it on, it just… doesn’t feel right.
Maybe the fit is off, the fabric is dull, or the details make it look cheap. It’s frustrating because you know this piece has potential, but you’re not sure how to unlock it.
This is where thrift flipping comes in. Unlike upcycling, which focuses on repurposing old items into something new, thrift flipping is all about style, polish, and making something inexpensive feel intentional and high-quality.
With a few sewing tweaks, small design changes, and thoughtful finishing touches, you can turn thrifted finds into pieces you’re proud to wear — without spending a fortune.
In this post, I’ll share practical tips, sewing tricks, and styling ideas that make your thrift finds feel boutique-level. You’ll learn what to look for in the store, which adjustments make the biggest difference, and simple ways to elevate ordinary pieces so they feel intentional and polished.
My aim is that at the end, you’ll see how even small tweaks can turn a meh find into something you actually want to wear.
Building something sustainable from thrift flipping becomes much easier when you see the bigger picture, and Thrift Business in Nigeria: How to Start a Profitable Thrift Clothing Business connects all the dots step by step.
How to Spot Thrift Store Gems Worth Flipping
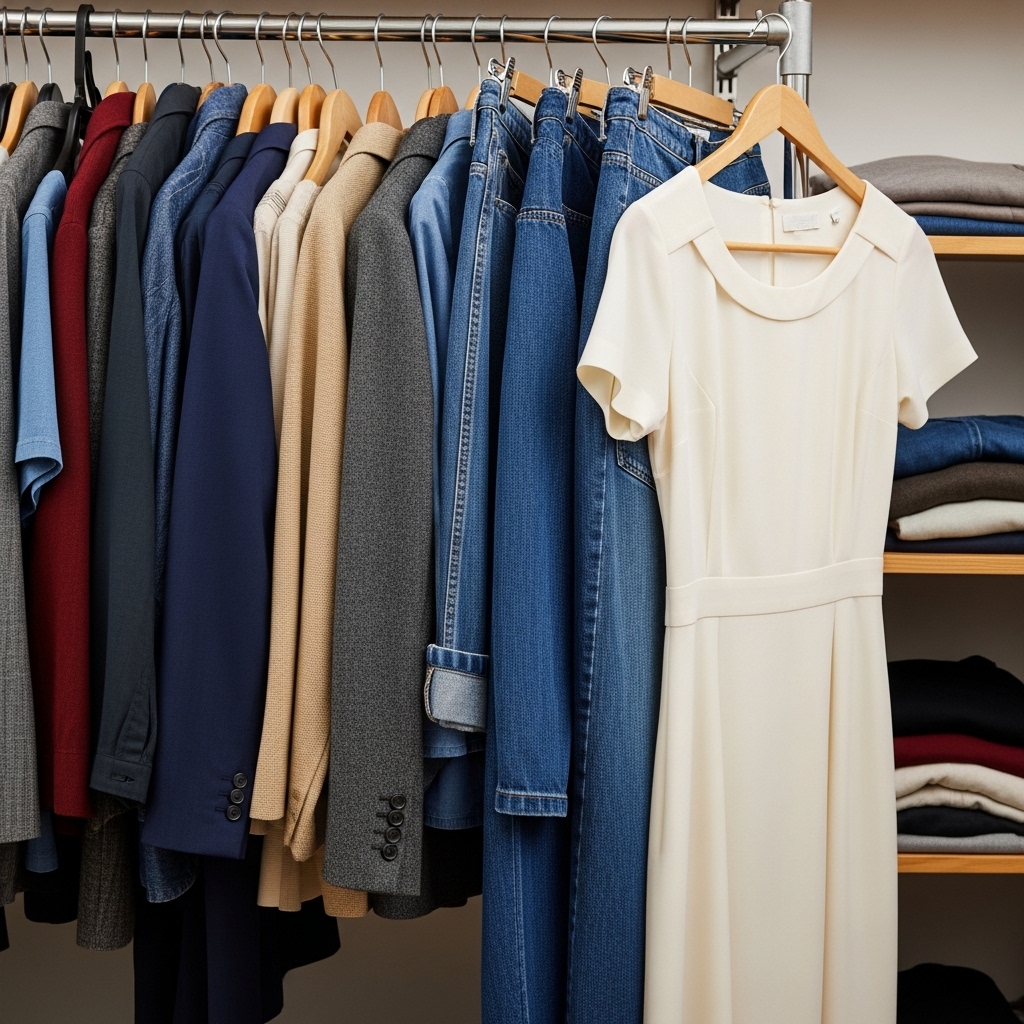
Walking into a thrift store can feel like a maze. Instead of grabbing everything that looks “cute” or cheap, focus on pieces that have real potential.
1. Choose fabrics that work well
- Denim, cotton blends, and wool hold shape and take adjustments easily.
- Avoid flimsy polyester or delicate fabrics that tear or fray — they’ll just frustrate you.
2. Look for shapes you can tweak
- Simple jackets, basic dresses, or straight-cut skirts are perfect.
- A slightly oversized jacket? Take in the sides. A long dress? Hem it or add a waist tie. Small changes make a big difference.
3. Skip problem pieces
- Big stains, missing buttons, or broken zippers often take more time than they’re worth.
- Not every bargain is a win. Choose pieces that are easy to fix and improve.
Quick tip: Trust your instincts. If it feels like it can look great with a few tweaks, grab it. If it feels like a headache, leave it. Picking the right piece is the first, most important step to a successful thrift flip.
Getting better thrift pieces starts long before sewing, and knowing what to pick makes everything easier, that’s exactly what How to Identify Grade A vs Grade B Thrift Clothes Before Buying a Bale (Beginner Guide) breaks down in a way that can save you money and frustration.
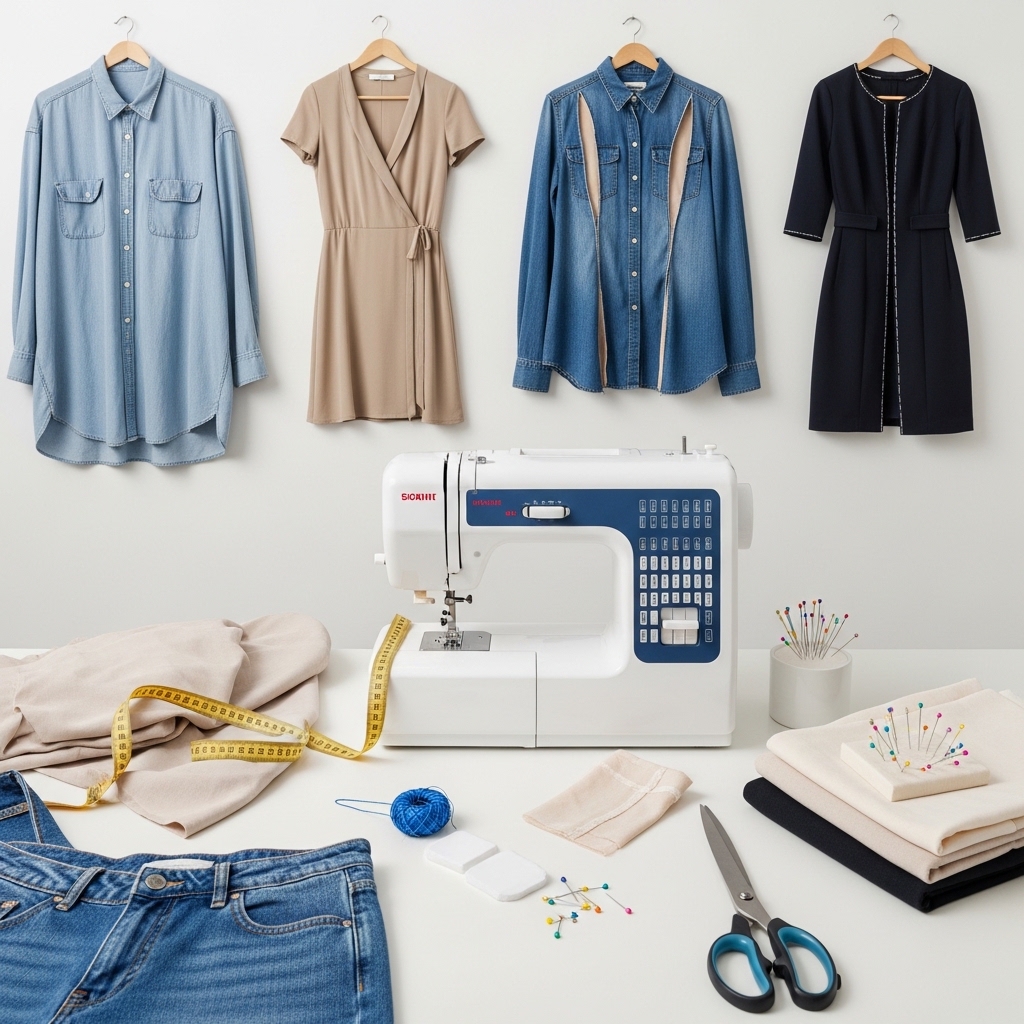
Essential Tools and Materials for Chic Thrift Flip Sewing Projects Ideas
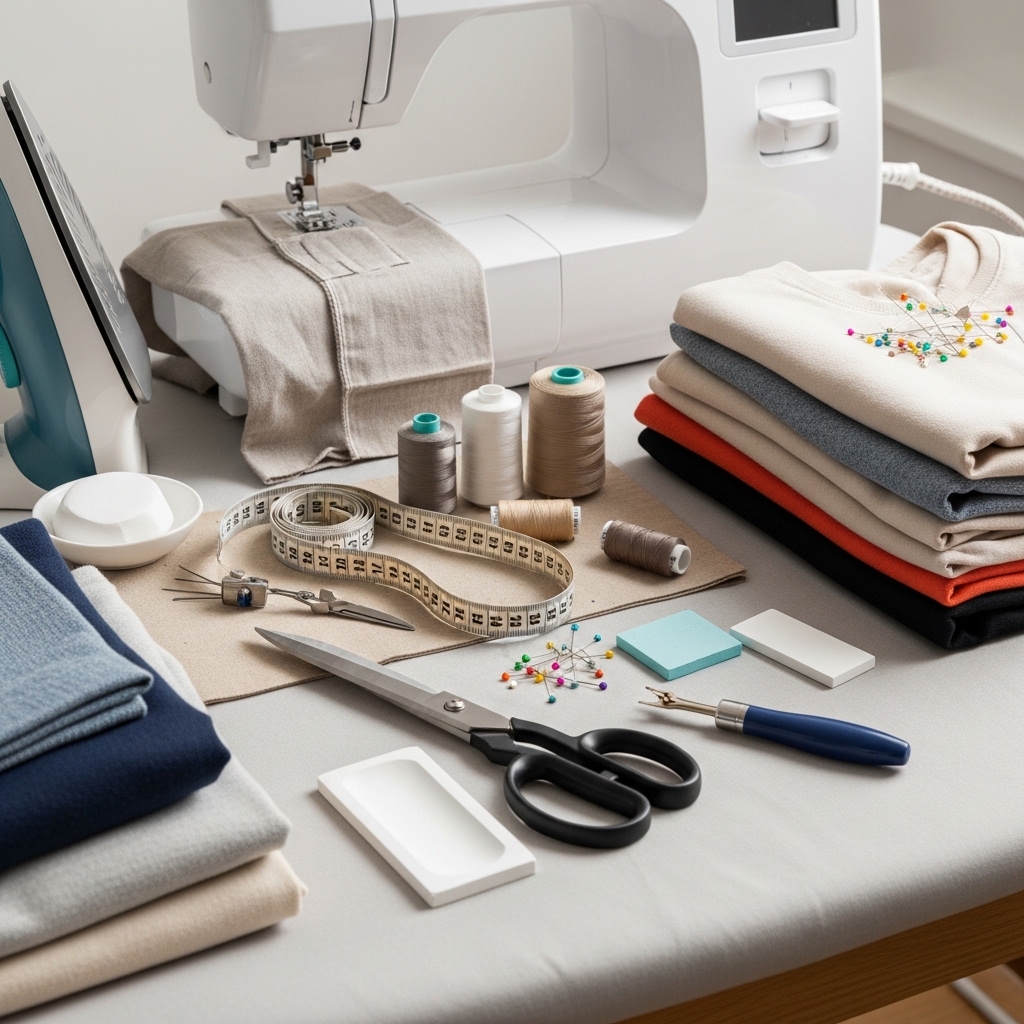
Before you start flipping thrift finds, having the right tools and materials makes the process smoother and the results look polished, boutique-level. These are the basics that can take even the simplest thrifted piece to the next level.
Beginner-friendly sewing tools:
- Basic sewing machine (straight stitch and zigzag are enough for most tweaks)
- Hand-sewing needles for small details
- Scissors and fabric snips
- Pins, clips, and measuring tape
Intermediate tools (optional but helpful):
- Rotary cutter and cutting mat
- Seam ripper for correcting mistakes
- Iron and pressing mat for crisp edges
Embellishments that elevate your thrift flips:
- Lace, ribbons, or patches
- Decorative buttons and appliques
- Metallic or specialty threads for topstitching
Materials that upgrade cheap fabrics instantly:
- Silk or satin lining for jackets and blouses
- Decorative trims along hems, sleeves, or collars
- Topstitching threads to highlight shapes and seams
Tip: One small change, a ribbon, a new button, or a stitched trim, can make a thrifted piece look like fashioable. That’s the kind of detail that separates basic finds from amazing thrift flip sewing projects ideas.
Understanding what actually sells helps you avoid wasting time on the wrong items, and Top-Selling Clothes for Thrift Business in Nigeria (What Moves Fast) gives clear insight into what people are really buying right now.
Thrift Flip Sewing Projects
1. Fixing a Boxy Blazer

Many thrifted blazers feel boxy in the shoulders, wide in the sleeves, and shapeless at the waist, which makes them hard to wear. This project shows you how to reshape it into a tailored vest or waistcoat, step by step, so anyone can try it.
Blazers usually have good structure and quality fabric. Removing sleeves, adding darts, and making a belt instantly transforms the fit, giving it a custom, boutique feel without spending a fortune.
Materials Needed:
- Blazer with boxy fit
- Matching thread
- Fabric scissors
- Pins or clips
- Measuring tape
- Belt fabric (can be leftover blazer scraps)
- Sewing machine or hand-sewing needles
- Bias tape (optional, for finishing raw edges)
Step-by-Step Sewing Instructions:
1. Remove the Sleeves Carefully
- Lay the blazer flat and mark the seam where the sleeve meets the shoulder.
- Cut along the seam, leaving about 0.5 cm margin to attach bias tape later.
- Save the sleeves if you want to reuse the fabric for a belt or lining.
2. Add Darts to Shape the Waist
- Turn the blazer inside out and try it on. Pinch excess fabric at the back and sides to mark darts.
- Draw dart lines with chalk, tapering from hem up toward the armhole.
- Sew along the chalk line. Press the darts flat with an iron for a crisp, professional finish.
3. Make a Belt and Belt Loops
- Cut a strip of fabric from leftover blazer material long enough to wrap around your waist.
- Fold the edges and stitch neatly.
- Pin belt loops along the side seams and top-stitch them in place.
4. Finish Raw Edges
- Cover raw armhole edges with bias tape or carefully hand-stitch.
- Optional: topstitch around darts and belt loops for a clean, polished look.
5. Final Touches
- Press the blazer with steam to smooth out wrinkles and emphasize the new shape.
- Try it on with the belt, notice how much the fit improves and how boutique it looks.
Difficulty: Beginner–Intermediate (Sleeve removal and dart sewing are simple once you follow step-by-step instructions. Pressing and finishing seams neatly may take a bit of practice, but anyone can do it.)
Time Estimate: 2–3 hours
Working with the right machine can change your entire sewing experience, and Industrial vs Domestic Sewing Machines: Which One Should You Buy as a Beginner helps you understand what actually suits your needs.
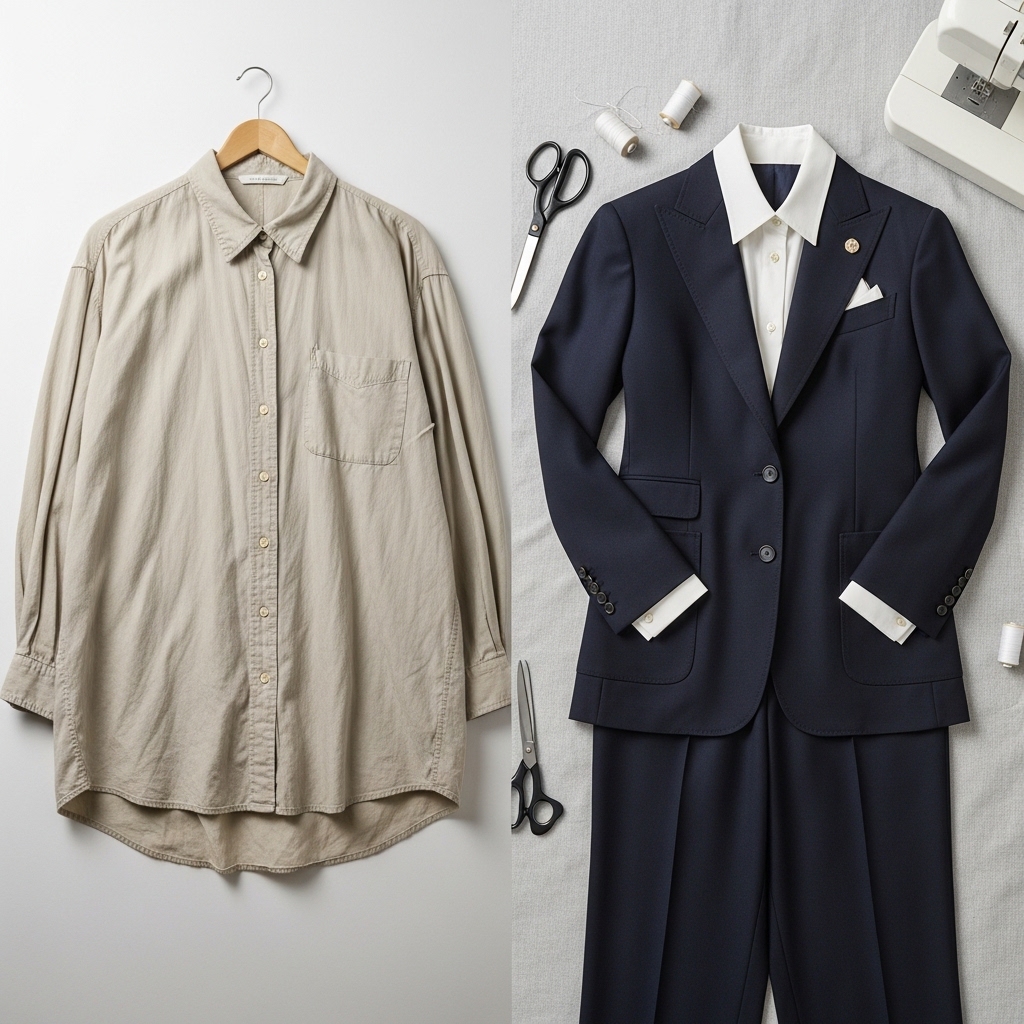
2. Oversized Button‑Down Shirt
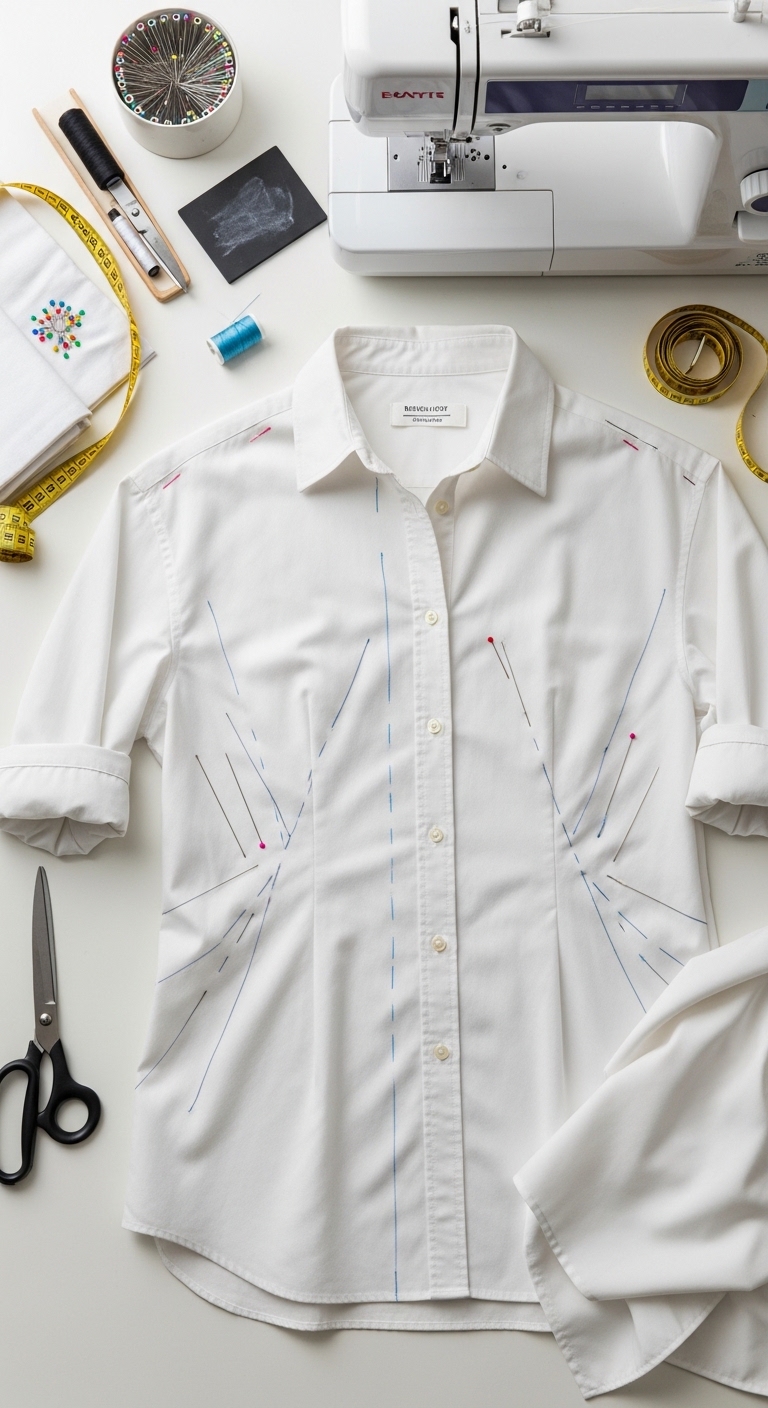
Many thrifted button-down shirts feel too wide, shapeless, or boxy, especially around the torso and shoulders. They’re often worn once, then forgotten because they don’t flatter or feel modern. This project shows you how to reshape it into a wrap-style shirt with subtle shoulder details, giving it a boutique look.
Oversized shirts have good fabric and classic buttons, but their fit can make them look sloppy. Adjusting proportions and adding simple shoulder details makes the shirt wearable, stylish, and unique.
Materials Needed:
- Oversized button-down shirt
- Matching thread
- Fabric scissors
- Pins or clips
- Measuring tape
- Sewing machine or hand-sewing needles
- Chalk or fabric marker
Step-by-Step Sewing Instructions:
1. Identify Problem Areas
- Put the shirt on inside out. Pin excess fabric at the sides, underarms, and back to mark where you want it to taper.
- Mark with chalk or fabric marker.
2. Create a Wrap Front
- Decide how much overlap you want for the wrap. Cut if necessary to create a diagonal front edge.
- Sew the edges neatly, adding a seam allowance of ~1 cm.
3. Add Shoulder Details
- Many oversized shirts have droopy shoulders. Create small tucks or pleats at the shoulder seam to give subtle shaping.
- Pin, then sew along the tucks carefully. Press to flatten.
4. Adjust Sleeves (Optional)
- If sleeves are too long or wide, fold up a cuff and topstitch, or taper slightly from shoulder to cuff.
- This adds polish without cutting away too much fabric.
5. Finish Edges
- Turn all raw edges under or use a zigzag stitch to prevent fraying.
- Topstitch along key seams for a boutique-quality finish.
6. Try It On and Style
- Wrap the front, button one or two small buttons inside for a neat fit, and tie a small fabric belt or sash if desired.
- Notice how much slimmer and more modern it feels.
Difficulty: Beginner–Intermediate (Tucking shoulders and creating the wrap front requires careful pinning and sewing, but no advanced skills are needed.)
Time Estimate: 1.5–2.5 hours
Clean, fresh pieces always feel more valuable, and How to Clean and Disinfect Secondhand Clothes Before Selling — Make Every Item Sale-Ready shows how to prepare thrift finds the right way.
3: Men’s Dress Shirt

Many thrifted men’s dress shirts are stiff, oversized, and plain, making them feel too formal or boring. This project transforms a basic shirt into a soft, wearable boho blouse, adding lace inserts for interest and a feminine touch.
Why this works: Dress shirts have strong fabric and buttons, but their fit and stiffness make them hard to wear casually. By cutting panels and adding lace, you soften the silhouette and elevate the style, turning a thrifted shirt into a piece that looks custom-made.
Materials Needed:
- Men’s dress shirt (preferably cotton or cotton blend)
- Matching or contrasting thread
- Soft lace trim or fabric for inserts
- Fabric scissors
- Pins or clips
- Measuring tape
- Sewing machine or hand-sewing needles
- Chalk or fabric marker
Step-by-Step Sewing Instructions:
1. Identify Problem Areas
- Most men’s shirts are boxy around the chest and long in the sleeves. Pin or mark areas that feel too wide or stiff.
- Decide where the lace inserts will go, common spots are side panels, under sleeves, or across the back.
2. Cut for Lace Inserts
- Carefully cut strips or panels in the shirt where you want the lace to appear.
- Keep the cuts straight and even; leave ~1 cm seam allowance for sewing.
3. Prepare the Lace
- Cut lace strips slightly longer than the openings.
- Pin lace in place behind the cut panels, ensuring it lays flat.
4. Sew the Lace Inserts
- Use a straight stitch to attach the lace to the shirt fabric.
- Press the seams flat for a clean, professional finish.
5. Adjust Fit
- Taper the side seams slightly if needed, removing excess width to create a more feminine silhouette.
- Fold and topstitch hems for a polished look.
6. Final Styling Touches
- Roll up or cuff sleeves for a casual vibe.
- Button strategically or leave a few top buttons open.
Difficulty: Intermediate (Cutting and inserting lace requires precision, but following these steps makes it doable for anyone familiar with basic sewing.)
Time Estimate: 2–3 hours
Turning your sewing into income at home is possible with the right approach, and Struggling to Make Money From Home Sewing? Launch a Profitable Sewing Side Hustle gives practical direction you can follow.
4. Skirts Too Long, Plain, or Shapeless
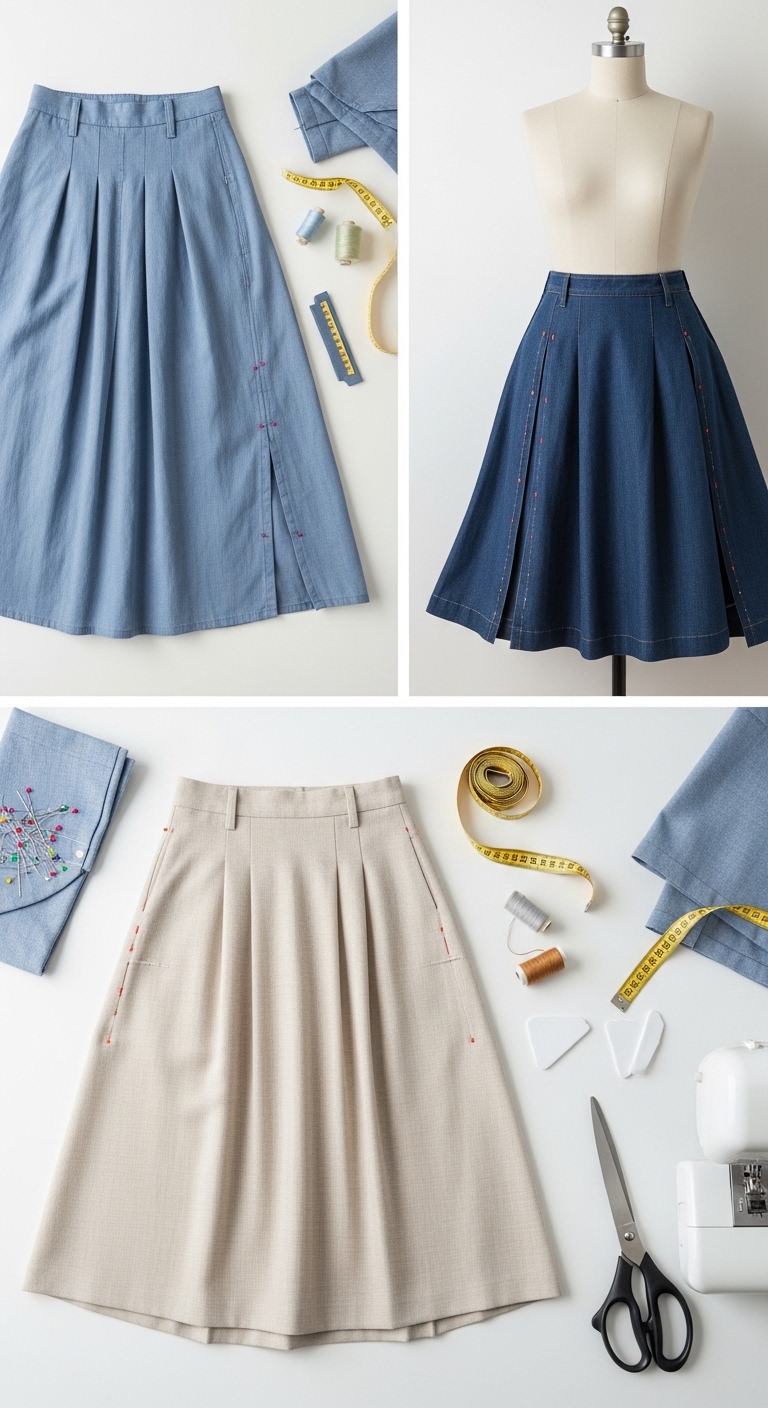
You’ve found a plain, outdated skirt at a thrift store. Maybe it’s too long, too wide, or has a boxy, shapeless fit. Left alone, it probably won’t see much wear. But with a few simple sewing adjustments, this thrifted skirt can look custom-made and stylish, ready to be a wardrobe favorite.
Most thrifted skirts are made from durable fabrics like cotton, polyester blends, or wool. They have enough structure to reshape, shorten, or add design elements, making them perfect candidates for thrift flip sewing projects ideas.
Step-by-Step Fixes:
1. Shorten the Hem
- Mark the desired length with chalk or a fabric marker.
- Fold and pin evenly.
- Sew a straight stitch along the new hem.
- Press for a crisp, clean finish.
2. Add Shape
- Identify where the skirt is boxy: waist, hips, or side seams.
- Pin the seams inward to create a tapered, flattering shape.
- Sew along the new seam line and press flat.
3. Add Design Touches (Optional but High-Impact)
- Subtle trims along the hem or side panels: lace, ribbon, or applique.
- Small stitched patterns or embroidery near the pockets or hem can transform plain fabric into something special.
4. Finish Edges
- Fold raw edges under or use a zigzag stitch to prevent fraying.
- Topstitch side seams for a tailored look.
Difficulty: Beginner–Intermediate
Time Estimate: 2–3 hours
Leftover fabric doesn’t have to go to waste, and What to Do With Fabric Scraps: Sewing Hacks That Turn Leftovers Into Keep-Worthy Gifts shows simple ideas you can actually use.
5. Old Cardigans or Sweaters
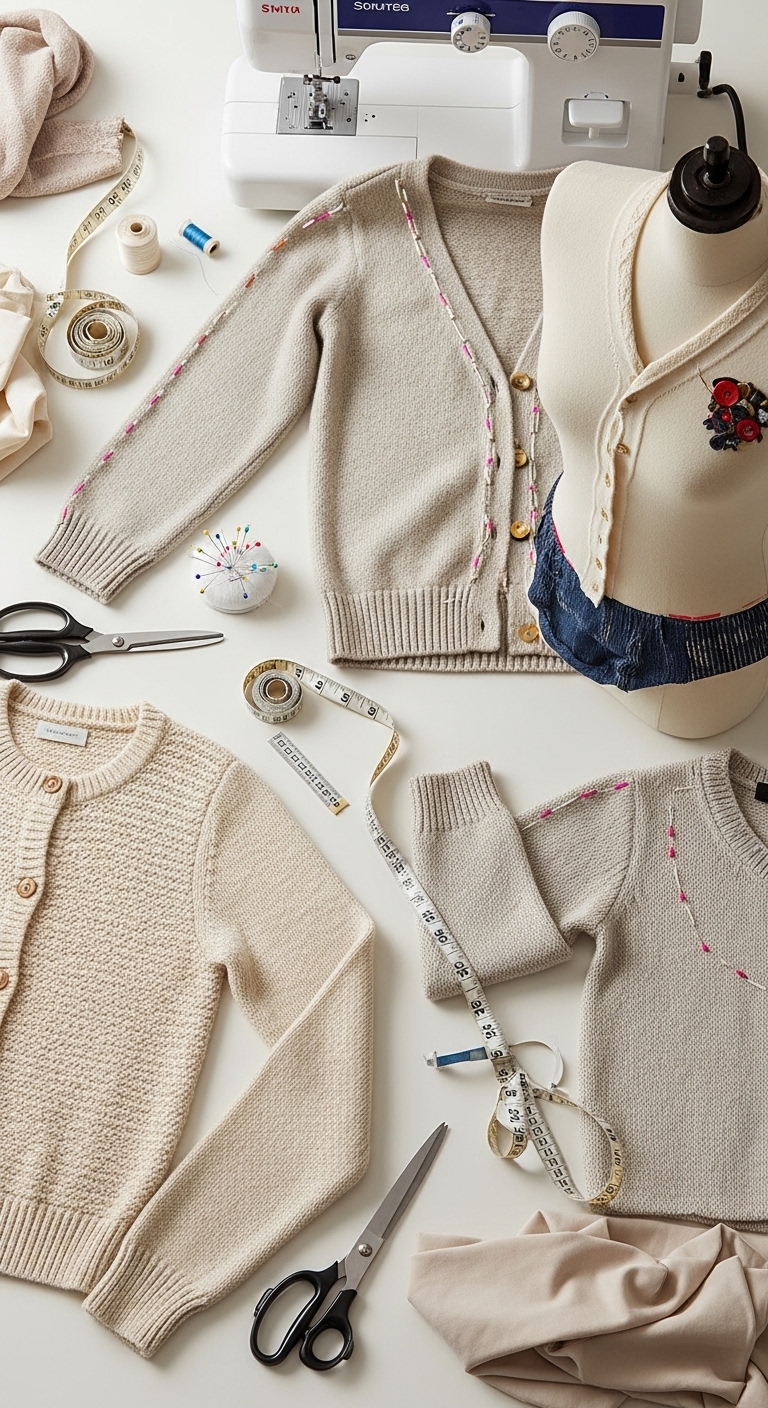
Many thrifted cardigans or sweaters are stretched out, faded, or shapeless. This project transforms a basic thrifted sweater into a stylish layering piece, adding small design tweaks that instantly make it feel custom-made and modern.
Cardigans and sweaters often have soft, wearable fabric, but wear and tear, loose cuffs, or boxy shapes make them unflattering.
By adjusting hems, tapering side seams, and adding subtle embellishments like decorative stitching or patches, you give life to an old garment, turning it into a high-value wardrobe piece.
This is a perfect example of thrift flip sewing projects ideas that actually teach practical sewing while creating something you’ll wear and love.
Materials Needed:
- Old thrifted cardigan or sweater (any fiber that holds shape well)
- Matching or contrasting thread
- Soft patches, lace trim, or small appliques (optional)
- Fabric scissors
- Pins or clips
- Measuring tape
- Sewing machine or hand-sewing needles
- Chalk or fabric marker
Step-by-Step Sewing Fixes:
1. Identify Problem Areas
- Check for loose hems, worn cuffs, or boxy side seams.
- Decide if you want to taper the sides, shorten sleeves, or add small embellishments.
2. Adjust Fit
- Pin side seams to taper the body slightly for a flattering shape.
- Sew along the pinned line and trim excess fabric, leaving ~1 cm seam allowance.
- Press seams flat to keep the sweater neat.
3. Fix Sleeves and Hems
- Fold over frayed or stretched sleeve edges and hem using a straight or zigzag stitch.
- Shorten sleeves if they are too long — fold, pin, and stitch evenly.
- Adjust the bottom hem to balance proportions with your new side seams.
4. Add Subtle Design Details (Optional)
- Small lace inserts along cuffs or side panels for texture.
- Sew on soft patches or appliques for visual interest.
- Keep embellishments minimal, the goal is elevated style, not flashy decoration.
5. Final Touches
- Button adjustments: replace missing buttons, or swap them for stylish alternatives.
- Steam or press lightly to remove any sewing wrinkles.
- Pair with fitted tops or skirts to show off the new shape.
Difficulty: Beginner–Intermediate (tapering and small embellishments are straightforward, optional patches require minimal precision)
Time Estimate: 2–3 hours
Choosing the right material makes every sewing project smoother, and Understanding Fabrics for Sewing: Choosing the Right Material for Every Projec helps you avoid common mistakes.
6. Jeans with Faded Spots, Holes, or Wide Cuts
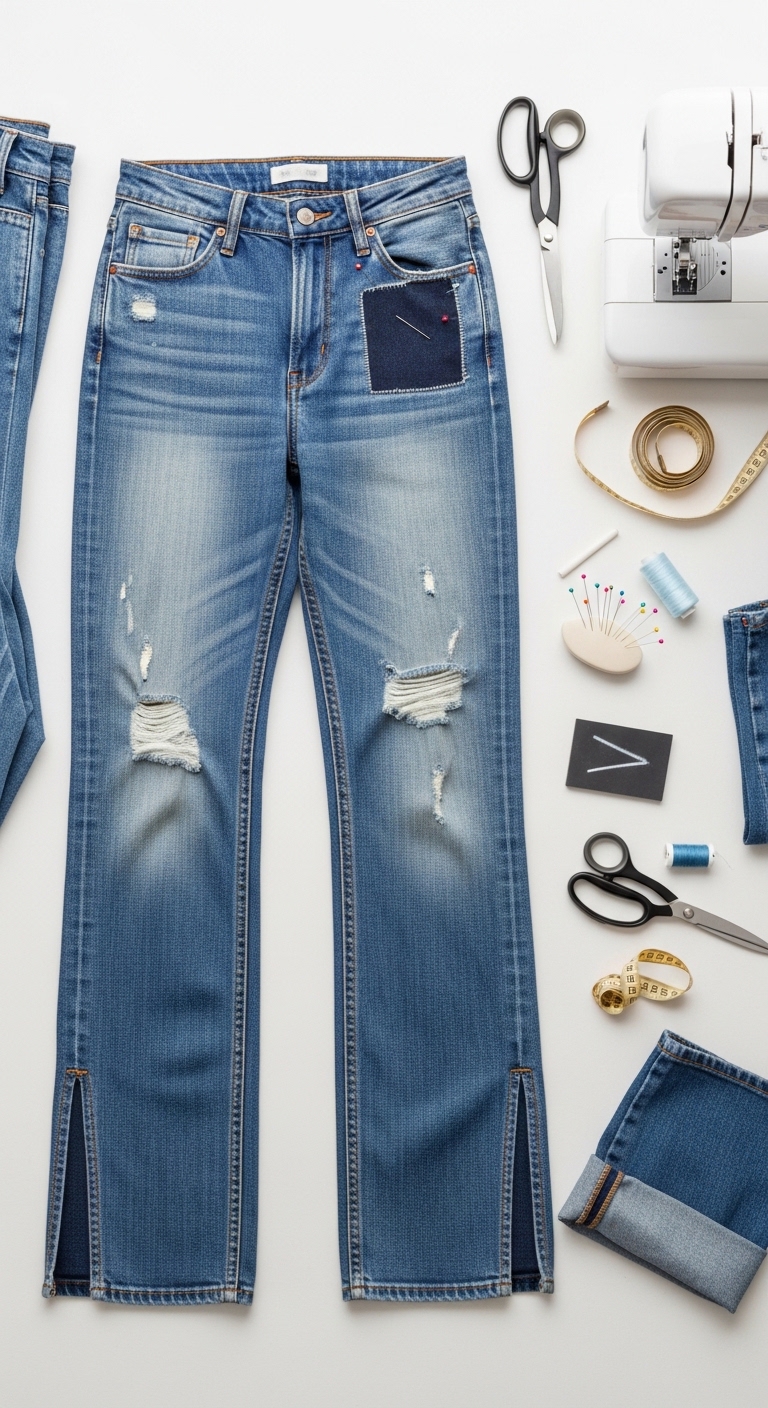
This can be another thrift flip sewing projects ideas. Thrifted jeans often look worn-out, baggy, or unevenly faded, leaving you unsure if they’re worth taking home. But these imperfections are exactly what makes them ideal for thrift flip sewing projects ideas.
A few thoughtful sewing touches — patches, tapering, or decorative stitching, can turn tired denim into a trendy, boutique-looking pair that feels intentional and stylish.
Denim is sturdy, holds shape well, and responds beautifully to sewing adjustments. Faded areas and holes give you a chance to play with texture and color, while wide cuts can be tailored to flatter your shape. Instead of hiding imperfections, you can highlight them creatively, giving your thrifted jeans personality and a designer feel.
Materials Needed:
- Thrifted jeans with faded spots, holes, or wide cuts
- Matching or contrasting thread (denim-weight thread preferred)
- Fabric patches, lace, or decorative trim (optional)
- Denim needle for machine or hand-sewing needles
- Fabric scissors
- Pins or clips
- Chalk or fabric marker
- Sewing machine (optional, but speeds up repairs and embellishments).
Strong product descriptions can make the difference between a scroll and a sale. How to Write Thrifted Clothing Descriptions That Build Buyer Trust and Boost Sales shows how to highlight condition, fit, and value in a way buyers appreciate.
Step-by-Step Sewing Adjustment:
1. Assess Problem Areas
- Identify holes, frayed hems, or sections that are too wide.
- Decide whether you want to repair, embellish, or reshape.
2. Patch or Reinforce Holes
- Cut a fabric patch slightly larger than the hole.
- Place patch behind or over the damaged area.
- Pin in place, then stitch around the edges using a straight or zigzag stitch.
- Optional: Use decorative stitching to turn a repair into a design feature.
3. Adjust the Fit
- For wide cuts or baggy legs, pin side seams to taper the leg.
- Sew along pinned lines, trim excess fabric, and finish seams with a zigzag stitch to prevent fraying.
4. Revive Faded Spots
- Add embroidery, small applique, or patchwork over faded areas.
- Even subtle topstitching or tonal thread accents can draw attention away from wear and add interest.
5. Hem and Finishing Touches
- Fold and stitch hems if needed to balance the new proportions.
- Press seams flat for a polished look.
- Optional: cuff the bottoms for a casual, styled vibe.
Difficulty: Beginner–Intermediate (patching is simple; tapering and decorative stitching require a little patience)
Time Estimate: 2–4 hours
Saving money on basic fixes becomes easier when you learn a few key skills, and 5 Clothing Alterations I Stopped Paying a Tailor For (DIY Made Easy) shares exactly what you can start doing yourself.
Four Key Finishing Techniques That Make Anything Look Luxe
When you thrift flip a piece, the cut and stitch are just the start. How you finish it is what makes it look expensive and intentional. The truth is, finishing techniques are what separate a “just sewn” piece from something that looks boutique-level. Here’s how to do it properly:
1. Topstitching and Edge Finishing
Think of topstitching as the small detail that screams quality.
- What it does: It holds seams flat, strengthens the fabric, and gives a clean, professional line.
- How to do it: Use a slightly longer stitch for casual pieces and shorter for refined edges. Make sure your lines are even — a crooked stitch is very noticeable.
- Edge finishing: Cheap fabrics can fray quickly. Finish raw edges with a zigzag stitch, overlock, or even a hand whipstitch to make the piece feel sturdy and clean.
Advice: Even a basic cotton dress looks intentional if the edges are neat and the stitching is straight.
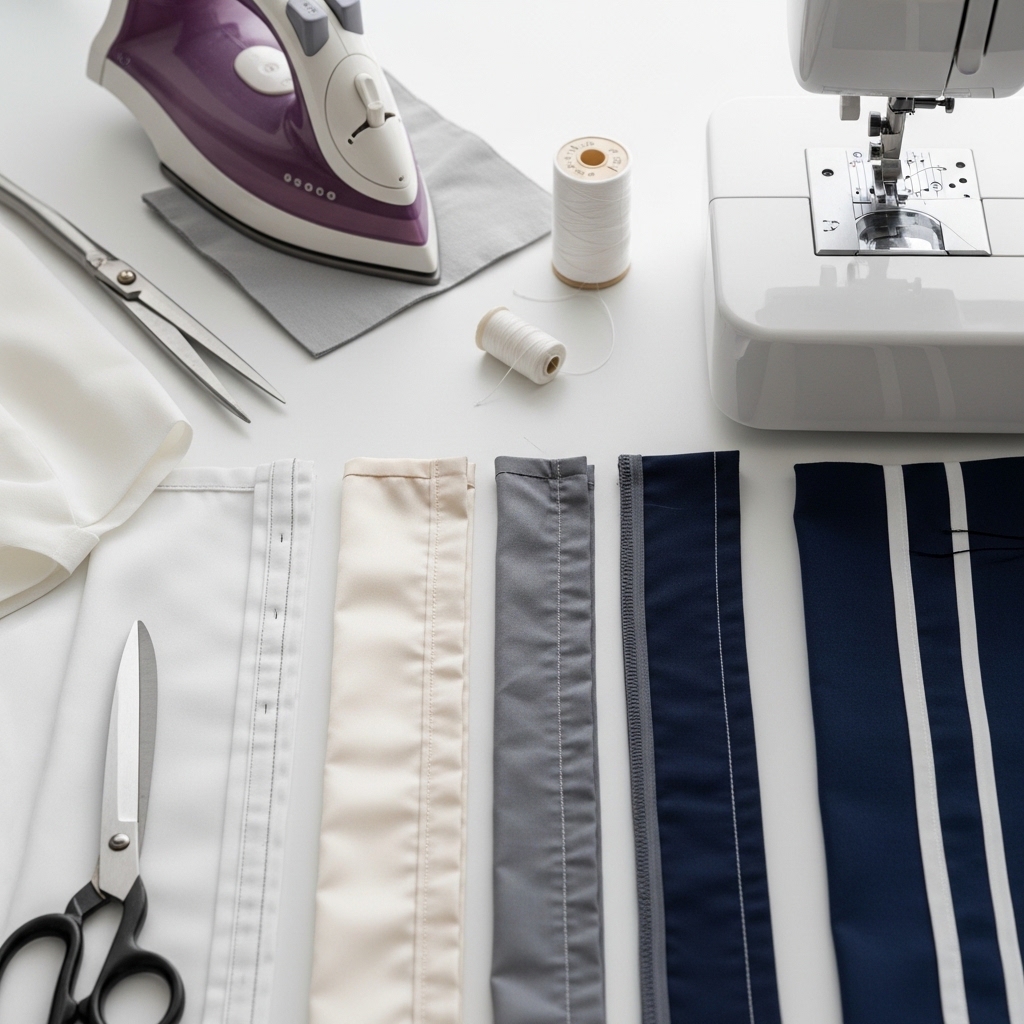
2. Pressing & Seam Flattening
Ironing isn’t just for photos, it changes the shape and perception of your garment.
- Press seams as you sew to make everything lie flat.
- Use a seam roll to press corners or curves without creating puckers.
- Pressing darts or pleats makes the piece look like it was tailored for your body.
Why it matters: A well-pressed seam instantly makes a thrifted jacket or skirt read as custom-made, even if it was $5 at a thrift store.
3. Proper Hem Adjustments
Hems are the silent style-upgrade tool.
- Shortening sleeves or skirts modernizes an outdated silhouette.
- Adjusting pant hems makes vintage jeans feel contemporary and chic.
- Try curved or asymmetrical hems for subtle design interest.
Even a tiny hem tweak can make an old thrifted blouse look like it came from a boutique. It’s not magic, it’s intentional tailoring.
4. Subtle Embellishments
Small, strategic details can elevate a piece without screaming “DIY.”
- Tonal trims, piping, or fabric inserts enhance shape.
- Tiny lace panels or neat stitching on collars adds polish.
- Small metal snaps or buttons create a high-quality finish.
Tip: Less is more. Focus on areas people naturally notice — cuffs, collars, hems — to make a thrifted find feel expensive.
Fixing clothes that don’t fit doesn’t have to be frustrating anymore, and DIY Clothes That Never Fit? My Brother Ruined His Clothes—Until He Tried These 7 Tailoring Hacks shows practical solutions that actually work.
Before and After Mindset Visualization
Before you even touch a thrifted piece, it helps to see what it could become. This mindset saves time, reduces frustration, and makes your thrift flip sewing projects ideas much more successful.
When you visualize a transformation, your brain starts planning solutions, which areas to alter, where to add details, and how to make the garment feel polished. Without it, you might start sewing only to realize the proportions or style don’t work, wasting time and effort.
Step-by-Step Approach:
1. Examine the Piece Closely
- Look at your thrifted item and note problem areas: baggy sleeves, holes, stains, faded sections, or shapeless cuts.
- Ask yourself: “What’s annoying about this right now?”
2. Sketch or Mark Ideas
- Use a simple sketch on paper, or directly mark the fabric lightly with chalk or fabric markers.
- Draw lines where seams could be adjusted, patches added, or hems shortened.
3. Create a Mini Mood Board
- Gather inspiration from magazines, Pinterest, or even other thrift flips you like.
- Collect small fabric swatches, trims, or threads to see how they’d work with your piece.
4. Visualize the “After”
- Look at your sketch and the garment together. Imagine wearing it or styling it with other pieces.
- Decide which fixes are realistic: tapering, patching, embellishing — and which are optional.
5. Plan Your Steps Before Sewing
- Break the project into clear actions: adjust fit, patch holes, add trims, finish hems.
- Having a visual plan reduces mistakes, makes sewing more enjoyable, and ensures your final piece looks intentional.
Turning creativity into income doesn’t always require a big budget, and 10 Low-Cost DIY Crafts to Make and Sell From Home is full of ideas that are simple to start and easy to scale.
Common Mistakes That Make Thrift Flips Look Cheap — And How to Avoid Them
Small missteps can make a thrift flip look rushed or low-quality, even if you put in effort. Here’s how to spot and fix the most common problems:
1. Using low-quality thread on visible seams
Cheap or thin thread can snap, pucker, or show unevenly, making the garment look unfinished.
How to avoid: Always use strong thread that matches your fabric, like denim-weight or cotton-wrapped polyester. Test a seam first to check strength and appearance.
2. Mismatched patterns that shorten visual lines
Stripes, plaids, or prints cut the wrong way can distort the look, making proportions feel off.
How to avoid: Lay your fabric flat and align patterns before cutting. Vertical stripes can elongate a piece, and try to match plaids at seams for a clean, professional finish.
3. Wrong hem lengths for body proportion
Hems that are too long or too short can make the piece look sloppy or unbalanced.
How to avoid: Pin hems on the wearer first, fold and press, then baste before sewing the final hem. Adjust as needed to ensure the garment falls naturally.
4. Skipping seam pressing after sewing
Unpressed seams look bunched or uneven, giving the impression the garment is unfinished.
How to avoid: Press each seam flat with a hot iron before topstitching. A seam roll or pressing tool can help flatten curves and corners for a boutique look.
5. Over-embellishing
Too many trims, buttons, or patches can make the garment look “busy” or cheap.
How to avoid: Keep enhancements minimal and strategic — one lace insert, a small patch, or subtle embroidery. Less truly is more.
Conclusion – Thrift Flipping Feels So Satisfying
Thrift flipping is more than just “making old clothes wearable.” It’s about learning to see potential where others see problems. Every seam you adjust, every hem you fix, every subtle detail you add teaches you how fabrics behave, how proportions change, and how small tweaks elevate style.
That knowledge doesn’t just stay in the sewing room, it transforms how you shop, how you dress, and even how you approach creativity in other areas.
When you flip a thrifted piece successfully, there’s a real sense of ownership and accomplishment. You’re not relying on labels or trends; you’re creating something uniquely yours, and that confidence carries into everything you wear.
Here’s a simple exercise to keep improving: take a thrifted piece this week, observe its problem areas, and sketch or mark one small adjustment. Then make the change. It could be a hem, a dart, or a minor embellishment, whatever feels achievable.
Each small project sharpens your skills and trains your eye to spot what makes a piece look expensive, turning frustration into knowledge and practice.
In thrift flipping, the payoff isn’t just the final garment , is the skills gained, and the creative confidence that grows stitch by stitch.
This guide showed: Thrift flip Sewing Projects Ideas For People Who want Expensive Style on A Budget.