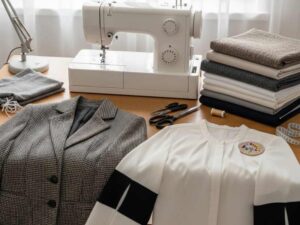
Take the mystery out of your sewing machine! This beginner’s guide to sewing machine basics you’ll actually use covers basic stitches, seam techniques, finishing tips, and a small project to build confidence.
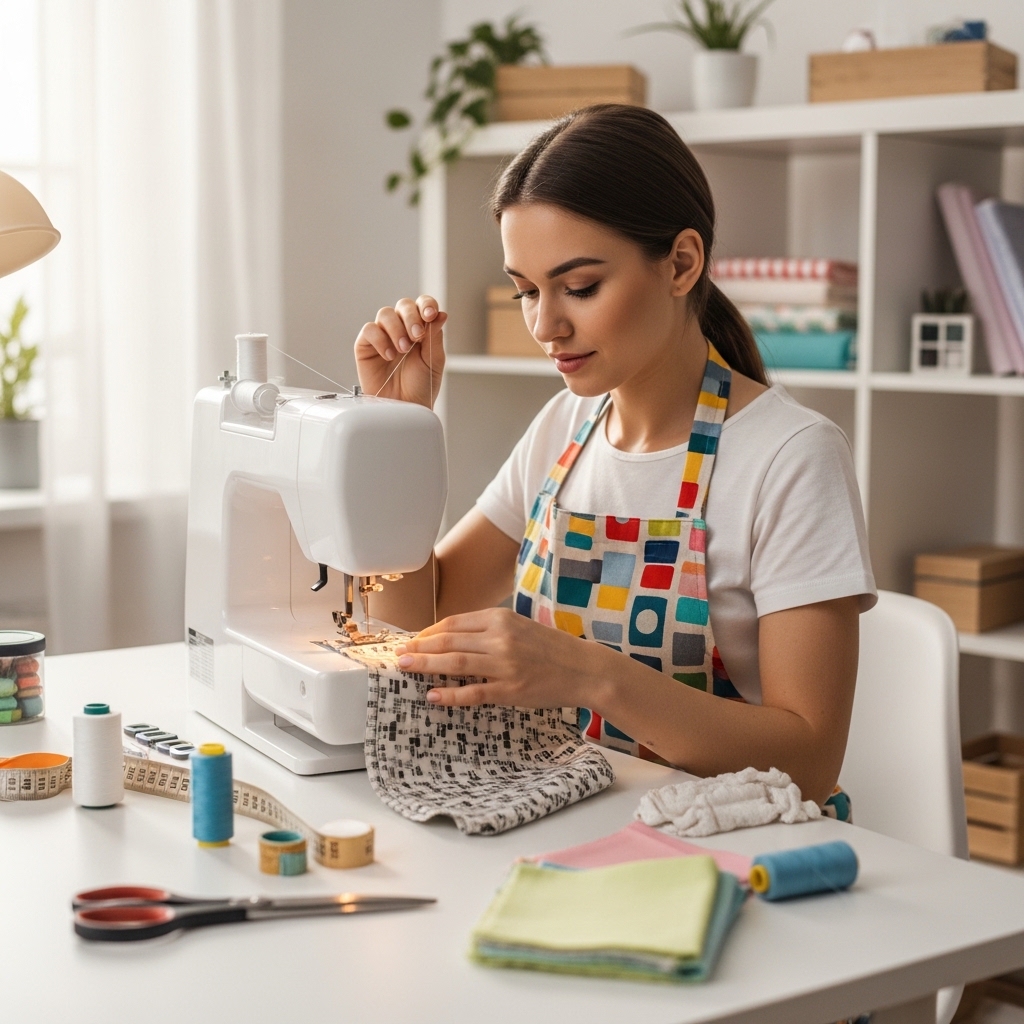
The first time you sit in front of a sewing machine, it can feel completely overwhelming. The levers, dials, threads everywhere, it’s easy to freeze and wonder where to even begin.
Threading the machine can tangle your patience, and starting your first seam might make your hands shake with uncertainty. You might worry about making mistakes, ruining your fabric, or breaking the machine, and that feeling of “I don’t know what I’m doing” can be hard to shake.
It’s okay to feel this way. Almost everyone does at first. This guide focuses on the basics that truly matter, the skills you’ll actually use. There are no unnecessary extras, just simple steps to help you feel comfortable and in control as you sew.
Boost the quality of every project with simple tricks that make your sewing look polished and precise, as shared in 15 Sewing Hacks for Beginners Who Want Neater, More Professional Results.
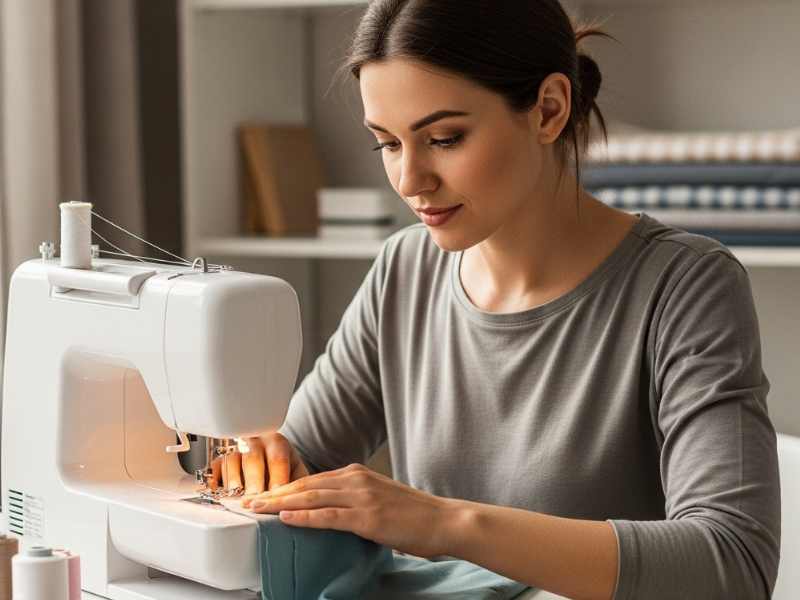
Understand Your Sewing Machine Before You Start
It’s easy to feel lost if you dive in without knowing your machine. Missing just one small detail can lead to skipped stitches, tangled threads, or seams that don’t lie flat.
Taking a little time to understand how your machine works will save you a lot of frustration and make sewing feel much more enjoyable.
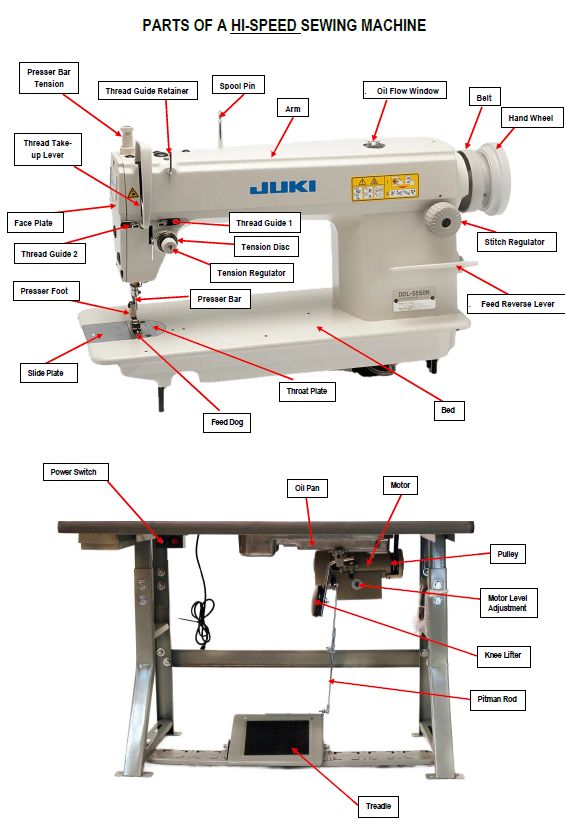
Know Your Machine Parts
Every machine has a few parts you’ll use all the time: the presser foot, feed dogs, tension dial, and bobbin case. Learning what each part does will make a big difference.
For example, the feed dogs are the little teeth that move the fabric under the needle, if they aren’t raised or working properly, your fabric won’t feed evenly. A quick check before you start can prevent a lot of headaches.
Machine Maintenance 101
Machines get dirty and sticky over time, and even a small buildup of lint can cause skipped stitches or uneven seams. Take a few minutes to clean out lint, oil moving parts if needed, and make sure everything is running smoothly. A well-maintained machine will feel easier to use and much less frustrating.
Understanding Tension
Tension is how tightly the thread is pulled as it forms a stitch. It might seem confusing, but it’s one of the biggest reasons seams can look uneven or puckered.
Different fabrics need different tension settings, cotton will behave differently than stretch fabrics. Learning to adjust tension and seeing how it affects your seam will give you much cleaner results.
Stay on top of style while updating your wardrobe with timeless techniques, highlighted in 2026 Sewing Fashion Trends: Sew Classic Pieces with a Modern Update to Refresh Your Wardrobe.
Threading and Bobbin Secrets
Threading and bobbins are the foundation of how your sewing machine creates stitches. Understanding them is essential to mastering sewing machine basics because even small mistakes here can make your seams messy, cause skipped stitches, or create tension problems.
Threading – The Top Thread Path
Threading is the process of guiding the top thread from the spool, through the machine’s guides, tension discs, and finally through the needle. This path controls how the thread feeds while sewing.
Correct threading ensures even, strong stitches, while improper threading can result in loose, uneven, or skipped stitches. Threading isn’t just a routine step, it determines the quality and reliability of every seam you make.
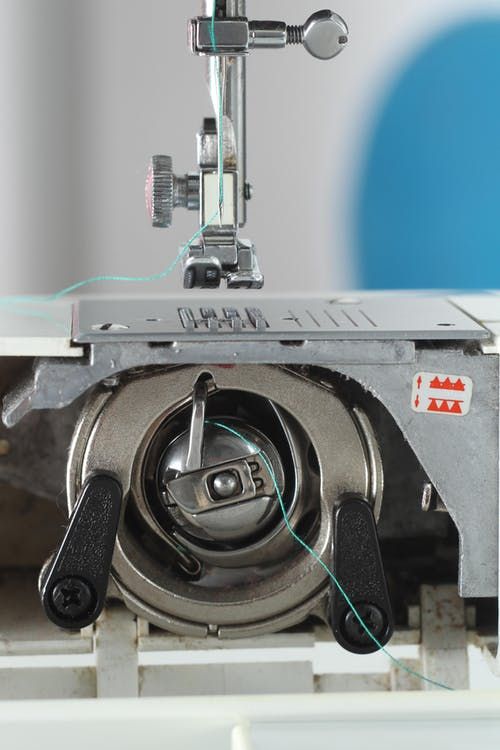
The Bobbin – The Bottom Thread Foundation
The bobbin is a small spool of thread that sits beneath the fabric in the machine. It works with the top thread to form each stitch, creating loops that hold your fabric together. If the bobbin is wound too tightly or loosely, or inserted incorrectly, stitches may bunch, break, or pull unevenly. Think of the bobbin as the foundation of your sewing, without it properly prepared, the top thread cannot work correctly.
Mastering Threading – Key Points
- Threading controls stitch quality: The top thread feeds through the machine to form stitches with the bobbin thread. If threaded incorrectly, stitches may be loose, uneven, or skipped.
- Direction matters: The path the thread takes through guides, tension discs, and the needle affects how it feeds and locks with the bobbin.
- Step-by-step check: After threading, gently hold the thread near the needle and pull.
- Smooth movement = threading is correct.
- Resistance or catching = thread may be incorrectly threaded.
This simple check prevents wasted fabric, thread tangles, and frustration before you start sewing.
Bobbin Woes
Not all bobbins are the same. Drop-in bobbins and front-loading bobbins behave differently, and using the wrong type can make your tension uneven. Winding a bobbin perfectly also takes practice.
A simple trick: make sure the thread winds evenly across the bobbin and that it’s not too tight or too loose. Once you get it right, the bobbin will feed smoothly, and your stitches will stay even.
Skipping or misunderstanding these steps can leave seams messy and fabric bunched. Learning these parts of sewing machine basics helps everything else flow more smoothly, making each project easier and more satisfying.
Turn ordinary thrifted items into high-end-looking pieces without overspending by following ideas from Thrift flip Sewing Projects Ideas For People Who want Expensive Style on A Budget.
Essential Stitches You’ll Actually Use
Not every stitch on your machine is necessary at the start. Focusing on a few key stitches will help you complete projects cleanly and confidently.
Straight Stitch
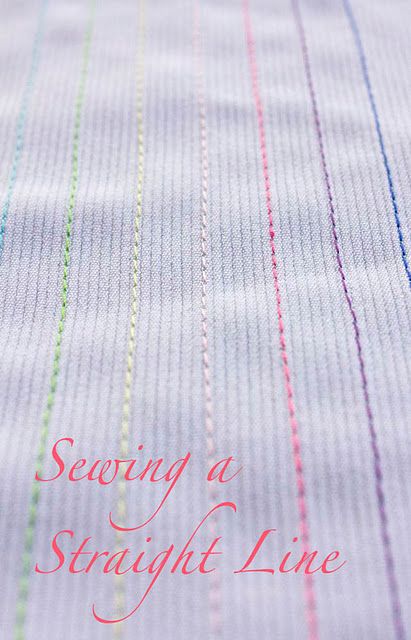
The straight stitch is the most basic and commonly used stitch, forming a simple line of evenly spaced stitches. It joins two pieces of fabric together, creates hems, or topstitches seams.
It works best on non-stretch fabrics like cotton or linen, making it ideal for everyday projects such as t-shirts, pillowcases, or basic garments. Adjusting the stitch length helps—shorter stitches make seams stronger, while longer stitches suit lighter fabrics.
Backstitch
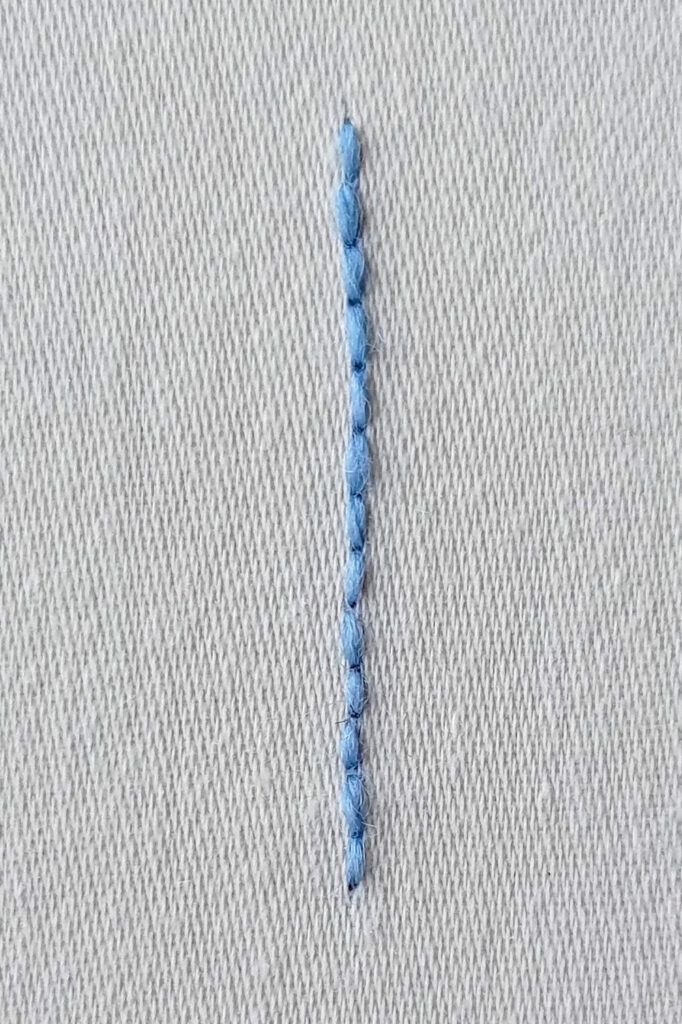
The backstitch is made by sewing a short distance forward, then one stitch backward, creating a reinforced line. It secures seams at the start and end, preventing them from coming undone. It’s especially useful on hems, when mending holes, or at the beginning and end of seams. Even if your machine has an automatic reverse stitch, manually backstitching small sections adds extra strength.
Zigzag Stitch
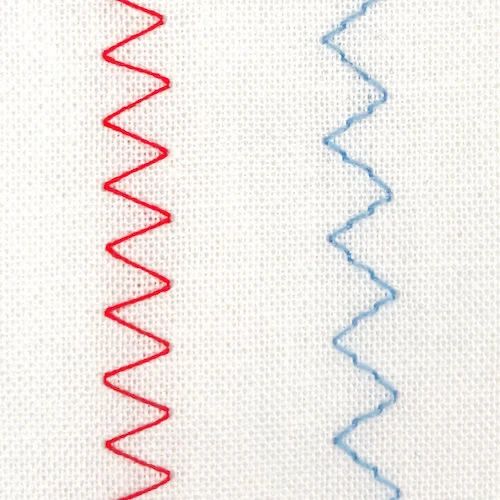
The zigzag stitch moves side to side instead of in a straight line, forming a zigzag pattern. It helps prevent fabric edges from fraying, adds stretch to seams, and can even decorate edges. It’s perfect for knit or stretchy fabrics, finishing raw edges, or sewing elastic. Using a short zigzag on stretchy fabrics instead of a straight stitch allows seams to stretch without breaking.
Stretch Stitch
The stretch stitch looks like a straight stitch but is designed to stretch with the fabric. It holds seams on stretchy fabrics like jersey, spandex, or knits without breaking.
It’s ideal for sewing activewear, elastic hems, or any project where the fabric needs to move. Using a stretch stitch prevents puckering and keeps seams strong even when the fabric stretches.
Learning when and how to use these stitches makes projects more reliable and professional-looking.
Make an informed choice on your first sewing machine by comparing capabilities and benefits in Industrial vs Domestic Sewing Machines: Which One Should You Buy as a Beginner.
Fabrics and Tools for Beginners
Understanding how fabric behaves and having the right tools makes a huge difference in learning sewing machine basics. Small mistakes with fabric tension or using the wrong tools can make sewing frustrating, but knowing these secrets helps projects succeed.
Gain confidence in handling different materials and achieving smooth seams by reading insights from Understanding Fabrics for Sewing: Choosing the Right Material for Every Project.
Fabric Insights
- Different fabrics behave very differently under the needle. Knits stretch and can wobble if tension isn’t right. Wovens are more stable but can pucker if the stitch is too short. Denim is thick and tough, and regular needles might struggle. Knowing this prevents ruined seams and wasted fabric.
- A secret tip: always test your stitch and tension on a lightweight scrap of the same fabric before starting on your main piece. It’s a small step that saves time, money, and frustration.
- Paying attention to how each fabric moves under the needle helps you adjust stitch length, tension, and speed, which is a key part of sewing machine basics beginners often overlook.
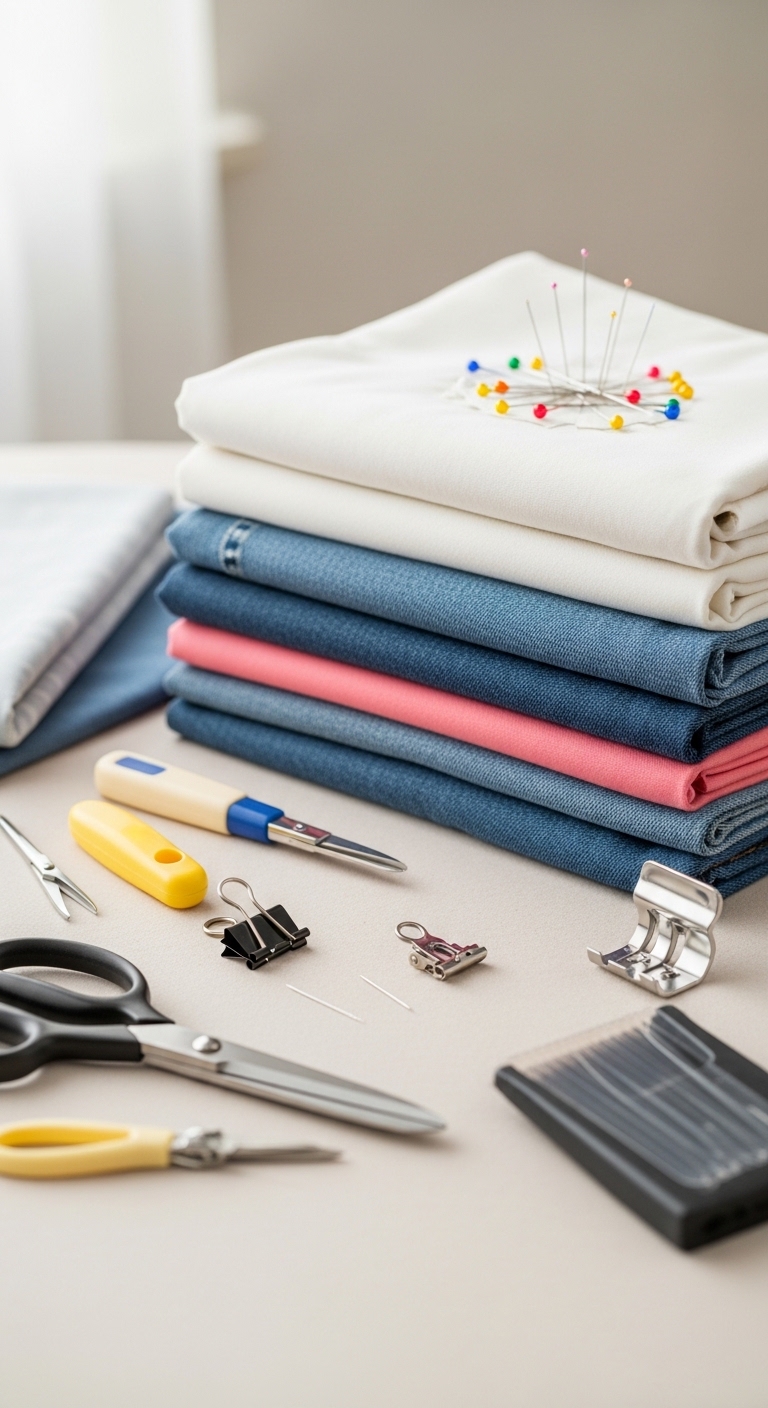
Essential Tools You Actually Need
- Walking foot: Helps feed tricky fabrics evenly, especially knits or layers, so seams stay straight.
- Fabric clips: A better alternative to pins on thick or delicate fabrics; they hold layers without leaving holes.
- Seam ripper: Mistakes happen. A good seam ripper makes fixing them fast and clean.
- Needle types: Different fabrics need different needles, ballpoint for knits, sharp for wovens, heavy-duty for denim. Using the right needle prevents skipped stitches and broken threads.
The Real Impact of the Right Tools
These tools don’t just exist to look professional, they solve real beginner problems. A walking foot helps fabric feed evenly, fabric clips hold layers without leaving holes, a seam ripper makes fixing mistakes fast and clean, and using the right needle prevents skipped stitches and broken threads.
Together, they help fabric move smoothly, keep seams straight, and make sewing more enjoyable. Knowing which tool to use for each fabric is a key part of mastering sewing machine basics.
Fix common sewing frustrations quickly and keep your projects on track using tips from Why You’re Probably Not Getting Clients for Your Sewing Business — Even Though You’re Skilled.
Seam & Finish Techniques
Paying attention to how seams are sewn and finished can completely change how a project looks and lasts. Small details will make your work look cleaner, stronger, and more polished.
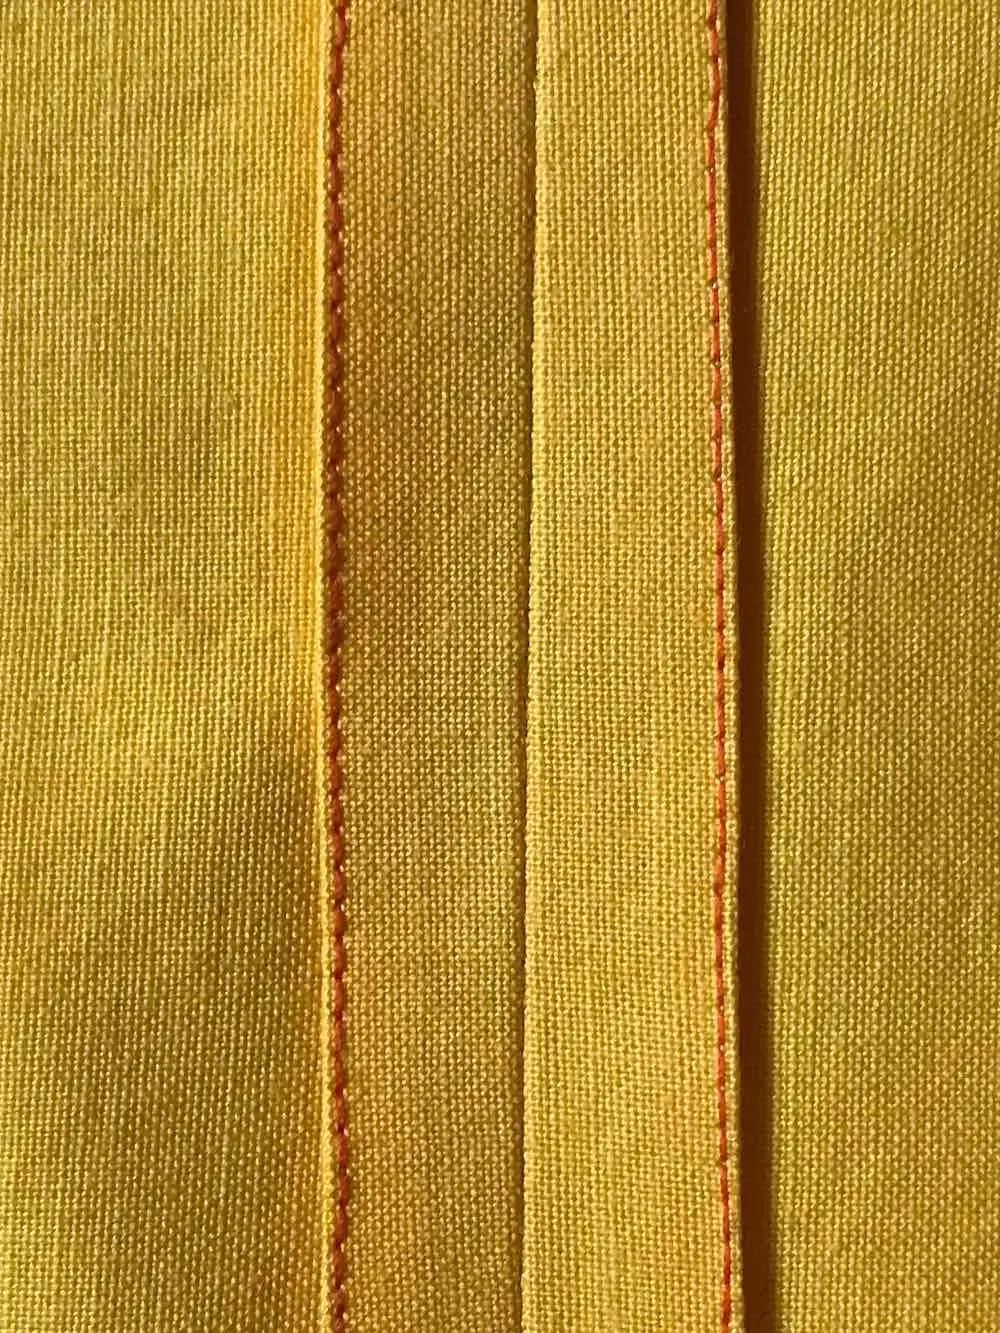
Seam Allowance Tricks
Maintaining a consistent seam width is crucial for garments and projects to fit properly. A simple tip: use a guide on your machine or mark the fabric with chalk to keep seam allowances even. Measuring once and using a consistent reference line helps prevent seams from wobbling or becoming uneven as you sew.
Finishing Raw Edges Without Fancy Machines
Even without a serger, you can prevent fabric from fraying and give your project a professional finish. Pinking shears cut a zigzag edge that resists unraveling. A zigzag stitch along raw edges does the same while keeping the fabric smooth. For lightweight fabrics, folding the edge over once or twice and stitching it down creates a clean, durable finish.
Corner and Curve Tips
Corners and curves can be tricky, but small techniques make them much easier. Pivot the fabric at corners while leaving the needle in place to rotate smoothly. Trim seam allowances at curves or clip notches on inner corners to reduce bulk and help the fabric lay flat. These little steps prevent puckering and give crisp, neat results that make your project look professionally made.
Explore how to turn your passion into profit and create a home-based income with guidance from Struggling to Make Money From Home Sewing? Launch a Profitable Sewing Side Hustle.
Quick Mini Project to Practice Essentials
A small project is a great way to practice everything you’ve learned in sewing machine basics. Try something simple, like a pillowcase, tote bag, or elastic waist skirt. These projects are quick, achievable, and let you practice threading, stitching, seams, and finishing.
Start by threading your machine and checking the tension. Sew a few test stitches on scrap fabric to make sure everything moves smoothly. Then sew your straight and backstitches, keeping seams even. Finish the raw edges with a zigzag stitch or fold-over hem. Take your time on corners and curves so they look neat.
Tip: Always test your tension and stitches on scrap fabric before starting your project. It helps prevent mistakes and keeps your work looking clean and professional. This mini project is your chance to practice without pressure and gain confidence for bigger sewing projects.
Save hours of confusion and avoid mistakes by learning how to pick clear, beginner-friendly patterns through How to Find Sewing Patterns That Are Easy to Follow and Beginner-Friendly (Save Hours of Frustration).
Conclusion
You don’t need to master every stitch today. Just focusing on these essential skills lets you start creating, improving, and enjoying sewing from your very first project. Every seam you sew, every corner you finish, brings you closer to feeling comfortable and confident at your machine.
Give yourself permission to experiment. Try a small project, test your stitches on scrap fabric, and see how satisfying it is to watch your work come together. Share your first creation, ask questions, or challenge yourself with a mini project—learning becomes more fun when you engage and explore.
Try this: pick a scrap fabric, follow the steps from this guide, and see how much easier sewing can feel. Celebrate the small wins, and enjoy the process, you’re building skills that will last a lifetime.