Tired of sewing mistakes ruining your projects? Learn 15 precise sewing hacks for beginners that help fix common issues, improve your skills, and make your work look polished every time
You start a project thinking it will be simple, maybe a pillowcase, a tote bag, or a skirt. Halfway through,you notice tiny things like the fabric isn’t feeding evenly, the stitches are tighter on one side, or a seam refuses to line up.
Instead of giving up, imagine spotting those small issues and fixing them almost immediately, before they ruin your piece.
That’s exactly what these hacks do. They’re precise fixes and little habits that make your sewing look intentional, neat, and professional, even if you’re just starting out.
Try even one of these today, and you’ll notice your projects behave differently, almost like magic.
Turning sewing skills into income is possible. Struggling to Make Money From Home Sewing? Launch a Profitable Sewing Side Hustle guides you step by step to start earning without leaving home.
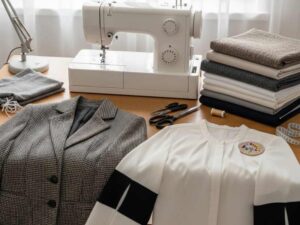
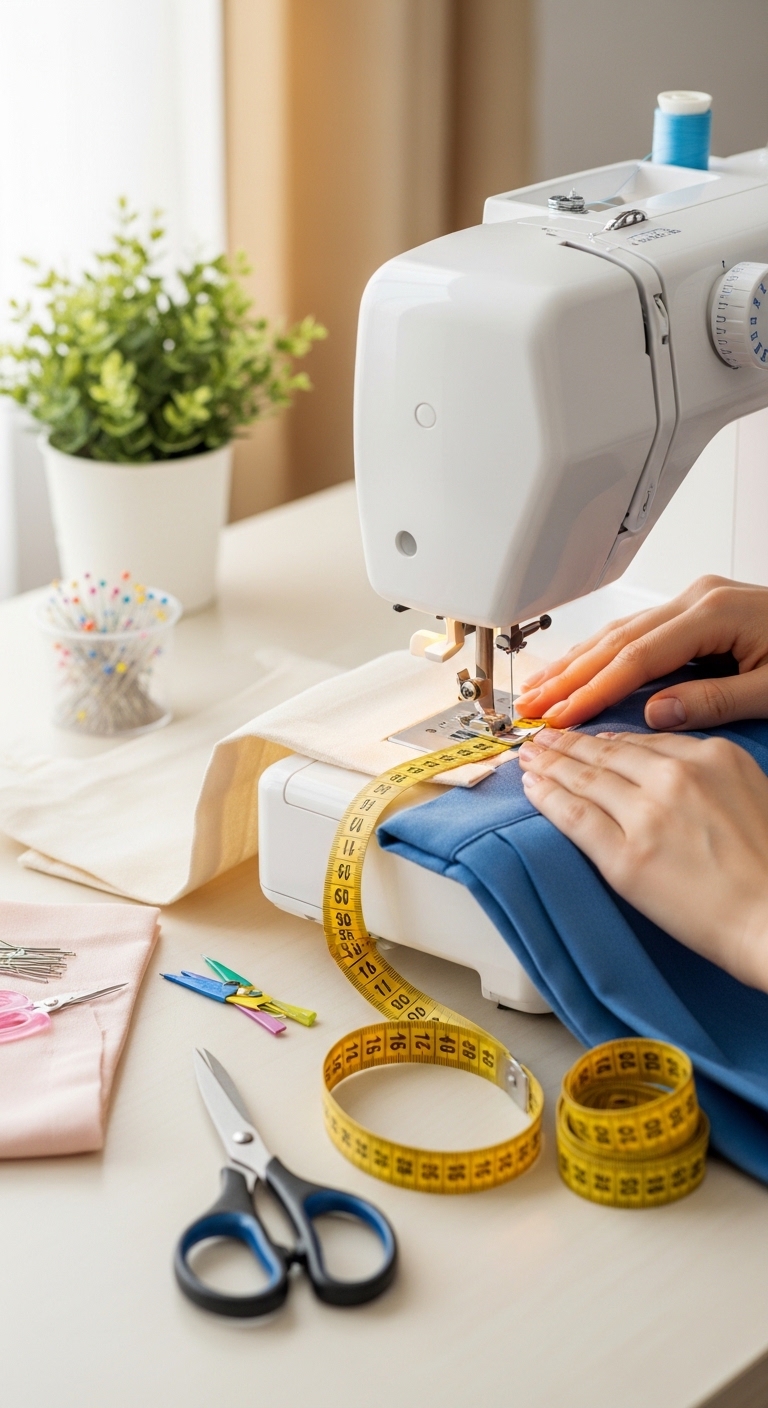
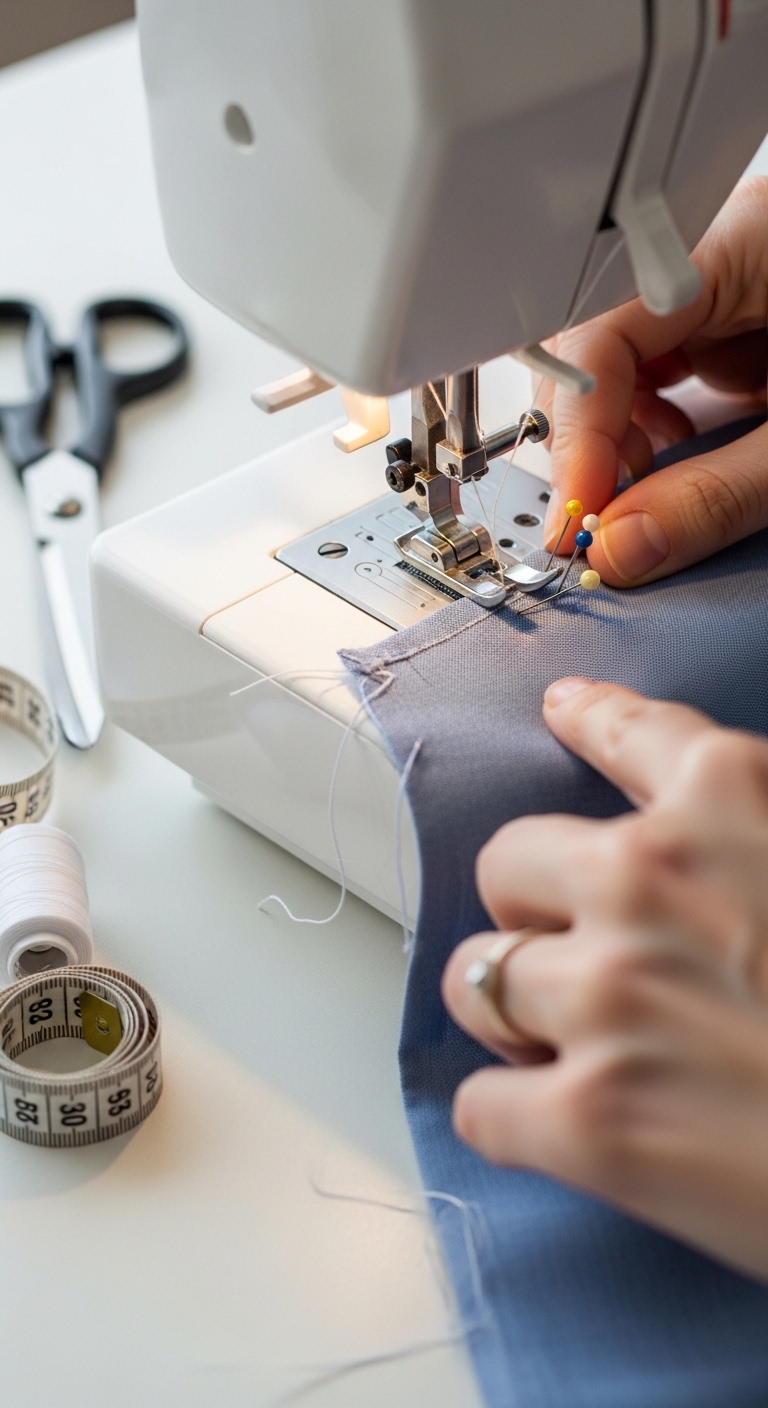
Sewing Hacks Every Beginner Needs to Sew Better
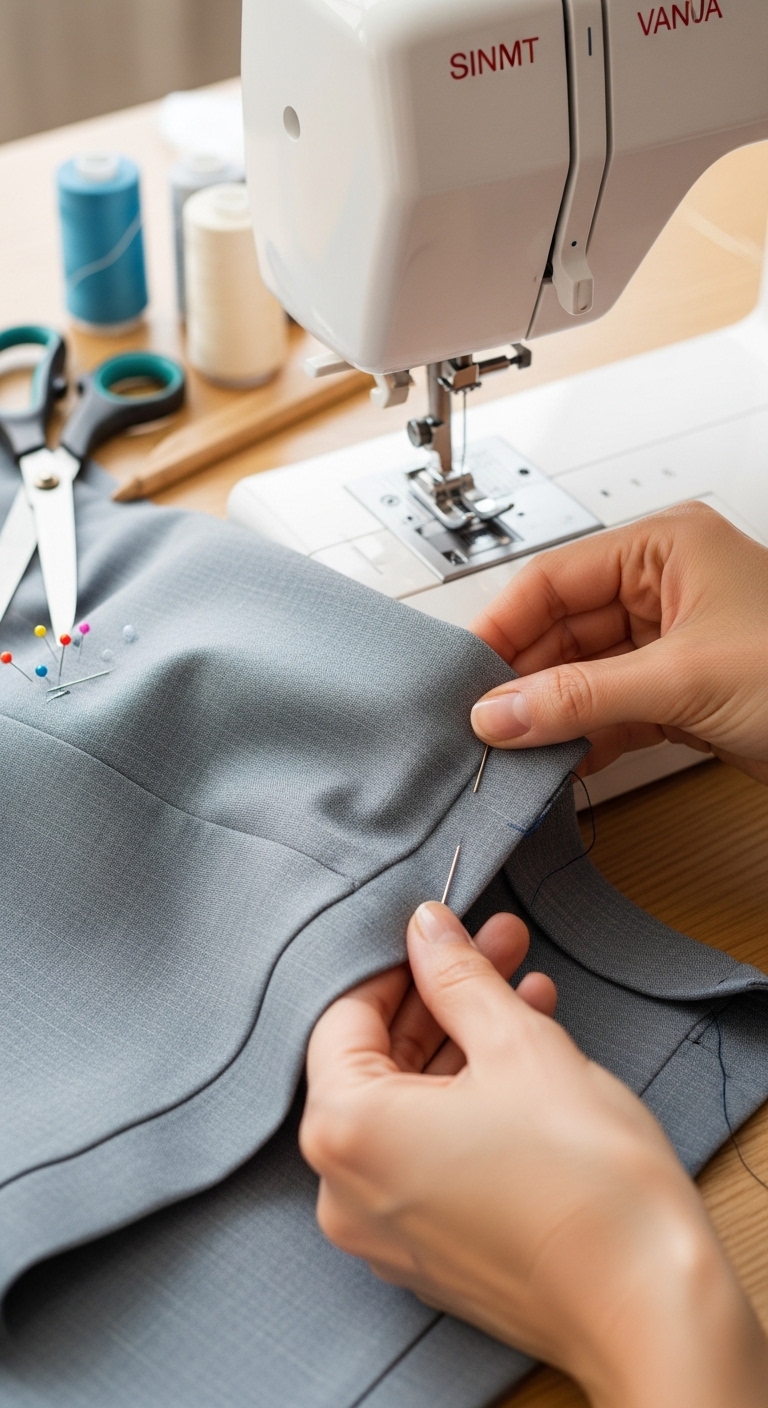
1. Fabric Keeps Shifting While Sewing
Problem:
You’re sewing, and suddenly your seams don’t line up. One piece slides, the other stays put, and you end up with wavy or uneven edges. It’s frustrating, right?
This usually happens because layers of fabric are moving at different speeds under your presser foot.
Slippery fabrics like satin or silk, or stretchy ones like knits, make it worse.
If you don’t hold the pieces together at the points that matter, your machine can’t feed them evenly, and the seam shifts.
What’s Really Going On
When you sew:
- The feed dogs (those little teeth under your fabric) pull it forward.
- If one layer moves even slightly faster than the other, your seam shifts.
- Pins that are loose or in the wrong direction won’t prevent this.
So the key is control at the right spots, not pinning everything randomly.
Fix — How to Stop Fabric Shifting (Step by Step)
Step 1 — Prepare the fabric edges
✦ Match your edges carefully and finger-press them together.
✦ Press curves or hems with an iron so the layers are flat and stable.
Step 2 — Pin strategically (not everywhere)
✔ Pin perpendicular to the seam line (across the fabric, not along it).
✔ Place pins near the area you’re about to sew, rather than all over.
✔ Focus on points where fabric tends to slip:
- Corners
- Pattern notches
- Pockets
- Slippery or thick spots
Why perpendicular pins work:
They hold the layers exactly where the needle will stitch. You can remove each pin just before the needle reaches it, keeping the layers aligned and preventing one side from pulling ahead.
Step 3 — Slow down at tricky spots
✦ Approach pins slowly and remove them right before the needle reaches them.
✦ Slower stitching gives your feed dogs time to feed both layers evenly.
Step 4 — Use clips for thick or slippery fabrics
Clips (plastic or metal) hold layers without making holes. They’re helpful for:
- Thick fabrics like denim or canvas
- Multiple layers, like lined garments
- Delicate fabrics like chiffon or silk
Clips prevent puckering and grip all layers securely.
Why This Works
✔ Pins hold the fabric exactly where it needs to be
✔ You stabilize only the key sections, avoiding stretching the seam
✔ Slowing down gives your machine time to feed layers evenly
This isn’t a “random pin it and hope it works” hack. It’s about control at the points that matter, and once you do it, your seams will line up like you intended.
Quick Do’s & Don’ts
✔ Pin close to where you’re sewing
✔ Pin perpendicular to the seam line
✔ Remove pins just before the needle reaches them
✖ Don’t pin only at the ends and expect the middle to stay perfect
✖ Don’t sew over pins
✖ Don’t skip pressing before pinning , flat fabric = fewer problems
Beginners often wonder about the best setup , whether an Industrial vs Domestic Sewing Machines: Which One Should You Buy as a Beginner suits them. Check out Industrial vs Domestic Sewing Machines: Which One Should You Buy as a Beginner to make the right choice without wasting money.
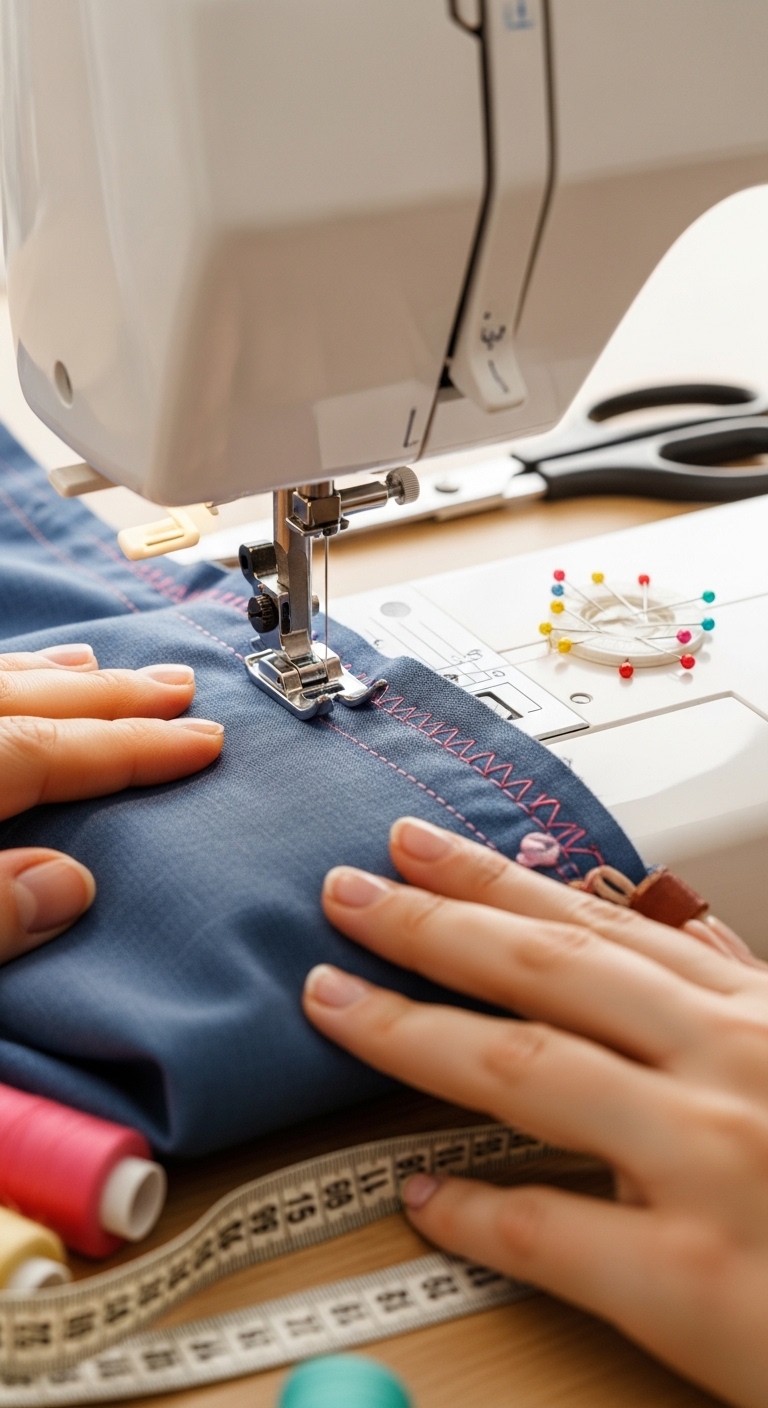
2. Stitches Look Loose or Messy

Problem:
You sew along and notice your stitches are uneven, looping, or just not sitting flat. It looks messy, even though you were careful. You might think your machine is broken, or that you’re doing something wrong, but it usually isn’t that complicated.
Loose or messy stitches happen because the thread tension, feed, or fabric handling isn’t balanced. If the top thread is too loose, loops form on the bottom. If the fabric isn’t guided smoothly, stitches can look uneven.
What’s Really Going On
When you sew:
- The top thread and bobbin thread must work together. If one is too tight or too loose, the stitch will look uneven.
- The fabric feed matters. If the fabric isn’t moving steadily under the presser foot, stitches can stretch or bunch.
- Pulling the fabric while sewing or letting it drift causes uneven stitches.
So it’s not your machine failing; it’s about balance, tension, and steady handling.
Fix — Step by Step
Step 1 — Check your thread tension
✦ Start with your machine’s default tension settings for your fabric type.
✦ Sew a test seam on scrap fabric.
✦ Adjust top tension slightly if loops appear on the bottom. Too tight? Pulls fabric and puckers stitches. Too loose? Loops form underneath.
Step 2 — Re-thread the machine properly
✦ Take the thread completely out and re-thread top and bobbin.
✦ Make sure the thread passes through the tension discs correctly. Even small mis-threading causes messy stitches.
3 — Guide the fabric gently
✦ Don’t pull or push—let the feed dogs do the work.
✦ Keep hands just guiding lightly to stay on seam lines.
4 — Stabilize tricky fabrics
✦ Lightweight fabrics (silk, chiffon) benefit from a thin stabilizer underneath or tissue paper.
✦ Stretchy fabrics (jersey, knits) work better with a walking foot or a shorter stitch length.
5 — Clean and maintain your machine
✦ Lint or dust in the bobbin area can cause uneven feeding.
✦ Regular cleaning and oiling (if your machine requires it) keeps stitches consistent.
Why This Works
✔ Proper tension keeps stitches balanced top and bottom
✔ Smooth feeding prevents stretching or bunching
✔ Stabilizing the fabric gives even support under the needle
When you follow these steps, even beginner sewing projects start to look neat and intentional, not sloppy.
Quick Do’s & Don’ts
✔ Do test stitches on scrap fabric before starting a project
✔ Do check thread tension for your fabric type
✔ Do guide fabric gently without pulling
✖ Don’t sew with a mis-threaded machine
✖ Don’t skip stabilizing lightweight or stretchy fabrics
✖ Don’t ignore cleaning, lint causes uneven stitches.
I wrote on Why Your Sewing Machine Keeps Skipping Stitches (And 7 Easy Fixes That Work Fast) which teaches simple, actionable solutions that save time and fabric.
3. Fabric Bunching Under the Needle (Puckering)
Problem:
You start sewing, and suddenly your fabric gathers or puckers under the needle. It looks messy, and you feel like your project is ruined before it even begins. This is one of the most common issues beginners face, but it’s fixable.
Puckering happens when the fabric doesn’t feed smoothly, the tension is off, or the stitch length isn’t suited to the material. Lightweight fabrics like silk, chiffon, or fine cotton are especially prone to this.
What’s Really Going On
When the needle moves:
- The feed dogs pull the fabric forward. If the fabric slips or stretches, the layers don’t move evenly.
- Top thread tension too tight can pull fabric down, causing puckers.
- Stitch length too short on lightweight fabrics compresses the material, creating small gathers.
So, puckering isn’t a failure, it’s a signal that a few small adjustments are needed.
Fix — to Stop Puckering
1 — Adjust your thread tension
✦ Loosen the top thread slightly. Too tight pulls the fabric down, too loose causes loops, so find the balance.
✦ Always test on scrap fabric before sewing your project.
2 — Check your stitch length
✦ For lightweight fabrics, use a slightly longer stitch length (2.5–3 mm).
✦ For heavier fabrics, a normal stitch length works.
3 — Stabilize the fabric
✦ Use lightweight interfacing or tissue paper under delicate fabrics.
✦ This gives the needle something to grip, reducing bunching.
4 — Guide the fabric gently
✦ Don’t push or pull, just keep hands lightly guiding it.
✦ Let the feed dogs control the movement. Pulling can stretch or distort the fabric.
5 — Consider using a walking foot or straight stitch plate
✦ A walking foot moves the top layer evenly with the bottom, preventing puckering on tricky fabrics.
✦ Straight stitch plates reduce the fabric being pulled down too aggressively.
Why This Works
✔ Proper tension and stitch length let fabric feed evenly.
✔ Stabilizers support delicate fabrics.
✔ Gentle guiding keeps layers aligned without stretching.
These sewing hacks are small, precise adjustments, but they make your sewing look intentional and professional. Once you practice these steps, you’ll notice even tricky fabrics behave better under your machine.
Quick Do’s & Don’ts
✔ Do test tension and stitch length on scrap fabric first
✔ Do stabilize delicate fabrics before sewing
✔ Do let the feed dogs do the work, guide, don’t pull
✖ Don’t use the same tension for all fabrics
✖ Don’t sew without testing on scraps
✖ Don’t ignore stitch length for thin fabrics
Many talented sewists struggle to find clients. Why You’re Probably Not Getting Clients for Your Sewing Business — Even Though You’re Skilled explains the small business habits that make the difference.
4. Crooked Seams Even When You Try to Be Careful
Problem:
You carefully line up your fabric, sew slowly, and still, your seam ends up crooked. It’s frustrating because you thought you were being precise. You might even feel like your fabric has a mind of its own.
This happens not because you’re careless, but because the fabric wasn’t guided consistently, your machine feed wasn’t controlled, or you weren’t using reference points for alignment.
What’s Really Going On
When sewing a straight seam:
- Your fabric must move evenly under the presser foot.
- Any small shift, pull, or uneven feeding causes the seam to drift.
- Beginners often focus only on starting alignment, forgetting that the seam needs constant guidance along the entire stitch line.
Even a slight tilt can create seams that look crooked at the end.
Fix — Step by Step for Straight Seams
1 — Use a seam guide
✦ Most machines have markings on the throat plate, line your edge up with the guide closest to your desired seam allowance.
✦ If your machine doesn’t have clear guides, attach a magnetic or tape guide.
2 — Pin or clip strategically
✦ Pin perpendicular at points where the seam might drift (corners, curves, or where fabric is slippery).
✦ Avoid pinning the entire length, too many pins can distort the fabric.
3 — Guide the fabric, don’t pull
✦ Keep your hands lightly guiding the fabric along the seam line.
✦ Let the feed dogs control the forward movement. Pulling or pushing makes it drift.
4 — Slow down on tricky areas
✦ Approach curves, corners, or thick sections slowly.
✦ Shorten your stitch length slightly for more control if needed.
5 — Keep a consistent seam allowance
✦ Measure the distance from the edge of the fabric to your needle.
✦ Use that as your constant reference instead of eyeballing it.
Why This Works
✔ A seam guide gives a constant reference point
✔ Strategic pinning stabilizes only the necessary areas
✔ Guiding fabric lightly avoids pulling it off track
These sewing hacks aren’t magic, they’re about control and consistency, and once you practice them, your seams will line up cleanly, even on tricky fabrics.
Quick Do’s & Don’ts
✔ Do use the machine’s seam markings or attach a guide
✔ Do pin at stress points, not everywhere
✔ Do guide fabric gently with your hands
✖ Don’t pull or push the fabric while sewing
✖ Don’t ignore starting alignment
✖ Don’t guess the seam allowance, measure it
Updating your wardrobe this year? 2026 Sewing Fashion Trends: Sew Classic Pieces with a Modern Update to Refresh Your Wardrobe shows how to mix timeless designs with modern touches that actually work.
5. Uneven Hems
Problem:
The hem on a skirt, pants, or sleeve looks wavy or uneven after sewing. Sometimes one side is longer, sometimes the stitches pull the fabric in, leaving the edge crooked. It’s frustrating, especially after carefully measuring and folding.
Uneven hems usually happen because the fabric wasn’t stabilized while sewing, the feed wasn’t consistent, or the hem was pressed incorrectly before stitching.
What’s Really Going On
- Fabric stretches slightly while feeding, especially knits or slippery materials.
- Folding and pinning the hem without pressing first creates small folds that get stitched in.
- Sewing too quickly or not guiding the fabric evenly allows the feed dogs to pull unevenly.
Fix — Step by Step
1 — Press before sewing
✦ Iron the hem fold before pinning. A crisp fold keeps the fabric flat and stable.
✦ Press gently on lightweight fabrics; use steam for thicker fabrics.
2 — Pin or clip strategically
✦ Pin at the corners and key points along the hem instead of every few inches.
✦ For slippery fabrics, use clips to hold the fold without leaving holes.
3 — Guide the fabric gently
✦ Keep hands lightly guiding along the hem.
✦ Avoid stretching or pulling the fabric, it should feed evenly through the machine.
4 — Adjust stitch length
✦ Slightly longer stitches (2.5–3 mm) work well for delicate fabrics.
✦ Shorter stitches on thick fabrics keep the hem from puckering.
5 — Test on scrap fabric
✦ Sew a short hem on a scrap piece of the same fabric.
✦ This helps confirm tension, stitch length, and feed before sewing the actual hem.
Why This Works
✔ Pressing creates a stable fold for even stitching
✔ Strategic pinning keeps only the critical areas in place
✔ Guiding the fabric evenly prevents distortion
Following these steps helps hems look professional, neat, and even, even on fabrics that tend to stretch or slip.
Searching for patterns that actually make sense? How to Find Sewing Patterns That Are Easy to Follow and Beginner-Friendly (Save Hours of Frustration) helps beginners pick patterns without wasting effort.
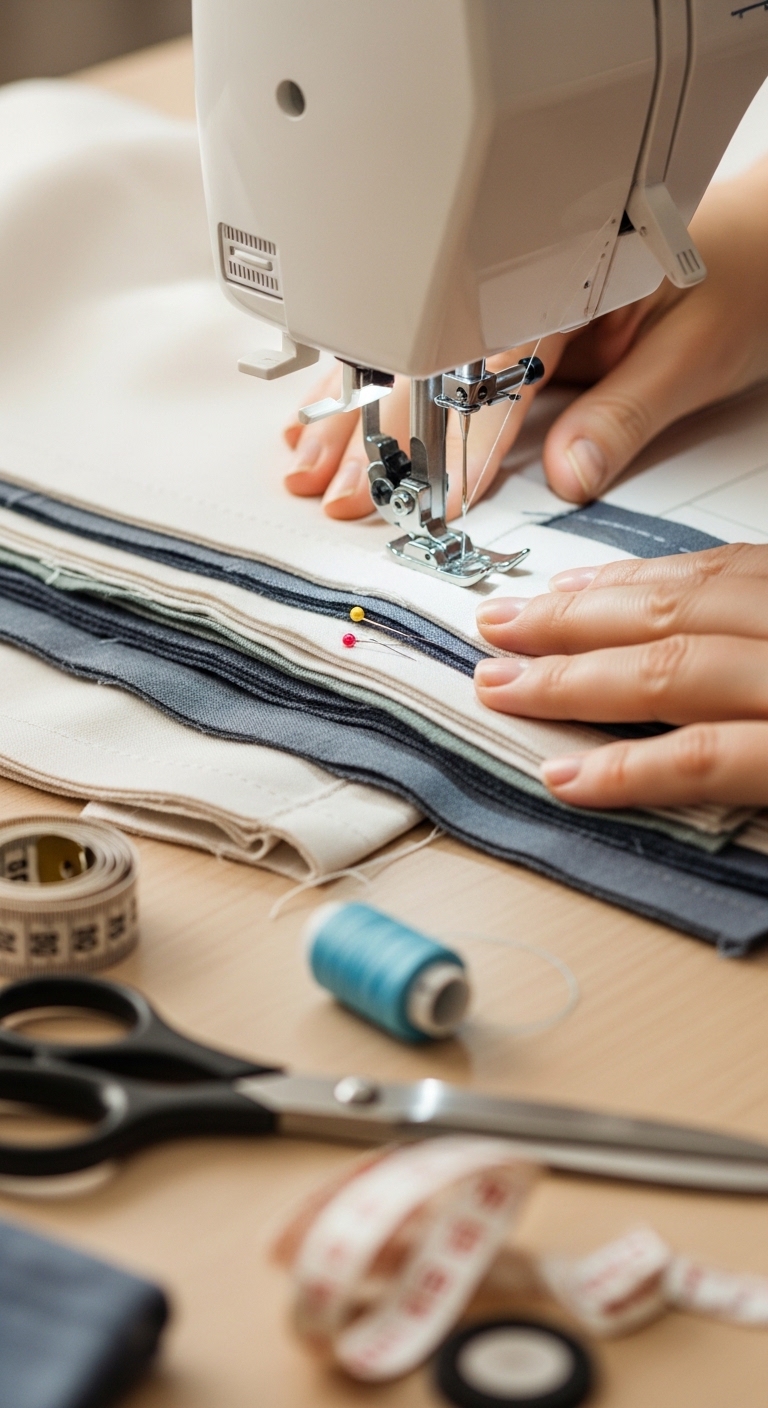
6. Bulky, Thick Seams
Problem:
When sewing multiple layers, like in a jacket, quilt, or lined garment, the seam becomes thick and hard to manage. The needle struggles, the stitches may look uneven, and pressing the seam flat seems impossible.
Bulky seams aren’t a mistake, they’re a natural result of multiple layers. The challenge is how to reduce thickness without losing seam strength or creating bumps.
What’s Really Going On
- Fabric layers stack up, and the machine’s presser foot can’t flatten them evenly.
- Standard stitch length and tension may not suit multiple layers.
- Pressing thick seams incorrectly can create permanent lumps or folds.
Fix — Step by Step
1 — Trim seam allowances
✦ Reduce bulk by trimming one layer of fabric slightly shorter.
✦ Clip corners carefully to prevent fabric from bunching at intersections.
2 — Grade the seam allowances
✦ Trim each layer to a slightly different width (grading).
✦ This reduces visible thickness and allows layers to lie flat.
3 — Press carefully
✦ Press seams open with a hot iron. Use a pressing cloth on delicate fabrics.
✦ Avoid flattening too hard at thick intersections, which can distort fabric.
4 — Use the right needle and stitch
✦ Heavy fabrics and multiple layers require a strong needle (like denim or topstitching needles).
✦ Increase stitch length slightly (3–3.5 mm) to handle thickness.
5 — Slow sewing over thick spots
✦ Guide fabric evenly and let the machine feed slowly over bulky areas.
✦ Avoid forcing the fabric, let the needle do the work.
Why This Works
✔ Grading layers reduces thickness and prevents lumps
✔ Pressing carefully keeps seams flat without distorting fabric
✔ Adjusting needle and stitch length ensures even stitches
Handling thick seams is all about control and preparation, not brute force. Once these small adjustments are applied, even heavy, layered projects will have clean, professional-looking seams.
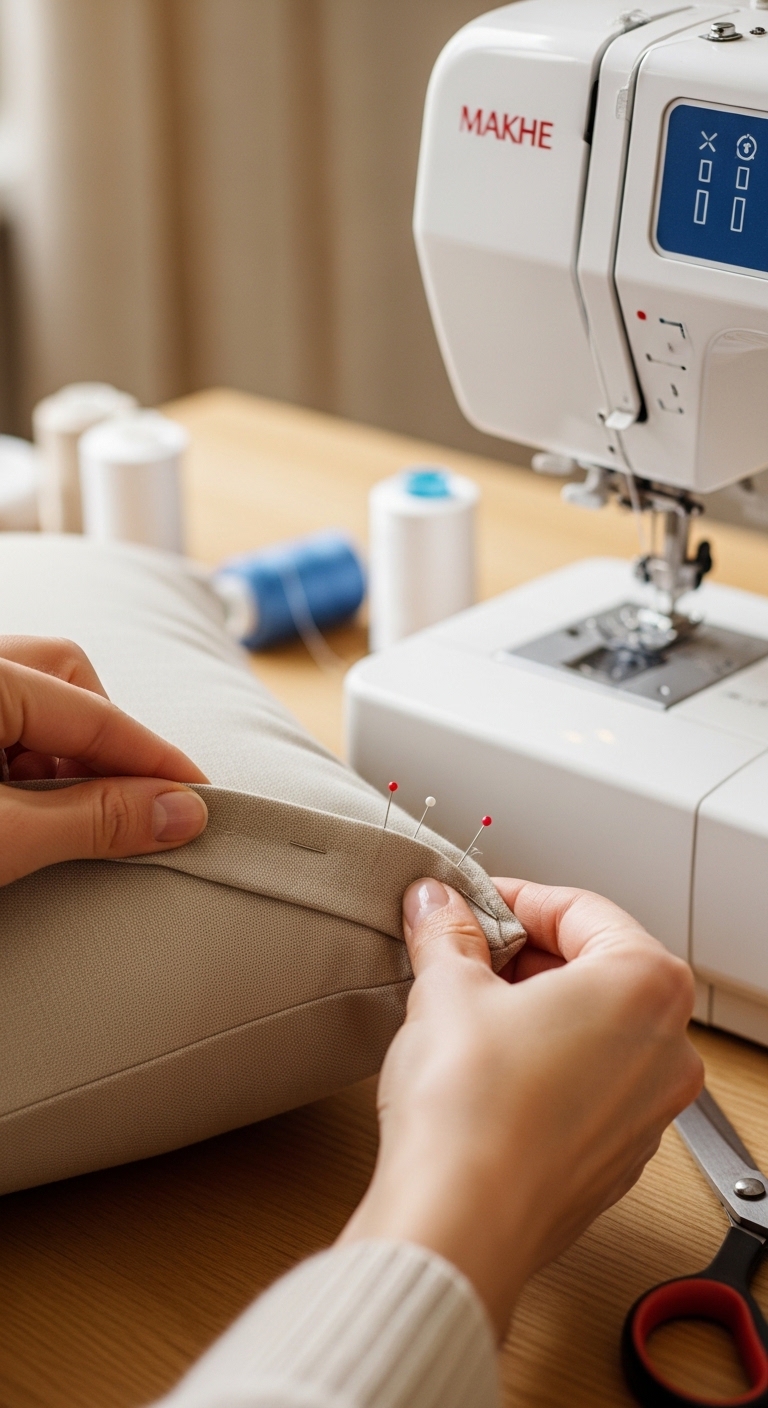
7. Corners That Never Look Sharp
Problem:
The corner of a collar, cuff, pocket, or hem refuses to look crisp. No matter how carefully it’s folded or stitched, it ends up rounded, puckered, or uneven. This is common on shirts, jackets, skirts, and bag edges, any project with a sharp corner.
Corners can be tricky because fabric tends to bunch or stretch at the pivot point, and seam allowances aren’t always trimmed properly.
What’s Really Going On
- When the needle pivots at a corner, layers can shift slightly, rounding the edge.
- Thick seam allowances make it hard to fold sharply.
- Skipping pressing or trimming before turning the corner leads to puckering.
Fix — Step by Step
1 — Trim seam allowances
✦ Trim one layer of the corner to reduce bulk.
✦ For inside corners (like a bag or pillow), clip the seam allowance diagonally to remove excess fabric.
2 — Press carefully
✦ Press corners with the tip of the iron to set the fold.
✦ Use a pressing cloth for delicate fabrics.
3 — Pivot at the needle
✦ Stop with the needle down in the fabric at the corner.
✦ Lift the presser foot, turn the fabric precisely, then lower the foot and continue stitching.
4 — Use stay stitching on tricky corners
✦ Lightly stitch along the seam allowance before folding to stabilize fabric.
✦ This prevents stretching or shifting during the final seam.
5 — Guide fabric gently
✦ Let the feed dogs do the pulling. Don’t push or tug, especially on slippery fabrics.
Why This Works
✔ Trimming reduces bulk, so corners fold sharply
✔ Pivoting with the needle down keeps the seam aligned
✔ Stay stitching stabilizes fabric that would otherwise stretch
Do’s & Don’ts
✔ Do clip inside corners diagonally to remove extra bulk
✔ Do press corners carefully before stitching
✔ Do pivot at the needle for precise turns
✔ Do use stay stitching for slippery fabrics or small collars
✖ Don’t try to force thick corners flat while sewing
✖ Don’t skip pressing, it sets the fold
✖ Don’t pull fabric; guiding lightly keeps the corner aligned.
Old clothes can become new favorites. 15 Genius Ways to Upcycle Old Clothes Into Trendy New Outfits inspires eco-friendly, stylish projects that save money and reduce waste.
8. Needle Keeps Breaking
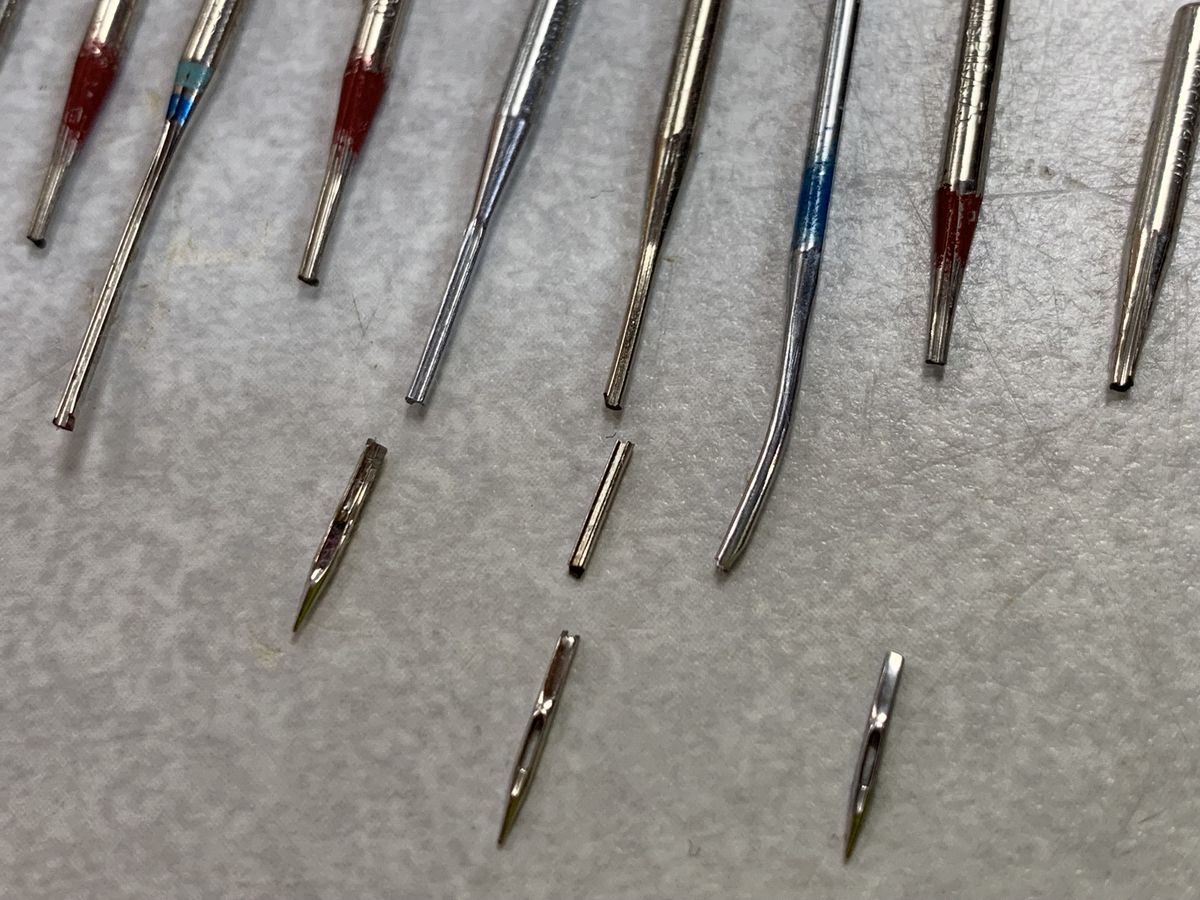
Photo credit: @ Mastery
Problem:
The needle snaps mid-project, sometimes on thick seams, multiple layers, or when working with fabrics like denim, canvas, or leather. It can be startling and frustrating, and it interrupts your workflow. This is a common challenge on jackets, bags, quilts, and even home décor projects.
What’s Really Going On
- Using the wrong needle type or size for the fabric can make it bend or snap.
- Sewing over pins or thick intersections without adjusting stitch settings increases pressure on the needle.
- Fabric layers moving unevenly under the presser foot can push the needle off track.
These are small but common problems, and addressing them is exactly what these sewing hacks are about, preventing needle breakage before it ruins the project.
Fix — To Prevent Needle Breakage
1 — Match needle type to fabric
✦ Lightweight fabrics (cotton, silk) → use a universal or sharp needle 70/10–80/12.
✦ Medium fabrics (linen, denim) → use 90/14 or 100/16 denim/jeans needle.
✦ Thick or tough fabrics (canvas, leather, multiple layers) → use a heavy-duty or leather needle.
2 — Adjust stitch length and tension
✦ Short stitches on thick fabrics create more pressure, slightly longer stitches reduce stress.
✦ Check thread tension to avoid needle strain.
3 — Avoid sewing over pins or thick intersections
✦ Remove pins just before the needle reaches them.
✦ For intersecting seams, slow down and guide gently, don’t force layers through.
4 — Keep fabric feeding evenly
✦ Let the feed dogs pull the fabric.
✦ Avoid pulling or pushing, which can bend or break the needle.
5 — Check the needle regularly
✦ Replace needles after 6–8 hours of sewing or at the first sign of bending or dullness.
✦ A fresh needle prevents skipped stitches, puckering, and breakage.
Why This Works
✔ Correct needle type handles the fabric safely
✔ Adjusting stitch length and tension reduces stress on the needle
✔ Slow, even feeding prevents sudden bending
These sewing hacks save frustration and protect your machine, making even thick, layered, or slippery fabrics manageable.
Do’s & Don’ts
✔ Do match the needle type and size to your fabric
✔ Do remove pins before sewing over them
✔ Do sew slowly over thick seams or intersections
✔ Do replace needles regularly for sharp, smooth stitching
✖ Don’t force fabric through the machine
✖ Don’t use the same needle for every project
✖ Don’t ignore tension settings on thicker fabrics.
Which of these have you been struggling with? Be honest, now you know you’re not alone. Drop it in the comments.
Choosing the right material is crucial for any project. Understanding Fabrics for Sewing: Choosing the Right Material for Every Project makes it simple to match fabric to your design and skill level.
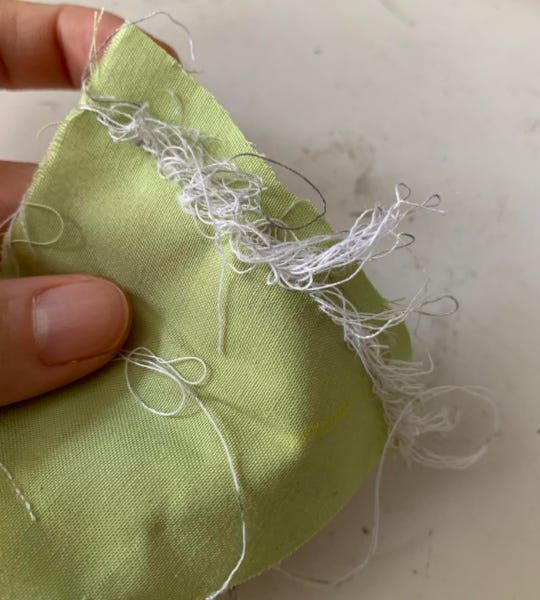
9. Fabric Edges Keep Fraying
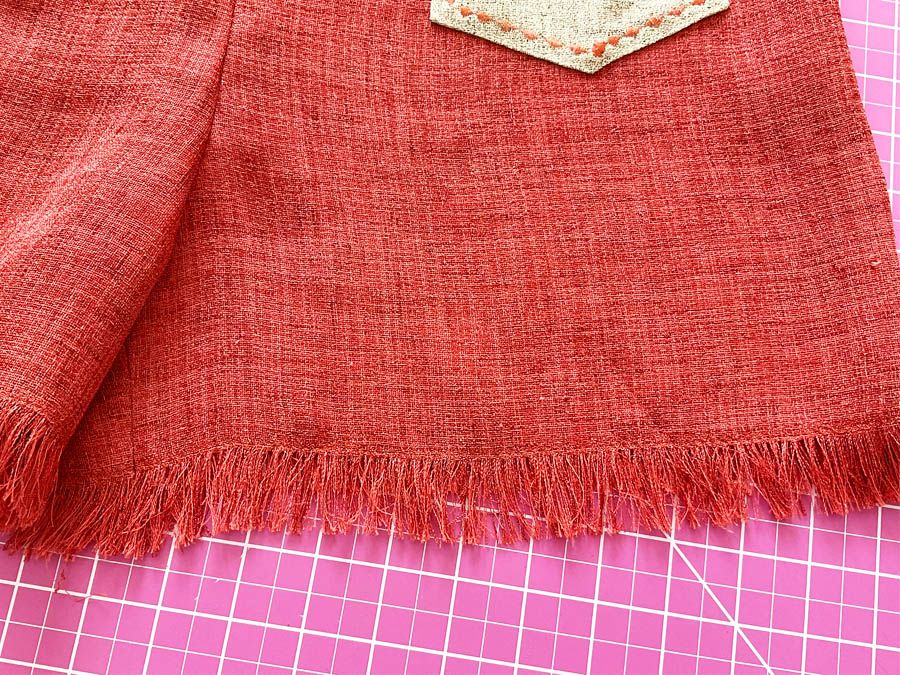
Problem:
No matter how carefully you sew, the raw edges of cotton, linen, silk, or even knits start to unravel. This can make seams look messy, weaken the garment, and even ruin projects like shirts, skirts, cushions, or home décor items.
Fraying isn’t a mistake, it’s just how unfinished fabric behaves, but it can be controlled and prevented.
What’s Really Going On
- Most fabrics have loose fibers at the edge that pull away as you handle or sew them.
- Lightweight fabrics, loosely woven fabrics, or fabrics with a nap (like linen or silk) fray faster.
- Simply stitching a seam doesn’t stop the raw edge from unraveling over time.
These sewing hacks show you ways to secure edges so your work lasts longer and looks neat.
Sewing Hacks for Fraying Edges
1 — Finish raw edges
✦ Use a zigzag stitch along the raw edge. This works well for most woven fabrics.
✦ For knits, a serger or overlock stitch works best to prevent unraveling completely.
2 — Use pinking shears
✦ Trim edges with pinking shears to create a zigzag edge that frays less naturally.
✦ Works well on medium-weight fabrics like cotton or linen.
3 — Apply seam finishes
✦ French seams: Enclose raw edges completely for delicate fabrics.
✦ Bound seams: Use bias tape or fabric strips to cover raw edges for professional-looking finishes.
4 — Use fabric sealants if needed
✦ For fabrics prone to heavy fraying, a small amount of fabric glue or fray-preventing liquid on edges can help.
✦ Test first on a scrap to avoid stiffness.
Why This Works
✔ Zigzag or serger stitches hold fibers in place before they unravel
✔ Pinking shears reduce the chance of fraying naturally
✔ Enclosed seams create a durable, clean edge
These sewing hacks not only save your project but also make seams look finished and professional, even on fabrics that normally unravel quickly.
Do’s & Don’ts
✔ Do finish raw edges before heavy handling or repeated washing
✔ Do test fray-prevention methods on scrap fabric first
✔ Do consider the type of seam finish for your project and fabric
✖ Don’t leave raw edges exposed if the fabric frays easily
✖ Don’t skip trimming bulky seam allowances before finishing
✖ Don’t ignore delicate fabrics, they need gentler handling.
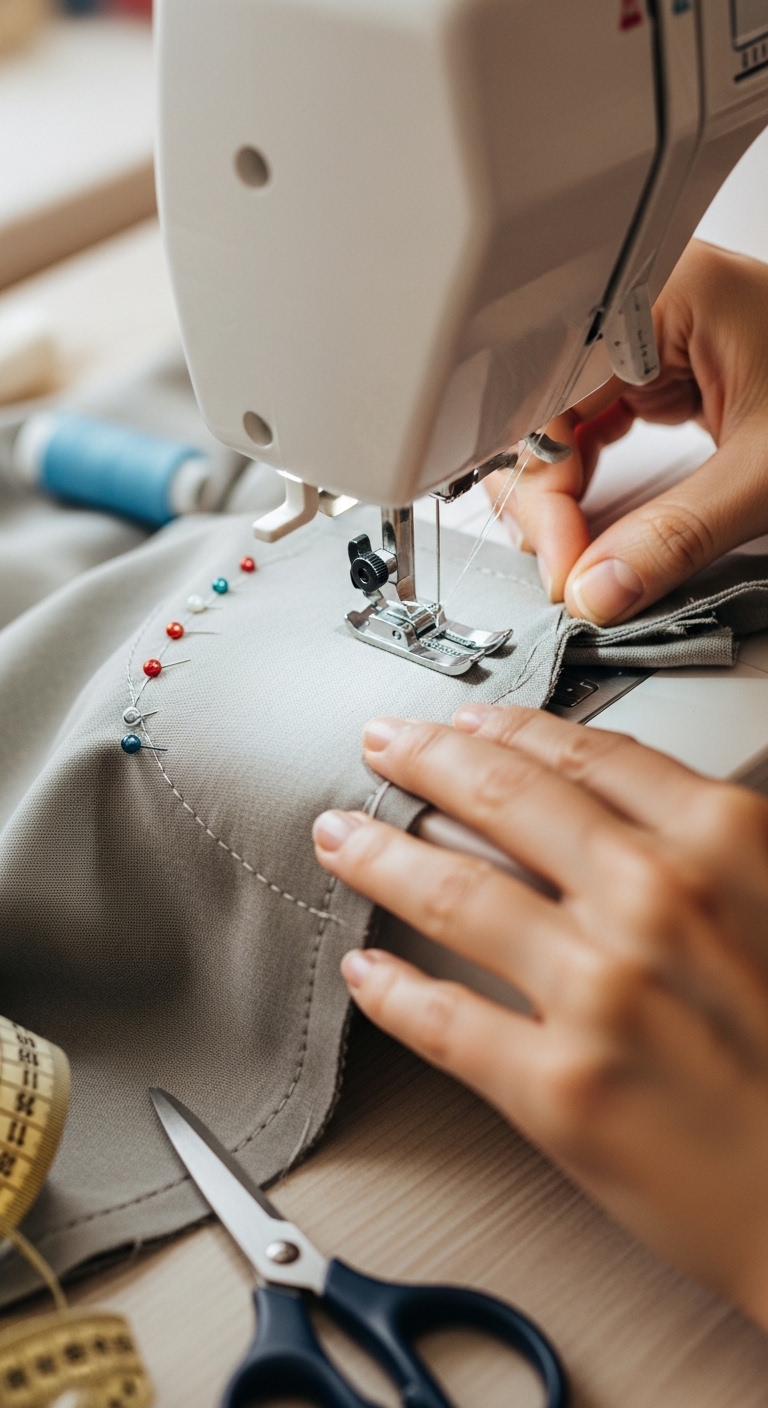
10. Topstitching Looks Wobbly
Problem:
Your topstitching, on hems, collars, pockets, or seams, ends up uneven, wavy, or too far from the edge. This is common on shirts, jackets, skirts, bags, and even home décor items like cushions.
Wobbly topstitching makes even the most carefully sewn project look less professional.
What’s Really Going On
- Fabric isn’t feeding evenly under the presser foot.
- The edge isn’t properly guided, or you’re trying to freehand without a guide.
- Stretchy or slippery fabrics pull slightly as you stitch.
Topstitching looks clean when the fabric edge is stable, the feed is consistent, and the needle follows a guide. These sewing hacks help you control all three.
Fix — Step by Step for Neater Topstitching
1 — Use an edge guide
✦ Attach a magnetic seam guide or use the edge of the presser foot as a guide.
✦ This keeps your stitch line consistent along the edge.
2 — Stabilize the fabric
✦ Use lightweight fusible interfacing under slippery fabrics.
✦ For knits, spray a bit of water or temporary fabric stabilizer to prevent stretching.
3 — Pin or clip strategically
✦ Keep the fabric layers aligned at key points: corners, curves, and seam intersections.
✦ Pin perpendicular to the stitching line if needed.
4 — Sew slowly and steadily
✦ Don’t rush; controlling speed ensures feed dogs pull the fabric evenly.
✦ Remove pins just before the needle reaches them to prevent wobbling.
5 — Press after stitching
✦ Lightly press the topstitched edge with an iron.
✦ This sets the seam and makes it look crisp and intentional.
Why This Works
✔ Guides keep stitches evenly spaced along edges
✔ Stabilizing fabric prevents pulling or stretching
✔ Pinning and slow stitching ensures the feed dogs can feed fabric evenly
These sewing hacks make topstitching look like it was done by a professional, even on tricky fabrics or corners.
Do’s & Don’ts
✔ Do use a seam guide for consistent spacing
✔ Do stabilize slippery or stretchy fabrics
✔ Do sew slowly along tricky edges or curves
✔ Do press lightly after stitching to set the seam
✖ Don’t try to eyeball the stitch line without a guide
✖ Don’t rush over curves or corners
✖ Don’t forget to remove pins before stitching.
11. Thread Loops on the Underside
Problem:
You sew along a straight seam, but when you flip the fabric over, the underside has loops or uneven stitches. This happens on shirts, dresses, pants, and even quilts. Loops make seams look messy, can catch on other fabric layers, and sometimes weaken the stitch.
What’s Really Going On
- The bobbin thread isn’t tensioned correctly.
- The top thread might be too tight or too loose for the fabric.
- Thick or layered fabrics can interfere with even feeding.
A small adjustment in your machine and your technique can fix this problem quickly.
Fix — Step by Step
1 — Check your bobbin
✦ Make sure the bobbin is wound evenly.
✦ Insert it correctly according to your machine’s manual.
2 — Adjust tension
✦ Test on a scrap of the same fabric before sewing your project.
✦ Adjust top thread tension until the top and bottom threads meet evenly in the middle of the fabric layers.
3 — Feed fabric evenly
✦ Don’t pull or push the fabric, let the feed dogs do the work.
✦ Keep hands gently guiding the fabric straight.
4 — Use the right needle and thread
✦ Match needle size to fabric weight.
✦ Use quality thread that suits the fabric type, cheap thread can stretch or tangle.
Why This Works
✔ Correct bobbin insertion and tension balance top and bottom threads
✔ Proper feeding prevents loops and uneven stitches
✔ Right needle and thread ensure smooth, consistent stitching
These adjustments save frustration and give your seams a neat, professional finish every time.
Do’s & Don’ts
✔ Do test tension on scraps before stitching your project
✔ Do check the bobbin regularly for smooth winding
✔ Do feed fabric evenly without pulling
✖ Don’t ignore thread tension adjustments
✖ Don’t use a bent or dull needle
✖ Don’t rush, speed can worsen looping.
12. Difficulty Sewing Curves
Problem:
You try to sew a neckline, armhole, or princess seam, but the fabric puckers, stretches, or you can’t follow the curve smoothly. This happens on tops, dresses, skirts, and even bags. Curves look jagged or uneven, and it can ruin the fit or finish of your piece.
What’s Really Going On
- Curves require the fabric to feed differently than straight seams, outer edges need a little extra length, inner edges slightly less.
- Pulling or stretching fabric while sewing causes puckering.
- Not clipping or trimming seam allowances prevents the fabric from lying flat after turning.
This is why precision and small adjustments make a huge difference when handling curves.
Fix — Step by Step
1 — Prepare the fabric
✦ Press the seam allowance flat before stitching.
✦ Mark the curve with tailor’s chalk or a fabric pen to follow accurately.
2 — Clip and notch
✦ Clip the outer edge of convex curves (where the fabric bulges out).
✦ Notch the inner edge of concave curves (where the fabric curves inward).
✦ This allows the seam allowance to spread and turn smoothly without puckering.
3 — Sew slowly and pivot
✦ Reduce your machine speed as you approach a curve.
✦ Pivot by stopping with the needle down at the pivot point, lift the presser foot, turn the fabric slightly, then continue sewing.
4 — Don’t pull the fabric
✦ Let the feed dogs do the work, guiding too hard stretches the fabric.
✦ Use gentle pressure with your fingers to keep the fabric aligned.
5 — Press as you go
✦ After sewing, press curves with a tailor’s ham or a rolled towel to maintain the shape.
Why This Works
✔ Clipping and notching remove bulk and allow the fabric to lay flat
✔ Pivoting with the needle down keeps the stitching line smooth
✔ Pressing curves while sewing shapes the fabric professionally
These small steps turn intimidating curves into neat, smooth seams, making garments fit and look polished—even for beginners.
Do’s & Don’ts
✔ Do clip or notch seam allowances before turning curves
✔ Do sew slowly and pivot carefully
✔ Do press curves with a tailor’s ham or rounded object
✖ Don’t pull fabric to force it around the curve
✖ Don’t skip pressing, flat fabric = smooth curves
✖ Don’t rush corners or tight curves, control is everything.
13. You Waste Fabric from Small Mistakes
Problem:
You cut a piece wrong, stitch a seam too wide, or make a tiny error, and suddenly it seems like half your fabric is ruined. This is common with shirts, skirts, tote bags, or quilting projects. Fabric waste is frustrating, expensive, and discouraging—especially when you’re learning.
What’s Really Going On
- Small mistakes often happen because measurements aren’t double-checked or seam allowances aren’t consistent.
- Misaligned patterns or cutting without proper marking leads to unusable pieces.
- Beginners often sew directly on the main fabric without a test or “muslin,” risking errors.
Fix — Step by Step
1 — Measure twice, cut once
✦ Always double-check pattern pieces against your fabric before cutting.
✦ Use a ruler or measuring tape, especially for long straight seams or hems.
2 — Make a test piece
✦ For tricky fabrics or new patterns, cut a small scrap and sew it first.
✦ This lets you test seam widths, stitch tension, and pattern alignment without wasting your main fabric.
3 — Use marking tools
✦ Tailor’s chalk, disappearing pens, or fabric tape help you mark where seams, darts, or hems should go.
✦ Clear marks reduce guesswork and prevent cutting or stitching in the wrong spot.
4 — Start with scrap for adjustments
✦ Adjust stitch length, tension, or seam allowances on a scrap before sewing the final piece.
5 — Reuse and repurpose scraps
✦ Smaller pieces can become pockets, appliqués, or quilt squares.
✦ Keep a scrap bin to avoid throwing everything away, this saves money and encourages creativity.
Why This Works
✔ Measuring and marking reduces human error
✔ Testing on scrap fabric prevents mistakes on expensive or limited material
✔ Reusing scraps turns waste into small functional or decorative pieces
By thinking ahead and making small adjustments, you save fabric, money, and frustration—while building habits that keep every sewing project efficient and intentional.
Do’s & Don’ts
✔ Do measure and mark carefully before cutting
✔ Do test stitch or try tricky patterns on scraps first
✔ Do save scraps for small projects or accents
✖ Don’t cut or sew without checking measurements
✖ Don’t skip testing new patterns or fabrics
✖ Don’t throw away every scrap, here’s almost always a use.
Fabric scraps don’t have to go to waste. Read: What to Do With Fabric Scraps: Sewing Hacks That Turn Leftovers Into Keep-Worthy Gifts and turn leftovers into , beautiful pieces.
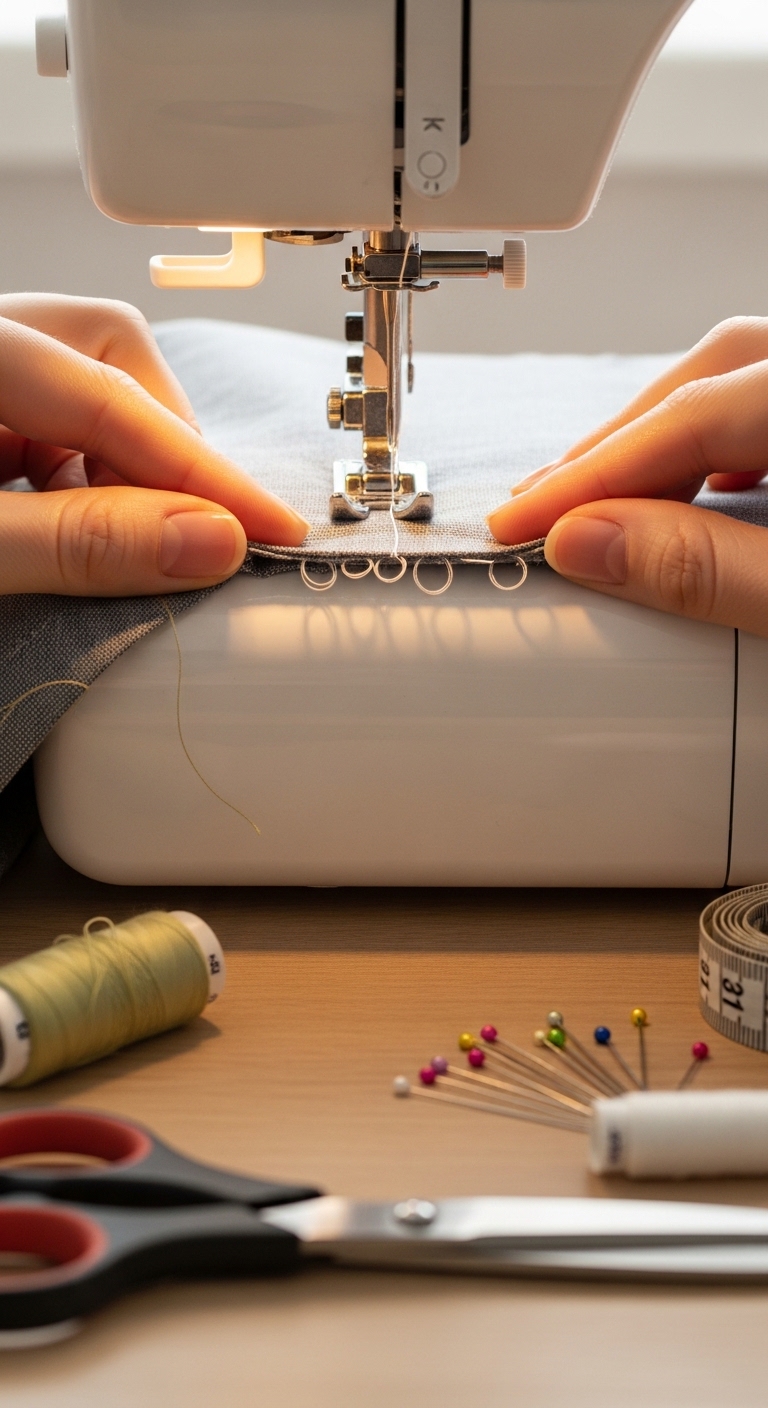
14. Zippers Won’t Feed Smoothly
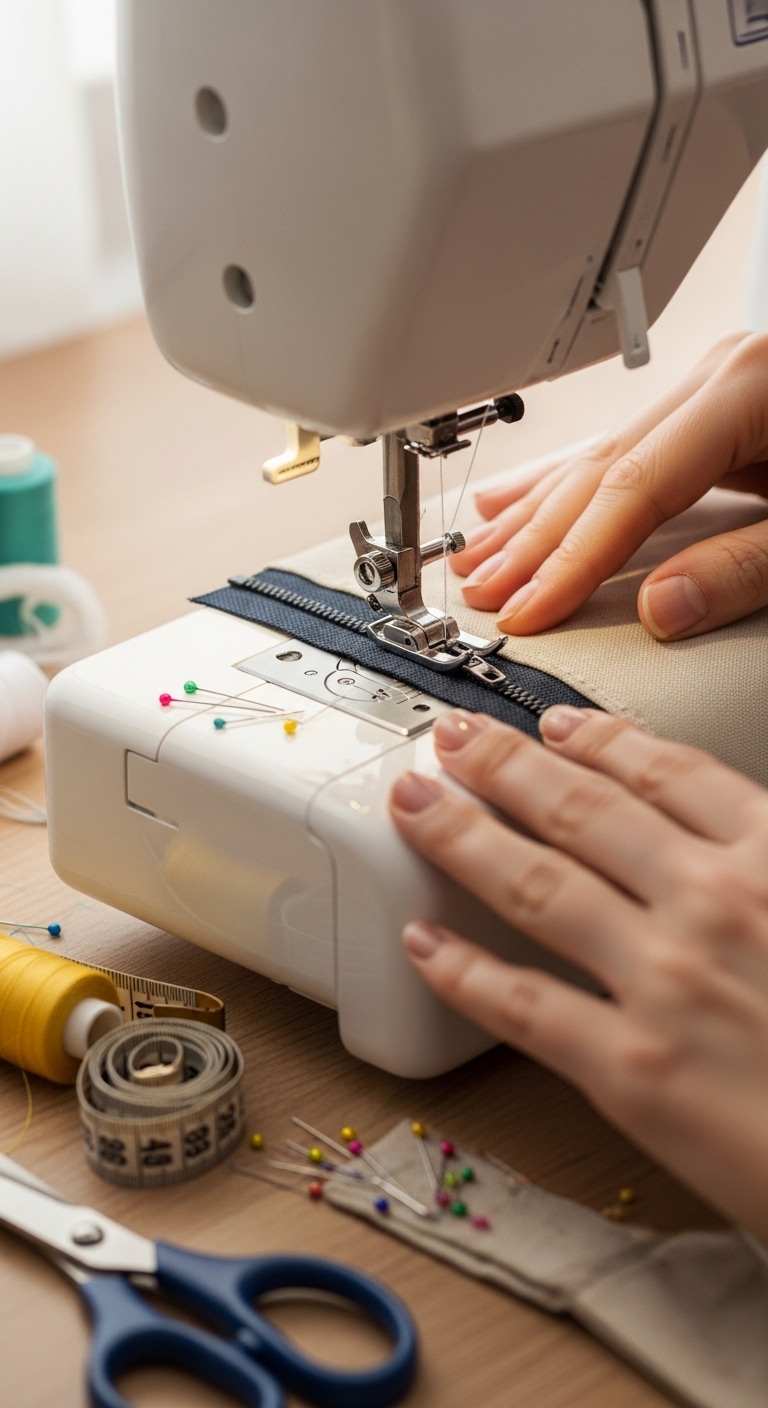
Problem:
When sewing a zipper into a dress, skirt, or bag, fabric can bunch, zipper teeth may skip, or the slider can stick. The outcome is a zipper that looks messy or struggles to function.
What’s Really Going On
- Misaligned zipper teeth and fabric layers make sewing uneven.
- A regular presser foot doesn’t allow stitching close to the teeth.
- Stitch tension that’s too tight or loose causes puckering or skipped stitches.
- Slippery fabrics, thick layers, or bulky seams increase resistance and make the zipper harder to feed.
To Fix
1 — Prep the zipper and fabric
✦ Press the seam where the zipper will go flat.
✦ Stabilize slippery fabric with fusible interfacing or tape if needed.
2 — Use a zipper foot
✦ The zipper foot allows stitching close to the teeth without hitting them.
✦ Align the edge of the foot along the zipper tape for precise control.
3 — Pin or baste first
✦ Carefully pin the zipper along the seam line or hand-baste it in place.
✦ Make sure the teeth are straight and the fabric lies flat.
4 — Adjust machine tension and sew slowly
✦ Test on scrap fabric to find the best stitch length and tension.
✦ Sew slowly and let the feed dogs guide the fabric, keeping it taut without pulling.
5 — Handle tricky spots with care
✦ Pause and pivot at zipper stops or corners.
✦ Remove pins or basting stitches while sewing to avoid puckering.
Why This Works
✔ A zipper foot ensures stitching close to teeth safely.
✔ Stabilizing fabric prevents bunching and shifting.
✔ Slow, controlled stitching lets the feed dogs maintain an even feed.
Do’s & Don’ts
✔ Do press seams before inserting a zipper.
✔ Do use a zipper foot for accuracy.
✔ Do baste or pin carefully before stitching.
✔ Do test stitch on scrap fabric first.
✖ Don’t pull fabric while sewing.
✖ Don’t sew over pins or basting stitches.
✖ Don’t skip stabilizing slippery or thick fabrics.
15. Finished Projects Don’t Sit Right on the Body

Problem:
Lets say, you finish a top, skirt, or dress, but it looks off, too loose here, too tight there, or the garment pulls in awkward spots. It’s frustrating because the time, effort, and fabric you spent seem wasted.
What’s Really Going On
- Pattern adjustments weren’t made for your body shape.
- Seams may have stretched during sewing, especially with knit or lightweight fabrics.
- Hems or darts weren’t positioned properly, affecting the garment’s drape and fit.
- Sometimes, sewing habits like inconsistent seam allowance or uneven stitching can distort the final shape.
These are common issues beginners face, and most can be corrected before finishing the garment.
Fix — Step by Step
1 — Try pieces as you sew
✦ Don’t wait until the garment is fully finished.
✦ Pin, baste, or loosely stitch sections and try it on to see where adjustments are needed.
2 — Adjust seams strategically
✦ Take in seams at the side or back if the garment is too loose.
✦ Let out seams if there’s pulling or tightness, just make sure you have enough seam allowance.
3 — Check darts and shaping
✦ Make sure darts hit the right spot on your bust, waist, or hips.
✦ Adjust lengths or angles slightly if they don’t follow your natural curves.
4 — Press for proper drape
✦ Press seams and hems properly, it affects how the fabric hangs on the body.
✦ Use steam and a pressing cloth to avoid stretching delicate fabrics.
5 — Finish with patience
✦ Once adjustments are made, finish seams, hems, and closures carefully.
✦ Proper finishing ensures the garment stays aligned and sits correctly.
Why This Works
✔ Trying garments as you go lets you catch issues early
✔ Adjusting seams and darts ensures the piece matches your body
✔ Pressing and finishing affect how fabric drapes naturally
These small adjustments turn a frustrating “off” fit into a polished, wearable garment—one that looks intentional and professional.
Do’s & Don’ts
✔ Do baste or pin sections before final stitching
✔ Do adjust seams and darts to fit your body
✔ Do press carefully to maintain shape and drape
✖ Don’t wait until the garment is finished to check the fit
✖ Don’t ignore seam allowance when letting out seams
✖ Don’t rush finishing, careful edges improve how it sits.
Looking to create flattering outfits? 13 Flattering Outfit Ideas That Hide Belly Fat and Make Your Waist Look Smaller combines smart design with sewing tips for confidence in every stitch.
Conclusion:
Sewing doesn’t have to be perfect, and these sewing hacks aren’t about doing everything at once. Often, a single small fix—like pinning fabric correctly, adjusting tension, or using a zipper foot, can completely change how a project turns out.
Try noticing one problem in your current project and apply the hack that matches it. Seeing the difference firsthand is the best way to learn.
Share the experience. Drop a comment about which hack was tried and what improved. Reading what others fixed can give ideas and encouragement for the next project.
Remember, each small adjustment is a step toward neater, more professional results—and it all starts with one mindful change.