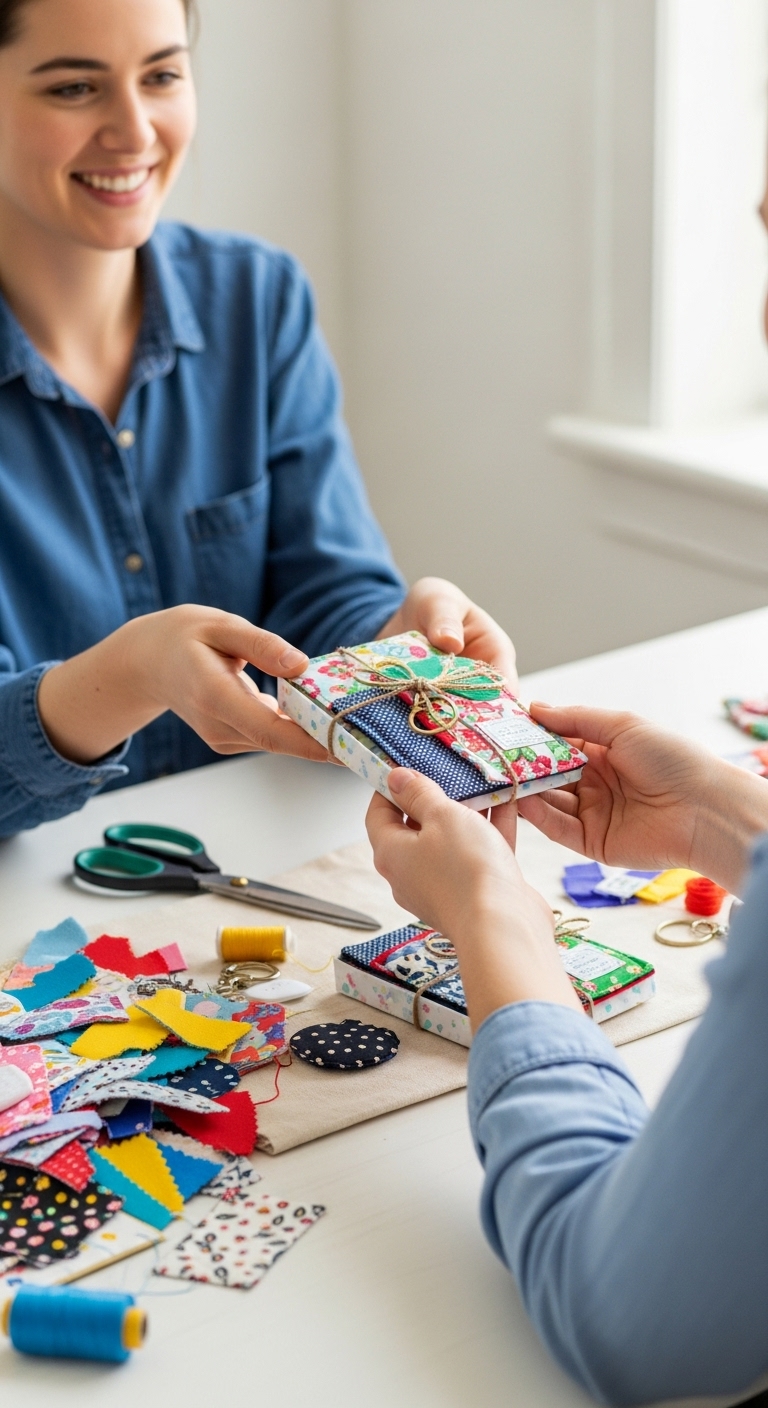
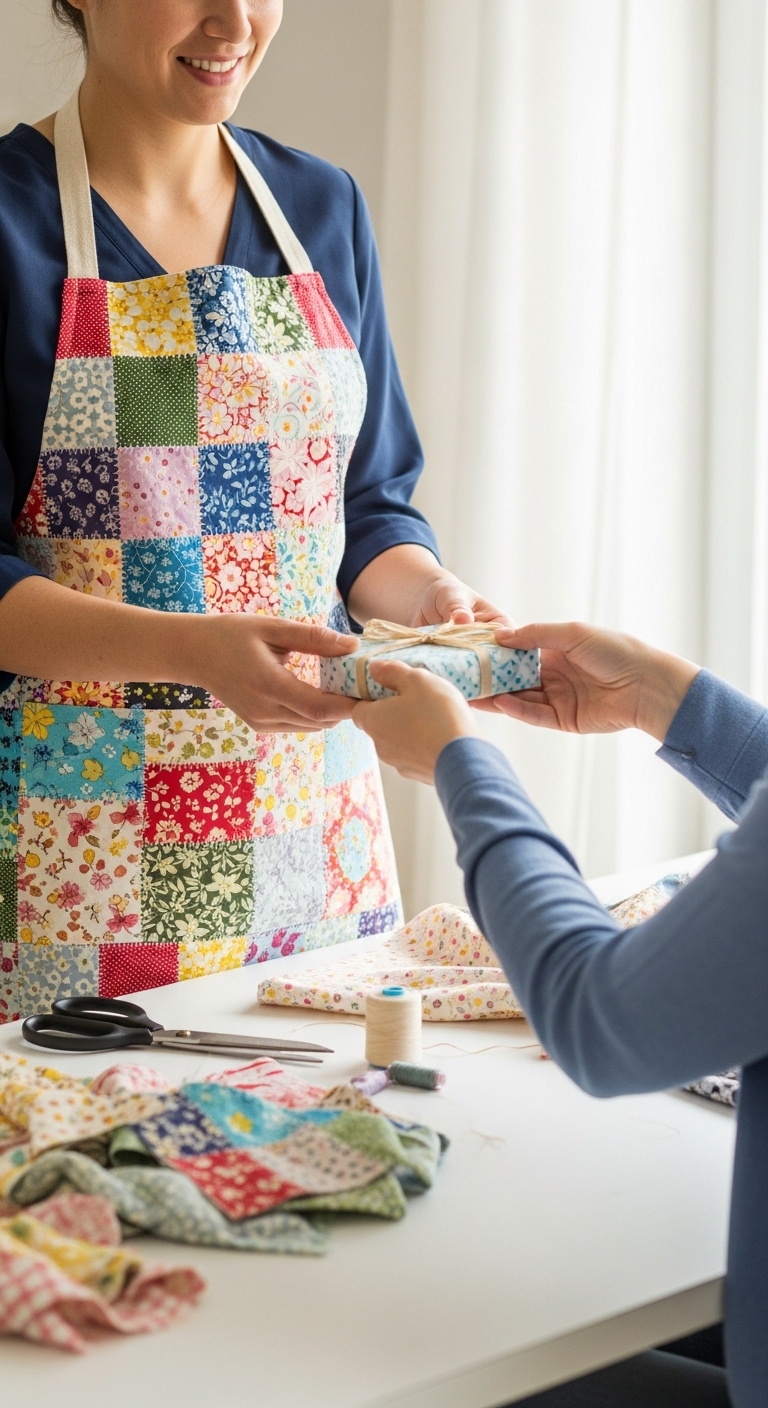
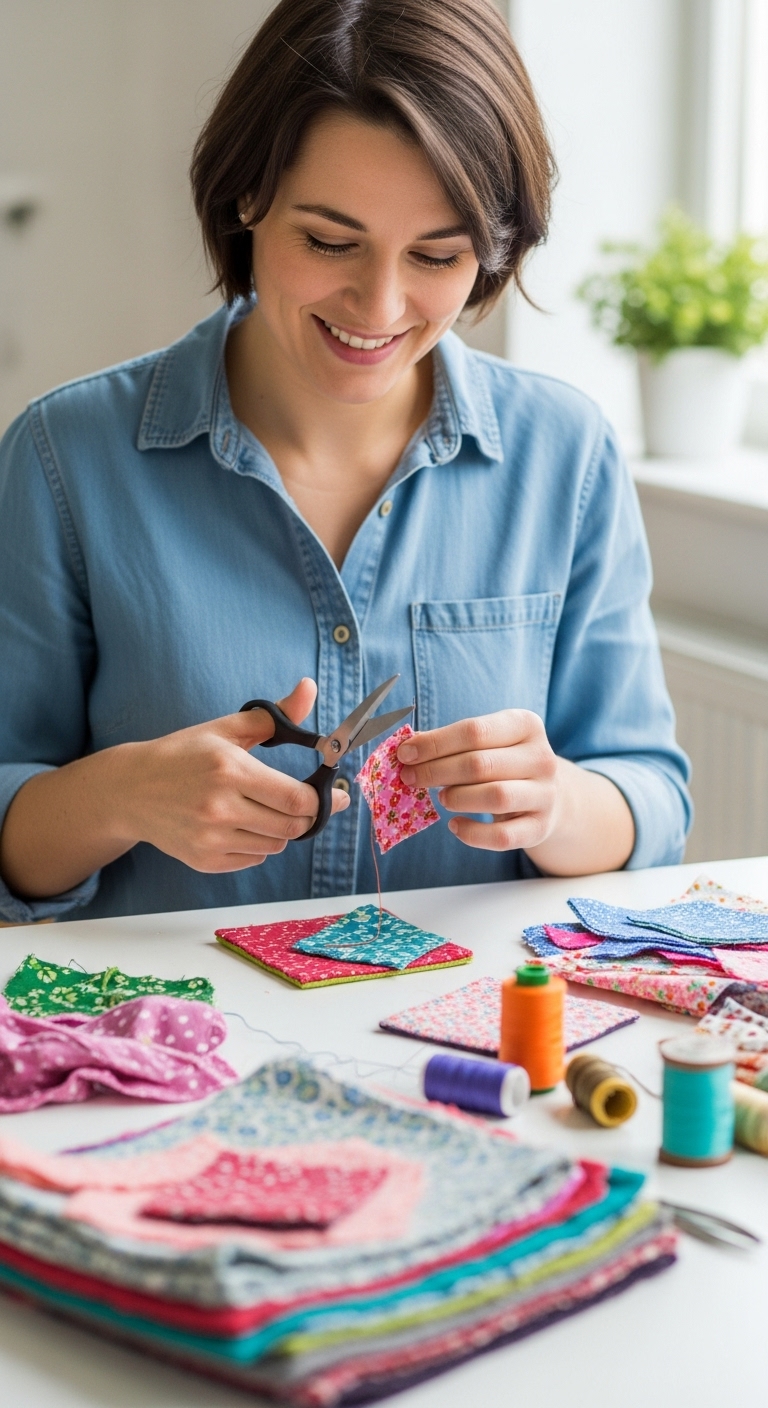
Leftover fabric doesn’t have to clutter your space. Know what to do with fabric scraps: sewing hacks that turn leftovers into keep-worthy gifts.
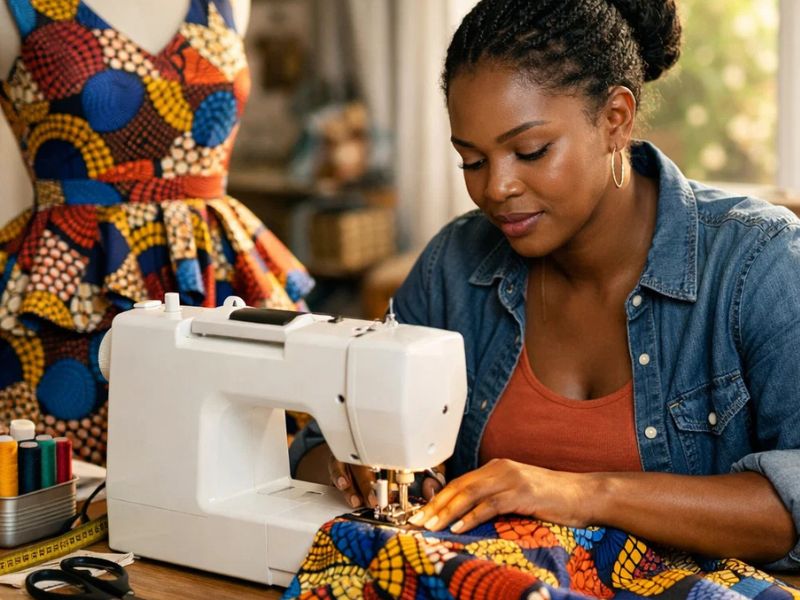
If you sew, even just once in a while, you probably have fabric scraps saved somewhere. They might be tucked into drawers, stored in bins, or piled into bags you plan to organize later.
These are the leftover pieces from past projects, and they’re hard to let go of. You remember how much the fabric cost. Some scraps come from special projects or gifts you made with care. Throwing them away feels wasteful, so they sit there, unused.
The problem is knowing what to do with them. Most fabric scraps are too small for big sewing projects, but they’re still good fabric.
You don’t want to turn them into quick crafts that fall apart or end up in someone else’s drawer. Spending time sewing something that isn’t useful or appreciated can feel discouraging, and that’s how fabric leftovers slowly turn into clutter.
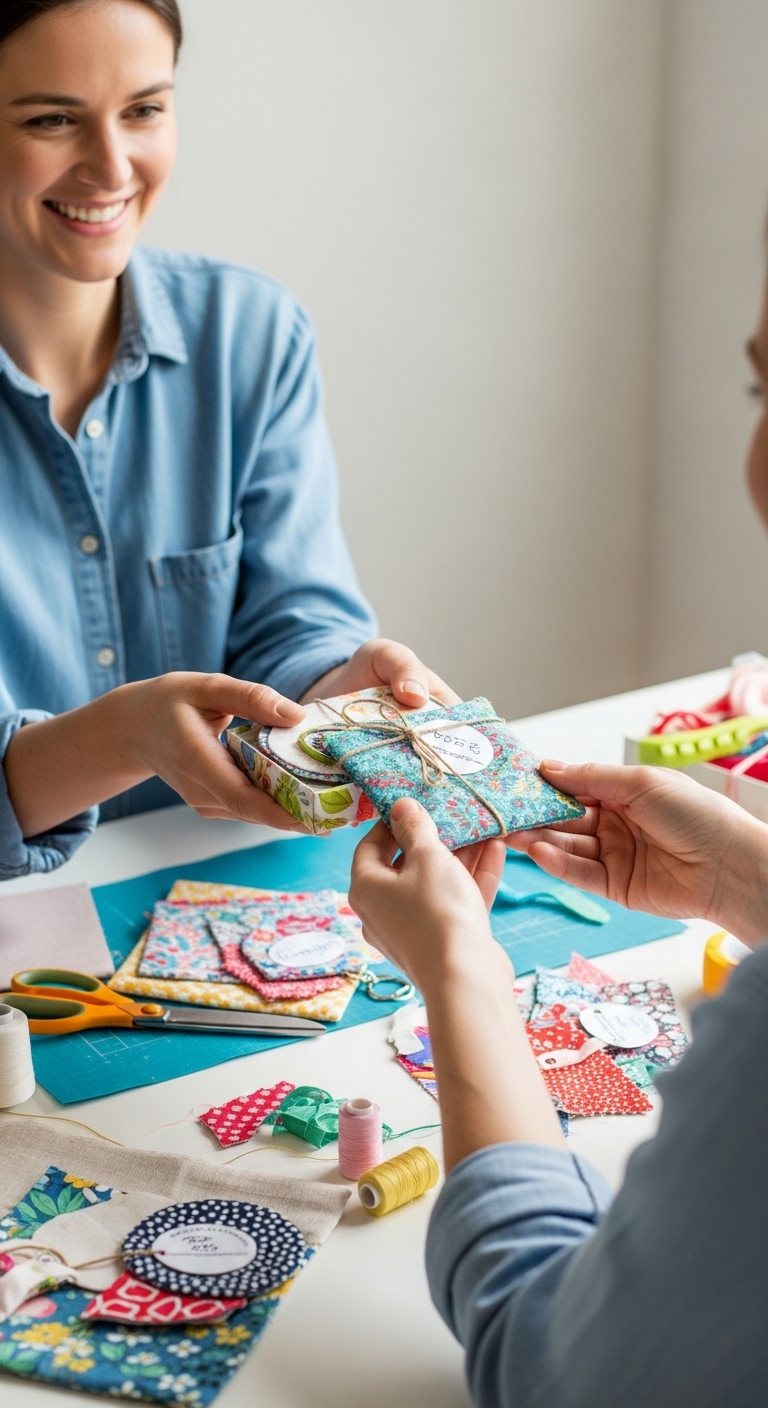
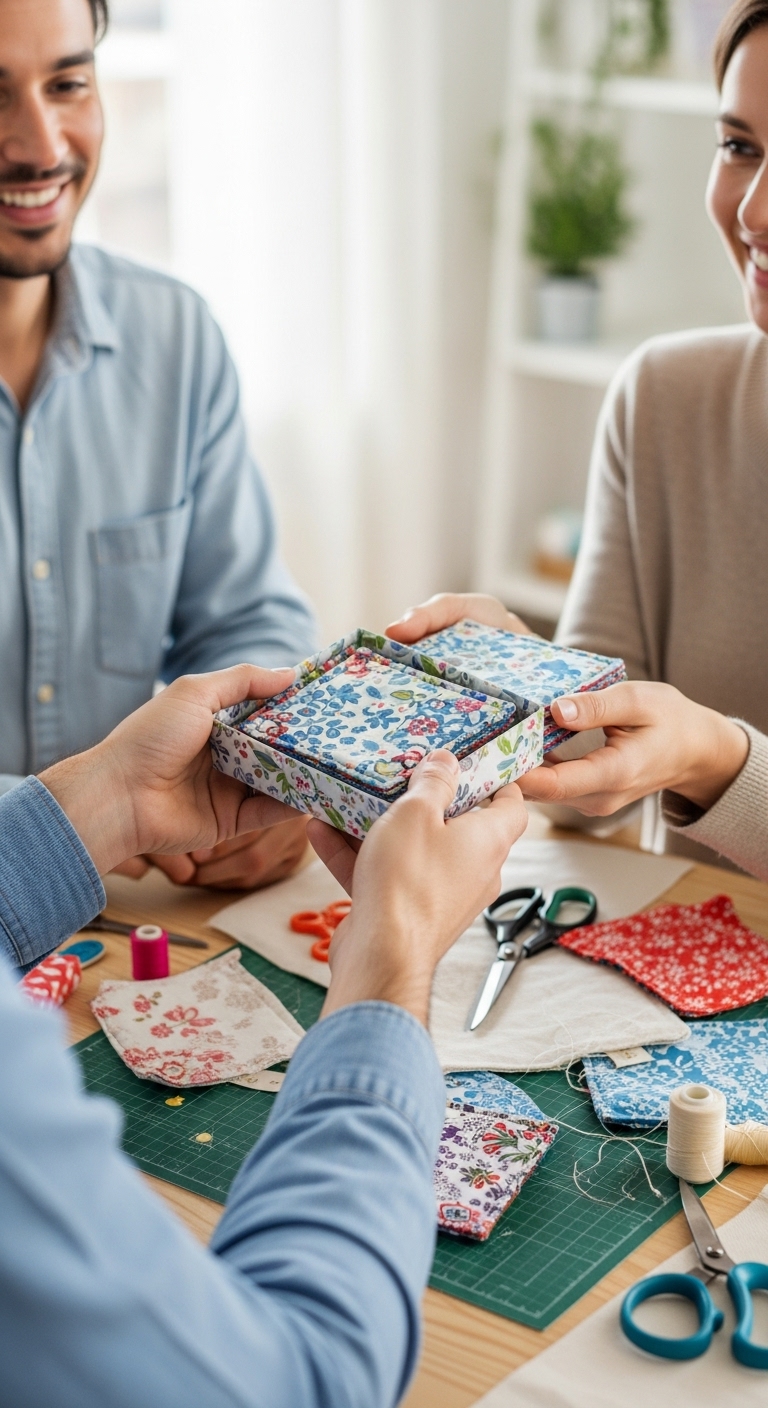
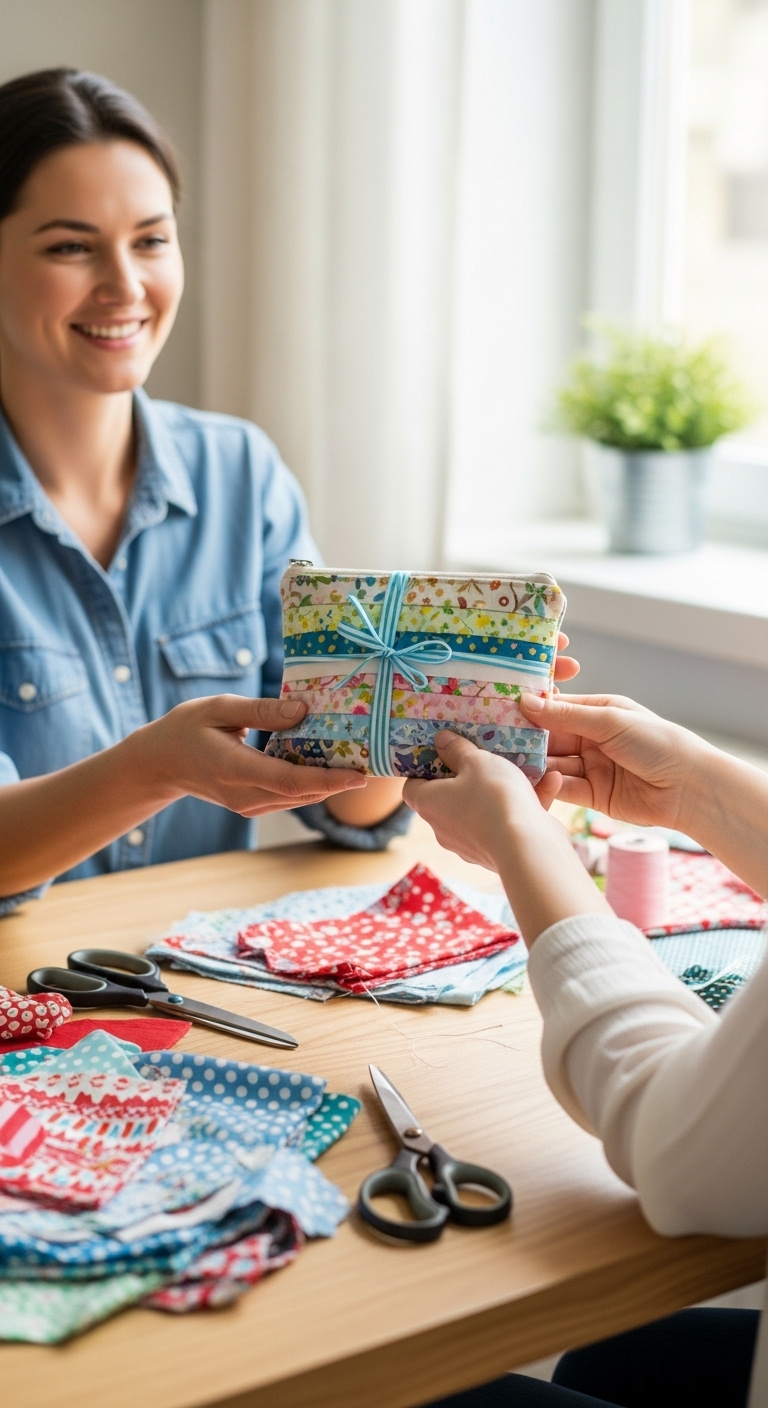
This post will help you see fabric scraps differently. Instead of random ideas, you’ll learn simple sewing hacks that turn fabric leftovers into useful, well-made, keep-worthy gifts.
These are projects people actually use and keep, not things that get tossed aside. The goal is to help you use what you already have in a way that feels thoughtful, practical, and worth your time.
Give this a read too: Understanding Fabrics for Sewing: Choosing the Right Material for Every Project
Why Most Fabric Scrap Projects End Up Unused
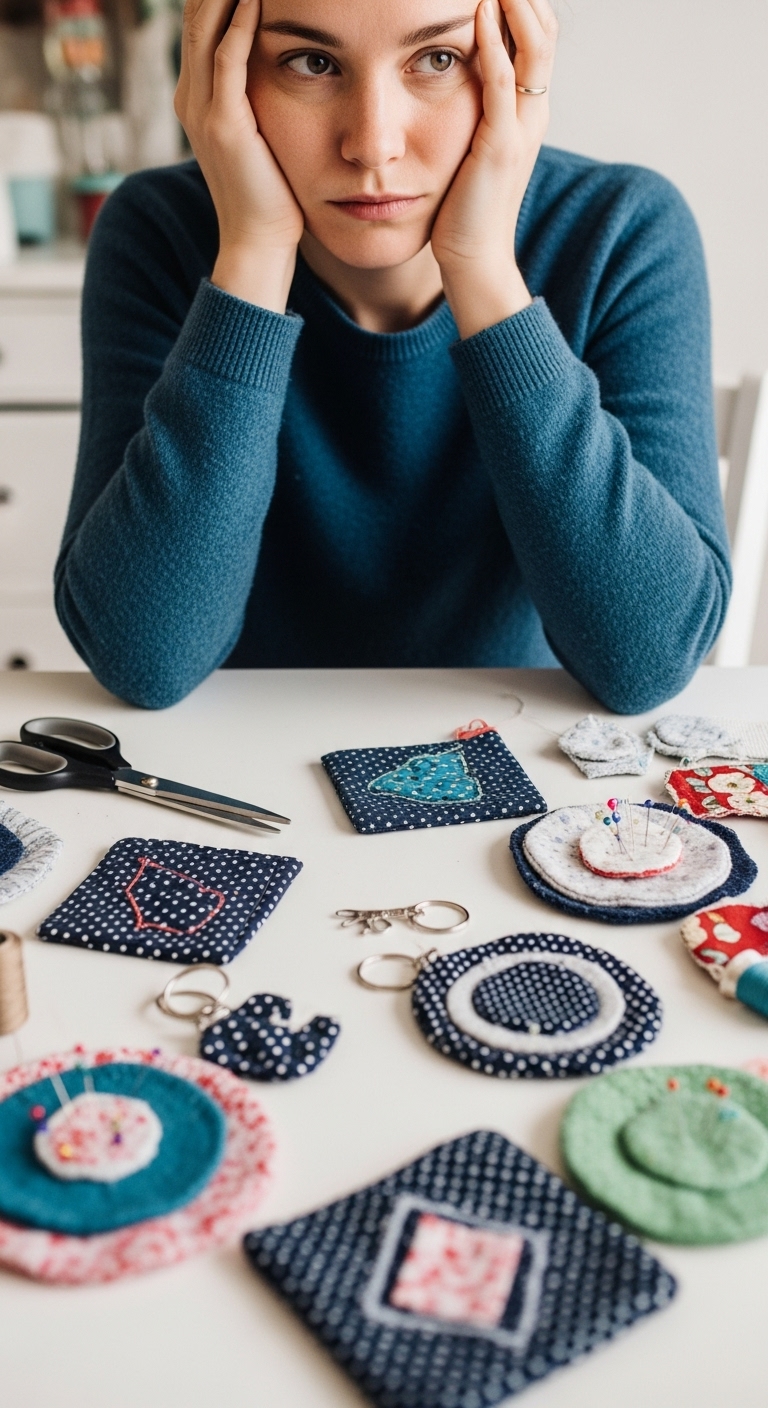
Many fabric scrap projects start with good intentions but never get used. One common reason is that they often look messy or unfinished.
When too many colors or patterns are mixed together, the final piece can feel more like a practice project than something someone would proudly keep. Even when the sewing is done well, the item may not feel polished enough to use every day.
Another issue is that many fabric scrap ideas focus more on decoration than function. While decorative items can look nice, they don’t always have a clear purpose.
People tend to keep things that solve a problem or make life easier. If a scrap project isn’t useful, it often ends up sitting in a drawer instead of being used.
This is why “cute” does not always mean “keep-worthy.” An item can look fun but still feel unnecessary. When someone receives a handmade gift, they are more likely to keep it if it is practical, well-finished, and easy to use.
This is especially important when sewing with fabric scraps, where small details make a big difference.
The key is to stop seeing fabric scraps as leftover pieces that need to be used up. Instead, think of them as materials for small, intentional sewing projects.
When you treat fabric scraps with the same care as full-yard fabric, you create handmade gifts that feel thoughtful, useful, and worth keeping.
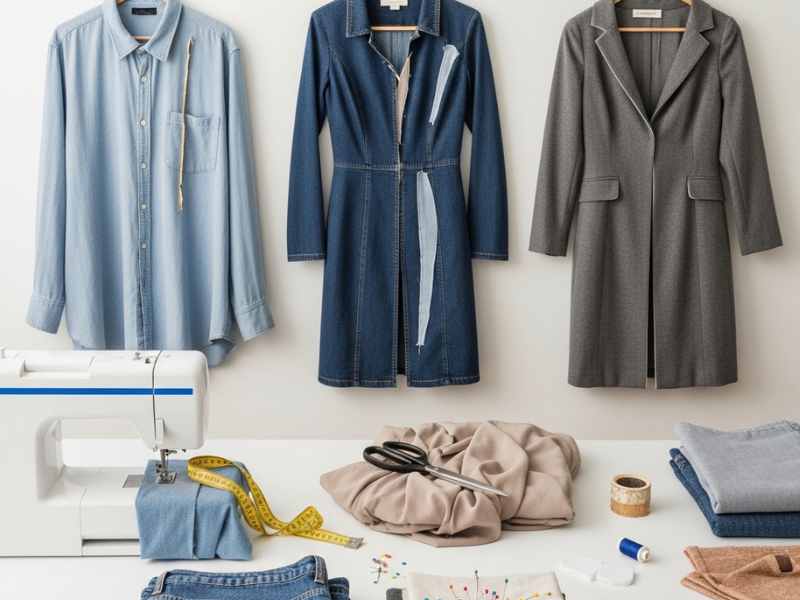
Here’s a post you’ll love: 15 Genius Ways to Upcycle Old Clothes Into Trendy New Outfits
What Makes a Fabric Scrap Project Worth Gifting
Not every sewing project made from fabric scraps will be a gift someone actually keeps. The secret to creating keep-worthy handmade gifts from scraps is thinking about purpose, quality, and presentation before you start sewing.
When you follow a few key principles, even small leftover pieces of fabric can become gifts that feel thoughtful, useful, and valuable.
What You Should Know:
-
Useful Always Beats Decorative
People are more likely to hold on to a gift if it has a purpose. Fabric scrap projects like a small pouch, a coaster, or a bookmark are appreciated because they are practical and functional.
Even a beautifully made decorative item can end up unused if it doesn’t solve a problem. When planning your scrap project, ask: Will the person actually use this gift? Prioritizing usefulness ensures your handmade items are loved and kept.
Before repurposing fabric scraps, make sure your stitches are perfect. If you’re dealing with skipped stitches, check Why Your Sewing Machine Keeps Skipping Stitches (And 7 Easy Fixes That Work Fast) to fix the problem.
-
Small Doesn’t Mean Cheap
Just because a gift is made from scraps or is small in size doesn’t mean it has to feel cheap. A well-designed, small project can feel special and intentional. The key is making it look polished, thoughtful, and complete. Size is no barrier to creating gifts people treasure.
-
Simple Finishes Make the Difference
Clean seams, careful stitching, and finishing touches make scrap projects look professional. Even leftover fabric can be transformed into keep-worthy gifts when you pay attention to small details. Adding a lining, reinforcing edges, or carefully matching patterns shows care and turns ordinary scraps into something people will actually use.
Explained in detail here: Thrift Business in Nigeria: How to Start a Profitable Thrift Clothing Business
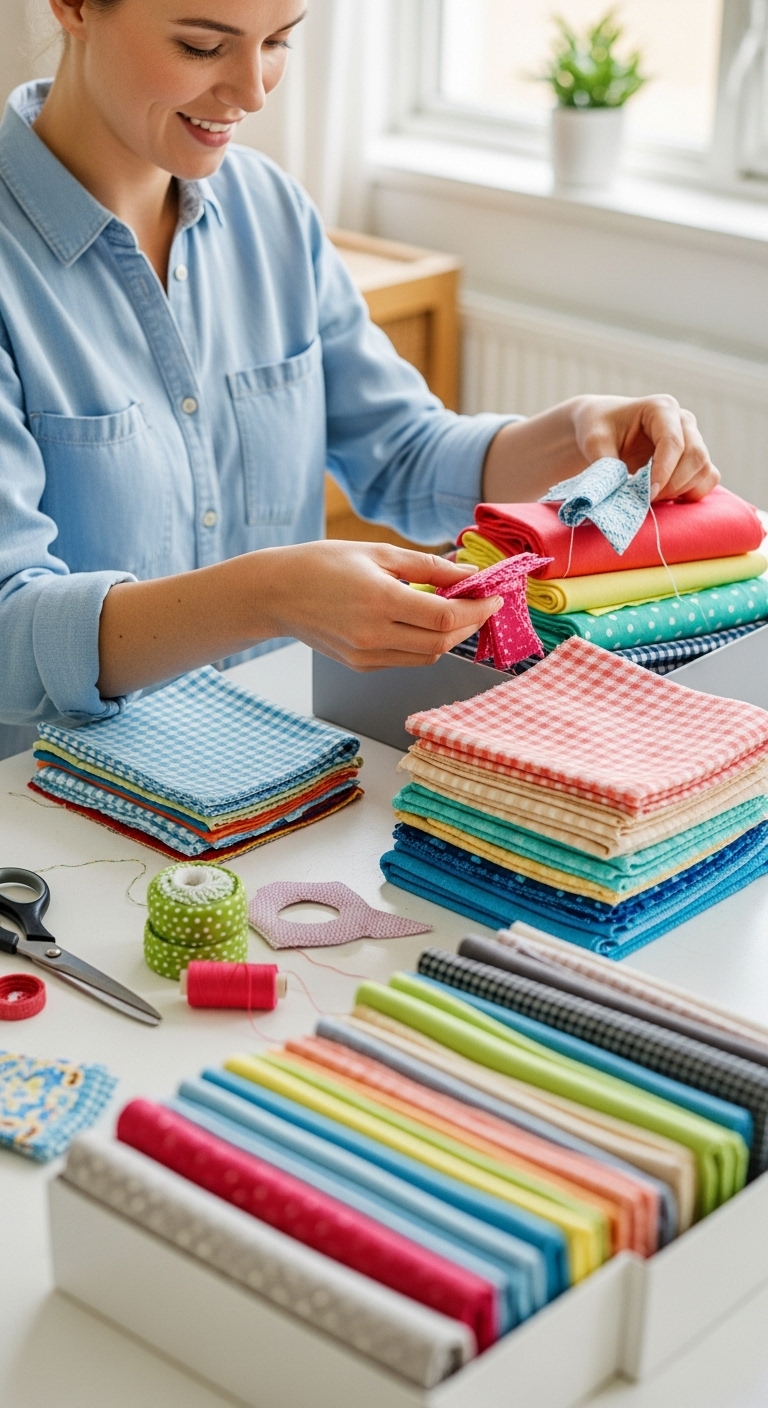
Sewing Hacks That Turn Fabric Leftovers Into Keep-Worthy Gifts
-
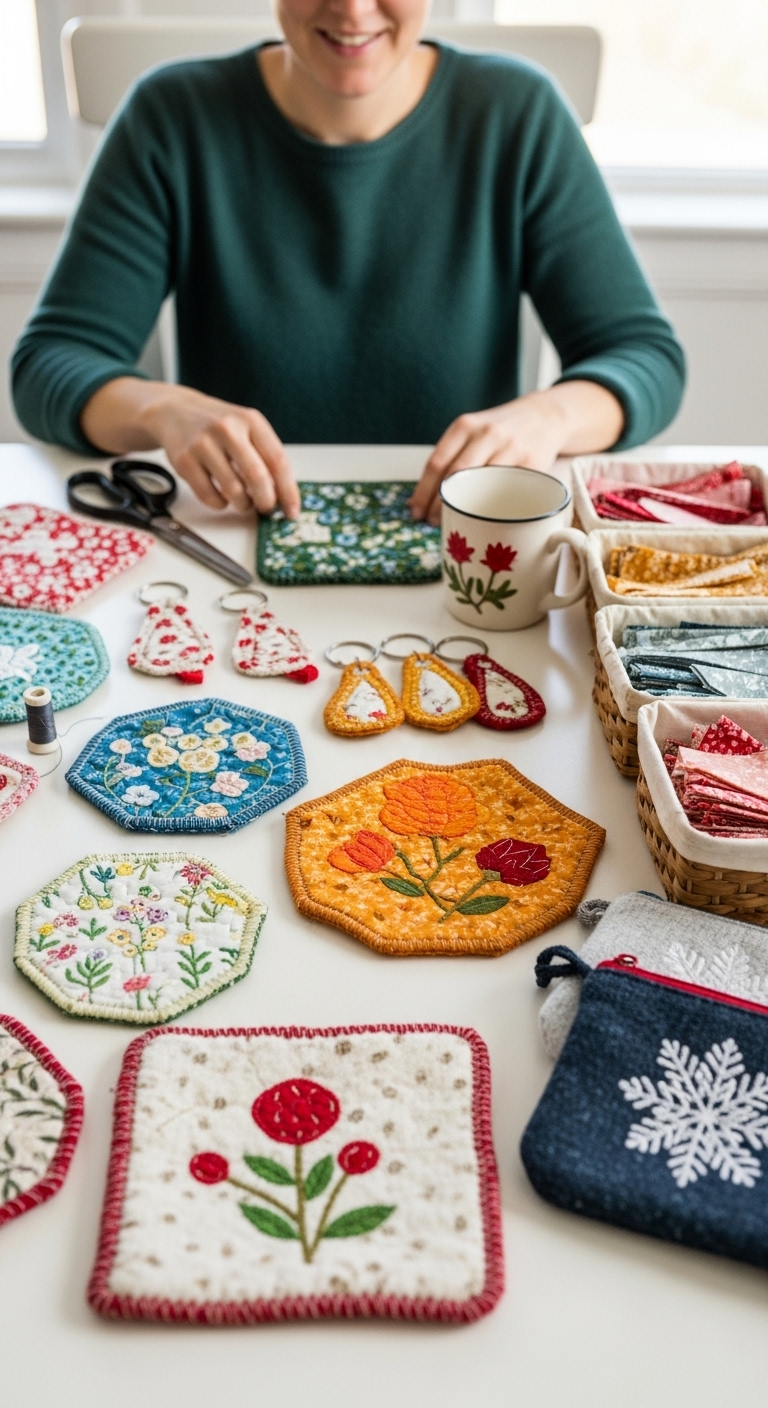
Reversible Fabric Coasters
Coasters are small gifts that almost anyone can use. They are a perfect way to turn leftover fabric scraps into something useful and stylish.
By making them reversible, you can use contrasting fabrics to create a polished, professional item These coasters are functional, keep-worthy, and a thoughtful way to use scraps that might otherwise sit unused.
Materials & Tools:
- Fabric scraps (cotton, linen, or quilting fabrics work best)
- Fusible interfacing (optional for extra sturdiness)
- Sewing machine or needle for hand sewing
- Thread matching one of the fabrics
- Scissors or rotary cutter
- Pins or clips
- Iron
How to Make:
- Cut two fabric scraps to the same size (standard coaster size is about 4×4 inches).
- Cut a piece of fusible interfacing slightly smaller than the fabric pieces (optional, for sturdiness).
- Place the two fabric pieces right sides together. If using interfacing, attach it to the wrong side of one piece according to instructions.
- Pin or clip the fabric pieces to hold them in place.
- Sew around the edges with a ¼-inch seam allowance, leaving a 2-inch gap for turning.
- Clip the corners carefully to reduce bulk and help the corners turn neatly.
- Turn the coaster inside out through the gap. Use a blunt tool or pencil to push the corners out fully.
- Press the coaster with an iron to flatten seams.
- Topstitch around all four edges, about ⅛ inch from the edge, closing the gap and giving a clean, finished look.
- Repeat to make multiple coasters for a coordinated set.
Tips:
- Use contrasting fabrics for each side for a fun, reversible design.
- Keep all coasters the same size for a neat set.
- Adding interfacing helps thin or flimsy fabrics hold their shape better.
Who it’s for:
Perfect for friends, teachers, coworkers, or neighbors. Coasters are practical and appreciated gifts that people actually use.
Quick and easy:
Each coaster takes about 20–25 minutes. A full set of 4–6 coasters can be completed in an evening.
Season ideas:
Swap fabrics for pastel tones or floral prints to create a spring or Easter-themed gift set.
2. Soft Zip Pouches
If you’ve ever wondered what to do with fabric scraps, making soft zip pouches is one of the best ways to use them. These pouches turn leftover fabric into practical, polished gifts that feel store-bought, not homemade.
Perfect for storing makeup, small sewing supplies, stationery, or coins, these pouches are useful, keep-worthy gifts that anyone will appreciate. Even narrow or oddly shaped scraps can be combined to create a professional-looking pouch.
Materials & Tools:
- Fabric scraps (cotton, linen, or canvas recommended)
- Fusible interfacing (for sturdiness)
- Zippers (7–9 inches for small pouches, longer for bigger ones)
- Thread matching the fabric
- Sewing machine or hand needle
- Pins or clips
- Scissors or rotary cutter
- Iron
How to Make:
- Decide on the pouch size. A common small size is 7×5 inches; cut two fabric pieces to match.
- Cut a piece of fusible interfacing slightly smaller than one fabric piece. Fuse it to the wrong side following the manufacturer’s instructions to give the pouch structure.
- Place the fabric pieces right sides together, with the zipper centered at the top edge. Pin or clip carefully.
- Using a zipper foot, sew one side of the zipper to the fabric, then repeat for the other side. Ensure the zipper opens and closes smoothly.
- Sew the remaining sides together, leaving the zipper partially open for turning.
- Trim the corners carefully to reduce bulk.
- Turn the pouch inside out through the zipper opening. Use a tool or your fingers to push the corners out neatly.
- Press the pouch with an iron to flatten seams and shape the pouch.
- Topstitch along the top edge and sides for a professional finish.
Tips:
- Combine scraps of similar weight and texture for a smooth finish.
- Use contrasting fabrics for the inside and outside for a stylish look.
- Make multiple pouches in different sizes using leftover scraps for a coordinated gift set.
Who it’s for:
Ideal for friends, teens, coworkers, or family members who appreciate handmade but practical gifts. Perfect for small organizational needs or gift bundles.
Quick and easy:
Each pouch takes about 40–50 minutes from start to finish. You can make 2–3 pouches in in a sitting using leftover fabric scraps.
Season ideas:
Use bright pastels or floral prints to create a spring or Easter-themed pouch set. Perfect for seasonal gifting or party favors.
Check this out next: 5 Clothing Alterations I Stopped Paying a Tailor For (DIY Made Easy)
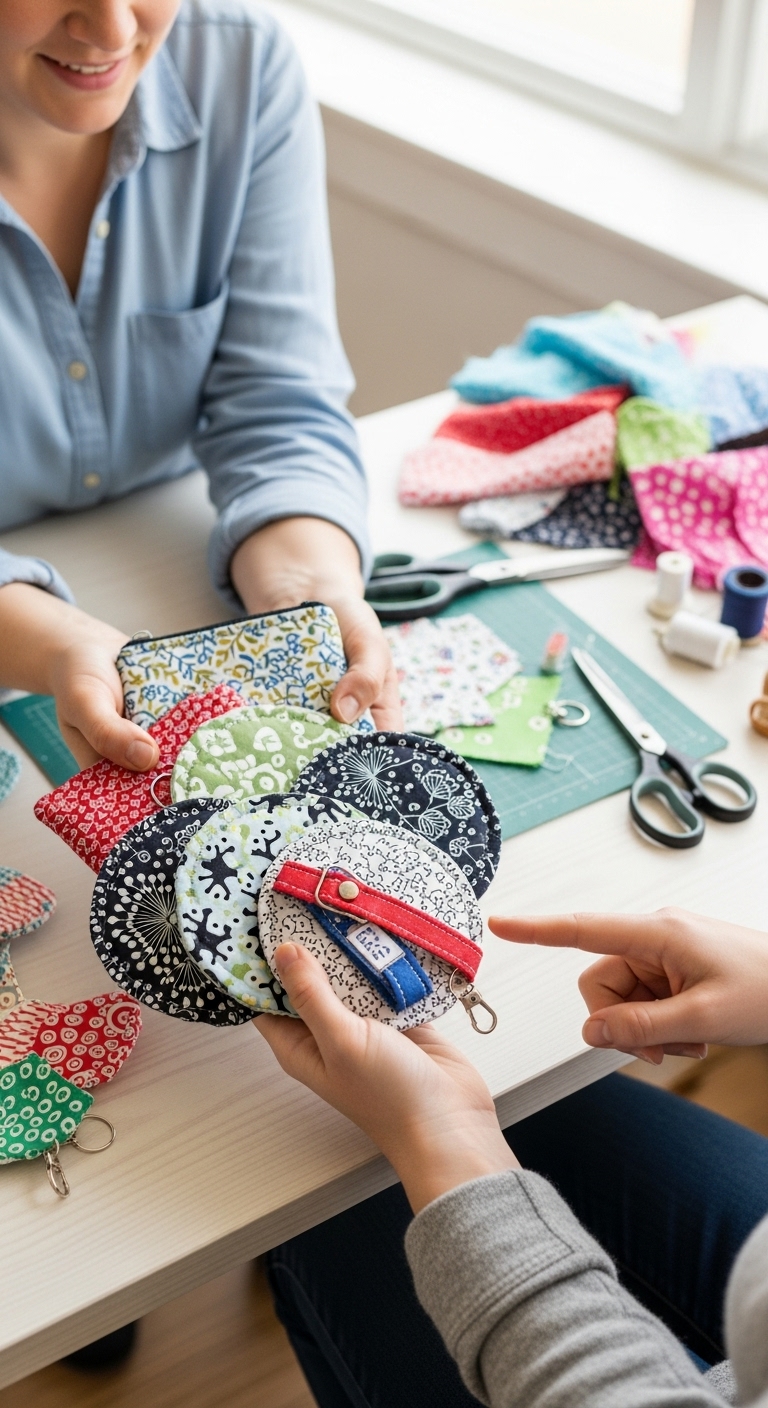
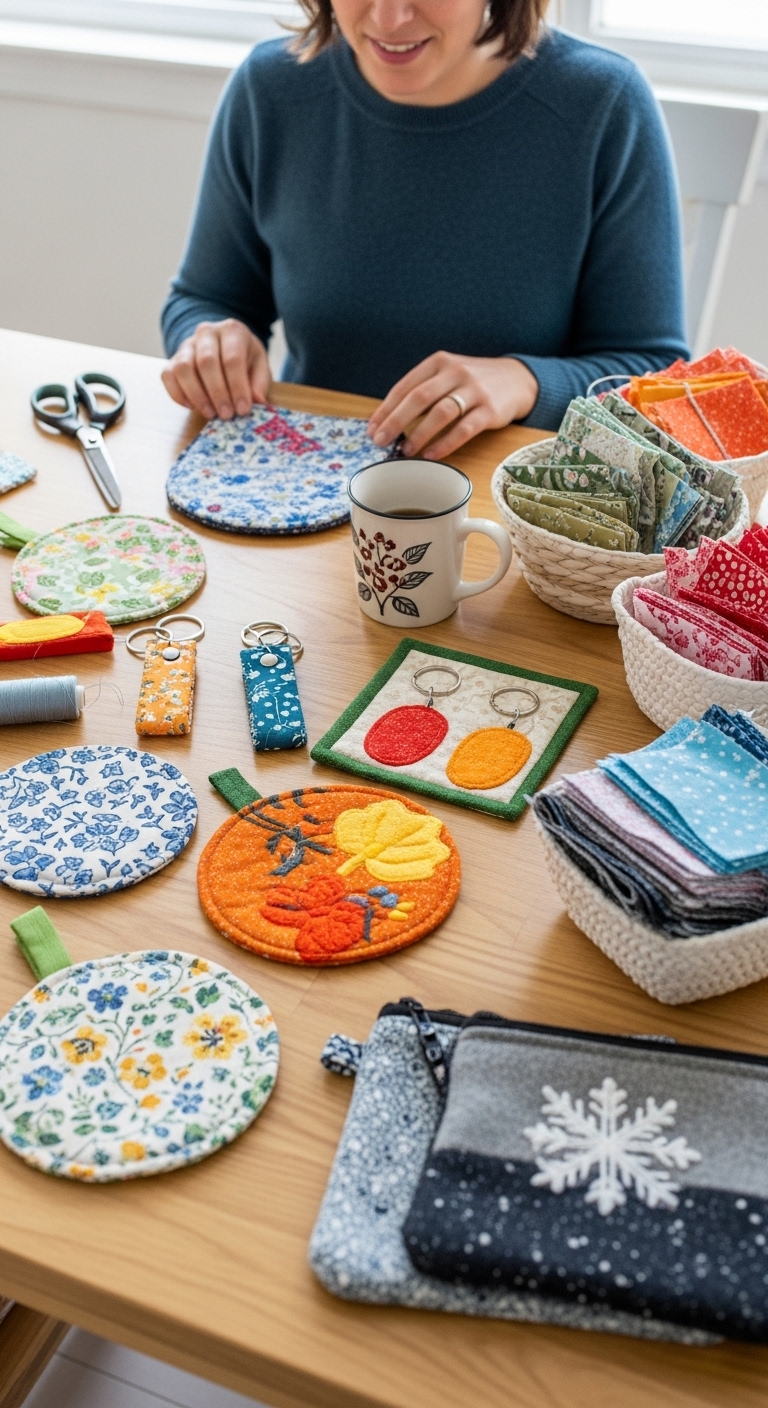
3. Fabric Key Fobs
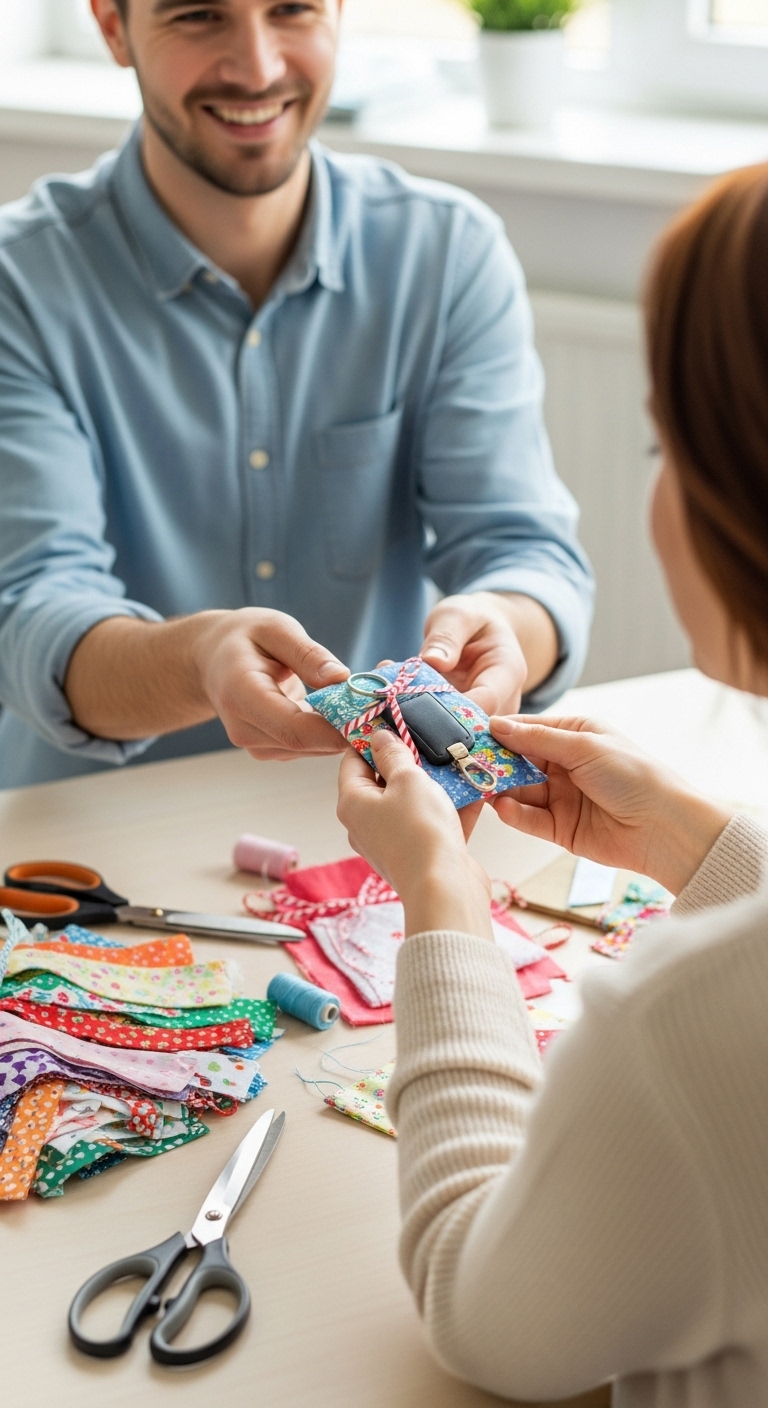 Even narrow or oddly shaped fabric scraps can become beautiful, functional key fobs. These small projects are perfect for turning leftover fabric into gifts people will actually use. Key fobs are quick to make, practical, and portable, making them ideal for last-minute gifts or small thoughtful gestures. They allow you to combine colors, patterns, and textures for a polished, keep-worthy result.
Materials & Tools:
- Fabric scraps (cotton, linen, denim, or leather-like fabric)
- Key rings or lobster clasps
- Fusible interfacing (optional for extra strength)
- Thread
- Sewing machine or hand needle
- Pins or clips
- Scissors or rotary cutter
- Iron
How to Make:
- Cut a fabric strip about 1.5 inches wide and 6 inches long (adjust length for larger or smaller key fobs).
- Fuse interfacing to one side if using thin fabric, to give the key fob sturdiness.
- Fold the fabric strip in half lengthwise, right sides together, and sew along the long edge with a ¼-inch seam allowance.
- Turn the strip inside out to hide the seam. Press flat with an iron.
- Fold the ends together around the key ring or lobster clasp, adjusting for the final size of the loop.
- Sew across the open ends to secure the ring. Reinforce with backstitching for durability.
- Optional: topstitch along the edges of the loop for a professional finish.
Tips:
- Combine contrasting fabrics for a stylish look.
- Keep seams tight and edges aligned for a polished finish.
- Make several in different fabrics for a matching set of gifts.
Who it’s for:
Perfect for teens, friends, coworkers, or family members who like practical yet personal gifts. They’re also excellent as stocking stuffers, party favors, or teacher gifts.
Quick and easy:
Each key fob takes about 15–20 minutes. You can make 4–5 key fobs with leftover fabric scraps.
4. Scrappy Mug Rugs
 What to Do With Fabric Scraps can be as simple as making scrappy mug rugs. These mats protect tables from drinks while giving coffee or tea time a personal, handmade touch.
Mug rugs are larger than coasters, so you can combine fabrics, textures, and colors creatively. This makes them perfect for turning leftover fabric into handmade gifts that people actually use and keep.
Materials & Tools:
- Fabric scraps (cotton, linen, flannel, or quilting fabrics)
- Fusible batting or interfacing for structure
- Thread
- Sewing machine or hand needle
- Pins or clips
- Scissors or rotary cutter
- Iron
How to Make:
- Cut two fabric pieces for the top and bottom of the mug rug, about 7×9 inches (adjust size as needed).
- Cut a piece of fusible batting slightly smaller than the fabric pieces and fuse it to the back of the top piece according to instructions.
- Place the top and bottom fabrics right sides together, with the batting in between.
- Pin or clip the layers to keep them aligned.
- Sew around the edges with a ¼-inch seam allowance, leaving a small gap for turning.
- Clip the corners to reduce bulk, then turn the mug rug inside out through the gap.
- Press flat with an iron and topstitch all around the edges to close the gap and give a polished finish.
- Optional: use a decorative stitch on the top layer to add style and texture.
Tips:
- Pair fabrics with complementary colors or textures for a visually appealing mug rug.
- Keep layers aligned while sewing to avoid uneven edges.
- Make several in matching or contrasting sets for gift bundles.
Who it’s for:
Perfect for friends, teachers, coworkers, or anyone who enjoys coffee or tea. These mug rugs turn fabric scraps into practical, keep-worthy gifts that are thoughtful and easy to use.
Quick and easy:
Each mug rug takes about 30–40 minutes. You can make 2–3 mug rugs in an evening from leftover fabric scraps.
Season ideas:
Use soft pastels for spring or floral tones for Easter to make gifts feel seasonal yet timeless.
Don’t miss this one: DIY Clothes That Never Fit? My Brother Ruined His Clothes—Until He Tried These 7 Tailoring Hacks
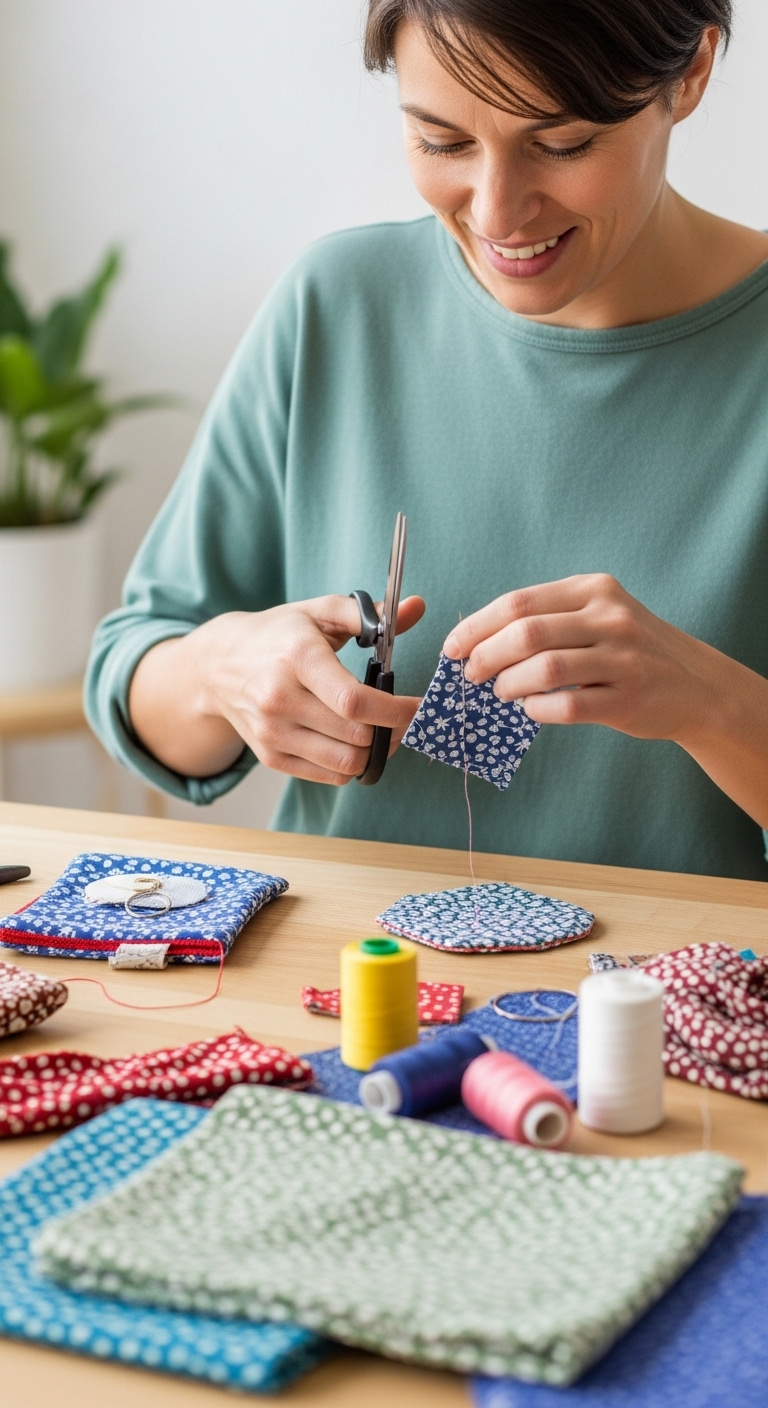
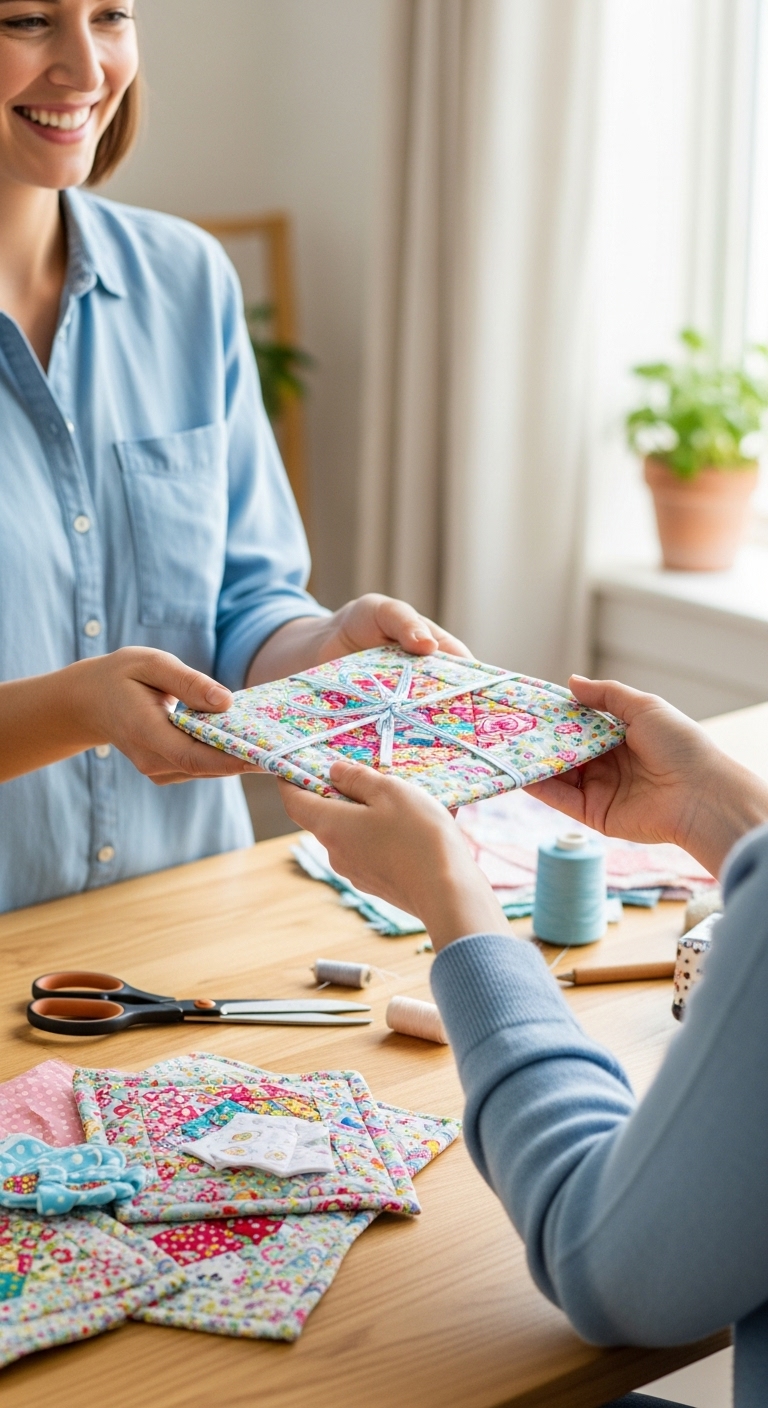
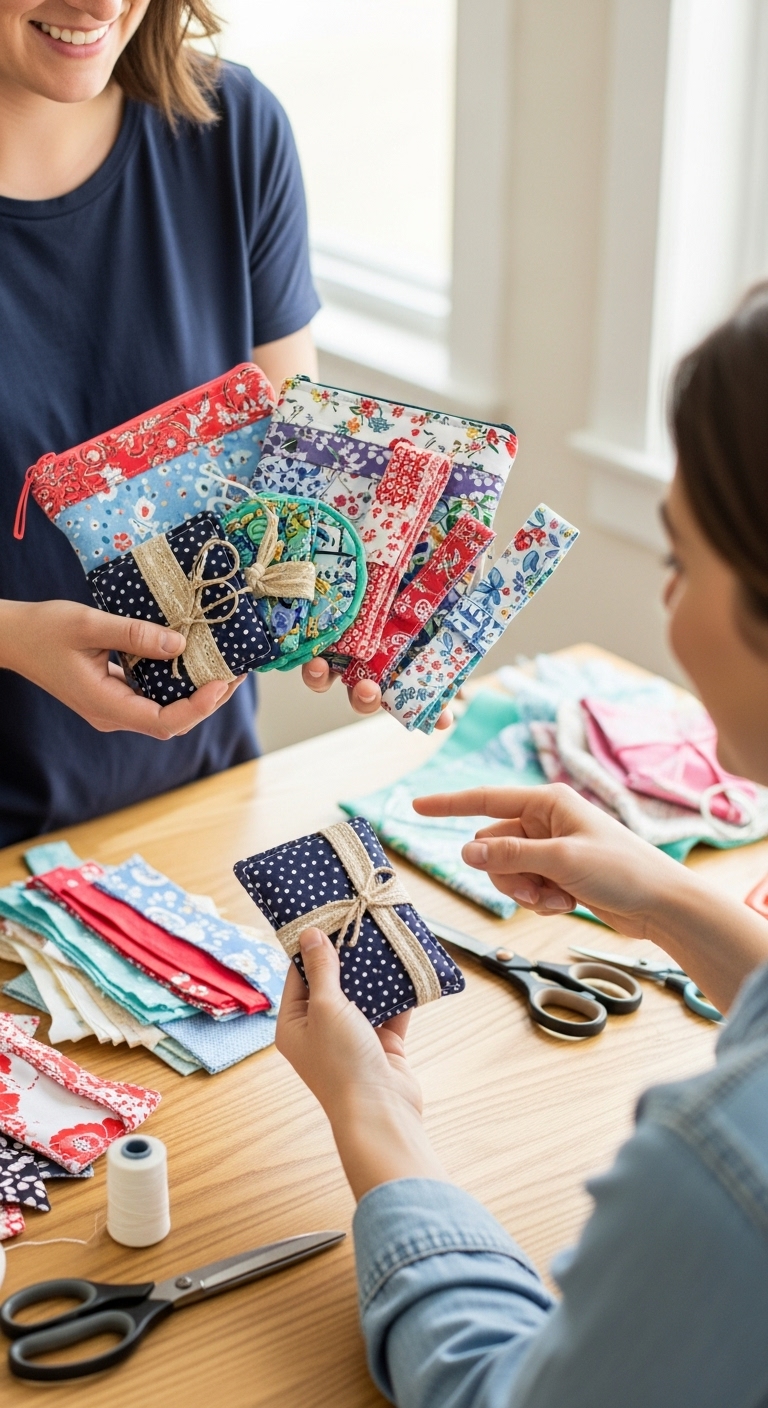
5. Patchwork Bookmarks

Patchwork bookmarks are a fantastic way to turn even tiny fabric scraps into useful and memorable gifts. Unlike many scrap projects that sit in drawers, bookmarks are practical and easy to use, making them keep-worthy.
They allow you to combine colors, textures, and patterns in creative ways, giving small scraps a purposeful second life. Handmade bookmarks feel personal and thoughtful, perfect for anyone who loves reading.
Materials & Tools:
- Small fabric scraps (cotton, quilting fabrics, or linen work best)
- Fusible interfacing (optional for sturdiness)
- Thread
- Sewing machine or hand needle
- Scissors or rotary cutter
- Pins or clips
- Iron
- Optional: ribbon for the top loop
How to Make:
- Cut fabric scraps into rectangles about 2×6 inches (adjust as needed for a bookmark size you prefer).
- If using interfacing, cut slightly smaller than the fabric and fuse it to the wrong side of the main piece.
- Arrange additional scraps in a patchwork design on the main piece, overlapping slightly if needed.
- Pin or clip scraps in place, then topstitch them onto the base fabric to secure.
- Fold the edges under about ¼ inch, pin, and sew around the perimeter to finish neatly.
- Optional: fold the top edge and sew a small loop of ribbon for a decorative bookmark tassel.
- Press the finished bookmark to flatten seams and give a professional look.
Tips:
- Mix and match contrasting fabrics to make each bookmark unique.
- Keep edges straight and aligned for a polished appearance.
- Make several at once using different scrap combinations for a set of gifts.
Who it’s for:
Ideal for book lovers, teachers, friends, or family members. These bookmarks are small, practical, and thoughtful handmade gifts that people actually keep and use.
Quick and easy:
Each bookmark takes about 15–20 minutes to make. You can create a set of 4–6 bookmarks in one evening from leftover fabric scraps.
Season ideas:
Use colorful fabrics for spring, or soft florals for Easter-themed bookmarks, making them perfect seasonal gifts without losing their everyday usefulness.
Take a peek at this post: Outfit Problems Short Women Deal With — Which Ones Are Ruining Your Look?
Wearable Scrap Projects
1. Simple Fabric Belts
Leftover fabric can be turned into stylish belts that are easy to make and add a personal touch to outfits. These belts are great for teens, friends, or family who love DIY fashion. Using fabric scraps creatively, you can make belts that are unique, practical, and keep-worthy gifts.
Materials & Tools:
-
- Long, narrow fabric scraps (cotton, linen, or canvas work well)
- Belt buckle or D-rings
- Thread
- Sewing machine or hand needle
- Pins or clips
- Scissors or rotary cutter
- Iron
How to Make:
- Cut a long strip of fabric about 2–3 inches wide and long enough to wrap around the waist, plus extra for overlap.
- Fold the strip lengthwise with right sides together and sew along the long edge to form a tube.
- Turn the tube inside out and press flat.
- Fold the ends through the buckle or D-rings and secure with stitching.
- Optional: topstitch along the edges for a professional finish.
Tips:
-
- Use thicker scraps or double layers for durability.
- Mix two or three scraps together for a patchwork-style belt.
- Make matching belts for friends as a gift set.
Who it’s for:
Great for anyone who likes DIY fashion or unique handmade accessories.
Timing:
Each belt takes about 30–40 minutes. You can make 1–2 belts depending on length.
Here’s something else you might like: Quick and Soft Valentine’s Gifts You Can Sew in a Few Hours That Melt Hearts
2. Patchwork Wristbands
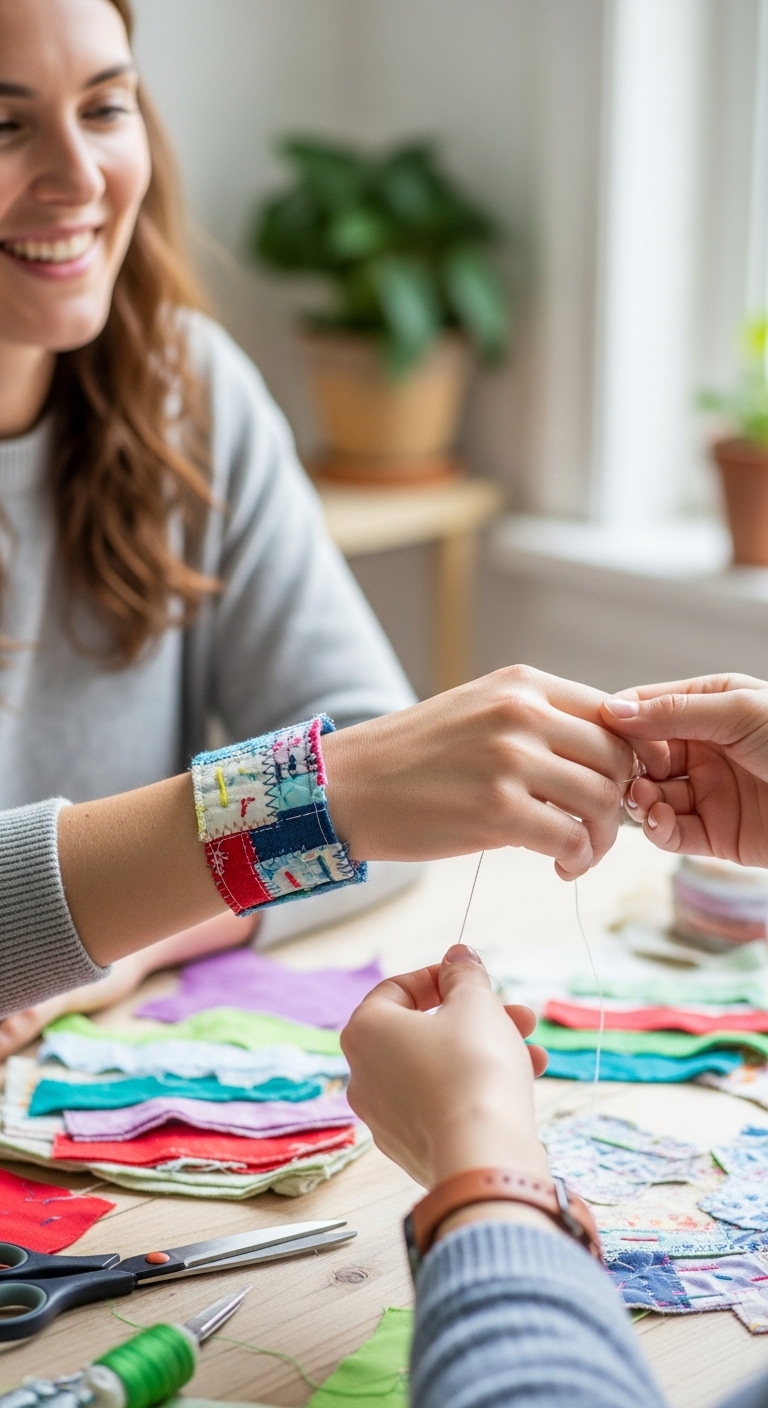 Patchwork wristbands are small, fun, and perfect for turning tiny fabric scraps into wearable gifts. They are practical, stylish, and a creative way to combine patterns and textures. These are great gifts option for friends, teens, or family members.
Materials & Tools:
-
- Small fabric scraps (cotton or quilting fabric)
- Fusible interfacing (optional for stability)
- Snap fasteners or small Velcro strips
- Thread
- Sewing machine or hand needle
- Pins or clips
- Scissors or rotary cutter
- Iron
How to Make:
-
- Cut scraps into small rectangles about 1×6 inches.
- Arrange scraps in a row to create a patchwork design and fuse interfacing to the back if desired.
- Sew the scraps together with a topstitch along the seams.
- Fold the wristband into a loop and attach a snap or Velcro closure.
- Press the wristband flat to finish.
Tips:
-
- Use contrasting colors for a bold, fun look.
- Make several wristbands from leftover scraps to create a gift set.
- Keep edges neat for a polished, keep-worthy finish.
Who it’s for:
Perfect for teens, kids, or friends who love colorful, handmade accessories.
Timing:
Each wristband takes about 15–20 minutes. You can make 3–4 depending on how much time you have from leftover fabric scraps.
Something interesting to check out: What to Wear on Valentine’s Day Based on Your Plans — Dinner, Staying In, or Galentine’s
3. Patchwork Aprons from Fabric Scraps
 Knowing what to do with fabric scraps can transform even tiny leftover pieces into cute, functional patchwork aprons for cooking, crafting, or gardening.
These aprons are stylish and practical, making them keep-worthy handmade gifts. By combining small scraps, you can create a colorful, unique apron that people will actually use and appreciate.
Materials & Tools:
- Fabric scraps (cotton, linen, or quilting fabrics)
- Thread
- Sewing machine or hand needle
- Pins or clips
- Scissors or rotary cutter
- Iron
- Optional: bias tape or ribbon for straps
How to Make:
- Cut scraps into rectangles or squares, roughly 5×5 inches, depending on the apron size you want.
- Arrange the scraps in a patchwork pattern to cover the main apron area. Pin them together.
- Sew the scraps together along the edges to create a single patchwork panel.
- Cut a backing piece (solid fabric or another scrap panel) to match the size of the patchwork panel.
- Place the patchwork panel and backing right sides together and sew around the edges, leaving a small gap for turning.
- Turn the apron right side out and press the edges flat.
- Topstitch around the perimeter to finish neatly.
- Attach straps made from bias tape, ribbon, or fabric scraps, sewing securely at the top corners.
Tips:
-
- Mix colors and textures for a visually interesting apron.
- Reinforce strap areas for durability, especially if it will be used for cooking or gardening.
- Make smaller aprons for kids or tiny patchwork versions for gift sets.
Who it’s for:
Ideal for friends, family, or anyone who enjoys cooking, crafting, or gardening. Handmade patchwork aprons are practical, keep-worthy gifts that people will actually use.
Timing:
A small adult apron takes about 1–1.5 hours. A kid-sized apron can be done in 40–50 minutes, making it a satisfying project for leftover fabric scraps.
Season ideas:
Use bright, cheerful colors for spring or soft pastels for Easter-themed aprons, giving gifts a seasonal touch without losing everyday usefulness.
How to Match Scrap Gifts to the Right People
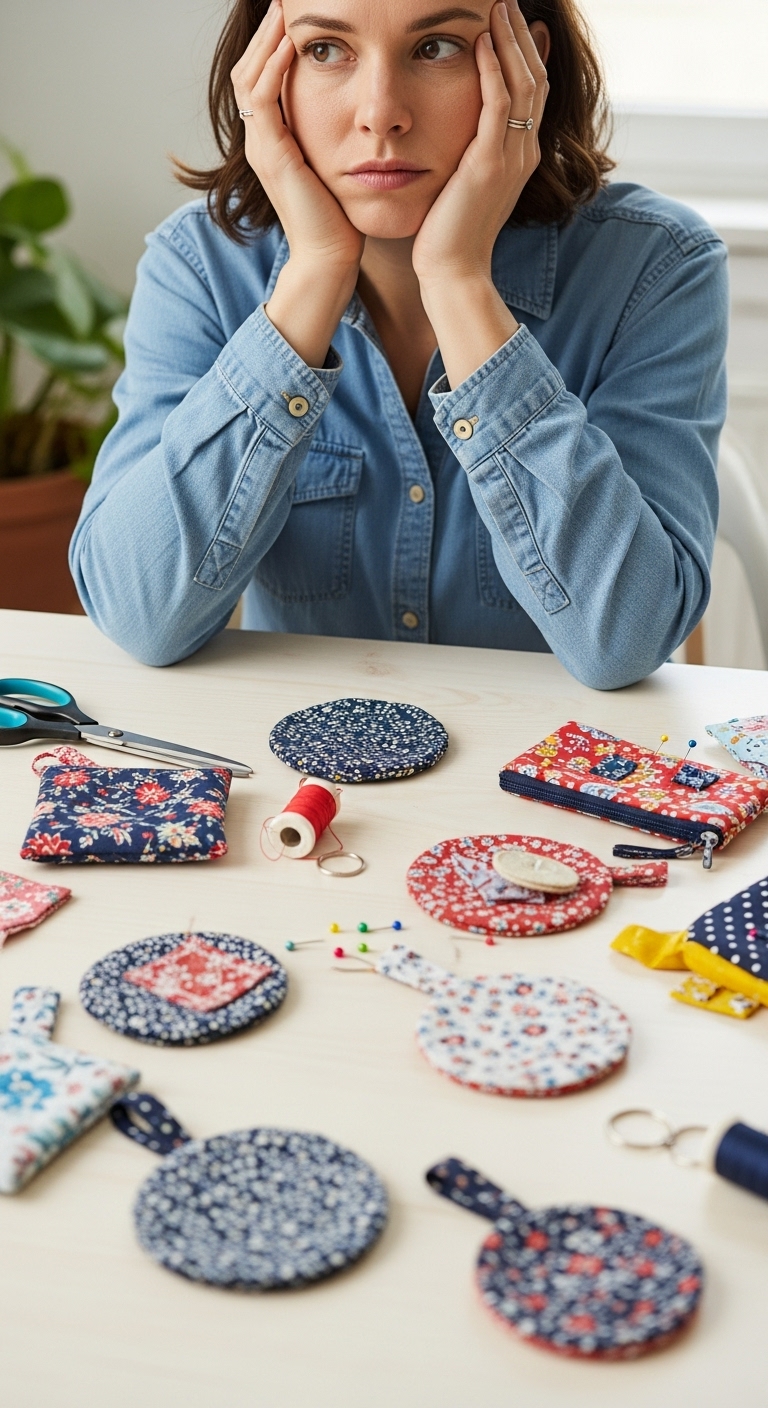
If you did spend time turning leftover fabric into something handmade, now comes the hard part: who will actually use it? It’s easy to second-guess yourself here.
Well, the wrong gift can sit forgotten, and suddenly all your effort feels wasted. That’s why knowing who will truly appreciate your scrap projects matters.
When you match the project to the right person, even the tiniest leftover fabric becomes something meaningful and remembered.
-
Scrap Gifts Teens Will Actually Keep
Most teens are notoriously hard to please, they often toss cute handmade gifts aside. To avoid this, give them something they can really use:
- A soft zip pouch for chargers or earbuds
- Patchwork scrunchies or headbands
- Fabric wristbands or small accessory sets
Teens respond to style and practicality. Bold prints, fun colors, or pop-culture patterns make your gift feel intentional, not leftover. Combine a few items into a mini set, they’re far more likely to keep everything together and actually use it.
-
Gifts That Teachers, Friends, and Neighbors Will Actually Use
Small, useful gifts are golden for teachers, friends, and neighbors. These indviduals want thoughtful but useful items, not something that ends up hidden in a drawer. Things like:
-
- Patchwork bookmarks
- Reversible coasters
- Scrappy mug rugs
…are perfect because they’re functional, easy to display, and feel personal.
When giving, consider their daily routine. A teacher will love a bookmark for grading papers, a neighbor might actually use a mug rug for coffee, and friends often keep coasters in sight. Think utility first, and cuteness second.
What You Can Do: Bundle two or three small items together. Even tiny scrap projects suddenly feel like a full, thoughtful gift.
-
When It’s Okay to Keep Scrap Projects for Yourself
Not every scrap project needs a recipient. Sometimes the best use of leftover fabric is for yourself. Patchwork aprons, key fobs, or small wearable accessories can:
-
- Make your daily routine feel a little more personal and creative
- Let you practice new sewing techniques without pressure
- Create a “ready-to-gift” stash for future emergencies
Treat personal projects as experiments. You’ll learn, improve, and even inspire future gifts that land perfectly with others.
Handmade gifts are only as good as the joy they bring. Matching scrap projects to the right people, or keeping them wisely for yourself, ensures your efforts are meaningful and appreciated.
Common Mistakes That Make Fabric Scrap Gifts Look Cheap
Even the cleverest sewing hacks can look like a miss if fabric scraps aren’t handled thoughtfully. Knowing what to do with fabric scraps is only part of the process, how you execute them makes all the difference. Here are the most common mistakes and how to fix them:
-
Using Too Many Patterns at Once
It’s tempting to mix every fun scrap you have, but too many patterns can make a project look busy or messy. Even patchwork needs a little balance.
How to get it right: Pick one or two patterns and pair them with a solid or neutral fabric. This makes the project look intentional, polished, and something people will actually want to keep.
-
Skipping Interfacing or Structure
A small item without some kind of support, like coasters, key fobs, or mini pouches—can feel flimsy and unfinished.
How to get it right: Add fusible interfacing, batting, or lining wherever it matters. A little structure transforms scraps into something sturdy, functional, and gift-worthy.
-
Rushing the Finishing Steps
Even a brilliant idea can fall apart if seams aren’t straight, edges aren’t neat, or topstitching is skipped.
How to get it right: Take the extra few minutes to finish seams, press the project flat, and topstitch carefully. Those small steps make leftover fabric feel like a thoughtful, high-quality gift.
Knowing what to do with fabric scraps is only half the battle. The other half is slowing down enough to make each project look intentional and polished. When you pay attention to patterns, structure, and finishing, even tiny scraps turn into gifts people will actually use and treasure.
How to Organize Fabric Leftovers So You Actually Use Them
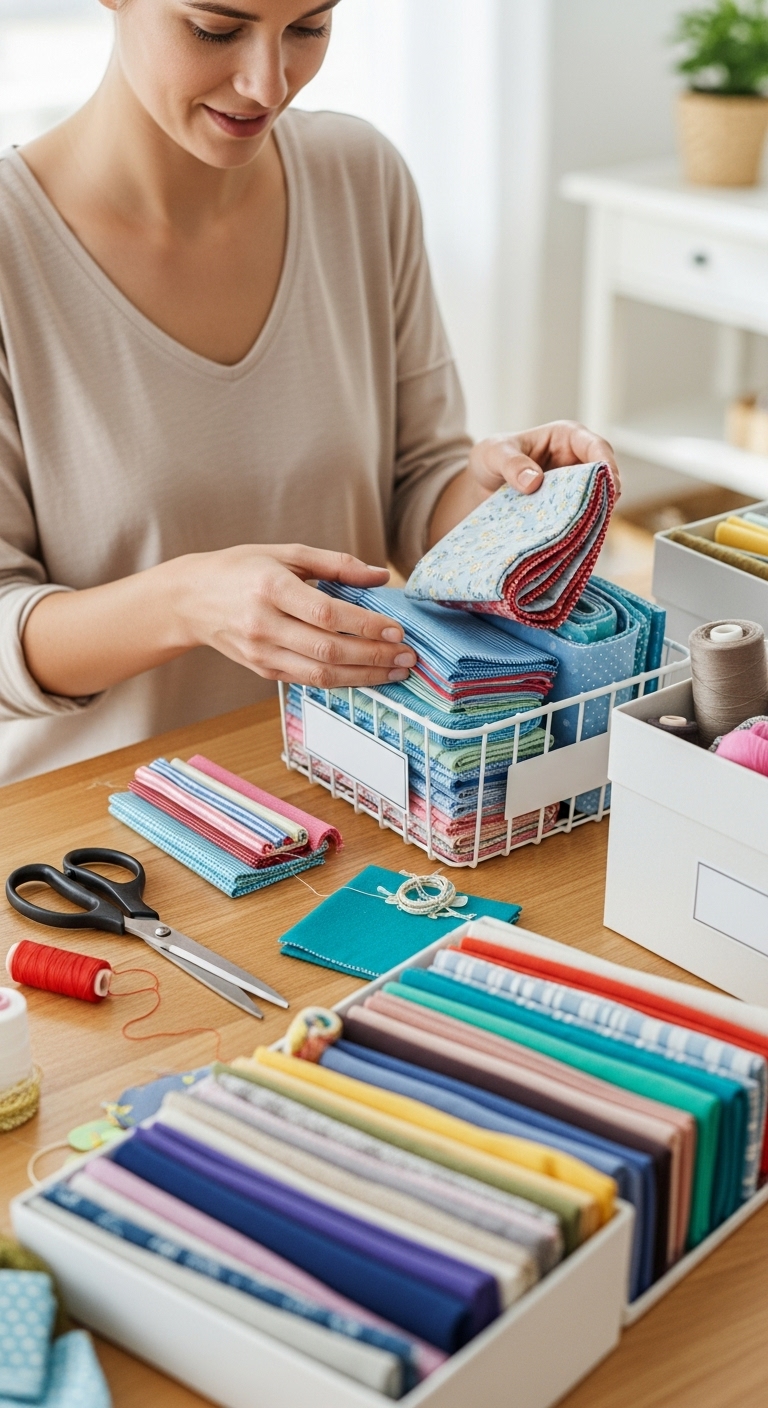
One of the biggest hurdles in turning scraps into gifts is letting them sit unused in drawers, bins, or bags. Knowing what to do with fabric scraps starts with good organization, otherwise, even your best sewing hacks can get lost in the chaos.
-
Sort Scraps by Size, Not Just Color
Many people sort scraps by color, but small pieces often get buried and forgotten. Sorting by size, tiny, medium, and larger pieces, makes it easier to grab what you need for each project.
How it helps: When you can see all your usable pieces at a glance, you’re far more likely to turn scraps into finished, keep-worthy gifts instead of letting them sit unused.
-
Use Simple Storage Systems That Prevent Overwhelm
You don’t need fancy organizers, clear bins, stackable trays, or labeled fabric envelopes work perfectly. The goal is to see what you have without digging through piles, so your scraps feel accessible rather than intimidating.
How it helps: Organized storage makes sewing from scraps feel doable, not stressful. It encourages you to tackle scrap projects that actually get finished.
-
Why Better Organization Leads to More Finished Projects
When your scraps are organized and easy to find, you naturally spend more time creating and less time searching. Projects like coasters, bookmarks, or small wearable accessories suddenly feel possible instead of overwhelming.
How it helps: The more streamlined your system, the more likely you are to complete keep-worthy gifts from leftover fabric, turning even tiny pieces into something meaningful.
Seasonal Ways to Use Fabric Leftovers (Without Making It Temporary)
Just because a project uses seasonal fabrics doesn’t mean it has to be short-lived or disposable, right?. With a little planning, you can turn leftover scraps into gifts and items that feel useful year-round. Seasonal inspiration can actually help you get creative with patterns, colors, and textures.
Spring-Friendly Colors and Fabrics
Soft pastels, florals, and lightweight cottons make cheerful, spring-ready projects. Think:
- Patchwork coasters with light floral prints
- Scrunchies or headbands in soft spring shades
- Mini aprons or fabric bookmarks with bright spring tones
These projects feel fresh and seasonal, but their function ensures they’re still keep-worthy and practical beyond just a few weeks.
Easter Basket Fillers Made From Scraps
Tiny fabric scraps are perfect for creating Easter-themed gifts that fit inside baskets:
- Mini patchwork pouches for candies or small toys
- Fabric key fobs in pastel prints
- Small coasters or bookmarks with soft seasonal patterns
Even if they’re themed for Easter, they remain functional and stylish, making them gifts people actually keep instead of discarding.
Adapting These Ideas for Any Season
The same projects work all year, just swap the colors and patterns:
- Reds and hearts for Valentine’s gifts
- Oranges and pumpkins for fall-inspired gifts
- Deep greens or plaids for winter or holiday projects
By thinking seasonally without compromising usability, your scrap projects stay evergreen, practical, and appreciated throughout the year.
Conclusion: Turning Leftovers Into Something Meaningful
Fabric scraps aren’t just tiny bits of leftover material, they’re hidden potential waiting to be transformed into something useful, and keep-worthy. Every small piece has the power to become a coaster, a scrunchie, a patchwork bookmark, or even a seasonal gift that someone will treasure.
The best way to start is simple: pick one small project and see it through from start to finish.
You should know that completing even a tiny sewing hack gives you confidence and shows how scraps can turn into meaningful gifts rather than clutter.
By rethinking your leftover fabric as materials for future gifts, you can transform your scraps into projects that:
- Brighten someone’s day
- Reduce waste
- Make you feel proud of your creativity
Every scrap has a story, start small, sew with care, and watch your leftover fabric become gifts that are cherished, not forgotten.